Product List with Layout Switching

JavaScriptJavaScriptBeginner
Practice Now

Introduction

In this project, you will learn how to create a responsive product list layout with a switching feature. This feature allows users to easily toggle between a grid view and a list view of the product items.
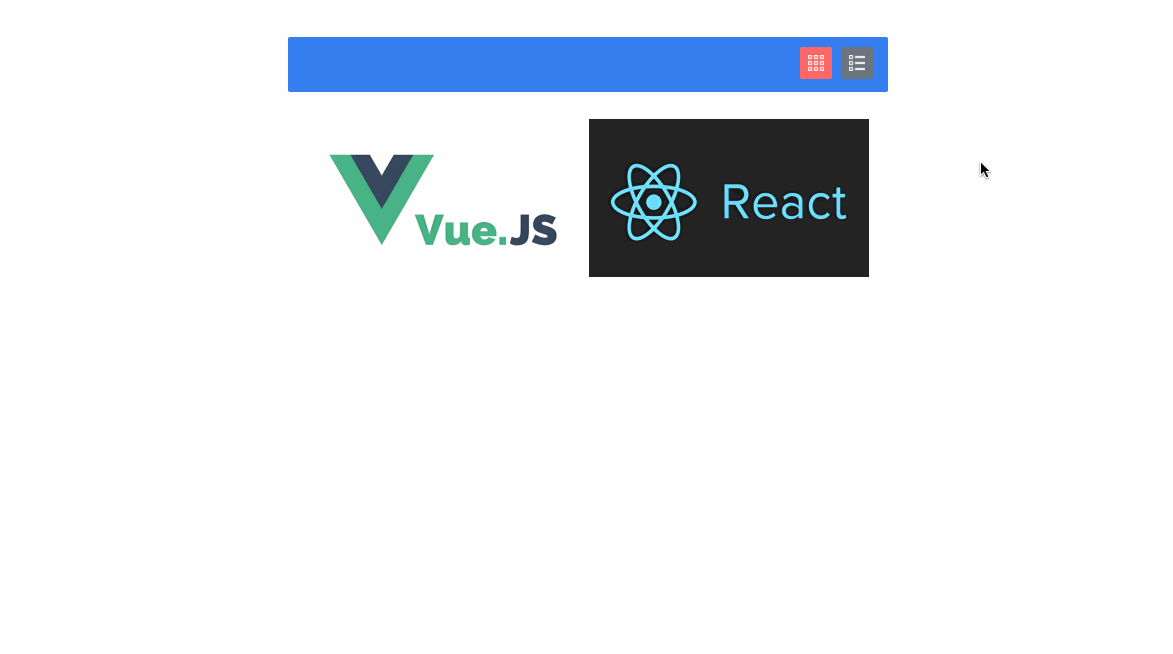
👀 Preview

preview

🎯 Tasks

In this project, you will learn:

  • How to set up the project structure and understand the purpose of each file and folder
  • How to fetch data from a JSON file and populate the product list
  • How to implement the layout switching functionality using Vue.js
  • How to conditionally render the grid and list layouts based on the selected view

🏆 Achievements

After completing this project, you will be able to:

  • Structure a Vue.js project effectively
  • Use Axios to fetch data from a JSON file
  • Utilize Vue.js directives like v-if and v-else to conditionally render content
  • Handle user interactions and update the UI accordingly

Skills Graph

%%%%{init: {'theme':'neutral'}}%%%% flowchart RL html(("`HTML`")) -.-> html/BasicStructureGroup(["`Basic Structure`"]) html(("`HTML`")) -.-> html/LayoutandSectioningGroup(["`Layout and Sectioning`"]) javascript(("`JavaScript`")) -.-> javascript/AdvancedConceptsGroup(["`Advanced Concepts`"]) javascript(("`JavaScript`")) -.-> javascript/NetworkingGroup(["`Networking`"]) html/BasicStructureGroup -.-> html/basic_elems("`Basic Elements`") html/LayoutandSectioningGroup -.-> html/layout("`Layout Elements`") javascript/AdvancedConceptsGroup -.-> javascript/es6("`ES6 Features`") javascript/NetworkingGroup -.-> javascript/http_req("`HTTP Requests`") subgraph Lab Skills html/basic_elems -.-> lab-299916{{"`Product List with Layout Switching`"}} html/layout -.-> lab-299916{{"`Product List with Layout Switching`"}} javascript/es6 -.-> lab-299916{{"`Product List with Layout Switching`"}} javascript/http_req -.-> lab-299916{{"`Product List with Layout Switching`"}} end

Set Up the Project Structure

In this step, you will learn how to set up the project structure for the Layout Switch project. Follow the steps below to complete this step:

  1. Open the project folder for this project. The directory structure is as follows:
├── css
├── images
├── js
│    ├── axios.min.js
│    └── vue.js
├── goodsList.json
└── index.html
  1. Familiarize yourself with the purpose of each folder and file:

    • css: This folder is for style files.
    • images: This folder is for images.
    • js/vue.js: This is the Vue 2.x file.
    • js/axios.min.js: This is the Axios file.
    • goodsList.json: This is the data required for the request.
    • index.html: This contains the page layout and logic.
  2. Click on the Go Live button in the bottom right corner of WebIDE to run the project.

  3. Open "Web 8080" on the top of the VM and manually refresh it to see the page.

Implement Data Fetching

In this step, you will learn how to fetch the data required for the project. Follow the steps below to complete this step:

  1. In the index.html file, locate the <script> tag at the bottom of the file.
  2. Inside the <script> tag, create a new Vue instance using new Vue().
  3. In the data option of the Vue instance, add a goodsList property and initialize it as an empty array.
  4. In the mounted hook of the Vue instance, use Axios to fetch the data from the goodsList.json file.
  5. Update the goodsList data property with the fetched data.

Your code should look similar to this:

var vm = new Vue({
  el: "#app",
  data: {
    goodsList: []
  },
  mounted() {
    axios.get("./goodsList.json").then((res) => (this.goodsList = res.data));
  }
});

Implement Layout Switching

In this step, you will learn how to implement the functionality of switching the product list layout. Follow the steps below to complete this step:

  1. In the index.html file, locate the <div class="bar"> element.
  2. Inside this element, add two <a> elements with the class names grid-icon and list-icon, respectively.
<div class="bar">
  <a class="grid-icon"></a>
  <a class="list-icon"></a>
</div>
  1. Create a changeBar data property in the Vue instance to keep track of the current layout, setting the default value to 0, i.e. it defaults to grid layout.
var vm = new Vue({
  el: "#app",
  data: {
    changeBar: 0
    // ...
  }
});
  1. Bind the @click event to each <a> element, when the grid-icon is clicked, set changeBar to 0 and add the active class to the grid-icon. Remove the active class from the list-icon.
<div class="bar">
  <a
    class="grid-icon"
    :class="changeBar == 0 ? 'active' : ''"
    @click="changeBar = 0"
  ></a>
  <!-- ... -->
</div>
  1. Bind the @click event to each <a> element, when the list-icon is clicked, set changeBar to 1 and add the active class to the list-icon. Remove the active class from the grid-icon.
<div class="bar">
  <!-- ... -->
  <a
    class="list-icon"
    :class="changeBar == 1 ? 'active' : ''"
    @click="changeBar = 1"
  ></a>
</div>
  1. Use the v-if and v-else directives to conditionally render the grid and list layouts based on the value of changeBar.
<ul class="grid" v-if="changeBar == 0">
  <li v-for="item in goodsList">
    <a :href="item.url" target="_blank">
      <img :src="item.image.large" />
    </a>
  </li>
</ul>
<ul class="list" v-else>
  <li v-for="item in goodsList">
    <a :href="item.url" target="_blank">
      <img :src="item.image.small" />
    </a>
    <p>{{item.title}}</p>
  </li>
</ul>

Finalize the Project

In this final step, you will review the completed project and ensure that it meets the requirements.

  1. Verify that the data is being fetched correctly from the goodsList.json file.
  2. Ensure that the layout switching functionality works as expected:
    • Clicking the grid icon changes the layout to the grid view and adds the active class to the grid icon.
    • Clicking the list icon changes the layout to the list view and adds the active class to the list icon.
  3. Test the project by clicking the icons and ensuring that the layout changes as expected.

Congratulations! You have completed the Layout Switch project. You have learned how to:

  • Set up the project structure
  • Fetch data from a JSON file
  • Implement layout switching functionality using Vue.js

Summary

Congratulations! You have completed this project. You can practice more labs in LabEx to improve your skills.

Other JavaScript Tutorials you may like