

Introduction
In this project, you will learn how to implement a user login function using JavaScript and jQuery. This project is designed to help you develop essential front-end development skills, particularly in the area of data dynamization.
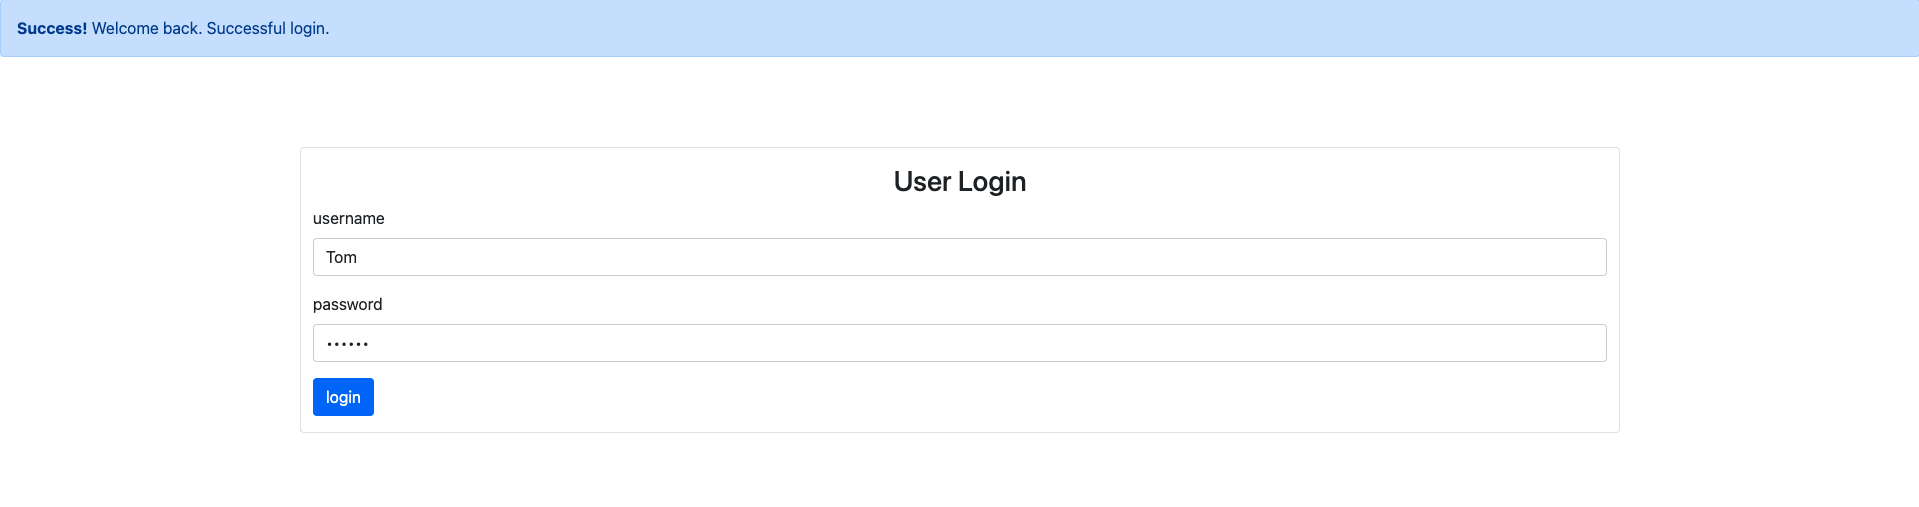
👀 Preview
The successful results are as follows:
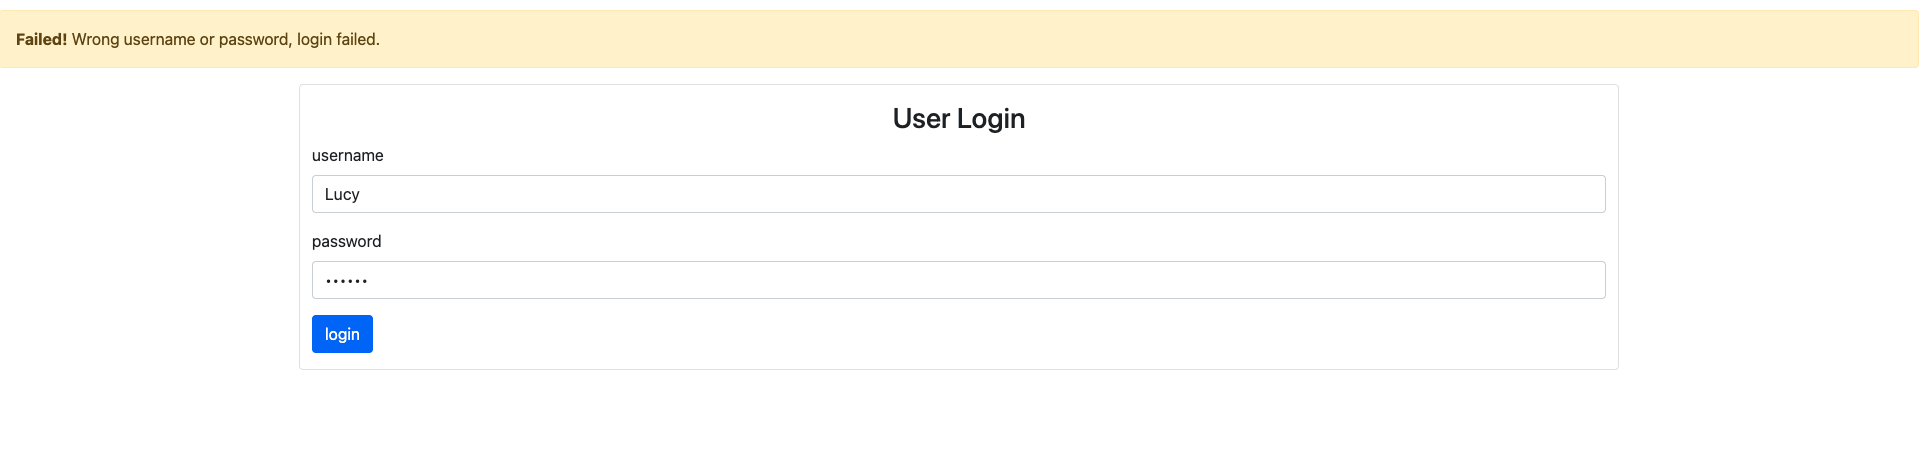
The failure effects are as follows:
🎯 Tasks
In this project, you will learn:
- How to fetch user data from a JSON file using jQuery's AJAX functionality
- How to validate the entered username and password against the user data
- How to display appropriate success or failure messages based on the login attempt
🏆 Achievements
After completing this project, you will be able to:
- Use jQuery's AJAX methods to make HTTP requests and handle responses
- Manipulate the DOM using jQuery to update the UI based on the login result
- Integrate user input with the login function and handle the login process
Skills Graph
%%%%{init: {'theme':'neutral'}}%%%%
flowchart RL
html(("`HTML`")) -.-> html/BasicStructureGroup(["`Basic Structure`"])
jquery(("`jQuery`")) -.-> jquery/EventHandlingGroup(["`Event Handling`"])
jquery(("`jQuery`")) -.-> jquery/DataHandlingGroup(["`Data Handling`"])
html/BasicStructureGroup -.-> html/viewport("`Viewport Declaration`")
jquery/EventHandlingGroup -.-> jquery/event_methods("`Event Methods`")
jquery/DataHandlingGroup -.-> jquery/ajax("`AJAX Calls`")
subgraph Lab Skills
html/viewport -.-> lab-300300{{"`Implement User Login Function`"}}
jquery/event_methods -.-> lab-300300{{"`Implement User Login Function`"}}
jquery/ajax -.-> lab-300300{{"`Implement User Login Function`"}}
end


