Creating a Drawing Board Web App

JavaScriptJavaScriptBeginner
Practice Now

Introduction

In this project, we will create a simple web-based drawing board application step by step. Each step will build upon the previous one, allowing you to gradually add functionality to the application. By the end of this project, you will have a fully functional drawing board where users can draw, change brush color, adjust brush size, and clear the canvas.

👀 Preview
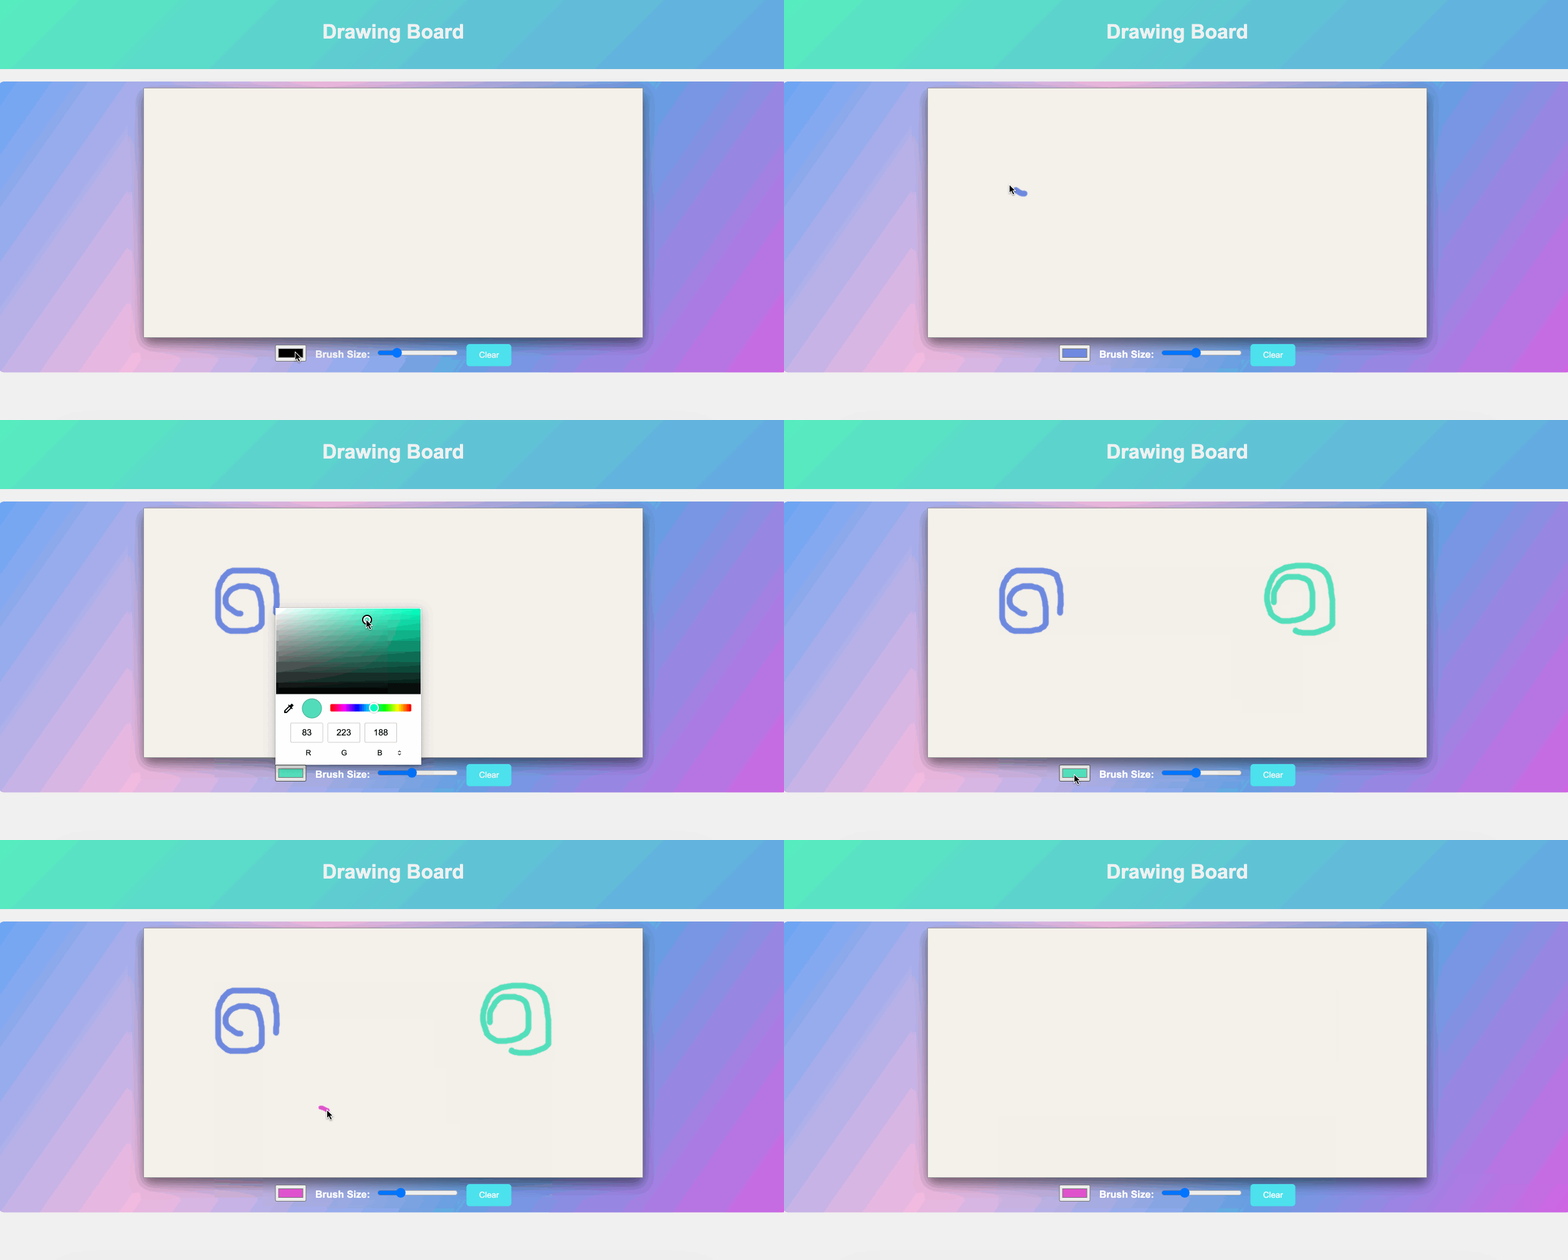
project-drawing-board

🎯 Tasks

In this project, you will learn:

  • How to set up the HTML structure for a drawing board web application.
  • How to create and obtain the 2D rendering context of an HTML <canvas> element.
  • How to implement event listeners to track mouse actions for drawing.
  • How to add a "Clear" button and implement the functionality to clear the canvas.
  • How to create a color picker input and implement the functionality to change the brush color.
  • How to add a range input for adjusting the brush size and implement the functionality.

🏆 Achievements

After completing this project, you will be able to:

  • Create a basic web page structure using HTML.
  • Use JavaScript event listeners to handle user interactions.
  • Work with HTML <canvas> elements for drawing.
  • Style a web application using CSS.
  • Combine HTML, CSS, and JavaScript to build a functional drawing board.

Create the HTML Structure

Requirements:

  • Open the index.html file.
  • Set up the basic HTML structure in index.html with a canvas, header, and control elements.

Functionality:

  • The project files and basic HTML structure will be created, but there will be no drawing functionality yet.

Steps:

<!doctype html>
<html lang="en">
  <head>
    <meta charset="UTF-8" />
    <meta name="viewport" content="width=device-width, initial-scale=1.0" />
    <link rel="stylesheet" href="styles.css" />
    <title>Drawing Board</title>
  </head>
  <body>
    <header>
      <h1>Drawing Board</h1>
    </header>
    <div class="container">
      <div class="controls">
        <input type="color" id="color-picker" value="#000000" />
        <label for="brush-size">Brush Size:</label>
        <input type="range" id="brush-size" min="1" max="20" value="5" />
        <button id="clear-btn">Clear</button>
      </div>
    </div>
    <script src="script.js"></script>
  </body>
</html>
✨ Check Solution and Practice

Adding the Canvas

Requirements:

  • In index.html, add a <canvas> element with an ID of "whiteboard" and dimensions (width and height) of your choice.

Functionality:

  • The canvas will be added to the web page, but it won't have any drawing capabilities.

Steps:

<body>
  <header>
    <h1>Drawing Board</h1>
  </header>
  <div class="container">
    <!--add canvas-->
    <canvas id="whiteboard" width="800" height="400"></canvas>
    <div class="controls">
      <input type="color" id="color-picker" value="#000000" />
      <label for="brush-size">Brush Size:</label>
      <input type="range" id="brush-size" min="1" max="20" value="5" />
      <button id="clear-btn">Clear</button>
    </div>
  </div>
  <script src="script.js"></script>
</body>
✨ Check Solution and Practice

Adding Drawing Functionality

Requirements:

  • In script.js, add JavaScript code to enable drawing on the canvas when the mouse is clicked and moved.
  • Implement event listeners for mousedown, mouseup, and mousemove events.

Functionality:

  • Users can now draw on the canvas using the mouse.

Steps:

const canvas = document.getElementById("whiteboard");
const context = canvas.getContext("2d");

let drawing = false;

canvas.addEventListener("mousedown", () => {
  drawing = true;
  context.beginPath();
});

canvas.addEventListener("mouseup", () => {
  drawing = false;
  context.closePath();
});

canvas.addEventListener("mousemove", draw);

function draw(e) {
  if (!drawing) return;

  context.lineCap = "round";

  context.lineTo(
    e.clientX - canvas.getBoundingClientRect().left,
    e.clientY - canvas.getBoundingClientRect().top
  );
  context.stroke();
  context.beginPath();
  context.moveTo(
    e.clientX - canvas.getBoundingClientRect().left,
    e.clientY - canvas.getBoundingClientRect().top
  );
}

This code enables drawing on the canvas when the mouse is clicked and moved.

✨ Check Solution and Practice

Adding Clear Functionality

Requirements:

  • In script.js, add JavaScript code to clear the canvas when a "Clear" button is clicked.
  • Create a button in index.html with an ID of "clear-btn."

Functionality:

  • Users can clear the canvas to start a new drawing.

Steps:

const clearButton = document.getElementById("clear-btn");

clearButton.addEventListener("click", () => {
  context.clearRect(0, 0, canvas.width, canvas.height);
});

This code allows users to clear the canvas by clicking the "Clear" button.

✨ Check Solution and Practice

Adding Brush Color Control

Requirements:

  • In script.js, add JavaScript code to allow users to select a brush color using an <input type="color"> element.
  • Create the color picker input in index.html with an ID of "color-picker."

Functionality:

  • Users can choose a color for their brush.

Steps:

const colorPicker = document.getElementById("color-picker");

colorPicker.addEventListener("input", (e) => {
  context.strokeStyle = e.target.value;
});

This code allows users to select a brush color using the color picker.

✨ Check Solution and Practice

Adding Brush Size Control

Requirements:

  • In script.js, add JavaScript code to allow users to adjust the brush size using an <input type="range"> element.
  • Create the range input in index.html with an ID of "brush-size."

Functionality:

  • Users can change the brush size to make thicker or thinner strokes.

Steps:

const brushSizeInput = document.getElementById("brush-size");

brushSizeInput.addEventListener("input", (e) => {
  context.lineWidth = e.target.value;
});

This code allows the user to adjust the brush size using the range input.

✨ Check Solution and Practice

CSS Styling

Requirements:

  • Open the styles.css file.
  • Add CSS styles to make the web app visually appealing.

Functionality:

  • Apply basic styles to the web app elements.

Steps:

body {
  font-family: "Arial", sans-serif;
  background-color: #f0f0f0;
  margin: 0;
  padding: 0;
}

header {
  background: linear-gradient(135deg, #57efbf, #64a8e4);
  color: #fff;
  text-align: center;
  padding: 20px 0;
}

.container {
  display: flex;
  flex-direction: column;
  align-items: center;
  margin-top: 20px;
  background: linear-gradient(125deg, #67a5f5, #f3bbe0, #64a0e4, #d364e4);
  border-radius: 10px;
  padding: 10px;
}

canvas {
  background-color: #f4f0eb;
  background-size: cover;
  border: 1px solid #919396;
  box-shadow: 0 10px 20px rgba(16, 16, 16, 0.567);
}

.controls {
  margin-top: 10px;
}

label {
  font-weight: bold;
  margin-right: 5px;
  color: #fff;
}

input[type="color"],
input[type="range"] {
  margin-right: 10px;
}

button {
  padding: 10px 20px;
  background-color: #4be2ed;
  color: #fff;
  border: none;
  cursor: pointer;
  border-radius: 5px;
  transition: background-color 0.3s ease;
}

button:hover {
  background-color: #dac765;
}

button:focus {
  outline: none;
}
✨ Check Solution and Practice

Running the App

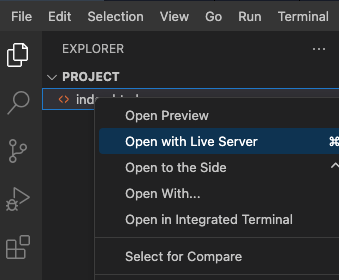
  • Open index.html in a web browser.
    open web
  • Test the application by adding expenses and verifying that the expense list and summary update correctly.
  • The effect of the page is as follows:
    effect
✨ Check Solution and Practice

Summary

Congratulations! You've created a simple drawing board web application using HTML, CSS, and JavaScript. Users can draw on the canvas, change the brush color, and adjust the brush size.

Other JavaScript Tutorials you may like