Let’s Have a Meeting Together

HTMLHTMLBeginner
Practice Now

Introduction

In this project, you will learn how to build a web conferencing application using Vue.js 2.x. The project focuses on implementing various display effects for the list of attendees in the web conferencing software.
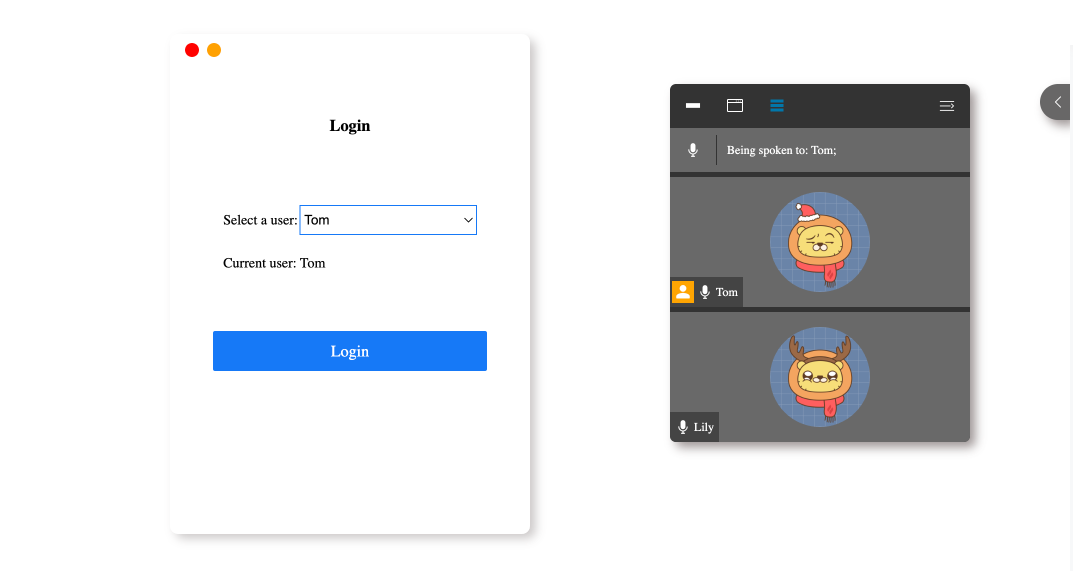
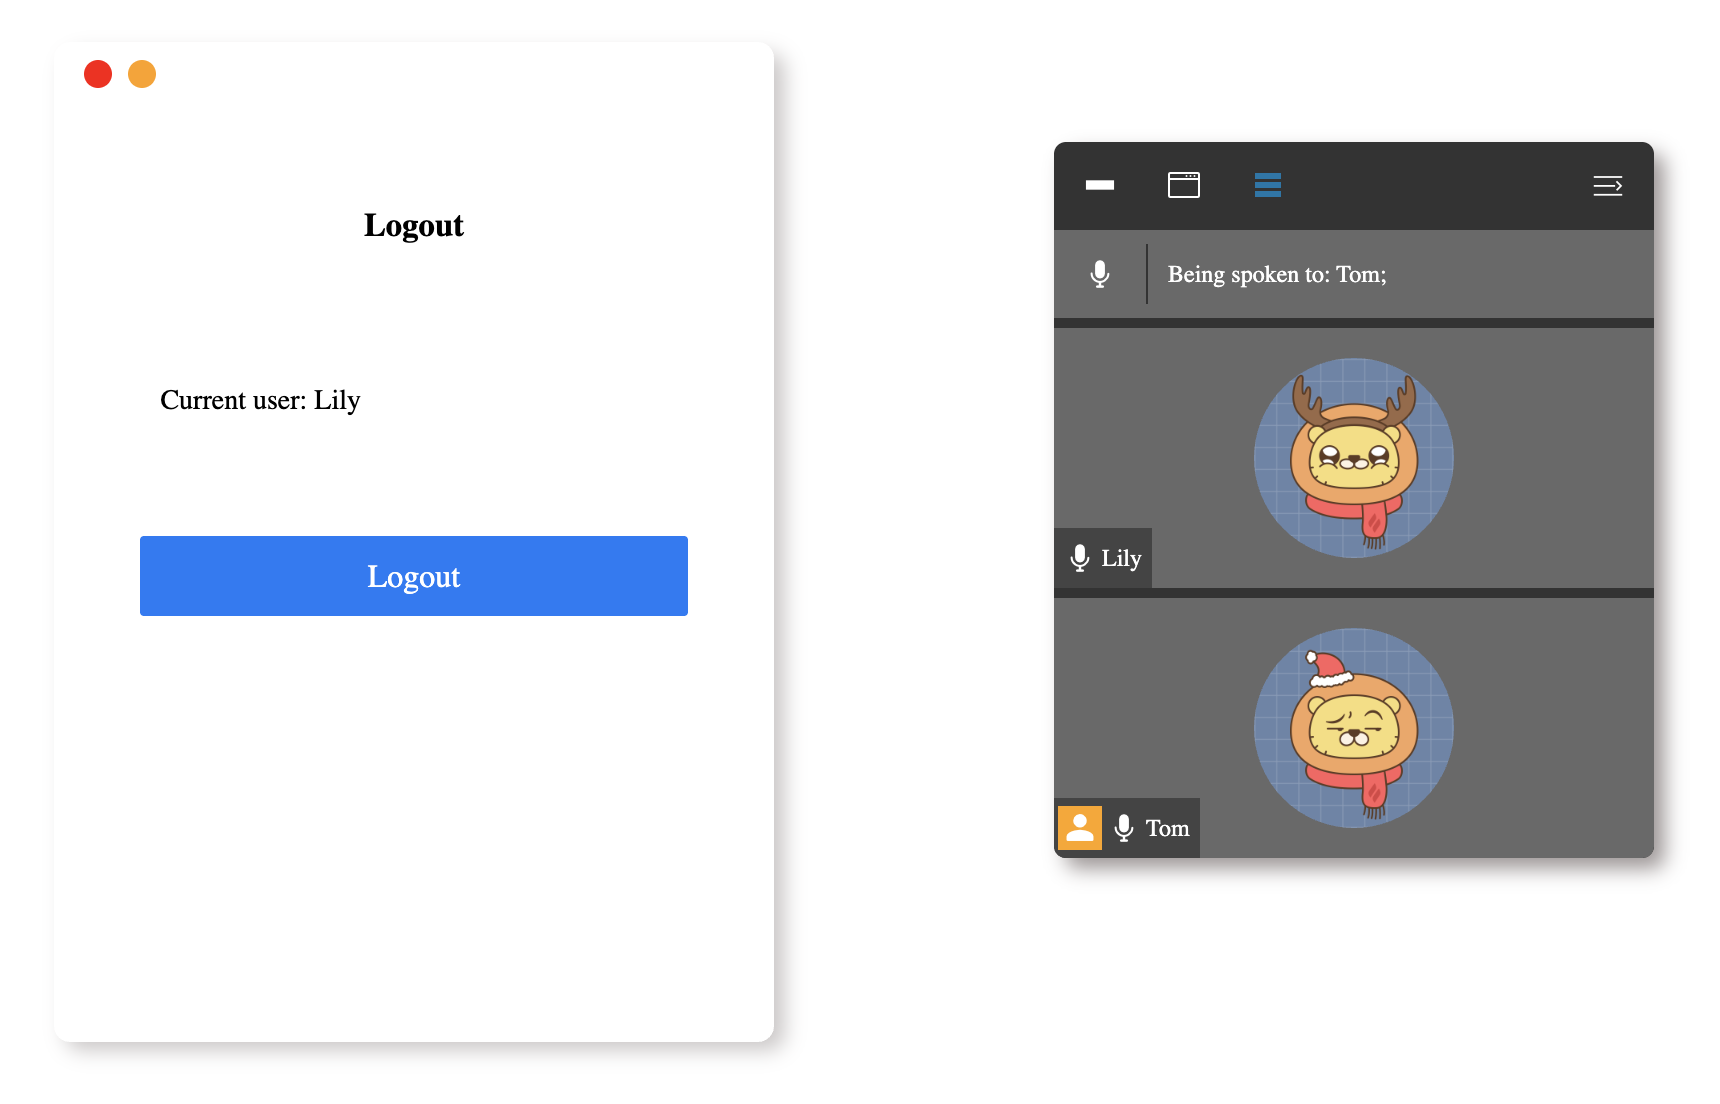
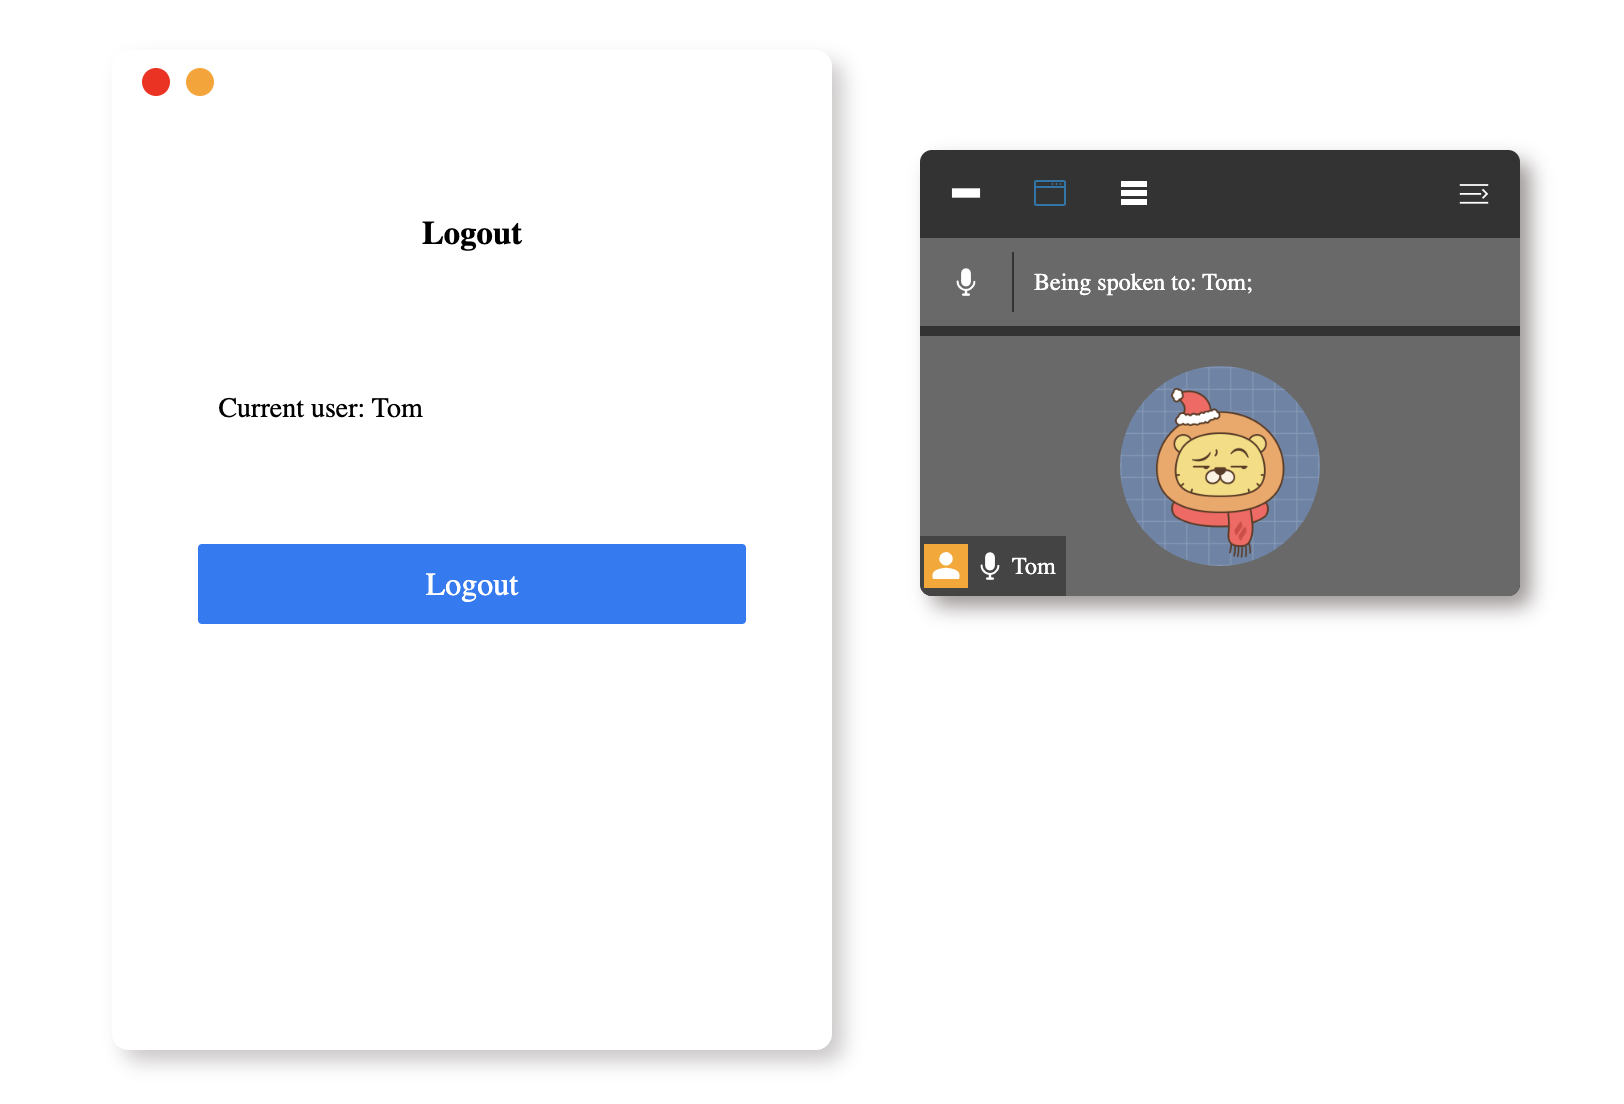
👀 Preview

finished

🎯 Tasks

In this project, you will learn:

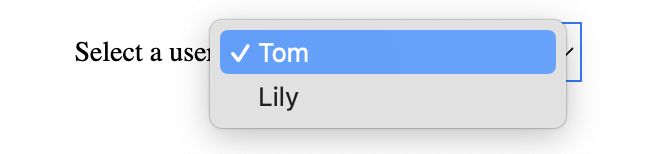
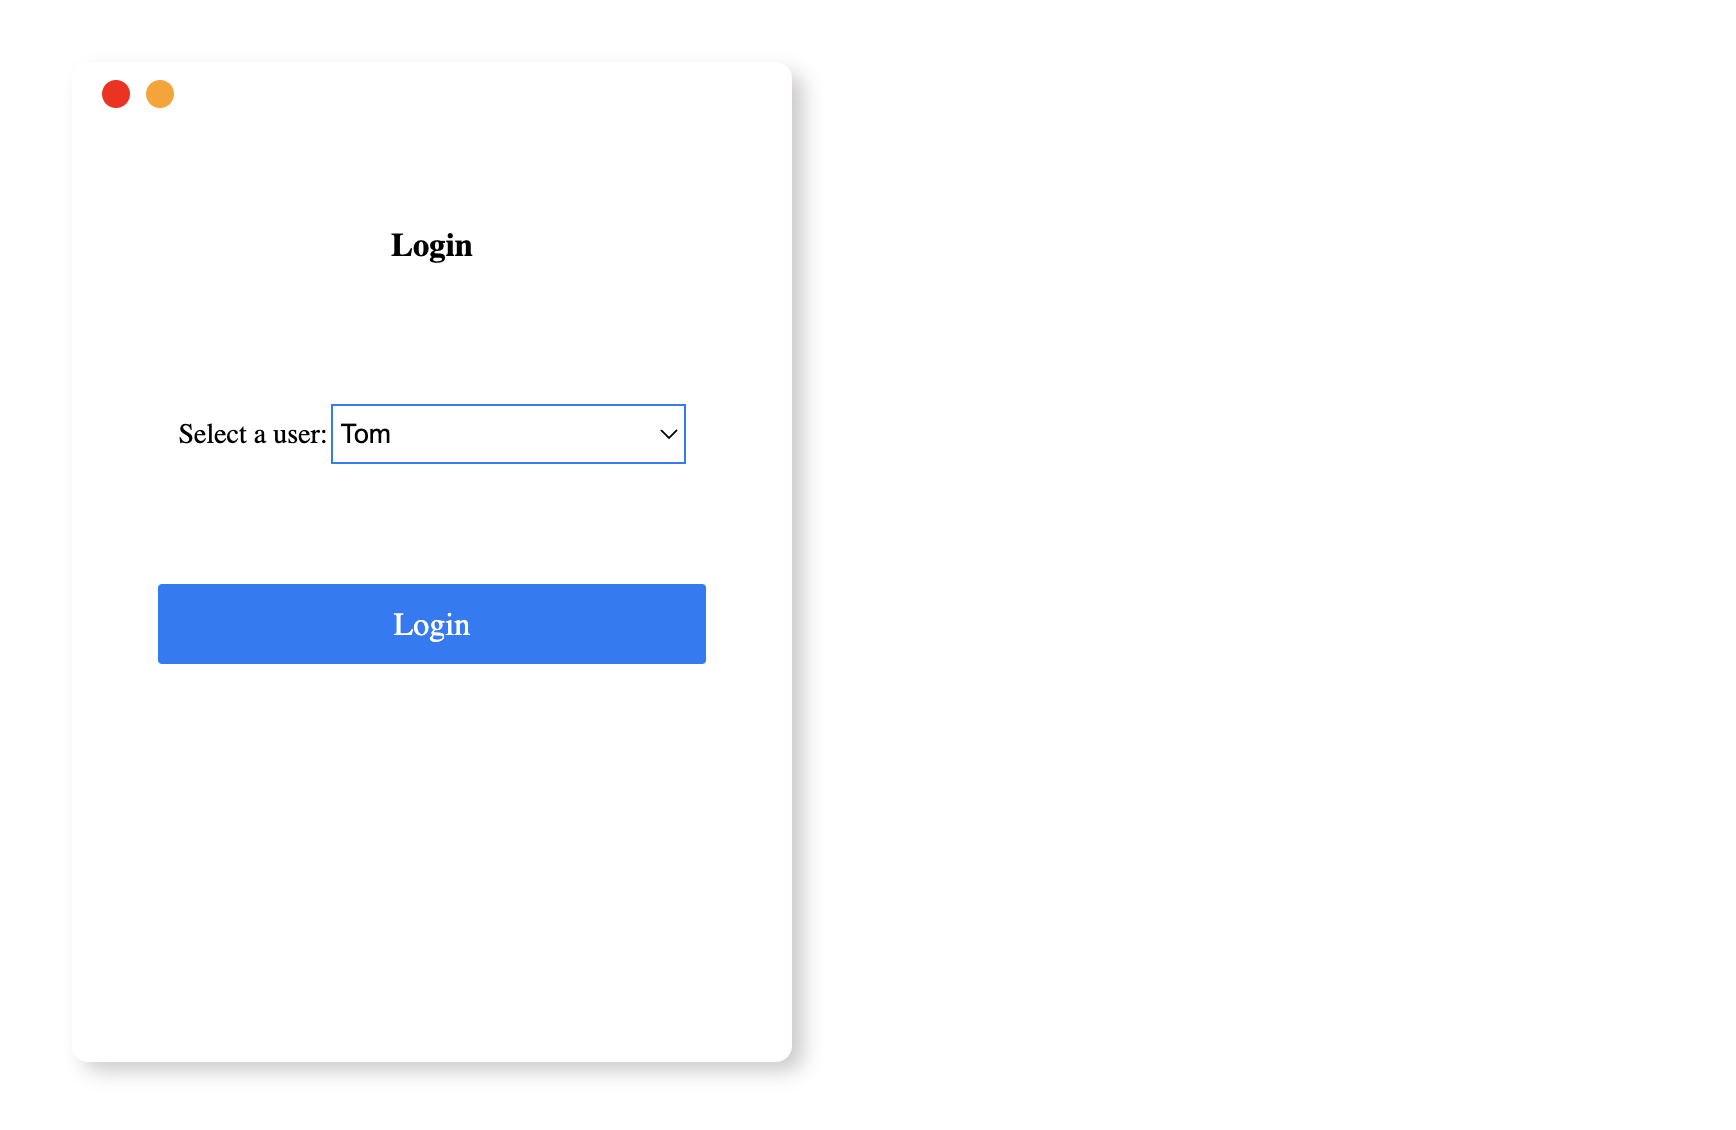
  • How to implement asynchronous data reading and rendering functionality to fetch and display user data in the login and participant windows.
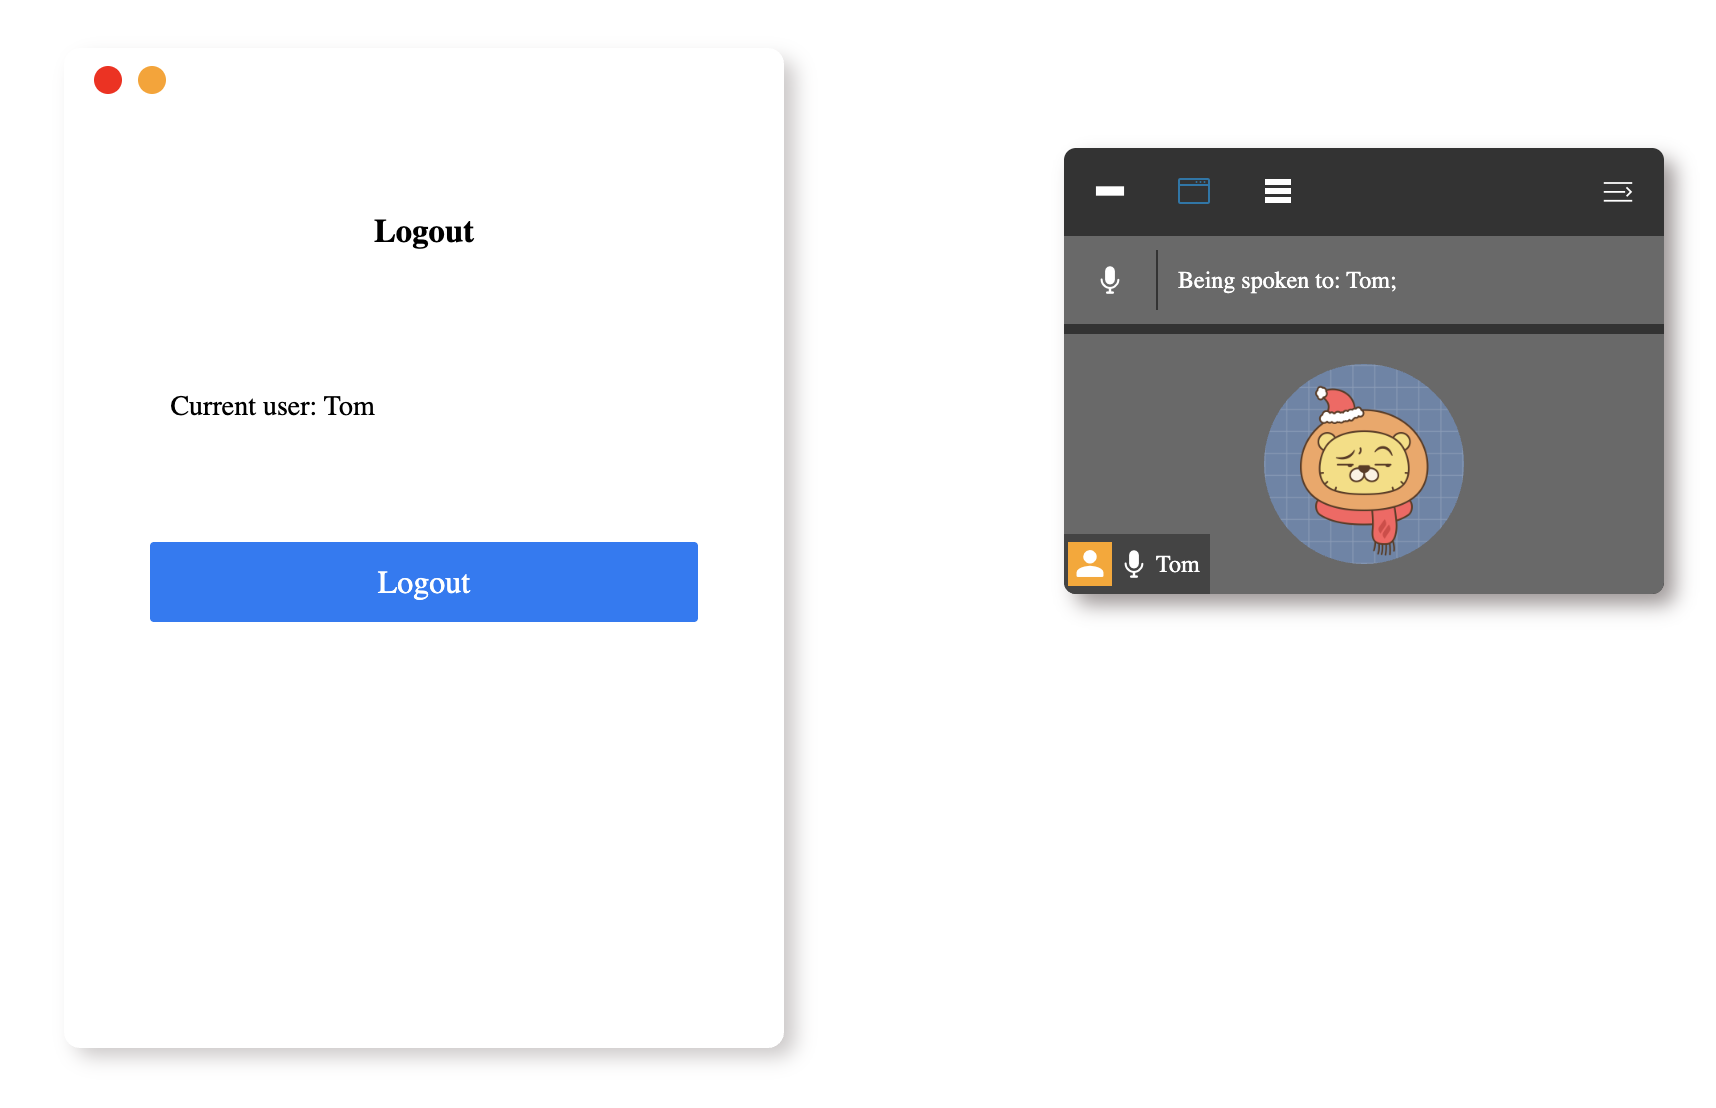
  • How to implement the login and logout switching function, allowing users to log in and out of the application.
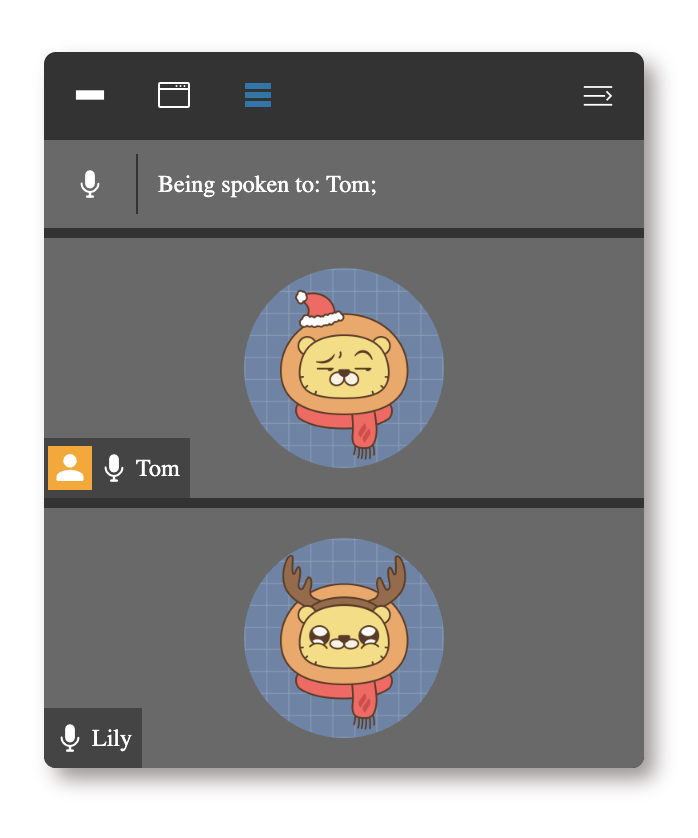
  • How to ensure the logged-in user is always displayed as the first user in the participant list.
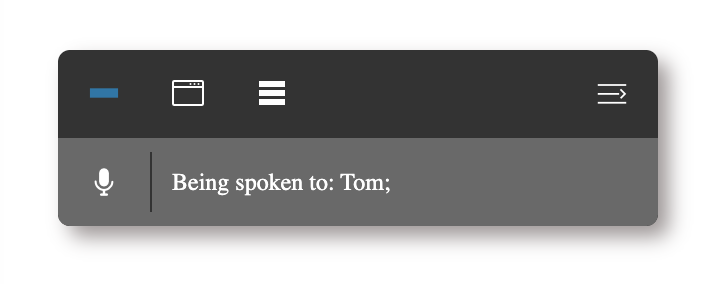
  • How to implement the functionality of switching the visibility of the participant window.
  • How to implement the functionality of switching the display effect of the participant list, including showing all participants, hiding the participant list, and only showing the currently logged-in user.

🏆 Achievements

After completing this project, you will be able to:

  • Build a web conferencing application using Vue.js 2.x with various user interface features.
  • Fetch and display data asynchronously using Axios.
  • Implement state management and event handling in a Vue.js application.
  • Create dynamic user interfaces and switch between different display modes.

Skills Graph

%%%%{init: {'theme':'neutral'}}%%%% flowchart RL html(("`HTML`")) -.-> html/BasicStructureGroup(["`Basic Structure`"]) javascript(("`JavaScript`")) -.-> javascript/BasicConceptsGroup(["`Basic Concepts`"]) javascript(("`JavaScript`")) -.-> javascript/AdvancedConceptsGroup(["`Advanced Concepts`"]) javascript(("`JavaScript`")) -.-> javascript/NetworkingGroup(["`Networking`"]) html/BasicStructureGroup -.-> html/basic_elems("`Basic Elements`") html/BasicStructureGroup -.-> html/viewport("`Viewport Declaration`") javascript/BasicConceptsGroup -.-> javascript/functions("`Functions`") javascript/AdvancedConceptsGroup -.-> javascript/es6("`ES6 Features`") javascript/NetworkingGroup -.-> javascript/http_req("`HTTP Requests`") subgraph Lab Skills html/basic_elems -.-> lab-300164{{"`Let’s Have a Meeting Together`"}} html/viewport -.-> lab-300164{{"`Let’s Have a Meeting Together`"}} javascript/functions -.-> lab-300164{{"`Let’s Have a Meeting Together`"}} javascript/es6 -.-> lab-300164{{"`Let’s Have a Meeting Together`"}} javascript/http_req -.-> lab-300164{{"`Let’s Have a Meeting Together`"}} end

Set Up the Project Structure

In this step, you will learn how to set up the project structure. Follow the steps below to complete this step:

Open the project folder for this project. The directory structure is as follows:

├── index.html
├── css
├── images
└── js
    ├── axios.min.js
    ├── userList.json
    └── vue.js

Among them:

  • index.html is the main page.
  • css is the style folder.
  • images is the image folder.
  • js/axios.min.js is the axios file.
  • js/userList.json is the data file that needs to be requested.
  • js/vue.js is the Vue 2.x file.

Click on Go Live button in the bottom right corner of WebIDE, to run the project.

Next, open "Web 8080" on the top of the VM and refresh it manually and you will see the page.

Image Description

Implement Asynchronous Data Reading and Rendering

In this step, you will learn how to implement asynchronous data reading and rendering functionality.

  1. Open the index.html file in the provided project.
  2. In the data option of the Vue instance, add some attributes for later use.
new Vue({
  el: "#app",
  data() {
    return {
      list: [],
      indexUser: "Tom",
      isShow: false,
      isShowRbtn: false,
      isShowUserList: true,
      isShowOtherUser: false,
      isShowIndexUser: true,
      user: "",
      buttonIndex: 2
    };
  }
});
  1. In the new Vue() instance, add the following code in the mounted() lifecycle hook to fetch the user data from ./js/userList.json using Axios:
new Vue({
  el: "#app",
  data: {
    // ...
  },
  mounted() {
    this.getData();
  },
  methods: {
    async getData() {
      // Use axios to fetch data from the server
      const res = await axios({
        url: "./js/userList.json"
      });
      this.list = res.data;
    }
  }
});
  1. In the login window, update the code to display the fetched user data in the dropdown:
<!-- The original code: -->
<!-- <p>
  Select a user:
  <select id="selectUser">
    <option value="1">Tom</option>
  </select>
</p>
<p>Current user: Tom</p> -->

<!-- The updated code: -->
<p v-if="!isShow">
  Select a user:
  <select v-model="indexUser" id="selectUser">
    <option v-for="item in list" :value="item.name">{{item.name}}</option>
  </select>
</p>
<p v-else>Current user: {{user.name}}</p>

After completing this step, the login window will display the user data fetched from ./js/userList.json asynchronously.

The effect is as follows:

Asynchronous data rendering effect in login window

Implement Login and Logout Switching

In this step, you will learn how to implement the login and logout switching functionality.

  1. Open the index.html file in the provided project.
  2. In the methods of the new Vue() instance, add the login function.
  3. In the login() method, add the code to switch between the login and logout windows:
methods: {
  // ...
  login() {
    this.isShow = !this.isShow;
    this.user = this.list.find((item) => item.name == this.indexUser);
  },
},
  1. In the computed of the new Vue() instance, add the isShow property to control the text display:
computed: {
  loinOrlogout() {
    return this.isShow ? "Logout" : "Login";
  }
},
methods: {
  // ...
},
  1. In the login or logout window, update the code to display the appropriate content based on the login state:
<!-- The original code: -->
<!-- <h3>Login</h3>
<p>
  Select a user:
  <select id="selectUser">
    <option value="1">Tom</option>
  </select>
</p>
<p>Current user: Tom</p>

<a class="login-btn">Login</a> -->

<!-- The updated code: -->
<h3>{{loinOrlogout}}</h3>
<p v-if="!isShow">
  Select a user:
  <select v-model="indexUser" id="selectUser">
    <option v-for="item in list" :value="item.name">{{item.name}}</option>
  </select>
</p>
<p v-else>Current user: {{user.name}}</p>
<a @click="login" class="login-btn">{{loinOrlogout}}</a>

After completing this step, the login and logout switching functionality will be implemented, and the participant window will only display the currently logged-in user's information by default.

The effect is as follows:

Effect after login
Effect after logout

Ensure the Logged-in User is Always the First in the Participant List

In this step, you will learn how to ensure the logged-in user is always the first in the participant list.

  1. Open the index.html file in the provided project.
  2. In the Participants window, update the code for class="say-list" and class="user-list" to show only the information for the currently logged in user by default:
<ul class="say-list">
  <li>
    <span class="iconfont icon-microphone"></span>
  </li>
  <li class="line"></li>
  <li>Being spoken to: {{list.find((item) => item.isHost).name}};</li>
</ul>
<ul v-if="isShow" class="user-list">
  <li v-if="isShowIndexUser">
    <img class="header" :src="user.imgPath" />
    <div class="user-name">
      <span v-if="user.isHost" class="iconfont icon-user header-icon"></span>
      <span class="iconfont icon-microphone"></span>
      {{user.name}}
    </div>
  </li>
  <li v-for="item in list" v-if="item.name!=user.name&&isShowOtherUser">
    <img class="header" :src="item.imgPath" />
    <div class="user-name">
      <span
        v-if="item.isHost&&changeBtnActive"
        class="iconfont icon-user header-icon"
      ></span>
      <span class="iconfont icon-microphone"></span>
      {{item.name}}
    </div>
  </li>
</ul>

After completing this step, the logged-in user will always be displayed as the first user in the participant list.

The effect is as follows:

The first user in the participant list is always the logged-in user

Implement the Visibility Switching of the Participant Window

In this step, you will learn how to implement the functionality of switching the visibility of the participant window.

  1. Open the index.html file in the provided project.
  2. In the methods of the new Vue() instance, add the showUserList function and the showRbtn function.
methods: {
  showUserList() {
    this.isShowUserList = !this.isShowUserList;
    this.showRbtn();
  },
  showRbtn() {
    this.isShowRbtn = !this.isShowRbtn;
  },
},
  1. In the HTML, update the code to add the button for showing or hiding the participant window:
<!-- The original code: -->
<!-- <button id="show" class="right-btn">
  <span class="iconfont icon-left-arrow"></span>
</button> -->

<!-- The updated code: -->
<button
  v-if="isShow&&isShowRbtn"
  @click="showUserList"
  id="show"
  class="right-btn"
>
  <span class="iconfont icon-left-arrow"></span>
</button>

After completing this step, you will be able to show or hide the participant window by clicking the button.

The effect is as follows:

Position of the Hide/Show Participant Window button icon

Implement the Switching of the Participant List Display Effect

In this step, you will learn how to implement the functionality of switching the display effect of the participant list.

  1. Open the index.html file in the provided project.
  2. In the methods of the new Vue() instance, add the changeBtnActive function.
  3. In the changeBtnActive() method, add the code to handle the switching of the participant list display effect:
methods: {
  changeBtnActive(userFlag, otherUserFlag, value) {
    this.isShowIndexUser = userFlag;
    this.isShowOtherUser = otherUserFlag;
    this.buttonIndex = value;
  },
},
  1. In the HTML, locate the class="user-dialog" and update the code to add the button used to toggle the display effect of the attendee list:
<div v-if="isShowUserList&&isShow" class="user-dialog">
  <ul class="tools">
    <li class="tools-left">
      <button
        @click="changeBtnActive(false,false,1)"
        :class="{'active': buttonIndex==1 ? true : false}"
      >
        <span class="iconfont icon-close"></span>
      </button>
      <button
        @click="changeBtnActive(true,false,2)"
        :class="{'active': buttonIndex==2 ? true : false}"
      >
        <span class="iconfont icon-dialog"></span>
      </button>
      <button
        @click="changeBtnActive(true,true,3)"
        :class="{'active': buttonIndex==3 ? true : false}"
      >
        <span class="iconfont icon-list"></span>
      </button>
    </li>
    <li @click="showUserList" class="tools-right">
      <button class="show-list">
        <span class="iconfont icon-retract"></span>
      </button>
    </li>
  </ul>
  <!-- user list -->
  <!-- Omit the code already mentioned... -->
</div>

After completing this step, you will be able to switch the display effect of the participant list by clicking the corresponding buttons.

The effect is as follows:

Effect of showing all participants
Effect of not showing the participant list
Effect of only showing the currently logged-in user

Summary

Congratulations! You have completed this project. You can practice more labs in LabEx to improve your skills.

Other HTML Tutorials you may like