Introduction
In this project, you will learn how to integrate the Log4j2 logging framework into a Spring Boot application. You will configure Log4j2 to log project information in both the console and log files.
👀 Preview

🎯 Tasks
In this project, you will learn:
- How to modify the
pom.xmlfile to add the necessary Log4j2 dependencies - How to configure Log4j2 in the
application.propertiesfile - How to create a logger and log information using different log levels in the
DemoApplication.javafile - How to package and run the Spring Boot application to view the logged information
🏆 Achievements
After completing this project, you will be able to:
- Use the Log4j2 logging framework in a Spring Boot application
- Configure Log4j2 to log information in the console and log files
- Create a logger and use different log levels to log information
- Package and run a Spring Boot application
Modify the pom.xml file
In this step, you will learn how to modify the pom.xml file to integrate the Log4j2 logging framework into the Spring Boot project.
Open the
pom.xmlfile in thespringbootlog4j2project.Add the
spring-boot-starter-log4j2dependency to the<dependencies>section:
<dependency>
    <groupId>org.springframework.boot</groupId>
    <artifactId>spring-boot-starter-log4j2</artifactId>
</dependency>
- To exclude the default Logback dependency, add the following code to the
<dependencies>section:
<dependency>
    <groupId>org.springframework.boot</groupId>
    <artifactId>spring-boot-starter</artifactId>
    <exclusions>
        <exclusion>
            <groupId>org.springframework.boot</groupId>
            <artifactId>spring-boot-starter-logging</artifactId>
        </exclusion>
    </exclusions>
</dependency>
This will ensure that only Log4j2 is used as the logging framework in the project.
Configure Log4j2 in the application.properties file
In this step, you will learn how to configure the Log4j2 logging framework in the application.properties file.
Open the
application.propertiesfile in the/src/main/resources/directory.Add the following line to the file:
logging.config=classpath:log4j2.xml
This line tells the Spring Boot application to use the log4j2.xml configuration file located in the classpath.
Modify the DemoApplication.java file
In this step, you will learn how to create a logger and log the information using different log levels in the DemoApplication.java file.
Open the
DemoApplication.javafile in the/src/main/java/org/labex/springbootlog4j2/directory.Create a logger object using the following code:
private static final Logger logger = LoggerFactory.getLogger(DemoApplication.class);
- In the
sayhello()method, add the following log statements:
logger.error("This is an error message");
logger.warn("This is a warning message");
logger.info("This is an info message");
logger.debug("This is a debug message");
- Note that we need to import the relevant classes:
import org.slf4j.Logger;
import org.slf4j.LoggerFactory;
These log statements will log the information using the corresponding log levels.
Package and run the application
In this step, you will learn how to package the Spring Boot application and run it.
Open a terminal and navigate to the
springbootlog4j2project directory.Run the following command to package the application:
cd springbootlog4j2
mvn clean package
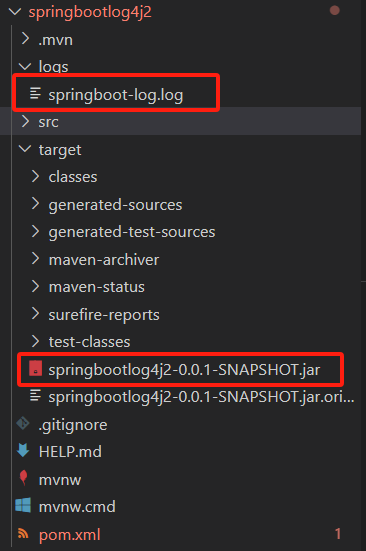
This will generate a JAR file in the target directory.
- Run the application using the following command:
mvn spring-boot:run
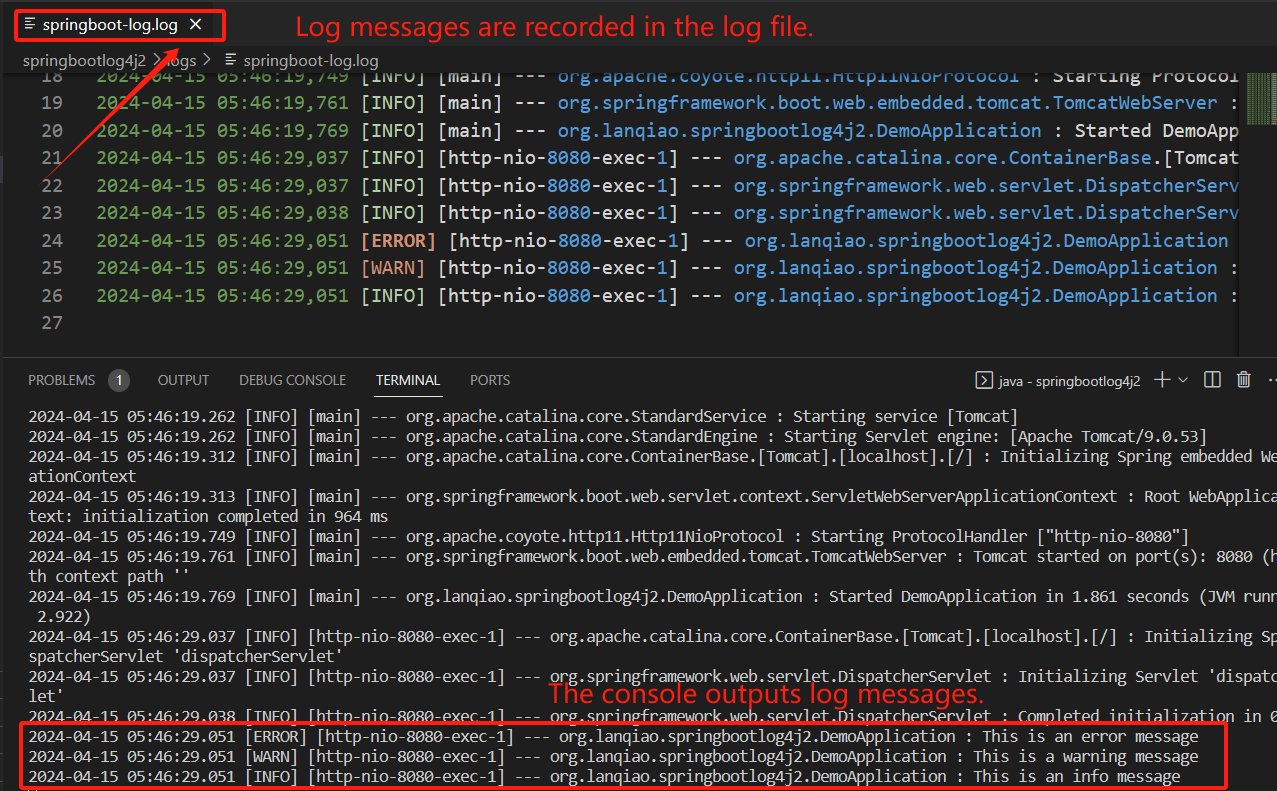
After starting the service, first click Web 8080 above the environment, you can see the following running effect, and then return to the console to view the recorded information.
- To view the log files, navigate to the
logsdirectory in the project. You should see the log files created by the Log4j2 configuration.
Congratulations! You have successfully integrated the Log4j2 logging framework into the Spring Boot project and configured it to log the information in the console and log files.
Summary
Congratulations! You have completed this project. You can practice more labs in LabEx to improve your skills.