
Introduction
Welcome to this hands-on lab about working with files in Linux! If you're new to Linux, don't worry. We'll guide you through each step carefully. In this lab, you'll learn how to view the contents of files, look at specific parts of files, and compare files. These are fundamental skills that will help you navigate and understand the Linux file system.
Print File Contents
First, please open a terminal on the Desktop OR switch to the terminal tab in the lab environment.
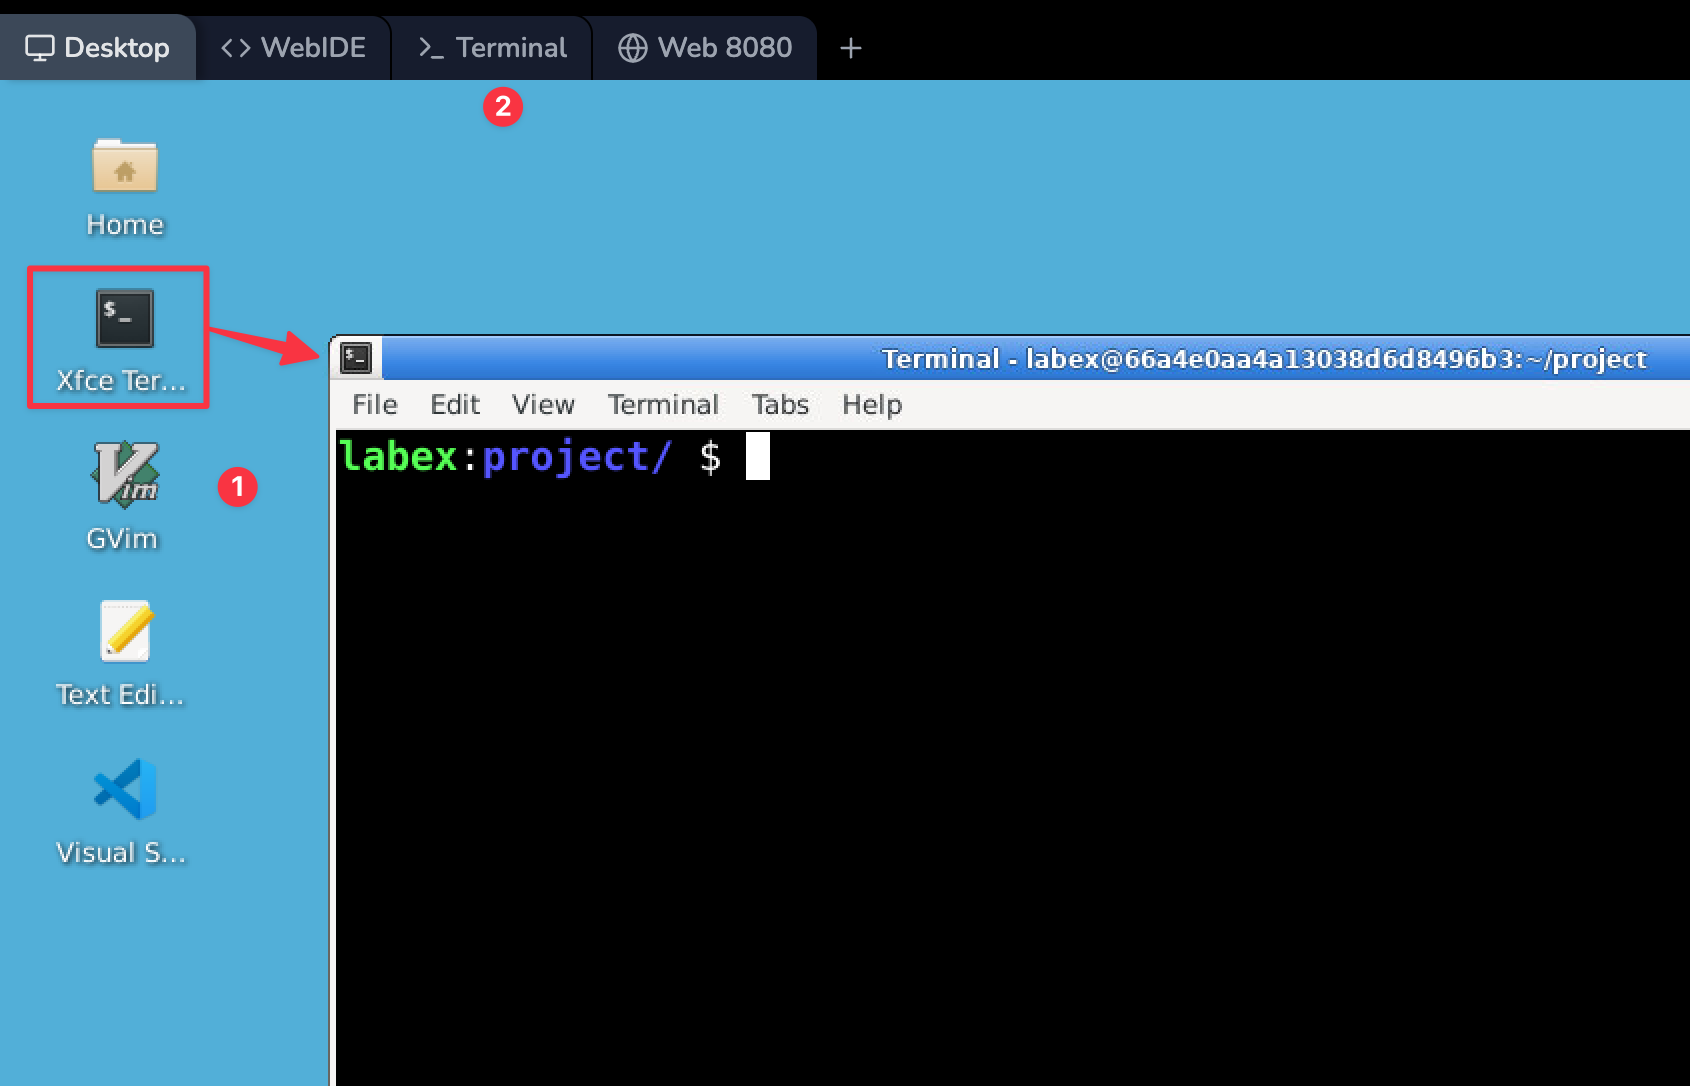
Once you have a terminal open, you should see a command prompt, typically ending with a $ symbol. This is where we'll enter our commands.
Now, let's use the cat command to display the contents of a file:
- In the terminal, type the following command and press Enter:
cat /tmp/hello
Here, /tmp/hello is the path to the file we want to view. /tmp is a directory (folder) on your system, and hello is the name of the file in that directory.
- After pressing Enter, you should see the contents of the file:
Hi,
I am Labby!
This is everything that's in the /tmp/hello file. The cat command has displayed it for us in the terminal.
Display File Contents with Line Numbers
Now, let's use the cat command again, but this time we'll add line numbers to the output.
- In the terminal, type the following command and press Enter:
cat -n /tmp/hello
The -n here is called an option or a flag. It tells cat to number all output lines.
- You should now see the contents of the file with line numbers:
     1 Hi,
     2 I am Labby!
This can be very helpful when you're dealing with longer files and need to refer to specific lines.
Print the Top Lines of a File
Next, we'll use the head command. As its name suggests, head is used to view the beginning or "head" of a file.
- In the terminal, type the following command and press Enter:
head -n1 /tmp/hello
Here, -n1 is an option that tells head to show only the first line. The 1 can be changed to any number to show that many lines.
- You should see this output:
Hi,
This is just the first line of the file. By default, without the -n1 option, head would show the first 10 lines of the file.
View the First Few Bytes of a File
Now we'll use the head command again, but this time to view a specific number of bytes from the beginning of a file.
- In the terminal, type the following command and press Enter:
head -c1 /tmp/hello
The -c1 option tells head to show only the first byte (character) of the file. Like with -n, you can change the 1 to any number to see that many bytes.
- You should see this output:
H
This is just the first character of the file. In text files, each character is typically one byte.
Print the Last Lines of a File
Now let's move on to the tail command. As you might guess, tail is the opposite of head - it shows the end of a file.
- In the terminal, type the following command and press Enter:
tail -n1 /tmp/hello
Just like with head, the -n1 option tells tail to show only one line, in this case the last line of the file.
- You should see this output:
I am Labby!
This is the last line of our file. Without the -n1 option, tail would show the last 10 lines by default.
View the Last Few Bytes of a File
Similar to what we did with head, we can use tail to display a specific number of bytes from the end of a file.
- First, let's try viewing the last byte. In the terminal, type the following command and press Enter:
tail -c1 /tmp/hello
You might not see any output. This is because the last character is likely a newline character, which is invisible.
- Let's try viewing the last two bytes instead. Type the following command and press Enter:
tail -c2 /tmp/hello
- Now you should see:
!
The -c2 option tells tail to show the last 2 bytes (characters) of the file. In this case, it's showing the exclamation mark, which is the last visible character in our file.
Comparing Files
Now we'll learn how to use the diff command to compare two files and see the differences between them.
- First, let's make sure we're in the right directory (folder). Type the following command and press Enter:
cd ~/project
This changes our current directory to the "project" folder in our home directory. The ~ symbol is a shortcut for your home directory.
- Now, let's compare two files. Type the following command and press Enter:
diff file1 file2
This tells diff to compare the contents of file1 and file2.
- You should see output similar to this:
1c1
< this is file1
---
> this is file2
Let's break down what this output means. The diff command produces output that describes what changes are needed to make the first file identical to the second file. It doesn't matter which file was created or modified first; diff only compares their contents at the time you run the command.
1c1: This indicates that line 1 in the first file needs to be changed to match line 1 in the second file.< this is file1: The<symbol indicates a line from the first file (file1).---: This is a separator between the lines fromfile1andfile2.> this is file2: The>symbol indicates a line from the second file (file2).
In simple terms, diff is showing us that the content of line 1 is different between the two files. To make file1 match file2, the line "this is file1" would need to be replaced with "this is file2".
Comparing Directories
Finally, let's use the diff command to compare entire directories.
- In the terminal, type the following command and press Enter:
diff -r ~/Desktop ~/Code
The -r option tells diff to recursively compare subdirectories as well. ~/Desktop and ~/Code are the paths to the two directories we're comparing.
- You might see output similar to this:
Only in /home/labex/Desktop: code.desktop
Only in /home/labex/Desktop: gedit.desktop
Only in /home/labex/Desktop: gvim.desktop
Only in /home/labex/Desktop: xfce4-terminal.desktop
This output shows that the Desktop directory contains four files that are not in the Code directory.
Summary
Congratulations! You've completed the File Contents and Comparing lab. Let's recap what you've learned:
- You used
catto view the entire contents of a file. - You learned how to use
cat -nto view file contents with line numbers. - You used
headto view the beginning of a file, both by lines and by bytes. - You used
tailto view the end of a file, both by lines and by bytes. - You learned how to use
diffto compare the contents of files. - Finally, you used
diff -rto compare entire directories.
These commands are fundamental tools in Linux. As you continue to work with Linux, you'll find yourself using these commands frequently to inspect and compare files and directories.
Remember, if you ever forget how to use a command, you can always type man followed by the command name (e.g., man cat) to see the manual page for that command. This will give you detailed information about all the options available for each command.
Keep practicing with these commands on different files and directories to become more comfortable with them. The more you use them, the more natural they'll become!


