Docker Multi Stage Build

DockerDockerBeginner
Practice Now

Introduction

Docker Multi-stage Build is a feature that allows you to use multiple stages in a Dockerfile to create a final Docker image. In this lab, you will learn how to use Docker Multi-stage Build to create a smaller and more efficient Docker image.

Prerequisites

Before starting this lab, you should have:

  • A basic understanding of Docker and containerization.
  • Docker installed on your computer.
  • A terminal or command prompt open.

Skills Graph

%%%%{init: {'theme':'neutral'}}%%%% flowchart RL docker(("`Docker`")) -.-> docker/ContainerOperationsGroup(["`Container Operations`"]) docker(("`Docker`")) -.-> docker/ImageOperationsGroup(["`Image Operations`"]) docker(("`Docker`")) -.-> docker/DockerfileGroup(["`Dockerfile`"]) docker/ContainerOperationsGroup -.-> docker/run("`Run a Container`") docker/ImageOperationsGroup -.-> docker/images("`List Images`") docker/DockerfileGroup -.-> docker/build("`Build Image from Dockerfile`") subgraph Lab Skills docker/run -.-> lab-8193{{"`Docker Multi Stage Build`"}} docker/images -.-> lab-8193{{"`Docker Multi Stage Build`"}} docker/build -.-> lab-8193{{"`Docker Multi Stage Build`"}} end

Create a Dockerfile with Multi-stage Build

The first step in using Docker Multi-stage Build is to create a Dockerfile with multiple stages. To do this, follow these steps:

  1. Create a new directory called ~/project/myapp and navigate into it:
cd ~/project
mkdir myapp
cd myapp
  1. Download NodeJS source code
git clone https://github.com/joker-bai/nodejs-example.git .
  1. Create a new file called Dockerfile in the myapp directory:
touch Dockerfile
  1. Open the Dockerfile file in a text editor, and add the following content:
## Stage 1: Build the application
FROM node:14-alpine AS base
WORKDIR /app
COPY . ./
RUN npm install

## Stage 2: Create the final image
FROM node:14-alpine
WORKDIR /app
COPY --from=base /app/ .
EXPOSE 3000
CMD [ "npm", "start" ]

This Dockerfile uses two stages. The first stage builds the application by installing the required dependencies and running the build script, and the second stage creates the final image by copying the compiled code from the first stage, installing only the production dependencies, and exposing the necessary port.

Build a Docker Image

The next step is to use the Dockerfile to build a Docker image. To do this, follow these steps:

  1. Run the following command to build the Docker image:
docker build -t myapp .

This command builds a Docker image called myapp using the Dockerfile in the current directory (.).

  1. Run the following command to list all Docker images:
docker images

This command lists all Docker images on your host, including the myapp image you just built.

Run a Docker Container

The final step is to use the Docker image to run a Docker container. To do this, follow these steps:

  1. Run the following command to start a new Docker container:
docker run -p 3030:3000 myapp

This command starts a new Docker container using the myapp image you just built, and maps port 3000 on the container to port 3030 on the host.

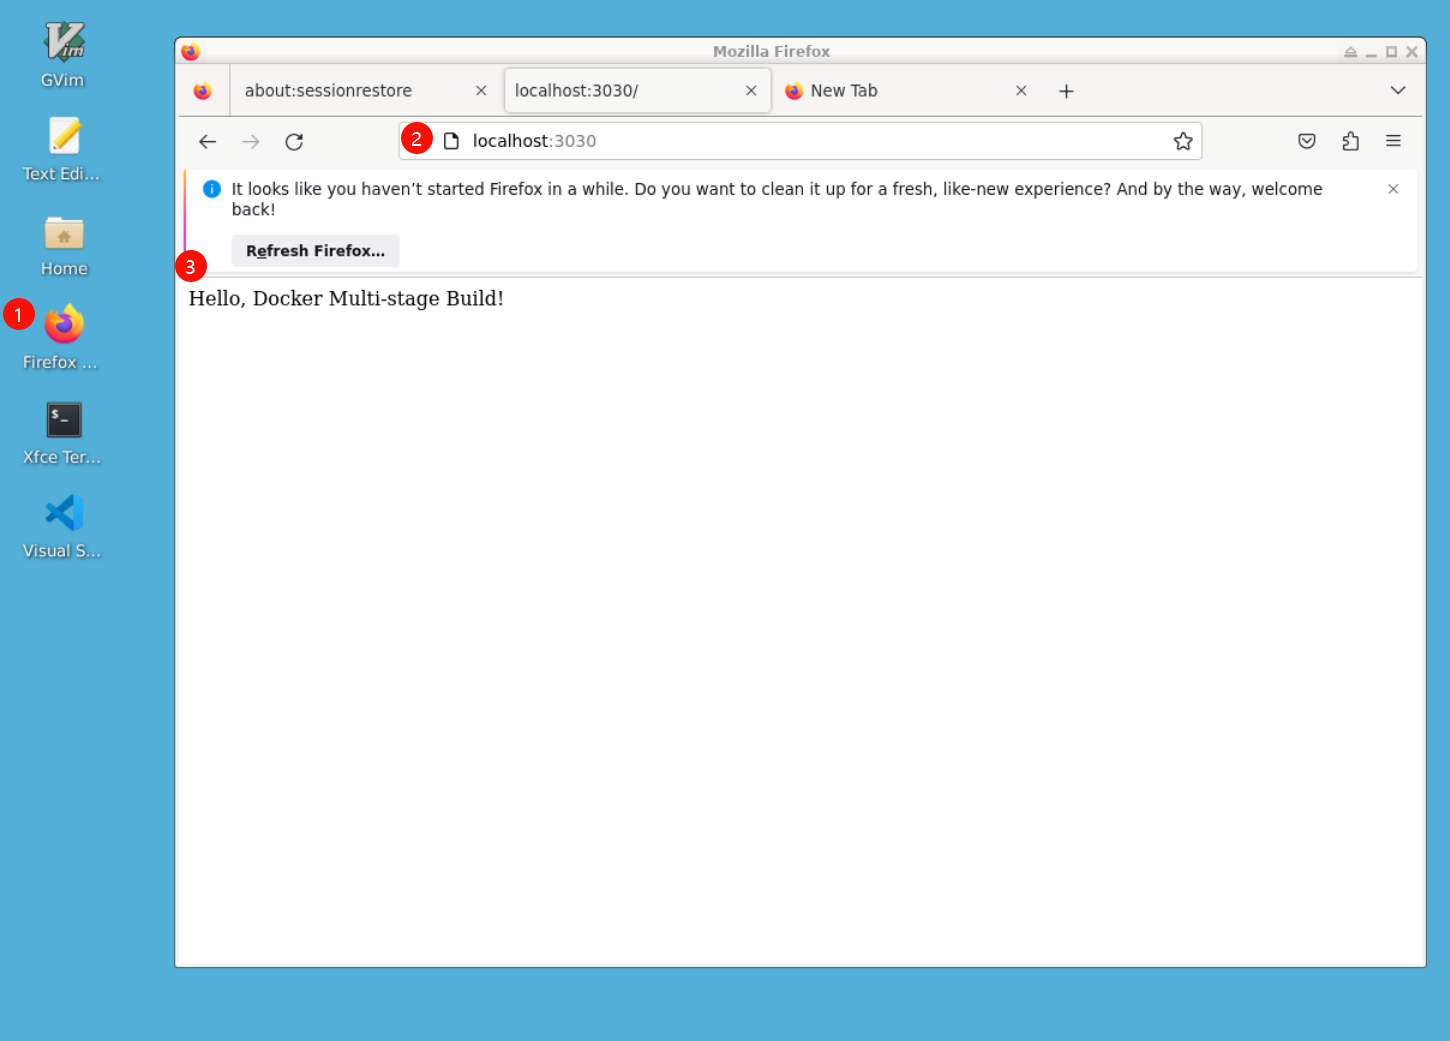
  1. Open a web browser and navigate to http://localhost:3030 to access the running application.
lab-docker-multi-stage-build-3-1

Summary

In this lab, you learned how to use Docker Multi-stage Build to create a smaller and more efficient Docker image. By using multiple stages in a Dockerfile, you can separate the build and runtime environments, and reduce the size of the final Docker image. With this knowledge, you can now start building your own Docker images using Multi-stage Build.

Other Docker Tutorials you may like