
Introduction
In this project, you will learn how to create a Linux system monitor using Python and the Tkinter library. The system monitor will display real-time information about the CPU, RAM, disk usage, and network statistics.
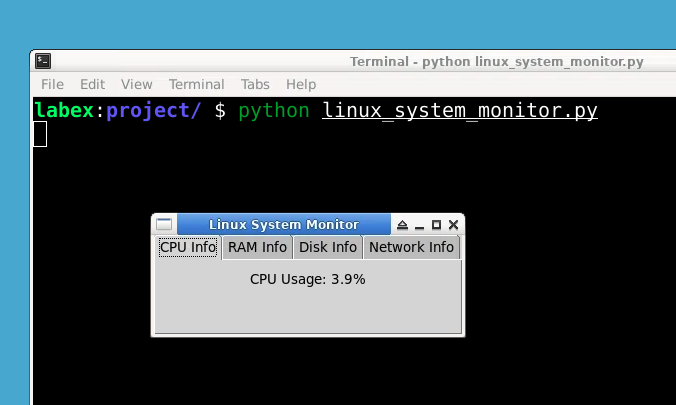
👀 Preview
🎯 Tasks
In this project, you will learn:
- How to create a graphical user interface (GUI) using Tkinter.
- How to use the
psutillibrary to get real-time system information. - How to display CPU usage, RAM usage, disk usage, and network statistics.
🏆 Achievements
After completing this project, you will be able to:
- Create a GUI in Python using Tkinter.
- Use the
psutillibrary to get system information. - Update labels with real-time data.
- Organize information using frames and notebook widgets.
Create the project files
Create a file named linux_system_monitor.py and open it in your text editor.
cd ~/project
touch linux_system_monitor.py
Create the GUI
Add the following code to create the graphical user interface (GUI) for the system monitor:
import tkinter as tk
from tkinter import ttk
import psutil

root = tk.Tk()
root.title('Linux System Monitor')
Install the psutil library using the following command:
sudo pip install psutil
Create Notebook widget to separate categories of information
Add the following code to create a notebook widget, which allows us to separate different categories of system information:
notebook = ttk.Notebook(root)
notebook.pack()
We will add frames to the notebook in the next step.
Create Frames
Add the following code to create frames for each category of system information:
cpu_frame = ttk.Frame(notebook, padding=10)
ram_frame = ttk.Frame(notebook, padding=10)
disk_frame = ttk.Frame(notebook, padding=10)
network_frame = ttk.Frame(notebook, padding=10)
In above code, we are creating four frames, one for each category of system information. The padding parameter adds a 10-pixel padding around each frame.
Add Frames to Notebook
Add the following code to add the frames to the notebook:
notebook.add(cpu_frame, text='CPU Info')
notebook.add(ram_frame, text='RAM Info')
notebook.add(disk_frame, text='Disk Info')
notebook.add(network_frame, text='Network Info')
We are adding the frames to the notebook using the add() method. The text parameter specifies the text that will be displayed on the tab for each frame.
Create Labels for the Frames
Add the following code to create labels for each frame:
cpu_percent_label = ttk.Label(cpu_frame)
cpu_percent_label.pack()

ram_percent_label = ttk.Label(ram_frame)
ram_percent_label.pack()

disk_percent_label = ttk.Label(disk_frame)
disk_percent_label.pack()

network_label = ttk.Label(network_frame)
network_label.pack()
Those labels will be populated with real-time system information in the next step.
Populate Labels with real-time information
Add the following code to update the labels with real-time system information:
def update_labels():
    cpu_percent = psutil.cpu_percent()
    cpu_percent_label.config(text=f'CPU Usage: {cpu_percent}%')

    ram_percent = psutil.virtual_memory().percent
    ram_percent_label.config(text=f'RAM Usage: {ram_percent}%')

    disk_percent = psutil.disk_usage('/').percent
    disk_percent_label.config(text=f'Disk Usage: {disk_percent}%')

    network_stats = psutil.net_io_counters()
    network_label.config(text=f'Network Stats:\nBytes Sent: {network_stats.bytes_sent}\nBytes Received: {network_stats.bytes_recv}')

    root.after(1000, update_labels)

update_labels()
The function update_labels() is called every second using the after() method. The after() method takes two parameters: the time in milliseconds and the function to call.
Run the project
To run the project, add the following code at the end of your file:
root.mainloop()
Finally, switch to Desktop and run the project using the following command:
python linux_system_monitor.py
Summary
In this project, you learned how to create a Linux system monitor using Python and the Tkinter library. The system monitor displays real-time information about the CPU, RAM, disk usage, and network statistics. By following the step-by-step instructions and executing the code, you successfully created a functional system monitor.


