Your First Git Lab

GitGitBeginner
Practice Now

Introduction

Welcome to your first exciting journey into the world of Git! If you've ever wished you could travel back in time to fix a mistake in your work, or if you've struggled to keep track of changes in your projects, you're in for a treat. Git is like a time machine for your code and documents, and by the end of this lab, you'll have the power to control it!

Don't worry if you've never heard of Git before - we'll start from the very beginning and guide you through each step. By the end of this lab, you'll understand how to create a Git repository, track changes, and make commits. These are the fundamental skills that developers worldwide use every day to create amazing software. Let's begin our adventure!


Skills Graph

%%%%{init: {'theme':'neutral'}}%%%% flowchart RL linux(("`Linux`")) -.-> linux/BasicFileOperationsGroup(["`Basic File Operations`"]) linux(("`Linux`")) -.-> linux/BasicSystemCommandsGroup(["`Basic System Commands`"]) git(("`Git`")) -.-> git/SetupandConfigGroup(["`Setup and Config`"]) git(("`Git`")) -.-> git/BranchManagementGroup(["`Branch Management`"]) git(("`Git`")) -.-> git/BasicOperationsGroup(["`Basic Operations`"]) linux/BasicFileOperationsGroup -.-> linux/cat("`File Concatenating`") linux/BasicSystemCommandsGroup -.-> linux/echo("`Text Display`") git/SetupandConfigGroup -.-> git/init("`Initialize Repo`") git/BranchManagementGroup -.-> git/log("`Show Commits`") git/BasicOperationsGroup -.-> git/add("`Stage Files`") git/BasicOperationsGroup -.-> git/status("`Check Status`") git/BasicOperationsGroup -.-> git/commit("`Create Commit`") subgraph Lab Skills linux/cat -.-> lab-92739{{"`Your First Git Lab`"}} linux/echo -.-> lab-92739{{"`Your First Git Lab`"}} git/init -.-> lab-92739{{"`Your First Git Lab`"}} git/log -.-> lab-92739{{"`Your First Git Lab`"}} git/add -.-> lab-92739{{"`Your First Git Lab`"}} git/status -.-> lab-92739{{"`Your First Git Lab`"}} git/commit -.-> lab-92739{{"`Your First Git Lab`"}} end

Creating Your Secret Lab

Before we dive into Git, let's set up a workspace. Think of this as creating a secret lab where all your experiments will take place.

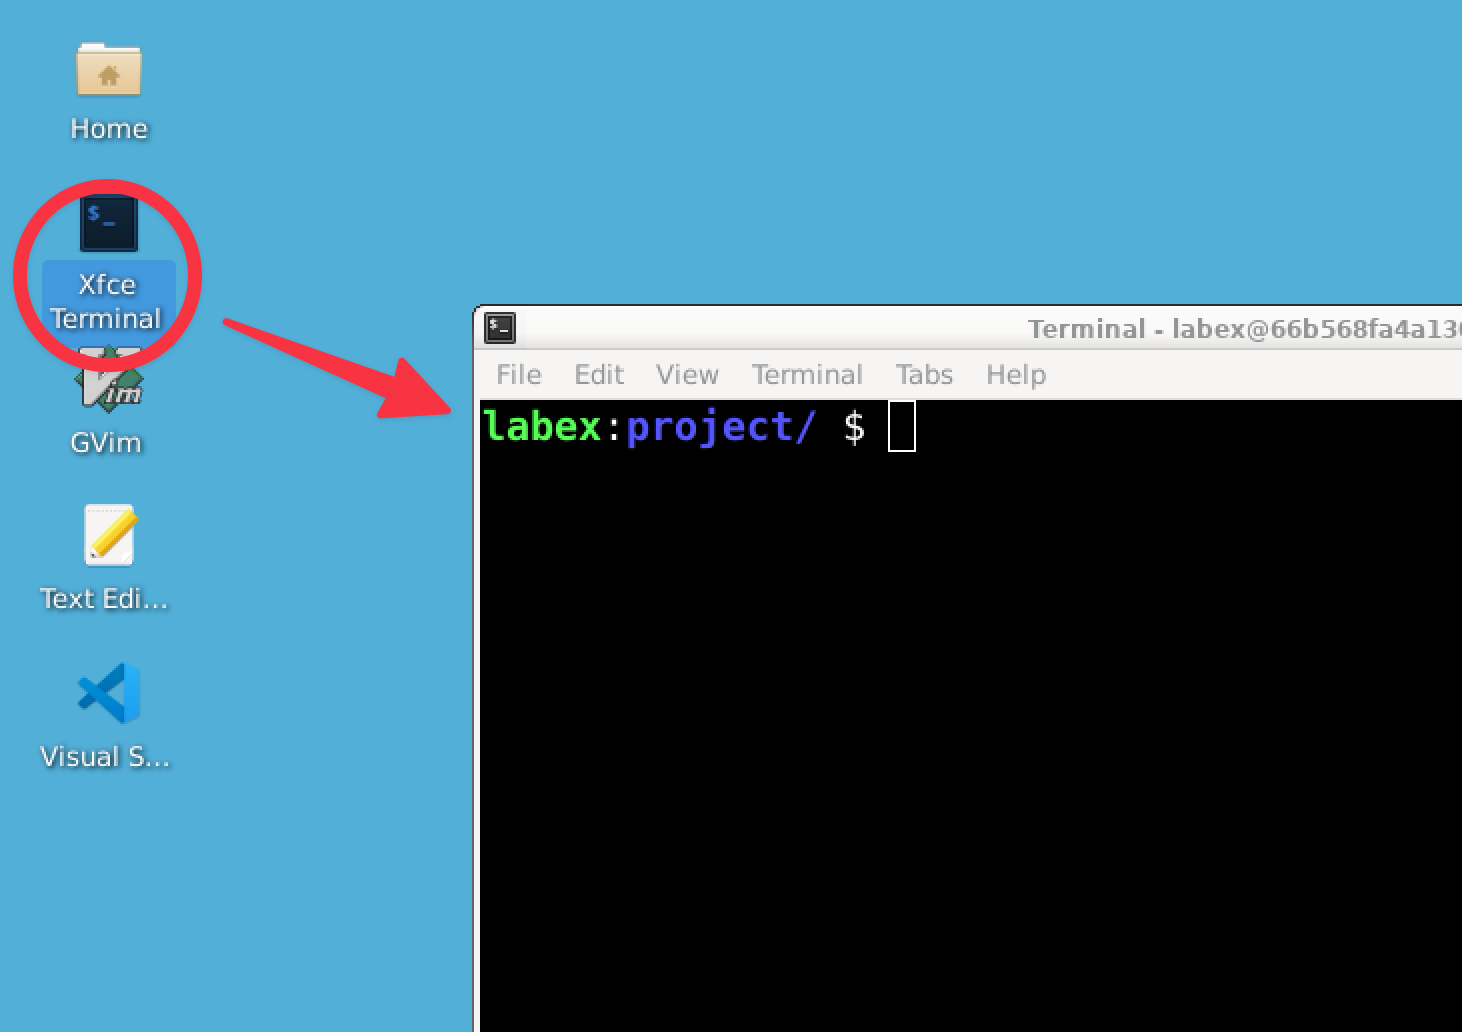
Open your terminal

Open your terminal (don't worry, it's not as scary as it looks!) and type these magic words:

cd ~/project
mkdir my-time-machine
cd my-time-machine

Here's what each of these spells does:

  1. cd ~/project: This teleports you to your project folder.
  2. mkdir my-time-machine: This creates a new folder called "my-time-machine".
  3. cd my-time-machine: This moves you into your new secret lab.

Congratulations! You've just created a space for your first Git project. But why do we need this special folder? Well, in the world of coding, keeping your work organized is crucial. As your projects grow, you'll appreciate having a dedicated space for each one.

Initializing Your Time Machine (Git Repository)

Now that we have our secret lab, it's time to build our time machine! In the world of coding, we call this time machine a "Git repository".

Type this command in your terminal:

git init

You should see a message like this:

Initialized empty Git repository in /home/labex/project/my-time-machine/.git/

Wow! You've just created your very own time machine! But why do we need a time machine for our code?

Imagine you're writing a story. You might want to try different endings, or you might accidentally delete a paragraph you really liked. Without Git, you'd have to manually save different versions of your story, ending up with files like "story_final.txt", "story_final_v2.txt", "story_final_REALLY_FINAL.txt". Sounds familiar?

Git solves this problem. It allows you to save different versions of your work without creating multiple files. You can easily go back in time to any previous version, or create alternate timelines (we call them "branches") to experiment with different ideas. This is why developers love Git - it gives them the freedom to experiment without the fear of losing their work.

Checking the Status of Your Time Machine

Now that we have our time machine, let's see what it can tell us. In Git, we do this with the git status command. It's like asking your time machine, "What's going on right now?"

Try it out:

git status

You should see something like this:

On branch master

No commits yet

nothing to commit (create/copy files and use "git add" to track)

This might look a bit confusing, but let's break it down:

  • "On branch master": Think of a branch like a timeline. "master" is the main timeline of your project.
  • "No commits yet": A commit is like a save point in a video game. We haven't made any save points yet.
  • "nothing to commit": There are no changes for Git to record because we haven't created any files yet.

You might be wondering, "Why do we need all this just to save files?" Great question! Unlike regular saving, Git allows you to save multiple versions of your project over time. This means you can experiment freely, knowing you can always go back to a previous version if something goes wrong. It's like having unlimited "undo" for your entire project!

Creating Your First File

Now, let's create something for our time machine to track. We'll start with a simple message in a file:

echo "Hello, Future Me" > message.txt

This command creates a new file called message.txt with the text "Hello, Future Me" inside.

Let's check what we've written:

cat message.txt

You should see:

Hello, Future Me!

Great! We've created our first file. But here's where the magic of Git comes in. Right now, this file exists on your computer, but Git isn't tracking it yet. It's like we've written a note, but haven't put it into our time capsule (Git repository) yet.

In the next steps, we'll see how Git reacts to this new file and how we can start tracking changes to it. This is where Git starts to shine compared to just saving files normally. With Git, you'll be able to see exactly what changed, when it changed, and why it changed. Imagine how helpful that would be when working on a big project!

Checking the Status Again

Now that we've created a file, let's ask our time machine what it sees. Run the git status command again:

git status

This time, you should see something different:

On branch master

No commits yet

Untracked files:
  (use "git add <file>..." to include in what will be committed)
        message.txt

nothing added to commit but untracked files present (use "git add" to track)

Exciting! Git has noticed our new file, but it's telling us it's "untracked". This is one of the cool things about Git - it doesn't automatically track every file in your folder. This gives you control over what changes you want to include in your project history.

You might be thinking, "Why not just track everything automatically?" Well, imagine you're working on a big project. You might have some files you don't want to track - like personal notes or temporary files. Git lets you choose what's important to track, keeping your project history clean and meaningful.

In the next step, we'll tell Git that we want to track this file. This is where Git starts to feel like a superpower - you're about to create your first save point in time!

Preparing Your First Save Point

Now, we're going to tell Git that we want to include message.txt in our next save point (or "commit" in Git terms). We do this with the git add command:

git add message.txt

This command doesn't produce any output, but it has told Git to start tracking message.txt.

Let's check the status again to see what changed:

git status

Now you should see:

On branch master

No commits yet

Changes to be committed:
  (use "git rm --cached <file>..." to unstage)
        new file:   message.txt

Look at that! Git is now tracking our file and it's ready to be committed. This two-step process of adding then committing might seem a bit complicated at first, but it's actually one of Git's superpowers.

Imagine you're preparing a time capsule. The git add command is like deciding what you want to put in the capsule, and the commit (which we'll do next) is like actually sealing the capsule. This lets you carefully choose what goes into each save point in your project history.

This feature is incredibly useful when you're working on bigger projects. You might change ten files, but only want to commit changes from three of them. Git's staging area (where message.txt is now) lets you do exactly that!

Creating Your First Save Point (Commit)

Now for the exciting part - we're going to create our first commit! A commit is like sealing a time capsule. It saves the current state of all tracked files and adds a message describing what changed.

Here's the command to create a commit:

git commit -m "Send a message to the future"

You should see output similar to this:

[master (root-commit) a1b2c3d] Send a message to the future
 1 file changed, 1 insertion(+)
 create mode 100644 message.txt

Congratulations! You've just created your first Git commit. You've officially saved a point in time in your project that you can always return to.

This is why Git is so powerful. Each commit is a snapshot of your entire project at that moment. You can create as many of these snapshots as you want, giving you a detailed history of your project.

Imagine you're working on a school essay. With regular saving, you just have the latest version. But with Git, you can have save points for "First draft", "Added conclusion", "Fixed introduction", and so on. You can even go back to any of these points if you need to!

Viewing Your Time Travel Log

Now that we've made our first commit, let's view our project's history. We can do this with the git log command:

git log

You should see something like this:

commit a1b2c3d4e5f6g7h8i9j0k1l2m3n4o5p6q7r8s9 (HEAD -> master)
Author: Your Name <[email protected]>
Date:   Mon Aug 7 10:00:00 2023 +0000

    Send a message to the future

This log entry shows us several pieces of information:

  • A unique identifier for the commit (that long string of letters and numbers)
  • Who made the commit
  • When the commit was made
  • The commit message we wrote

This log is like your project's timeline. As you make more commits, they'll be added to this log, creating a complete history of your project. This is incredibly useful when you're trying to understand how your project has evolved over time, or when you need to find when a particular change was made.

Press q to exit the log and return to the command line. Remember, you can always press q to exit any full-screen view in Git.

Imagine you're collaborating on a group project. With Git, you can see who made each change and why, making it much easier to coordinate with your team. This is one of the reasons why Git is used by developers all over the world - it makes collaboration much easier!

Summary

Congratulations, time traveler! You've just completed your first Git adventure. Let's recap the amazing things you've learned:

  1. How to create a Git repository (your time machine) using git init
  2. How to check the status of your repository with git status
  3. How to create files and prepare them for commit using git add
  4. How to create a commit (a save point in time) with git commit
  5. How to view your project's history using git log

You might be wondering, "Why go through all this trouble just to save files?" Great question! Here's why Git is so powerful:

  1. Detailed History: With Git, you have a complete history of your project. You can see what changed, when it changed, and why it changed.
  2. Experimentation: Git allows you to experiment freely. You can create different versions of your project without fear of losing your original work.
  3. Collaboration: When working in a team, Git makes it easy to see who made what changes and why.
  4. Backup: Every Git repository is a full backup of your project, including its entire history.

These are the fundamental building blocks that developers use every day to create amazing software. As you continue your journey, you'll build on these basics to manage more complex projects and collaborate with others.

Remember, everyone starts as a beginner. Even the most experienced developers were once where you are now. Keep practicing, keep experimenting, and most importantly, have fun with it!

If you want to learn more about LabEx and how to use it, you can visit our Support Center. Or you can watch the video to learn more about LabEx.

Your journey into the world of programming and version control has just begun. The Next Lab is just one click away. Let's keep exploring and growing your skills! Who knows what amazing projects you'll create with your new Git superpowers?

Other Git Tutorials you may like