
Introduction
Welcome to LabEx! This is your first MongoDB lab. Don't worry if you've never used a database before - we'll guide you through every step.
First, let's understand what MongoDB is: MongoDB is a database system that stores data in a flexible, document format. Unlike traditional spreadsheets, MongoDB allows you to organize data in a more natural way, similar to how you might organize files in folders on your computer.
In this lab, you'll learn how to:
- Start the MongoDB shell and understand what it is
- Create your first database and collection
- Add and view data in MongoDB
- Count and remove data
These skills will form the foundation of your MongoDB journey. Let's get started!
Click the Continue button below to begin the lab.
Start the MongoDB Shell
Before we start MongoDB, we first need to open a terminal in your LabEx VM. You have two ways to do this:
Terminal Interface: We recommend the terminal interface for its speed and ease of use. This is the default interface for MongoDB-related labs.
Desktop Interface: If you prefer a more traditional terminal experience, you can use the desktop interface. Look at the left side of your desktop and click the icon labeled Xfce Terminal.
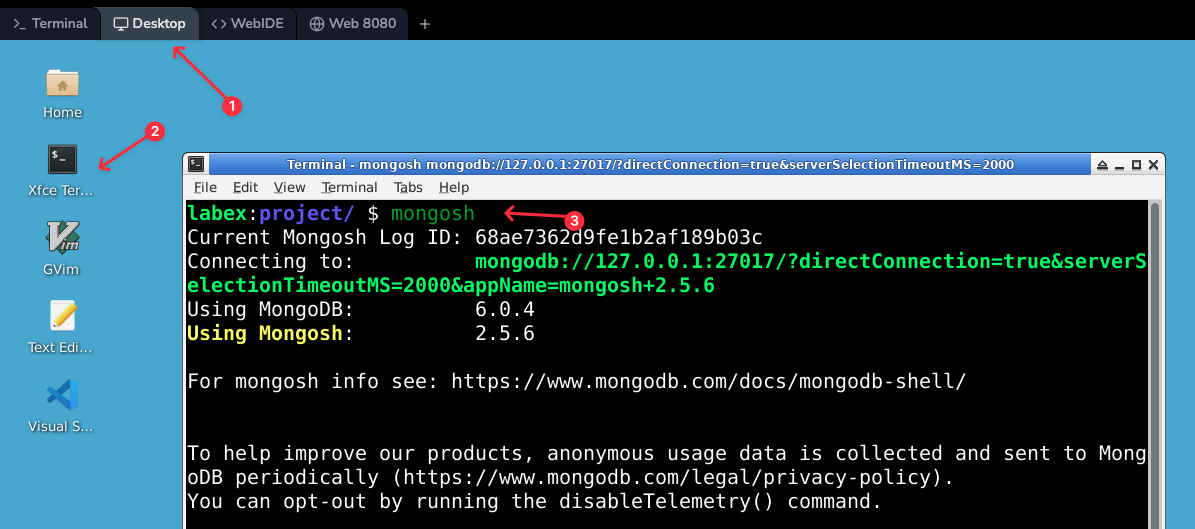
Both methods work equally well - they're just different ways to access the same lab environment. Choose whichever you prefer!
Now, let's start the MongoDB shell, which is like a control panel for our database. Think of the shell as a way to talk directly to MongoDB - you type commands, and MongoDB responds.
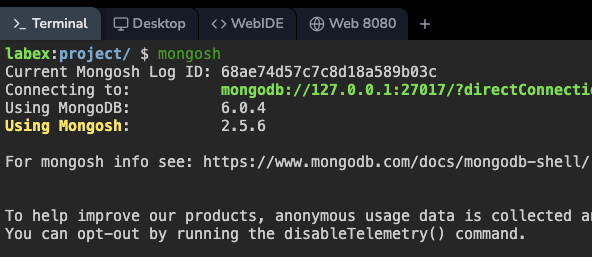
To start the MongoDB Shell, type the following command in your terminal and press Enter:
mongosh
You will see a connection message, indicating that you have successfully connected to the local MongoDB instance. The output will look similar to this:
Current Mongosh Log ID: 65a7f3e5f1a1234567890abc
Connecting to:          mongodb://127.0.0.1:27017/?directConnection=true&serverSelectionTimeoutMS=2000&appName=mongosh+x.y.z
Using MongoDB:          X.X.X
Using Mongosh:          X.X.X

For mongosh info, see: https://docs.mongodb.com/mongodb-shell/

test>
The test> prompt indicates you are now inside the mongosh shell and connected to the default test database.
Let's list all the existing databases on the server. Type the following command into the mongosh shell:
show dbs
You will see a list of default databases that MongoDB uses for internal purposes:
admin     40.00 KiB
config   112.00 KiB
local     40.00 KiB
In the next step, you will create your own database.
Create a Database and Insert a Document
In MongoDB, you don't need to explicitly create a database. It is created automatically when you first store data in it. To switch to a new database, use the use command.
Let's switch to a database named mylab_database. In the mongosh shell, type:
use mylab_database
The shell will respond with switched to db mylab_database. Even though the database is not yet created, you are now working in its context.
Data in MongoDB is stored in collections, which are groups of documents. A document is a set of key-value pairs. Let's create a users collection by inserting our first document.
Use the insertOne() method to add a single document to the users collection:
db.users.insertOne({ name: "JohnDoe", age: 30, city: "NewYork" })
Let's break down this command:
db: Represents the current database (mylab_database).users: The name of the collection. It will be created automatically.insertOne(): The method to insert one document.{...}: The document itself, containing fields likename,age, andcity.
MongoDB will confirm the insertion and return the unique _id it generated for the document:
{
  acknowledged: true,
  insertedId: ObjectId("...")
}
The ObjectId is a unique identifier automatically assigned to every document.
Now, let's verify that the document was added. Use the find() method to view all documents in the users collection:
db.users.find()
The output will display the document you just inserted:
[
  {
    _id: ObjectId("..."),
    name: 'JohnDoe',
    age: 30,
    city: 'NewYork'
  }
]
Insert Multiple Documents
Often, you will need to add multiple documents at once. The insertMany() method is perfect for this. It takes an array of documents as its argument.
Let's create a new books collection and add three books to it with a single command.
db.books.insertMany([
    { title: "MongoDBBasics", author: "JaneSmith", year: 2023 },
    { title: "PythonProgramming", author: "JohnDoe", year: 2022 },
    { title: "DataScienceHandbook", author: "AliceJohnson", year: 2021 }
])
Notice the square brackets [ ], which define an array. Each object {...} inside the array is a separate document.
MongoDB will confirm the operation and return the _id values for all inserted documents:
{
  acknowledged: true,
  insertedIds: {
    '0': ObjectId("..."),
    '1': ObjectId("..."),
    '2': ObjectId("...")
  }
}
To see all the documents in your new books collection, use the find() method again:
db.books.find()
The output will list all three book documents you just added.
Query and Count Documents
Now that you have data, let's learn how to retrieve and count it.
To count the total number of documents in a collection, use the countDocuments() method. Let's count the books in our books collection:
db.books.countDocuments()
The command will return the total count:
3
To find specific documents, you pass a query filter to the find() method. A query filter is a document that specifies the conditions for the search.
For example, to find all books written by "JohnDoe", use the following query:
db.books.find({ author: "JohnDoe" })
The filter { author: "JohnDoe" } tells MongoDB to return only the documents where the author field has the value "JohnDoe".
You can also query based on numerical values. Let's find all books published in the year 2023:
db.books.find({ year: 2023 })
This will return the "MongoDBBasics" book. The find() method is a powerful tool for retrieving the exact data you need.
Remove Documents
Finally, let's learn how to remove documents from a collection.
To remove a single document that matches a specific condition, use the deleteOne() method. Let's remove the book titled "MongoDBBasics":
db.books.deleteOne({ title: "MongoDBBasics" })
The shell will confirm that one document was deleted:
{ acknowledged: true, deletedCount: 1 }
To remove multiple documents that match a condition, use deleteMany(). This method supports query operators to create more complex conditions. For example, $lt stands for "less than".
Let's remove all books published before the year 2022:
db.books.deleteMany({ year: { $lt: 2022 } })
This command deletes all documents where the year field is less than 2022. In our case, it will remove the "DataScienceHandbook".
To see which books remain, run the find() command one last time:
db.books.find()
Only the "PythonProgramming" book should be left in the collection.
You have now practiced the basic CRUD (Create, Read, Update, Delete) operations in MongoDB. To exit the mongosh shell, type:
exit
Summary
Congratulations on completing your first MongoDB lab! You have successfully learned and practiced the core operations for managing data in a MongoDB database.
In this lab, you have learned how to:
- Start the
mongoshshell to interact with a MongoDB server. - Use the
usecommand to switch to a database. - Insert single and multiple documents using
insertOne()andinsertMany(). - Retrieve documents using
find()with and without query filters. - Count documents in a collection with
countDocuments(). - Remove documents using
deleteOne()anddeleteMany().
These fundamental skills are the building blocks for developing powerful applications with MongoDB. Practice is key, so feel free to experiment further with the commands you've learned.
