
Introduction
Welcome to your first Kubernetes lab! This lab will introduce you to Kubernetes, a powerful system for managing containerized applications. By the end of this lab, you'll have created and interacted with your first Kubernetes deployment.
Don't worry if you're new to containers or orchestration - we'll explain each concept as we go along. Let's begin our journey into the world of Kubernetes!
Note: This lab requires pulling images, but Free users cannot access the internet from the lab environment. This lab is exclusive to Pro users.
Starting Your Kubernetes Cluster
We'll start by creating a local Kubernetes cluster using Minikube. Minikube allows you to run a single-node Kubernetes cluster on your computer, perfect for learning and development.
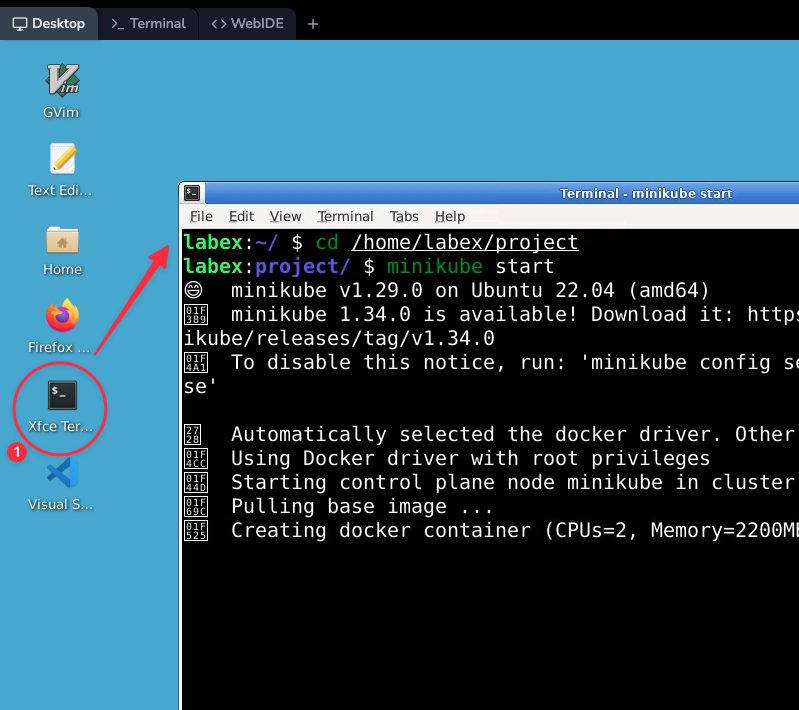
First, open your terminal. You should be in the /home/labex/project directory. If you're not sure, you can change to this directory by typing:
cd /home/labex/project
Now, let's start the Minikube cluster:
Note: Free users can't connect to the internet, so minikube is already pre-started when you start the lab. You can skip this step. Upgrade to a pro user to practice starting the cluster by yourself.
Pro Users Only
minikube start
This command initializes a Kubernetes cluster on your local machine. Here's what's happening behind the scenes:
- Minikube creates a virtual machine (VM) on your computer.
- It installs and configures Kubernetes inside this VM.
- It sets up networking so your computer can communicate with the cluster.
This process might take a few minutes. You'll see a lot of output as Minikube works. Don't worry if you don't understand all of it - the key is to wait for a message saying "Done!" at the end.
Creating Your First Deployment
Now that our cluster is running, let's create our first Kubernetes deployment. A deployment is a Kubernetes object that manages a group of identical pods. (Don't worry, we'll explain what pods are soon!)
We'll create a deployment that runs a single NGINX web server container. NGINX is a popular web server that we'll use for this example.
Run this command:
kubectl create deployment hello-kubernetes --image=nginx:latest --port=80
Let's break this down:
kubectlis the command-line tool for interacting with Kubernetes.create deploymenttells Kubernetes to create a new deployment.hello-kubernetesis the name we're giving to our deployment.--image=nginx:latestspecifies that we want to use the latest version of the NGINX Docker image.--port=80tells Kubernetes that the container will listen on port 80 (the standard port for web traffic).
After running this command, you should see:
deployment.apps/hello-kubernetes created
This means Kubernetes has successfully created your deployment. But what exactly did it do?
- Kubernetes downloaded the NGINX Docker image.
- It created a pod - a group of one or more containers - and started the NGINX container inside it.
- It set up networking so that the pod can be accessed on port 80.
Inspecting Your Deployment
Now that we've created a deployment, let's take a closer look at what Kubernetes has set up for us.
First, check the status of our deployment:
kubectl get deployments
You should see something like this:
NAME               READY   UP-TO-DATE   AVAILABLE   AGE
hello-kubernetes   1/1     1            1           2m
This output tells us:
READY: 1/1 means one pod is ready out of one desired pod.UP-TO-DATE: 1 means one pod is running the latest configuration.AVAILABLE: 1 means one pod is available to serve traffic.
Next, let's look at the pods that our deployment has created:
kubectl get pods
You should see something like:
NAME                                READY   STATUS    RESTARTS   AGE
hello-kubernetes-6b89d599b9-x7tpv   1/1     Running   0          3m
The exact pod name will be different, but you should see one pod with a status of "Running". This pod contains our NGINX container.
If you don't see a running pod, wait a minute and try again. Kubernetes might still be creating the pod or downloading the NGINX image.
To get more detailed information about our pod, run:
kubectl describe pod hello-kubernetes-6b89d599b9-x7tpv
Note: Replace
hello-kubernetes-6b89d599b9-x7tpvwith the name of your pod as shown in the output ofkubectl get pods.
This command will output a lot of information. Don't worry about understanding all of it now. Key things to notice:
Status: Should be "Running"IP: The pod's internal IP addressContainers: Information about the NGINX container running in the pod
If you see any errors in this output, they can help diagnose issues with your pod.
Accessing Your Application
Now that our deployment is running, let's access the NGINX web server we've deployed.
In a typical Kubernetes environment, we'd create a Service to expose our deployment to the network. For simplicity in this local environment, we'll use port forwarding instead.
Run this command:
kubectl port-forward $(kubectl get pods -o name) 8080:80
This command does the following:
$(kubectl get pods -o name)gets the name of our pod.8080:80tells Kubernetes to forward traffic from port 8080 on your local machine to port 80 in the pod.
You won't see any output, but the command will keep running. This is normal!
Now, open a new terminal window and run:
curl http://localhost:8080
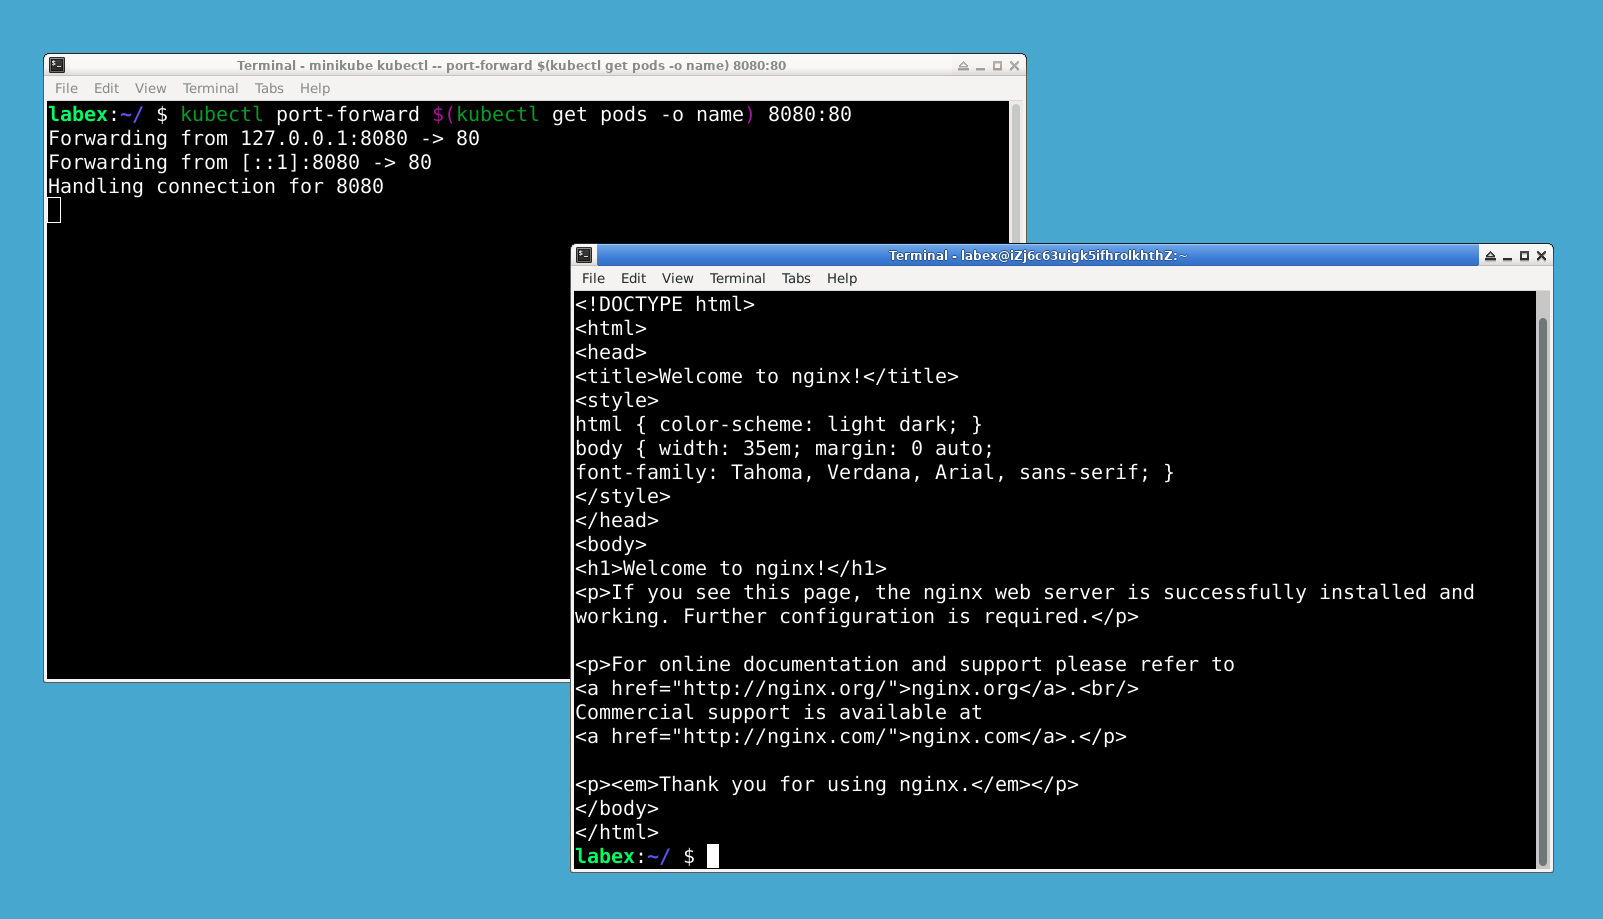
You should see HTML content - this is the NGINX welcome page!
If you don't see the HTML:
- Make sure the port-forward command is still running in the other terminal.
- Check that you typed the curl command correctly.
- Try accessing http://localhost:8080 in a web browser if curl doesn't work.
To stop the port forwarding, go back to the original terminal window and press Ctrl+C.
Cleaning Up
Great job! You've successfully deployed and accessed an application on Kubernetes. Now, let's clean up our resources.
First, delete our deployment:
kubectl delete deployment hello-kubernetes
You should see:
deployment.apps "hello-kubernetes" deleted
This command tells Kubernetes to remove the deployment and all associated resources, including the pod.
Verify that the deployment and pod are gone:
kubectl get deployments
kubectl get pods
Both commands should return "No resources found in default namespace."
If you still see resources, wait a moment and try again. Kubernetes might still be in the process of removing them.
Finally, stop the Minikube cluster:
minikube stop
This stops the Minikube virtual machine but preserves the cluster's state on your machine. You can start it again later with minikube start.
If you want to completely remove the Minikube cluster, you can run minikube delete. However, this isn't necessary for now.
Summary
Congratulations! In this lab, you've taken your first steps with Kubernetes. You've learned how to:
- Start a local Kubernetes cluster using Minikube
- Create a deployment using kubectl
- Inspect your deployment and the pods it creates
- Access your deployed application using port forwarding
- Clean up your resources and stop your cluster
These are fundamental skills that form the basis of working with Kubernetes. As you continue learning, you'll build on these basics to create more complex applications and understand more advanced Kubernetes concepts.
Remember, Kubernetes is a powerful and complex system. It's normal if some concepts are still unclear - learning Kubernetes is a journey. Keep practicing, and you'll gradually build a deeper understanding. Good luck with your Kubernetes learning adventure!

