Building a Voting Application

JavaScriptJavaScriptIntermediate
Practice Now

Introduction

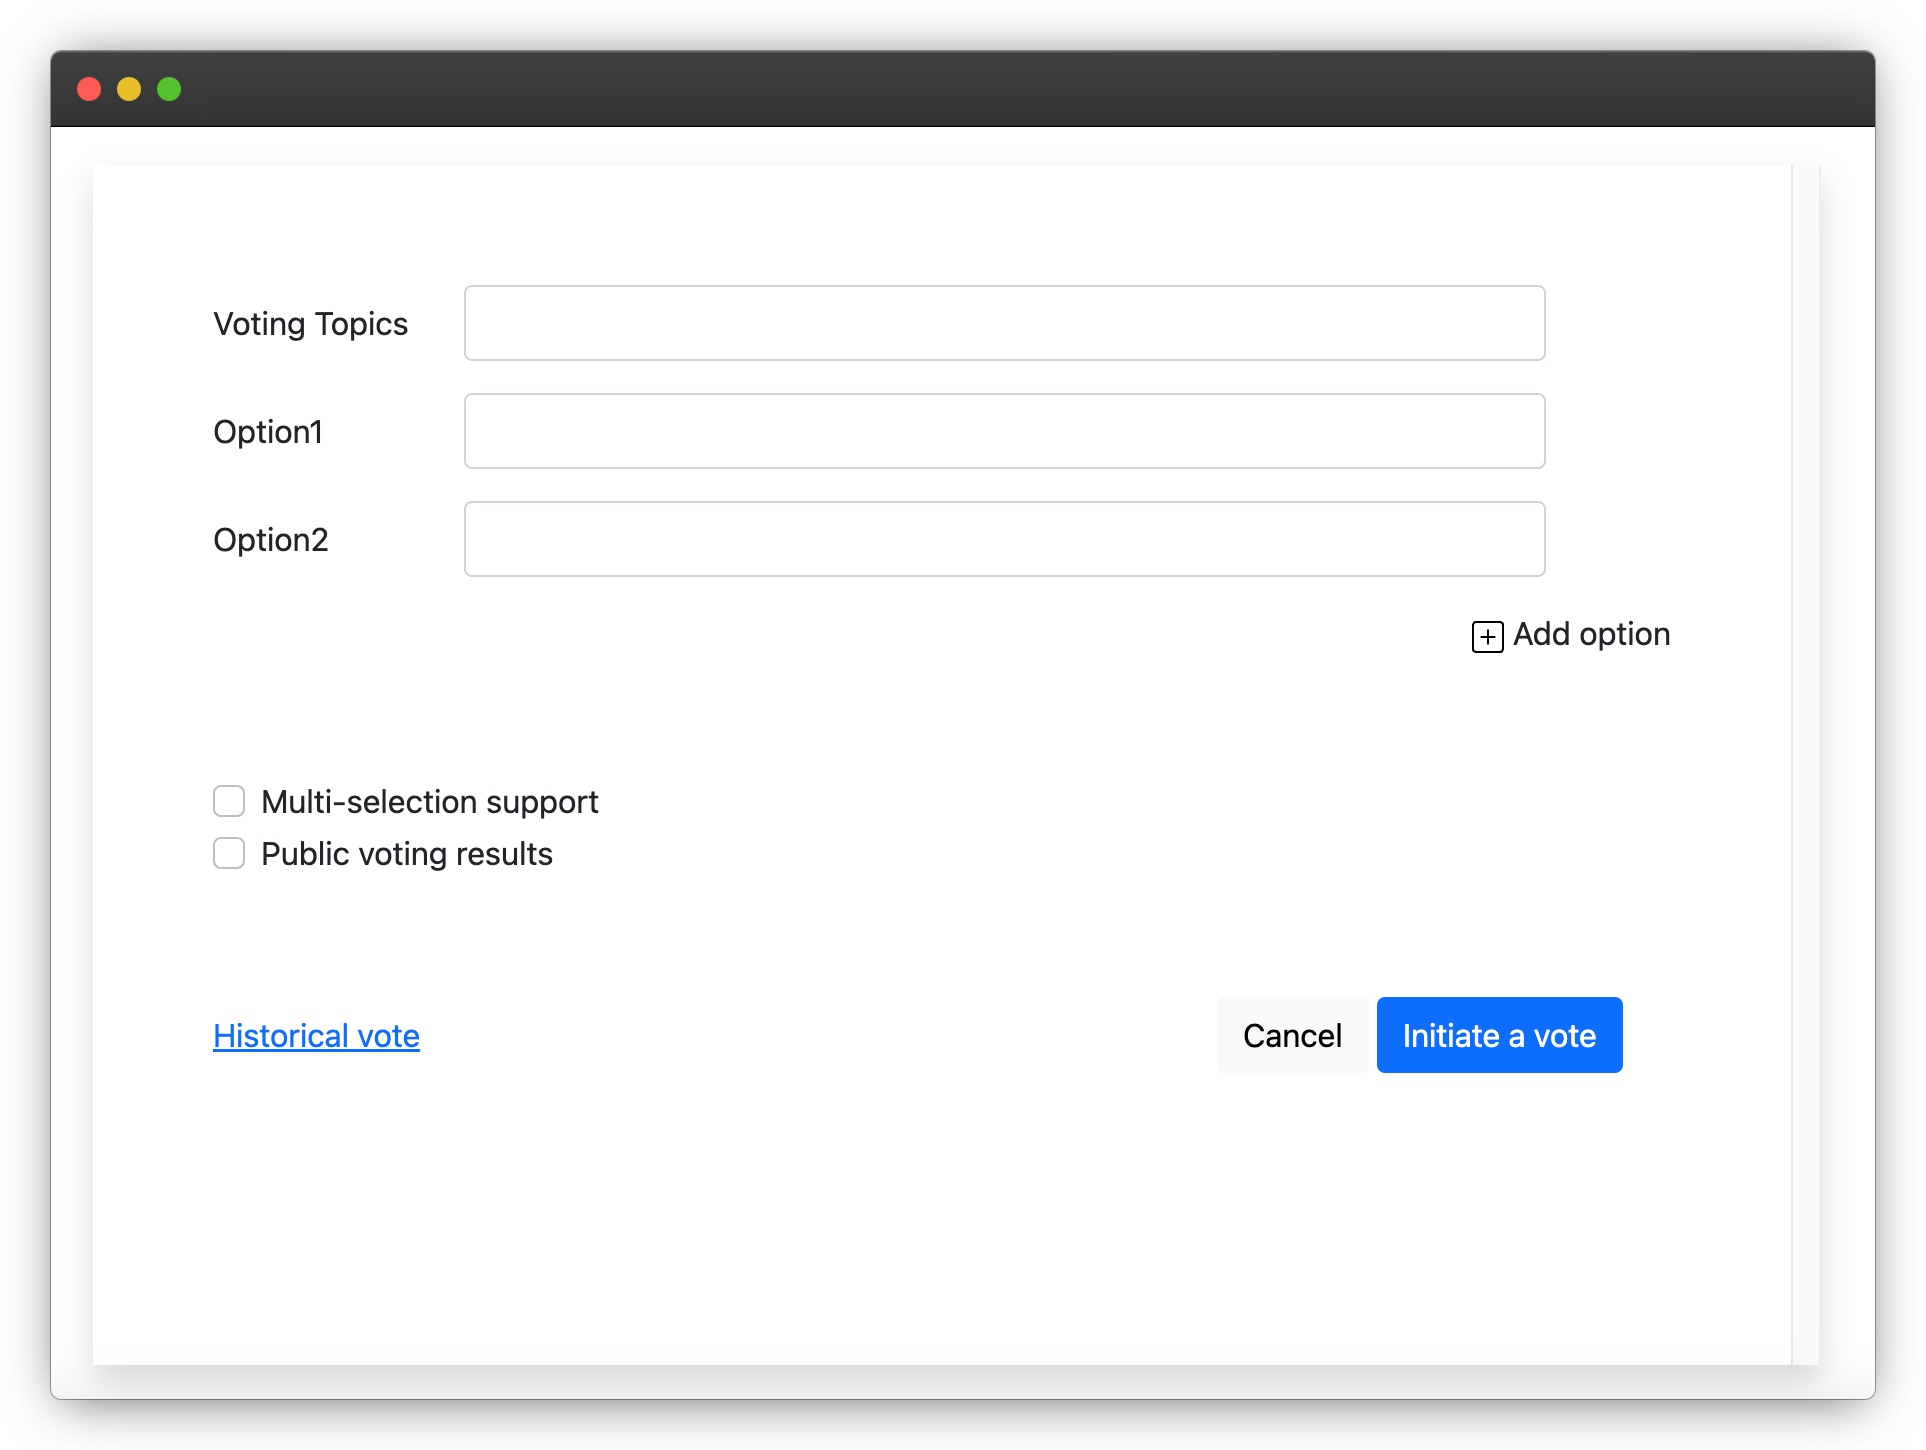
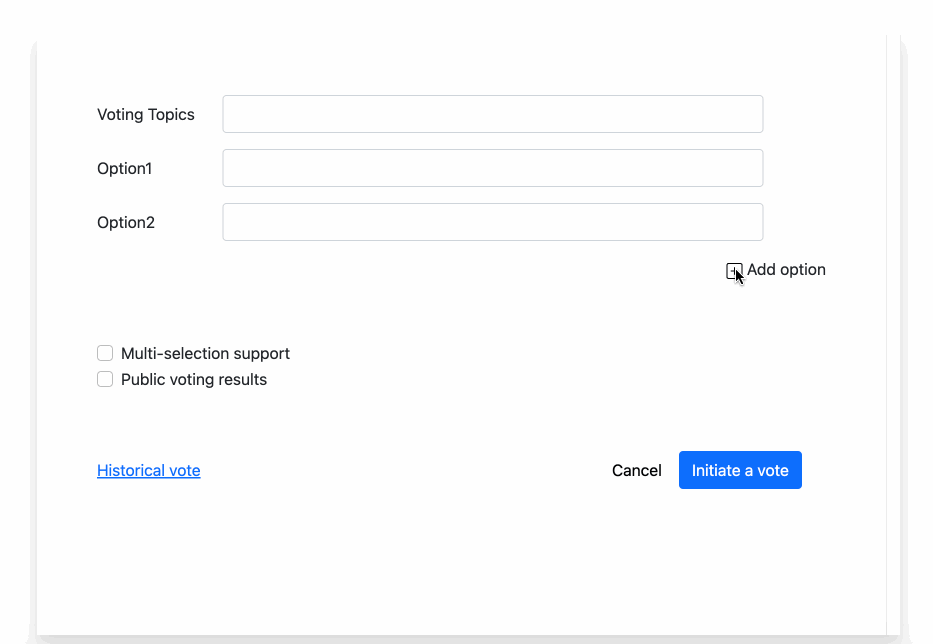
In this project, you will learn how to build a voting application that allows users to create and manage voting options, as well as delete options if needed. The application also includes features for multi-selection support and public voting results.

👀 Preview

finished

🎯 Tasks

In this project, you will learn:

  • How to initialize the HTML structure for the voting application
  • How to implement the functionality to add new voting options
  • How to implement the functionality to delete voting options
  • How to test the application to ensure the functionality works as expected

🏆 Achievements

After completing this project, you will be able to:

  • Set up the basic HTML structure for a voting application
  • Use JavaScript to dynamically add and remove voting options from the application
  • Handle user interactions, such as clicking the "Add option" button and the delete icon
  • Test the application to ensure it meets the requirements
  • Build interactive web applications using HTML, CSS, and JavaScript

Skills Graph

%%%%{init: {'theme':'neutral'}}%%%% flowchart RL javascript(("`JavaScript`")) -.-> javascript/BasicConceptsGroup(["`Basic Concepts`"]) javascript(("`JavaScript`")) -.-> javascript/AdvancedConceptsGroup(["`Advanced Concepts`"]) javascript(("`JavaScript`")) -.-> javascript/ToolsandEnvironmentGroup(["`Tools and Environment`"]) jquery(("`jQuery`")) -.-> jquery/EventHandlingGroup(["`Event Handling`"]) jquery(("`jQuery`")) -.-> jquery/DOMManipulationGroup(["`DOM Manipulation`"]) javascript/BasicConceptsGroup -.-> javascript/variables("`Variables`") javascript/BasicConceptsGroup -.-> javascript/data_types("`Data Types`") javascript/BasicConceptsGroup -.-> javascript/arith_ops("`Arithmetic Operators`") javascript/BasicConceptsGroup -.-> javascript/comp_ops("`Comparison Operators`") javascript/BasicConceptsGroup -.-> javascript/cond_stmts("`Conditional Statements`") javascript/BasicConceptsGroup -.-> javascript/loops("`Loops`") javascript/BasicConceptsGroup -.-> javascript/functions("`Functions`") javascript/AdvancedConceptsGroup -.-> javascript/closures("`Closures`") javascript/AdvancedConceptsGroup -.-> javascript/template_lit("`Template Literals`") javascript/ToolsandEnvironmentGroup -.-> javascript/bom("`Browser Object Model`") jquery/EventHandlingGroup -.-> jquery/event_methods("`Event Methods`") jquery/DOMManipulationGroup -.-> jquery/element_management("`Element Creation and Removal`") subgraph Lab Skills javascript/variables -.-> lab-300304{{"`Building a Voting Application`"}} javascript/data_types -.-> lab-300304{{"`Building a Voting Application`"}} javascript/arith_ops -.-> lab-300304{{"`Building a Voting Application`"}} javascript/comp_ops -.-> lab-300304{{"`Building a Voting Application`"}} javascript/cond_stmts -.-> lab-300304{{"`Building a Voting Application`"}} javascript/loops -.-> lab-300304{{"`Building a Voting Application`"}} javascript/functions -.-> lab-300304{{"`Building a Voting Application`"}} javascript/closures -.-> lab-300304{{"`Building a Voting Application`"}} javascript/template_lit -.-> lab-300304{{"`Building a Voting Application`"}} javascript/bom -.-> lab-300304{{"`Building a Voting Application`"}} jquery/event_methods -.-> lab-300304{{"`Building a Voting Application`"}} jquery/element_management -.-> lab-300304{{"`Building a Voting Application`"}} end

Set Up the Project Structure

In this step, you will set up the project files and structure. Follow the steps below to complete this step:

Open the project folder. The directory structure is as follows:

├── css
|   ├── style.css
|   └── bootstrap.min.css
├── images
|   ├── x.svg
|   └── plus-square.svg
├── js
│   └── jquery.min.js
└── index.html

Click on Go Live button in the bottom right corner of WebIDE, to run the project.

Next, open "Web 8080" on the top of the VM and manually refresh it to see the page.

unfinished

Implement the Add Option Functionality

In this step, you will implement the functionality to add new voting options to the application.

  1. In the index.html file, locate the <script> section at the bottom of the file.
  2. Inside the <script> section, first you need to add itemNumber and renderList, and the added code will look like this:
let itemNumber = 2; // Default 2 data
let initRender = (txt) => {
  return `<div class="mb-3 row">
          <label class="col-sm-2 col-form-label txt">${txt}</label>
          <div class="col-sm-9">
              <input type="text" class="form-control">
         </div>
      </div>`;
};
// Render HTML with x (delete button) for data greater
let renderList = (txt) => {
  return `<div class="mb-3 row item">
          <label class="col-sm-2 col-form-label txt">${txt}</label>
          <div class="col-sm-9">
              <input type="text" class="form-control">
          </div>
          <div class="col-sm-1">
              <img class="del-icon" src="./images/x.svg" alt="">
          </div>
      </div> `;
};

These functions are used to generate the HTML structure for the voting options.

  1. Locate the following code block in the <script> section:
$(
  (function () {
    // When initialising, the following two data appear without the delete symbol
    for (let index = 0; index < 2; index++) {
      let initList = initRender(`Option${index + 1}`);
      $(".list").append(initList);
    }

    // Click the plus sign
    $(".add").click(function () {
      // TODO: Complete the code here
    });
  })()
);
  1. Inside the $(".add").click(function () { ... }) block, add the following code:
$(".list").html("");
itemNumber++;
for (let index = 0; index < itemNumber; index++) {
  let list = renderList(`Option${index + 1}`);
  $(".list").append(list);
}

This code will clear the existing options, increment the itemNumber variable, and then render the new options using the renderList function.

With this code in place, when the user clicks the "Add option" button, a new voting option will be added to the list.

Implement the Delete Functionality

In this step, you will implement the functionality to delete voting options from the application.

  1. In the <script> section of the index.html file, locate the following code block:
// Click the x Delete button, the delete icon will not be displayed if the list is less than 2 items
$(document).on("click", ".del-icon", function () {
  // TODO: Complete the code here
});
  1. Inside this code block, add the following code:
$(".list").html("");
itemNumber--;
if (itemNumber <= 2) {
  for (let index = 0; index < itemNumber; index++) {
    let list = initRender(`Option${index + 1}`);
    $(".list").append(list);
  }
} else {
  for (let index = 0; index < itemNumber; index++) {
    let list = renderList(`Option${index + 1}`);
    $(".list").append(list);
  }
}

This code will clear the existing options, decrement the itemNumber variable, and then render the remaining options using the appropriate function (initRender or renderList) based on the number of options.

With this code in place, when the user clicks the "x" icon next to a voting option, that option will be removed from the list.

Test the Application

  1. Save the index.html file and refresh the index.html page in your browser.
  2. Verify that the initial two voting options are displayed without the delete icon.
  3. Click the "Add option" button and observe that a new voting option is added to the list, with the delete icon displayed.
  4. Click the delete icon next to one of the voting options and verify that the option is removed from the list.
  5. Continue testing the application by adding and deleting voting options to ensure the functionality works as expected.

The finished result is as follows:

finished

Congratulations! You have completed the implementation of the voting application.

Summary

Congratulations! You have completed this project. You can practice more labs in LabEx to improve your skills.

Other JavaScript Tutorials you may like