

Introduction
In this project, you will learn how to create a "Wish Sticky Note" application using Vue.js and the Element-UI library. The project aims to provide an anonymous and convenient platform for people to express their goals, ideals, and aspirations in a safe and confidential manner.
👀 Preview
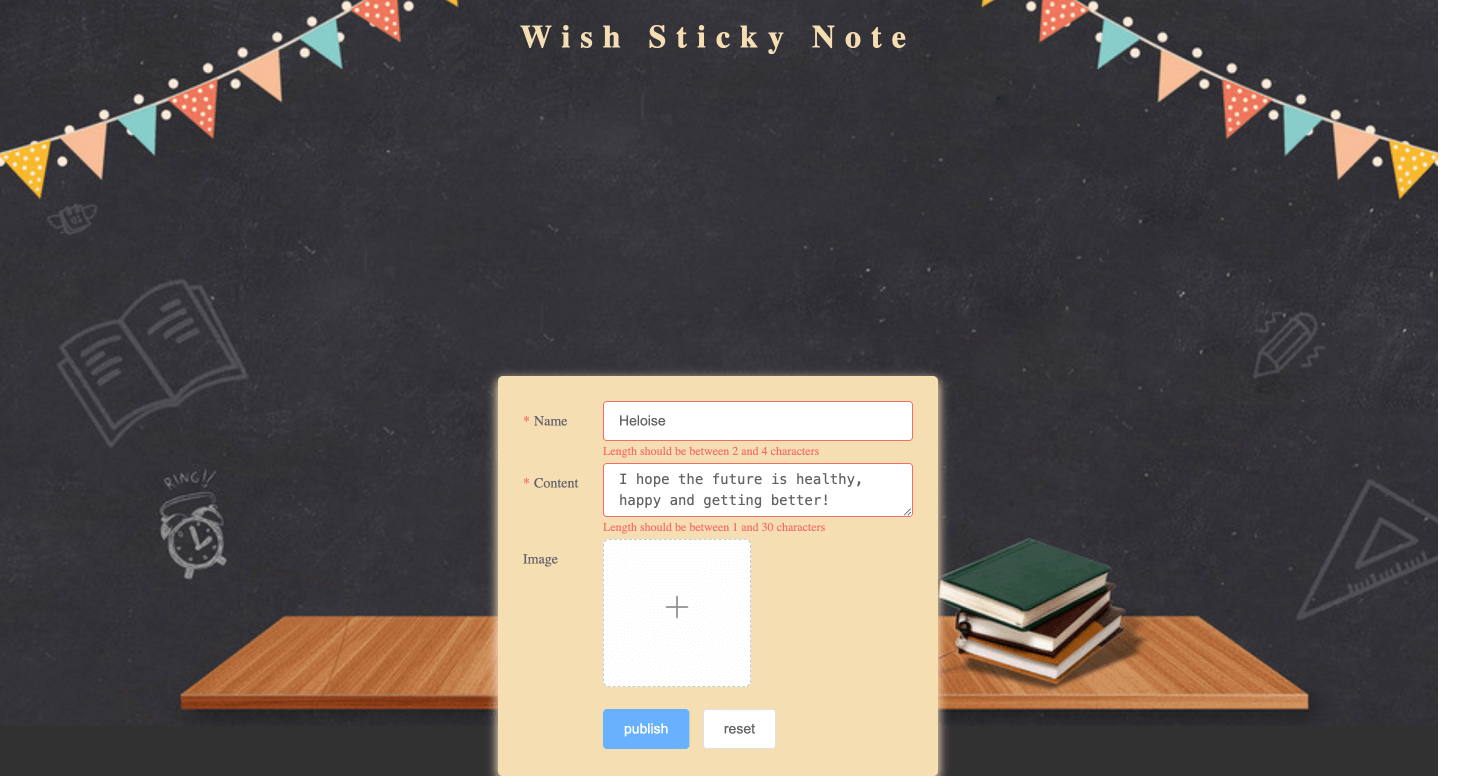
The following error will be reported when the field validation conditions are not met:
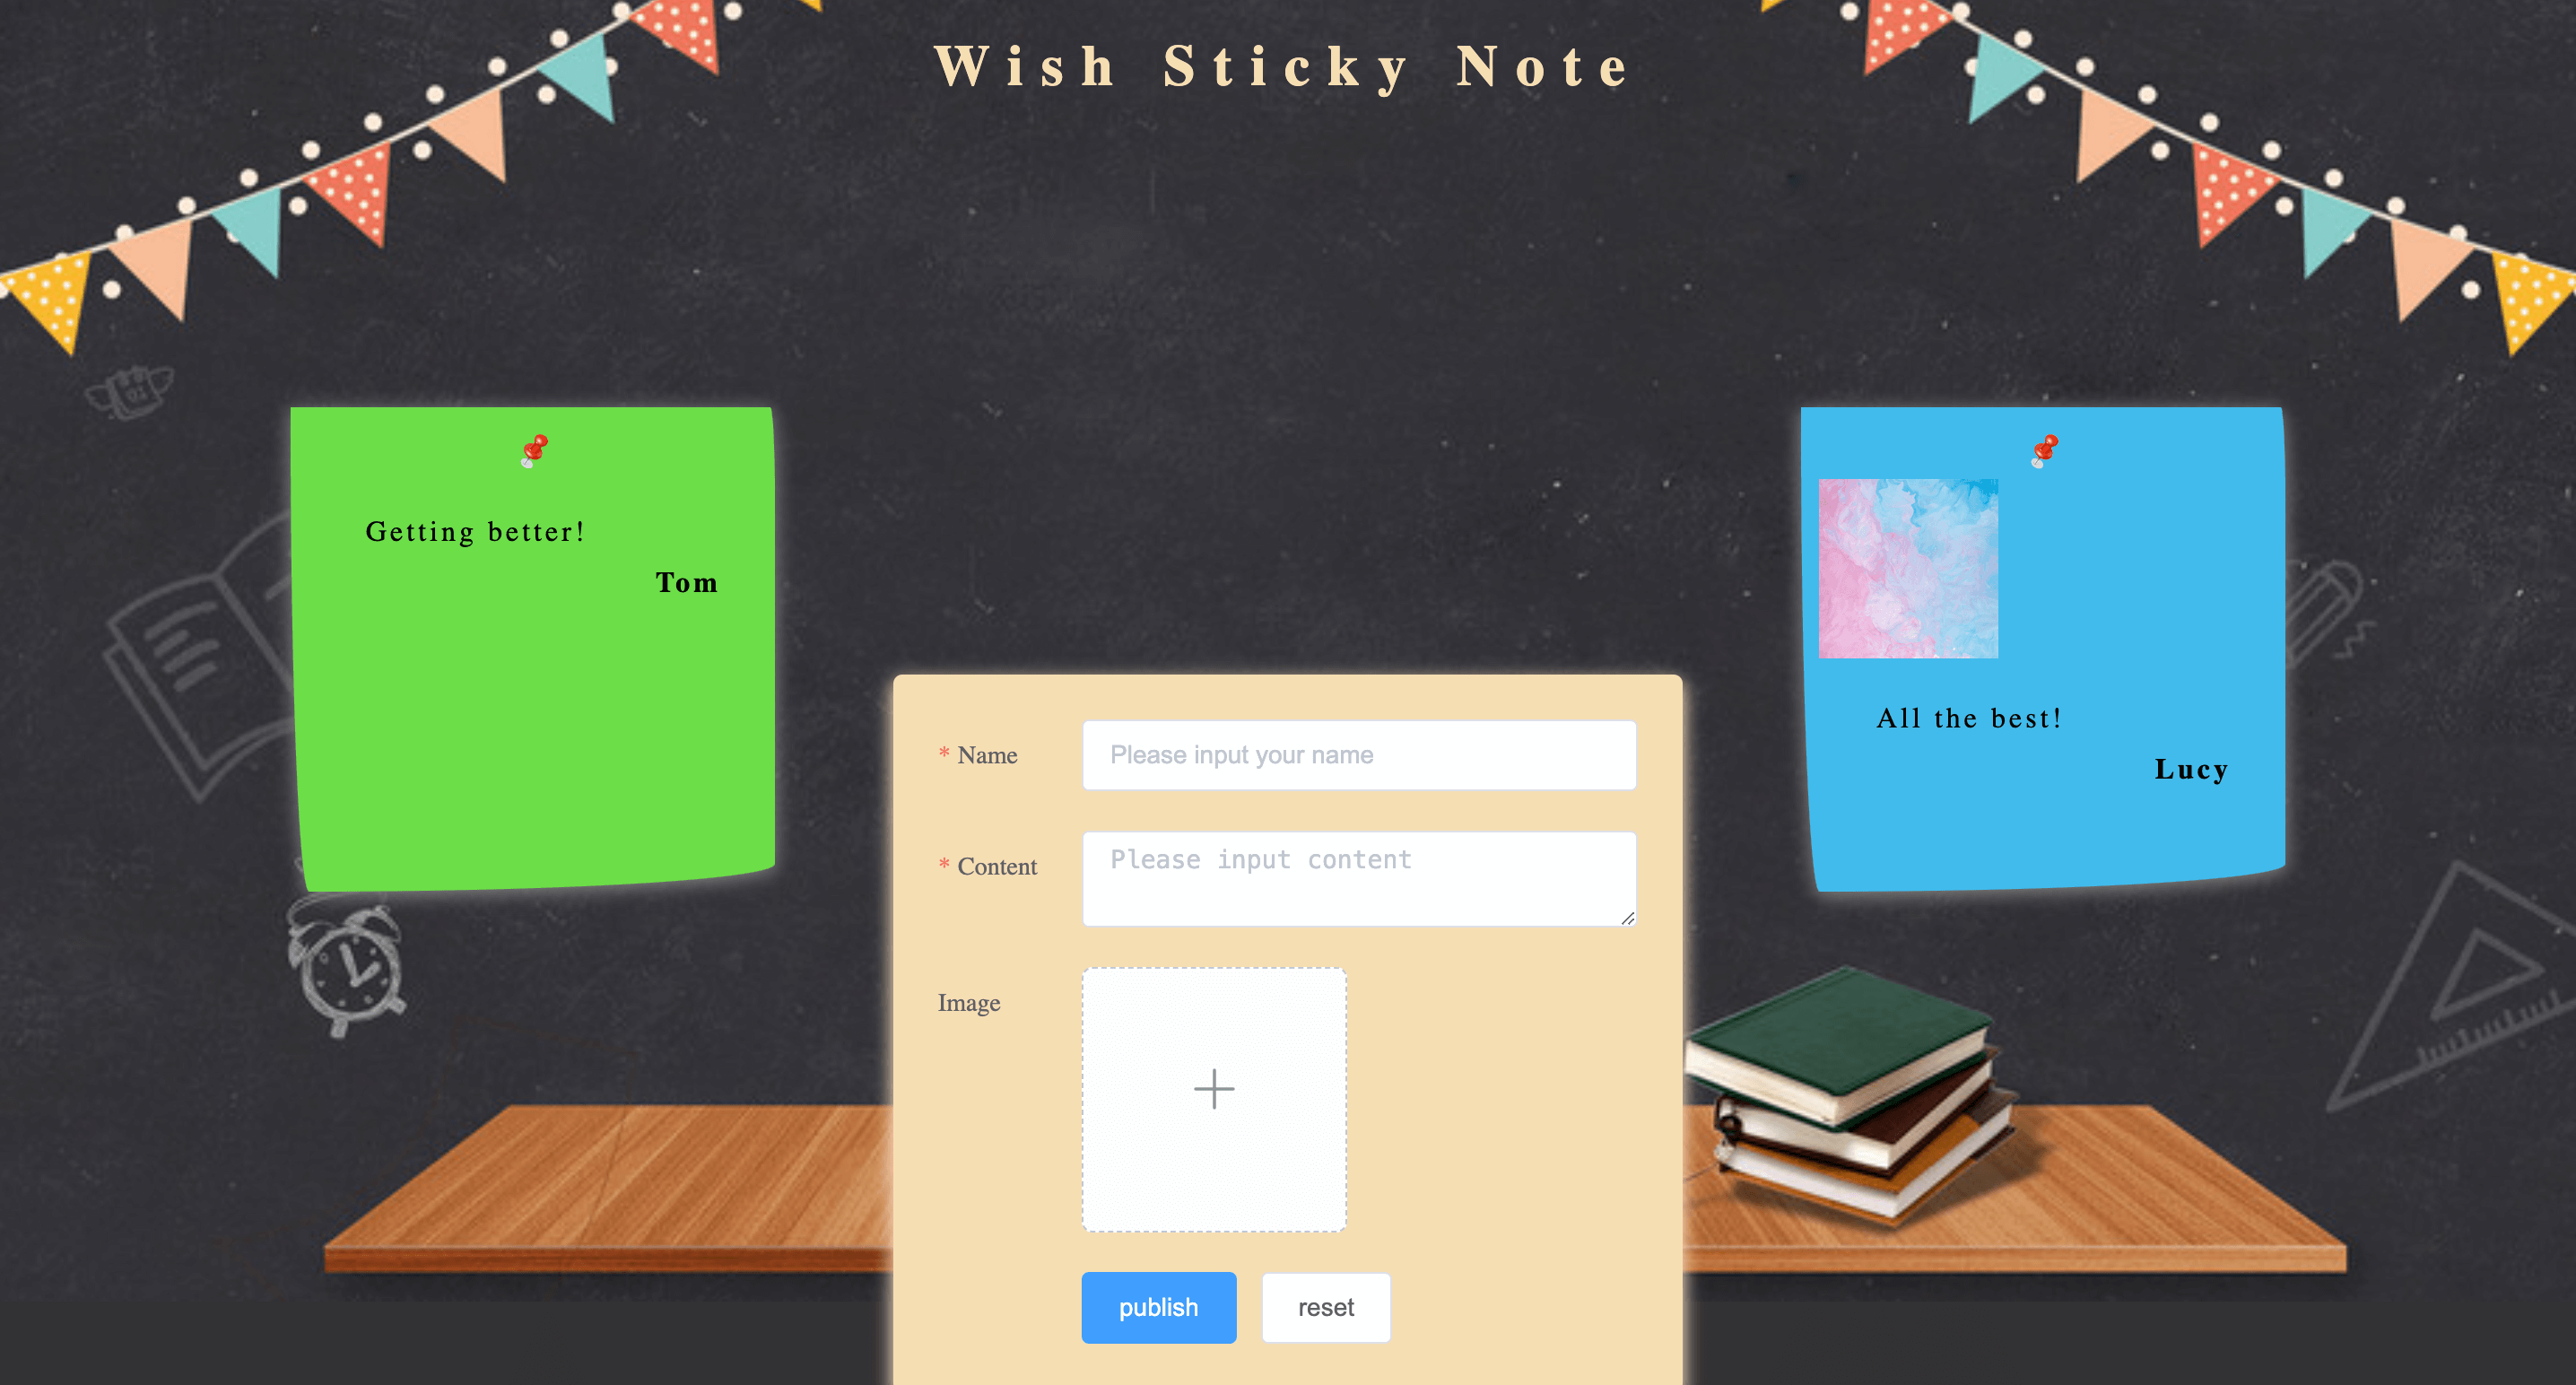
After fulfilling the conditions and posting the wish, the effect is as follows:
🎯 Tasks
In this project, you will learn:
- How to set up the project structure and prepare the necessary files and folders.
- How to render the completed form on the wish wall.
- How to implement form validation to ensure that the input fields meet the required criteria.
- How to handle form submission and reset functionality.
- How to implement image upload and preview functionality.
🏆 Achievements
After completing this project, you will be able to:
- Structure and organize a Vue.js project.
- Use the Element-UI library to create forms and handle user interactions.
- Implement form validation using the Element-UI validation rules.
- Handle file uploads and image previews in a Vue.js application.
- Manage state and update the UI based on user actions.
Skills Graph
%%%%{init: {'theme':'neutral'}}%%%%
flowchart RL
html(("`HTML`")) -.-> html/FormsandInputGroup(["`Forms and Input`"])
html/FormsandInputGroup -.-> html/forms("`Form Elements`")
html/FormsandInputGroup -.-> html/form_valid("`Form Validation`")
subgraph Lab Skills
html/forms -.-> lab-300134{{"`Wish Sticky Note App with Vue.js`"}}
html/form_valid -.-> lab-300134{{"`Wish Sticky Note App with Vue.js`"}}
end


