
Introduction
In this project, you will learn how to create a creative billboard design that combines the history of "Fanciful Valley" and the prosperity of "Dream Bay". You will learn how to style the billboard with a wooden-textured background and a tilted top sign, creating a captivating artistic experience for passersby.
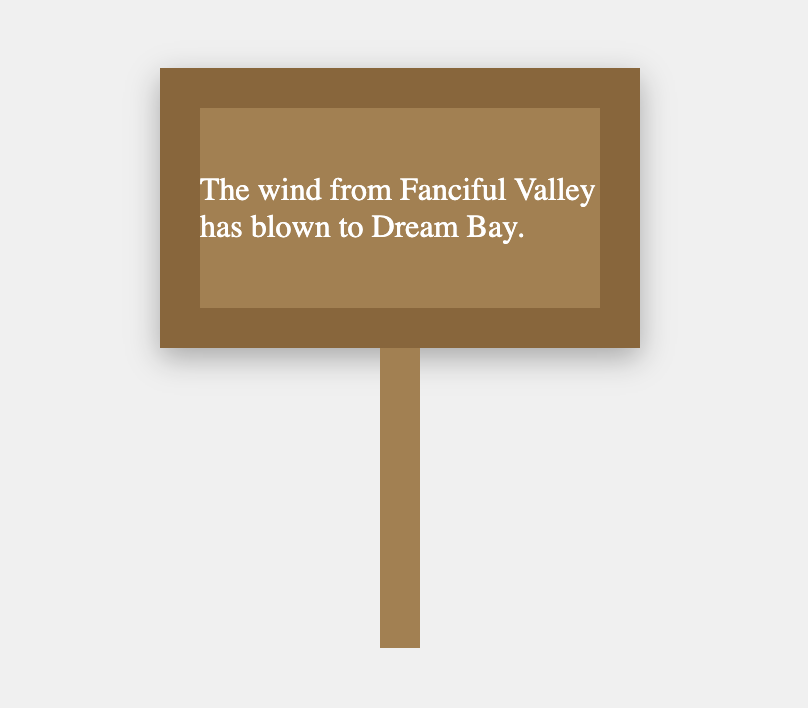
👀 Preview

🎯 Tasks
In this project, you will learn:
- How to set the border radius and background image of the billboard element
- How to round the top corners and tilt the top sign element
🏆 Achievements
After completing this project, you will be able to:
- Use CSS properties like
border-radiusandtransformto create unique design elements - Incorporate background images to enhance the overall aesthetic of a web design
- Combine design elements to create a cohesive and visually appealing layout
Set Up the Project Structure
To get started, open the experiment environment, and the directory structure is as follows:
├── css
│   └── style.css
├── images
│   └── woodiness.jpg
└── index.html
Among them:
index.htmlis the main page.imagesis the folder for storing project images.css/style.cssis the CSS file where you need to supplement the code.
Click on Go Live button in the bottom right corner of WebIDE, to run the project.
Next, open the "Web 8080" on the top of the VM and manually refresh the page to see the following effect in your browser:
Set the Billboard Background
In this step, you will learn how to set the background of the billboard element and round its corners.
Open the
css/style.cssfile.Locate the
.billboardclass.Add the following code to set the border radius and background image:
border-radius: 10px; background-image: url(../images/woodiness.jpg);- The
border-radiusproperty sets the border radius of the.billboardelement to 10 pixels, creating rounded corners. - The
background-imageproperty sets the background image of the.billboardelement towoodiness.jpglocated in theimagesfolder.
- The
Tilt the Top Sign
In this step, you will learn how to round the top corners of the top sign element and tilt it.
Locate the
.top-signclass in thecss/style.cssfile.Add the following code to round the top corners and tilt the element:
border-top-left-radius: 15px; border-top-right-radius: 15px; transform: skewX(-20deg);- The
border-top-left-radiusandborder-top-right-radiusproperties set the top left and top right corners of the.top-signelement to have a radius of 15 pixels, creating rounded corners. - The
transform: skewX(-20deg)property tilts the.top-signelement by -20 degrees on the x-axis.
- The
After completing these three steps, the billboard should have a rounded, wooden-textured background, and the top sign should be tilted with rounded top corners, as shown in the completed effect image.
Summary
Congratulations! You have completed this project. You can practice more labs in LabEx to improve your skills.


