
Introduction
In this challenge, you will step into the role of a cybersecurity trainee at NetDefenders investigating a potential data leak. Your instructor has provided a network traffic capture file, and your mission is to extract communication evidence between an employee and labex.io for your forensic training report.
Using Wireshark, you'll analyze the captured network traffic by filtering for TCP packets containing "labex," following the TCP stream to examine the complete conversation, and saving the evidence as a text file. This practical exercise demonstrates essential network forensics techniques used by security professionals to identify and document suspicious web communications.
Extract Web Traffic Evidence
As a cybersecurity trainee at NetDefenders, you are investigating a potential data leak. Your instructor has captured network traffic from an employee accessing labex.io and assigned you to extract the communication details as evidence for your forensic training report.
Tasks
- Filter the captured Wireshark traffic to display only TCP packets containing labex
- Follow a TCP stream from the filtered packets and save it as tcp_evidence.txt in the project folder
Requirements
- Open the capture file
network_evidence.pcapngin Wireshark, which is located in your/home/labex/projectdirectory. - Use a display filter to show only TCP packets that contain "labex" in their content.
- Select one of the filtered packets, then use Wireshark's "Follow TCP Stream" feature to view the entire conversation.
- Save the TCP stream content as a file named
tcp_evidence.txtin the/home/labex/projectdirectory. - The saved file must contain the complete TCP stream data between your system and labex.io.
Examples
When you apply the correct filter, your Wireshark display might look something like this:
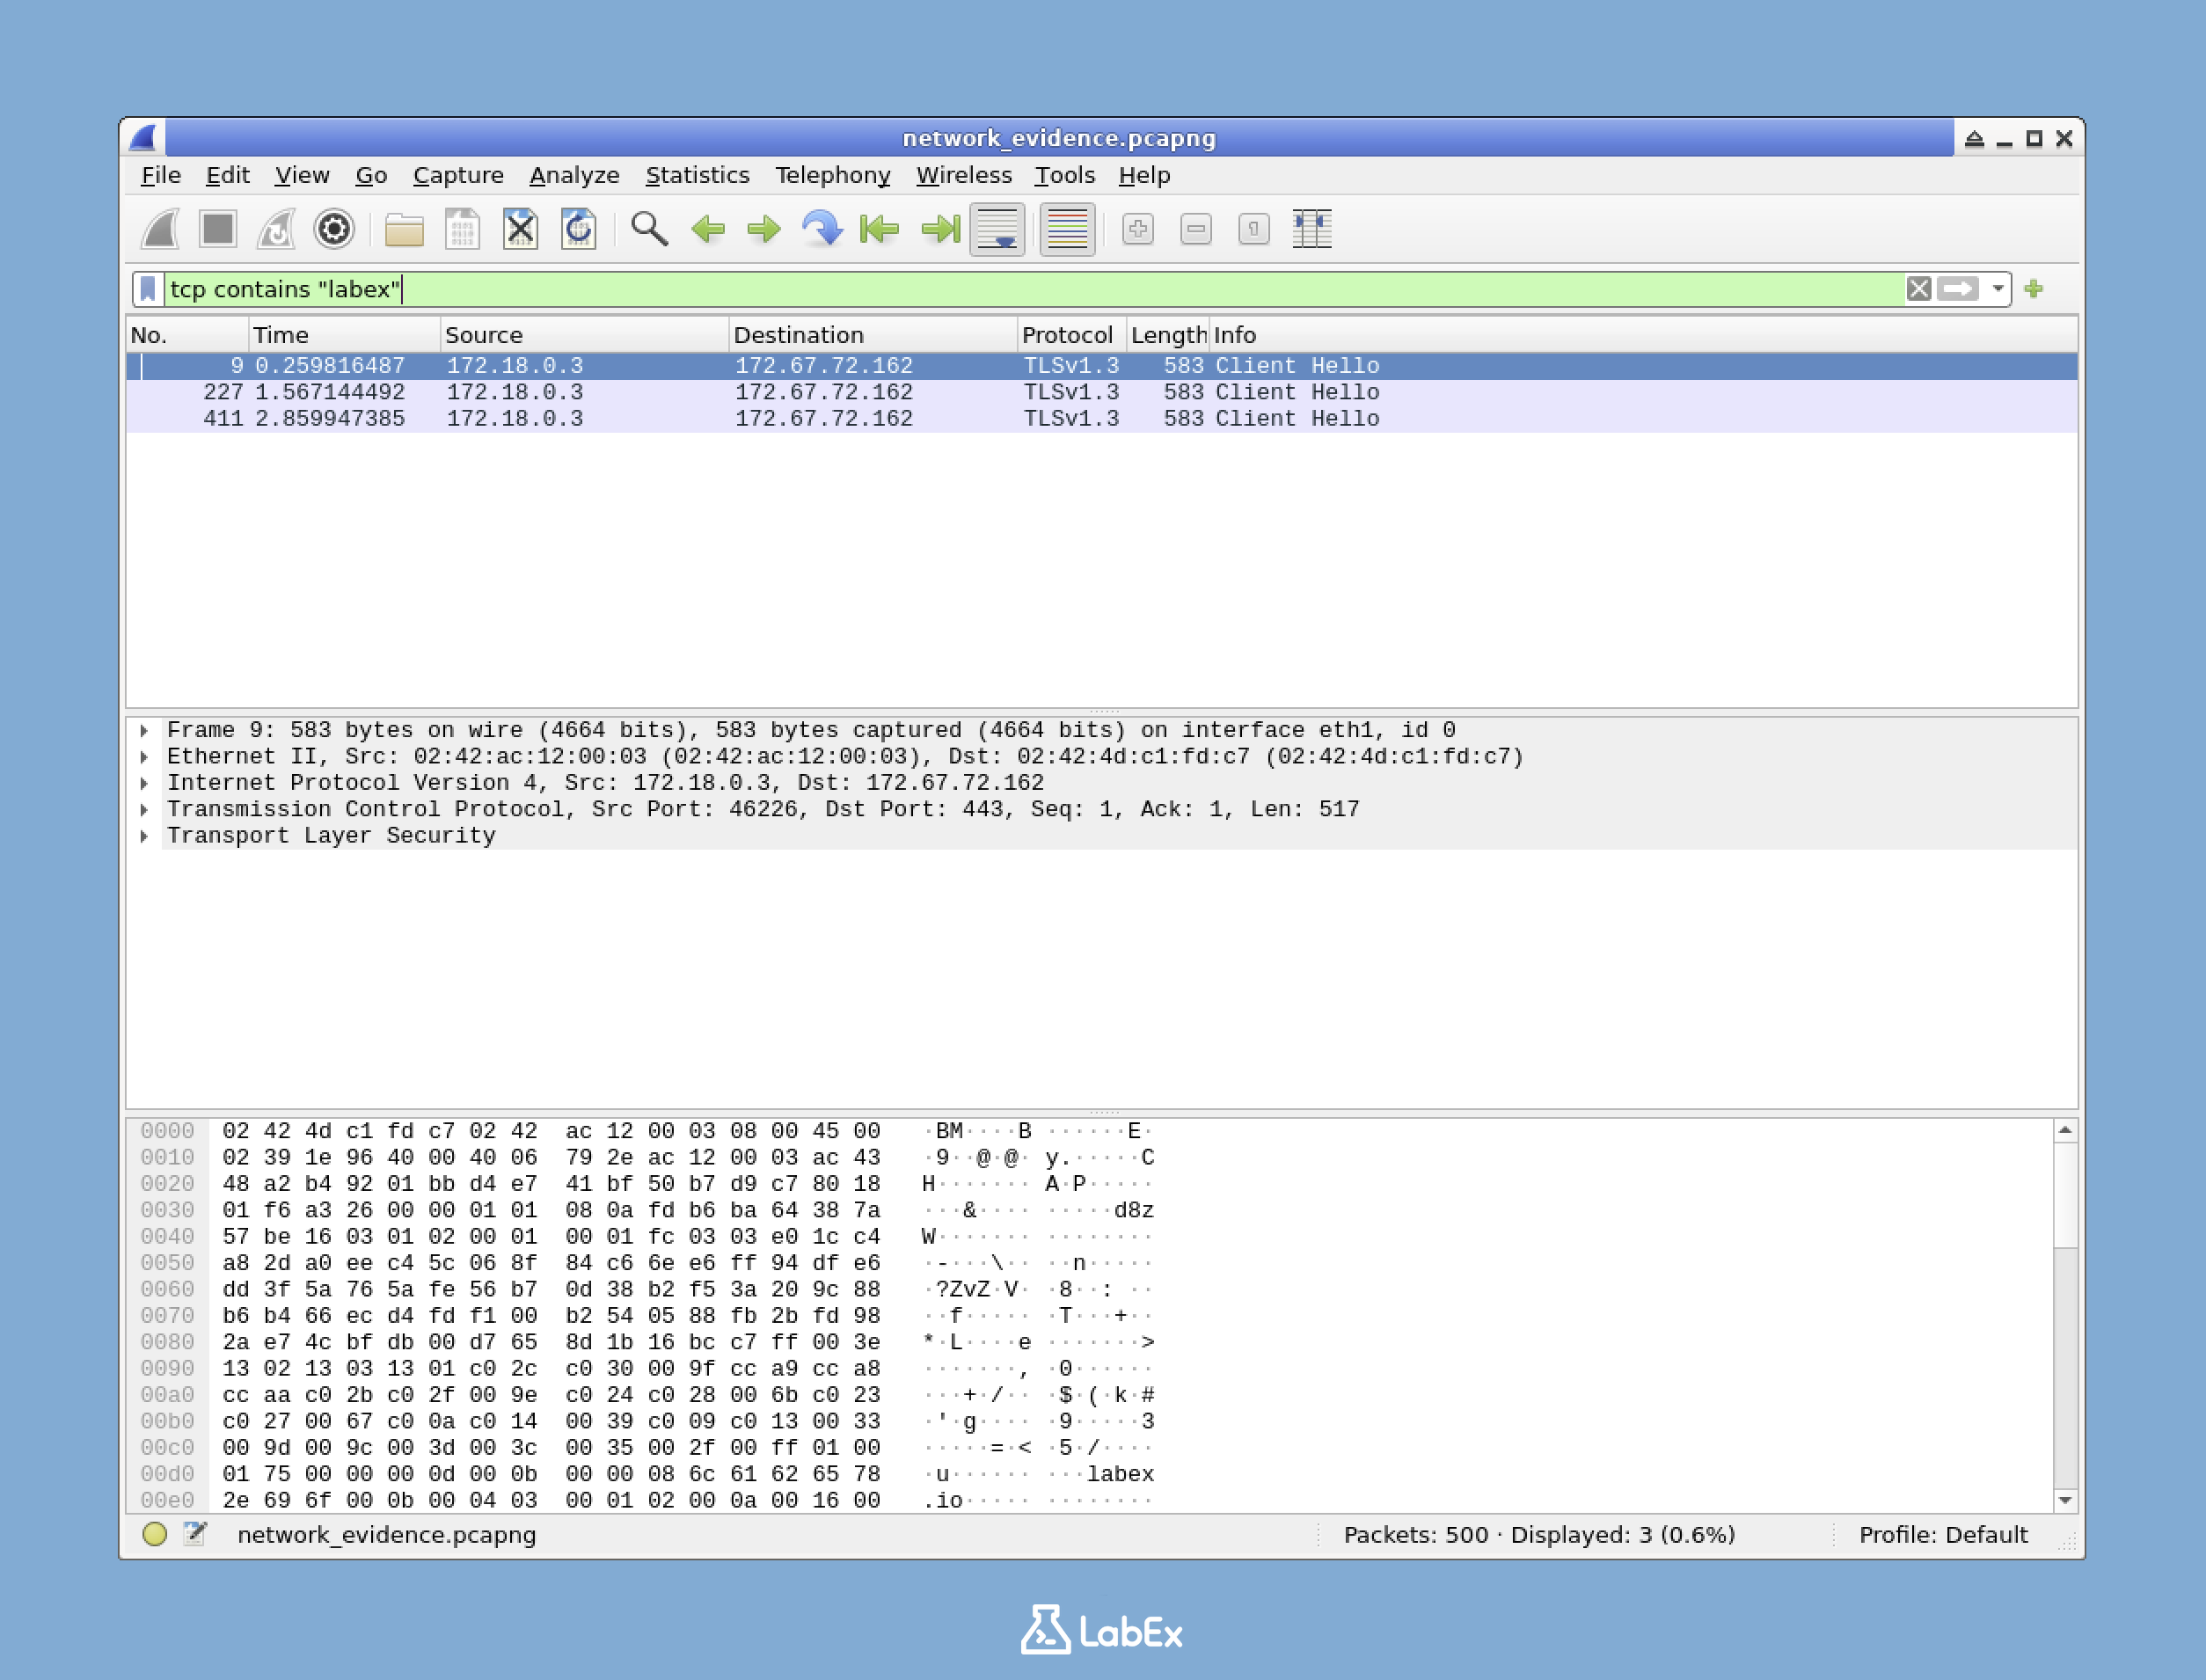
After following the TCP stream, you'll see a window showing the conversation data. The saved file will contain this data, which might include TLS handshake information and encrypted HTTPS traffic.
Hints
- To filter for TCP packets containing specific text, use the format:
tcp contains "text" - Right-click on a packet and select "Follow" > "TCP Stream" to view the entire conversation
- In the "Follow TCP Stream" window, click the "Save As" button to save the stream data
- Make sure to save the file with exactly the required name in the specified directory
- The save dialog might default to a different location, so navigate to
/home/labex/projectbefore saving
Summary
In this challenge, I performed network forensics tasks using Wireshark to extract web traffic evidence from a captured packet file. The investigation focused on examining communication between a system and labex.io to document potential data leakage, which required applying specific display filters to isolate relevant TCP packets containing "labex" in their content.
The process involved opening a network capture file, filtering the traffic, following TCP streams to view complete communications, and saving the evidence as a text file. These techniques represent essential skills for cybersecurity professionals conducting network forensic investigations and preparing evidence for security incident reports.

