
Introduction
In this project, we will create a digital clock application using Python and the Tkinter library. This clock will display both the current time and date, and it will allow the user to toggle between 12-hour and 24-hour time formats. We will split the code into multiple steps, starting with installing the required libraries and ending with running the project.
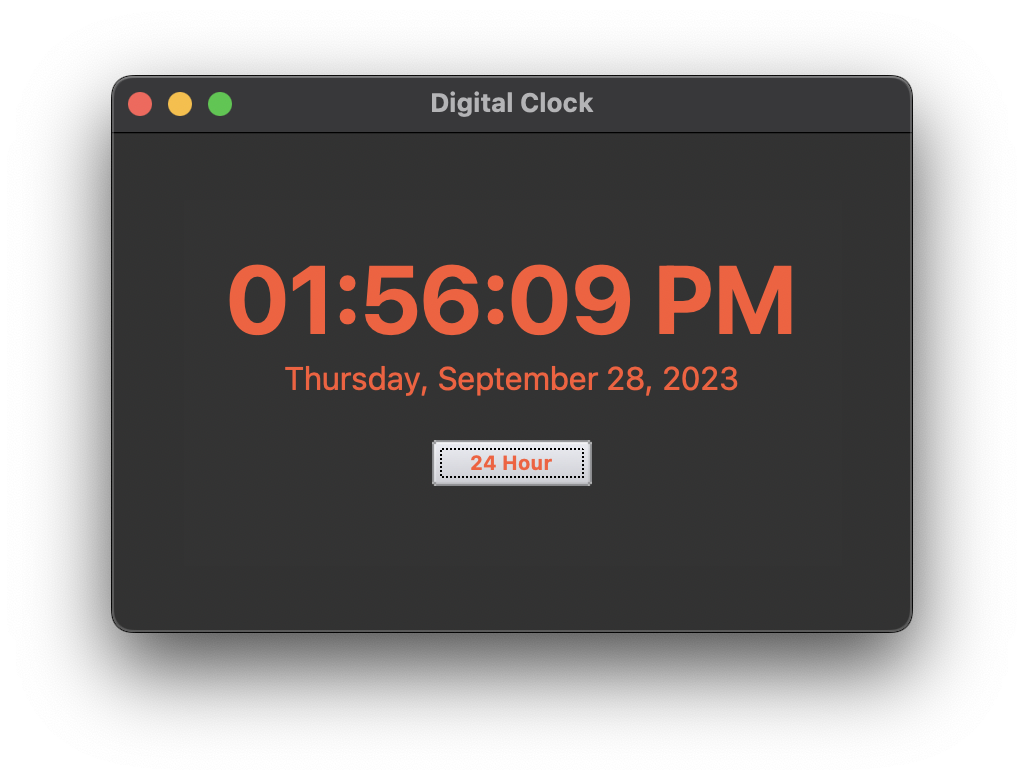
👀 Preview
🎯 Tasks
In this project, you will learn:
- How to install the necessary libraries for building a digital clock with Python.
- How to set up the project by creating the Python script and importing the required libraries.
- How to define a function to update and display the current time and date.
- How to create a function to toggle between 12-hour and 24-hour time formats.
- How to create the main application window and configure GUI styles.
- How to create and place the GUI components on the main window.
- How to start the clock by calling the necessary functions and running the main GUI loop.
🏆 Achievements
After completing this project, you will be able to:
- Install libraries using pip, the Python package manager.
- Use the Tkinter library to create graphical user interfaces in Python.
- Format and display time and date in Python.
- Customize the appearance of GUI components using themed styles.
- Create buttons with different text and functionality.
- Run a Python script and execute a main GUI loop.
Install Required Libraries
Before we begin building our digital clock with Python, we need to ensure that we have the necessary libraries installed. In this step, we'll install the required libraries using pip, the Python package manager.
sudo apt update
sudo apt-get install python3-tk -y
pip install ttkthemes
Here's what these libraries are for:
tkinter: This library provides the tools and components needed for creating graphical user interfaces (GUIs) in Python. It's a standard library for GUI development.ttkthemes: This library allows us to use themed styles and customize the appearance of our Tkinter components to give our digital clock a visually appealing design.
You can install these libraries using the above commands in your terminal or command prompt. Once installed, you're ready to proceed with building the digital clock as outlined in the following steps.
Now, create a new Python file called digital_clock.py and open it in your preferred code editor.
cd ~/project
touch digital_clock.py
Setting Up the Project
First, let's set up the project by creating the necessary Python script and importing the required libraries.
## Import necessary libraries
import tkinter as tk
from tkinter import ttk
from ttkthemes import ThemedStyle
from time import strftime
In this step:
- We import the
tkinterlibrary for creating the graphical user interface (GUI). - We import specific components (
ttk,ThemedStyle) fromtkinterfor advanced styling. - We import the
strftimefunction from thetimemodule to format and display time.
Define the Time Display Function
Next, let's define a function to update and display the current time and date.
def time():
    current_time_format = "%H:%M:%S" if is_24_hour_format else "%I:%M:%S %p"
    current_time = strftime(current_time_format)
    current_date = strftime("%A, %B %d, %Y")
    label_time.config(text=current_time)
    label_date.config(text=current_date)
    label_time.after(1000, time)
In this step:
- We create a function called
time()that updates the time and date labels. - The
current_time_formatvariable determines whether to use a 24-hour or 12-hour time format based on theis_24_hour_formatflag. - We use the
strftimefunction to get the current time and date in the desired format. - The labels (
label_timeandlabel_date) are updated with the current time and date, respectively. - The
label_time.after(1000, time)line schedules thetimefunction to run every 1000 milliseconds (1 second) to continuously update the time.
Toggle Time Format
Let's create a function that allows the user to toggle between 12-hour and 24-hour time formats.
def toggle_time_format():
    global is_24_hour_format
    is_24_hour_format = not is_24_hour_format
    time_format_button.config(text="12 Hour" if is_24_hour_format else "24 Hour")
In this step:
- We define a function called
toggle_time_format()that toggles theis_24_hour_formatflag betweenTrueandFalse. - The label on the time format button (
time_format_button) is updated to display "12 Hour" or "24 Hour" based on the current format.
Create the Main Application Window
Now, let's create the main application window and set its title and dimensions.
root = tk.Tk()
root.title("Digital Clock")
root.geometry("400x250")
In this step:
- We create the main application window using
tk.Tk(). - We set the window title to "Digital Clock".
- The dimensions of the window are set to 400x250 pixels.
Configure GUI Styles
Configure the styles for the labels, buttons, and frames to customize the appearance of the clock.
style = ThemedStyle(root)
style.set_theme("plastik")
style.configure(
    "TLabel", foreground="#FF5733", background="#333333", font=("calibri", 48, "bold")
)
style.configure(
    "TButton", foreground="#FF5733", background="#333333", font=("calibri", 10, "bold")
)
style.configure("TFrame", background="#333333")
In this step:
- We create a themed style for the GUI components to apply a consistent look and feel.
- The label text color, background color, and font are customized.
- The button text color, background color, and font are customized.
- The frame background color is customized.
Create and Place GUI Components
Now, let's create and place the GUI components on the main window.
frame = ttk.Frame(root, style="TFrame", padding=20)
frame.place(relx=0.5, rely=0.5, anchor="center")

label_time = ttk.Label(frame, font=("calibri", 48, "bold"))
label_time.pack()

label_date = ttk.Label(frame, font=("calibri", 16))
label_date.pack()

is_24_hour_format = True
time_format_button = ttk.Button(
    frame, text="12 Hour", command=toggle_time_format, style="TButton"
)
time_format_button.pack(pady=20)
In this step:
- We create a frame (
frame) with the specified style and padding. - The frame is centered in the main window.
- Two labels (
label_timeandlabel_date) are created to display the time and date. - An initial value of
Trueis set foris_24_hour_format. - A button (
time_format_button) is created with the text "12 Hour" and thetoggle_time_formatfunction is set as its command. - All components are packed and placed in the frame.
Start the Clock
Finally, let's start the clock by calling the time function and running the main GUI loop.
time()

root.mainloop()
In this step:
- We call the
time()function to initiate the clock. - The
root.mainloop()method starts the main GUI loop, allowing the application to run and update in real-time.
Now, let's run the digital clock application.
cd ~/project
python digital_clock.py
Summary
In this project, we've created a digital clock application using Python and Tkinter. We split the process into several steps, including setting up the project, defining functions for time display and format toggle, configuring GUI styles, creating GUI components, and running the clock application. This digital clock displays the current time and date and allows users to switch between 12-hour and 24-hour time formats.


