Introduction
In this lab, we will explore user management in Jenkins, a crucial aspect of maintaining a secure and organized continuous integration environment. You will create a new Jenkins user, update the user's description, and then delete the account. A Jenkins instance is already running at http://localhost:8080, and Firefox opens this page automatically from the Desktop interface.
Accessing Jenkins and Creating a New User
In this step, we'll access the Jenkins web interface and create a new user account. This process is fundamental for adding team members or other stakeholders to your Jenkins environment.
First, let's access Jenkins:
- Open Firefox from the VM Desktop. The browser will automatically open to
http://localhost:8080, so you don't need to manually enter the URL. No login is required.
Now that you're on the Jenkins dashboard, let's create a new user:
Click the gear icon in the top right corner of the Jenkins dashboard to open Manage Jenkins.
Click Users. This opens the user management area.
Click Create User in the left sidebar.
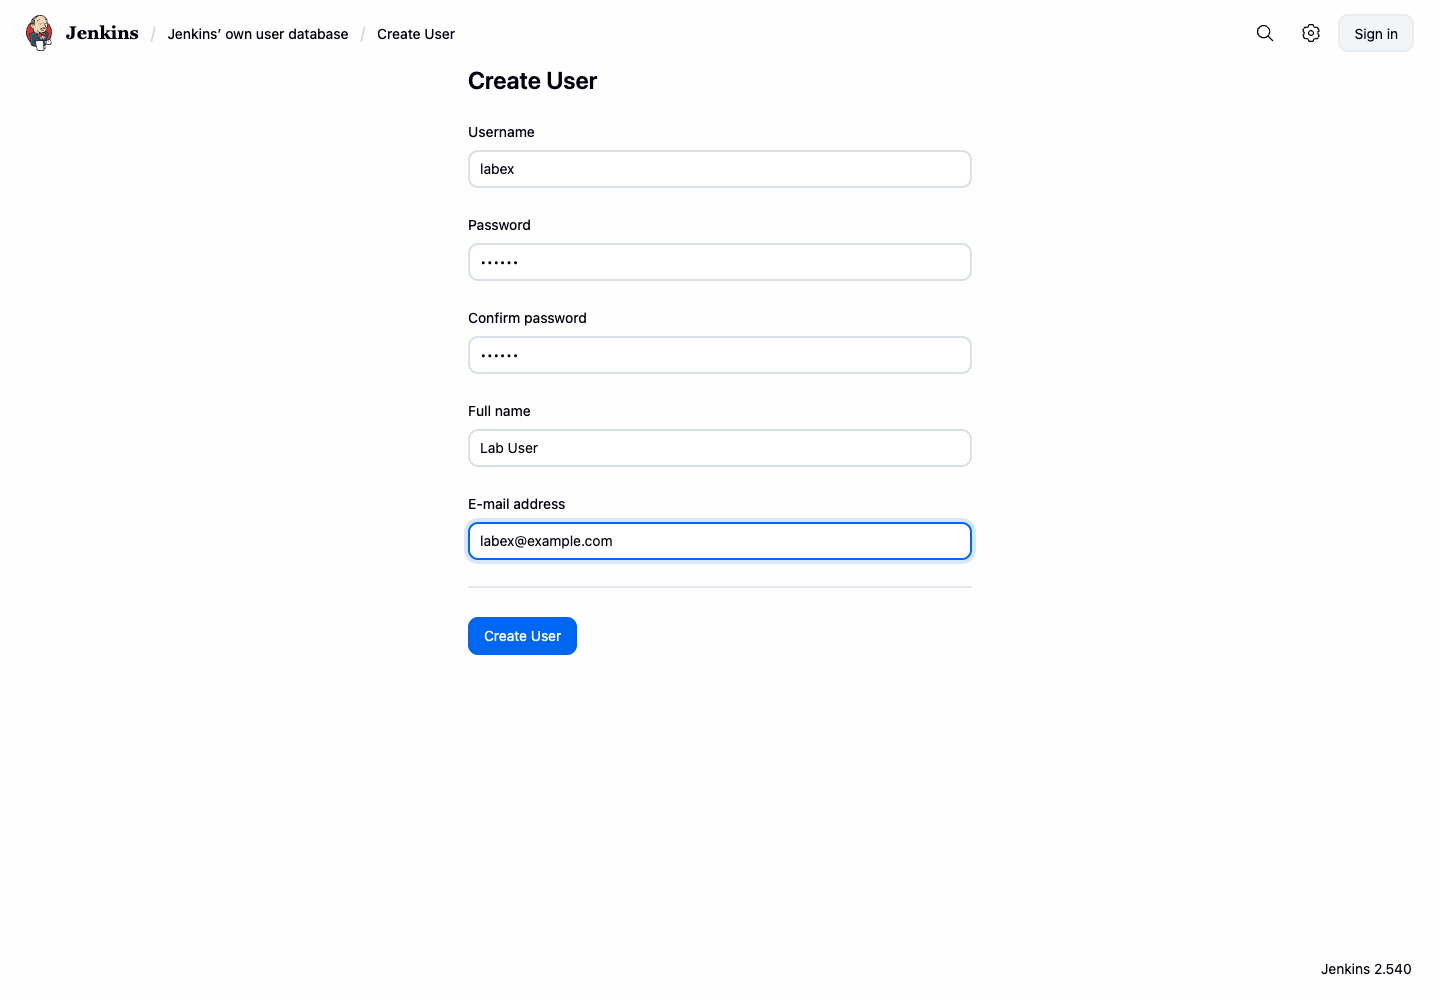
Fill in the following details:
- Username:
labex(This is the unique identifier for the user) - Password:
123456(For security reasons, you should use a stronger password in a real-world scenario) - Confirm password:
123456(Type the password again to confirm) - Full name:
Lab User(This name will be displayed in Jenkins) - E-mail address:
labex@example.com(This is used for notifications)
- Username:
Double-check all the information you've entered, then click Create User.
After creating the user, you should see the new labex user listed on the Manage Users page. If you don't see the new user, try refreshing the page.
Modifying User Account Details
In this step, we'll modify the details of the user account we just created. Specifically, we'll update the user description. This is useful for adding notes about a user's role or responsibilities.
From the Jenkins dashboard, click the gear icon in the top right corner to access the Jenkins management panel. This brings you back to the main administration area.
Click on "Users" under the Security section. This takes you to the user management page where you can see all existing users.
Find the
labexuser in the list and click the username to open the user's profile page.On the user's profile page, click Add description. This opens an inline editor for the user description.
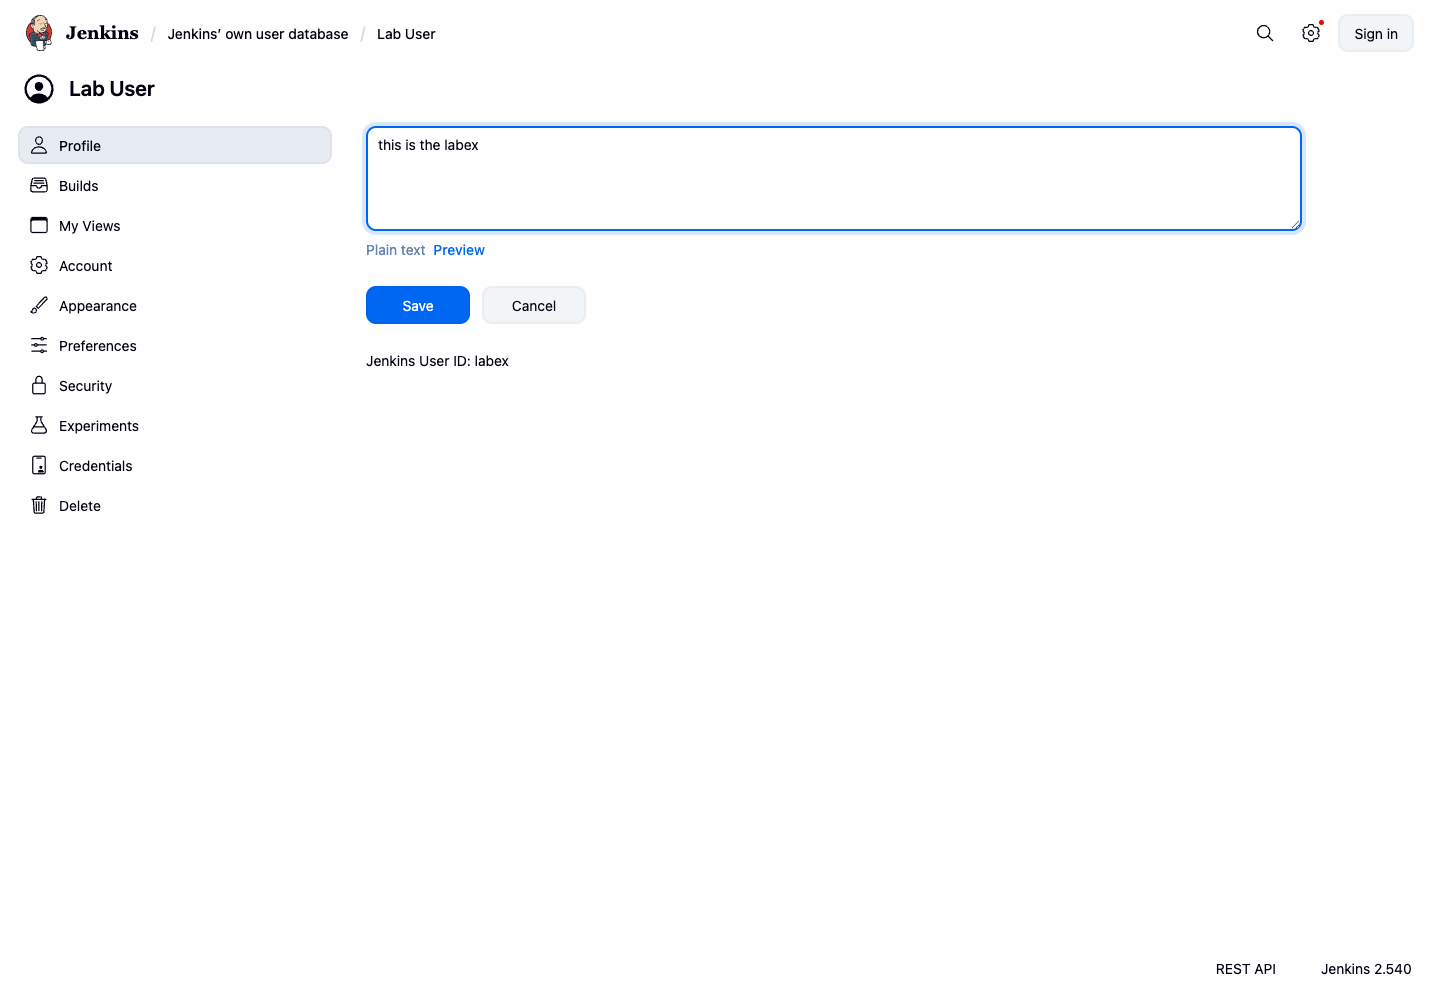
In the description editor, enter the following text:
this is the labexTip: Be precise with your entry. Ensure there are no extra spaces before or after the text, as this could cause the verification to fail.
Click Save to apply the description.
Note: If you don't see the changes reflected immediately, try refreshing the page.
This process allows you to add or modify information about a user, which can be helpful for administrative purposes or for providing context about user roles within your Jenkins environment.
Deleting a User Account
In this final step, we'll learn how to remove a user account from Jenkins. This is useful when an account is no longer needed or when you're cleaning up your user list. It's an important skill for maintaining the security of your Jenkins instance.
If you're not already there, navigate back to the Jenkins dashboard by clicking on the Jenkins logo in the top-left corner.
Click the gear icon in the top right corner to access the Jenkins management panel, then click on "Users" under the Security section to return to the user management page.
In the user list, find the
labexuser we created earlier. Use the delete button for that row.Click on the trash can icon. A confirmation dialog will appear. This is a safety measure to prevent accidental deletions.
Read the warning message carefully. It will inform you about the consequences of deleting a user.
If you're sure you want to delete the user, click "Yes" to confirm.
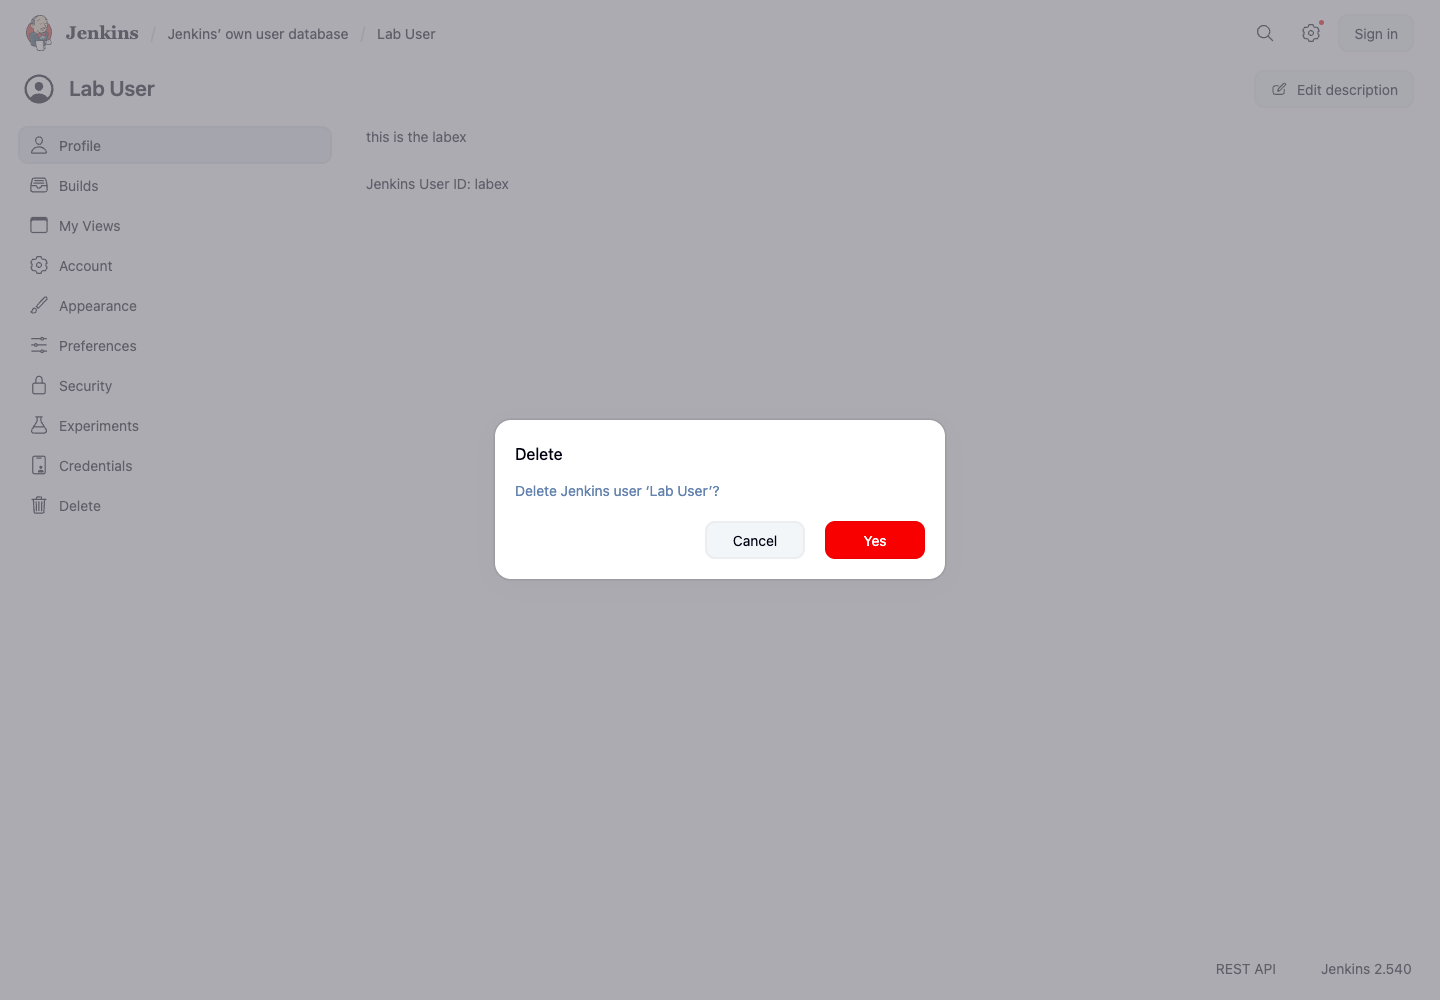
Caution: This action is irreversible. Once a user is deleted, you cannot undo this action without restoring from a backup.
After confirming, the labex user should be removed. Because this lab creates and deletes the only Jenkins user, Jenkins may redirect you to a Create First Admin User page after deletion. That redirect is expected and confirms that no regular user accounts remain.
It's important to note that deleting a user is a permanent action. While it removes the user's ability to log in, it doesn't automatically remove that user from existing job configurations or other settings where the username might be referenced. Always be cautious when deleting users and ensure you understand the implications for your Jenkins setup.
Summary
In this lab, we explored the essential aspects of user management in Jenkins, a crucial skill for any Jenkins administrator. Let's recap what we've learned:
- Creating a New User: We started by learning how to add a new user to Jenkins. This process involves navigating the Jenkins interface, accessing the user management area, and filling out the necessary details to create a new account. This skill is fundamental when you need to provide access to new team members or stakeholders.
- Modifying User Details: Next, we learned how to update user information, specifically by adding a description to a user account. This ability to modify user details is valuable for maintaining clear information about each user's role or purpose within your Jenkins environment. It can help with organization and clarity, especially in larger teams.
- Deleting a User Account: Finally, we covered the process of removing a user from Jenkins. This is an important skill for maintaining the security and cleanliness of your Jenkins instance. We learned about the permanence of this action and the need for caution when performing it.
These user management skills are crucial for effectively administering Jenkins, especially in team environments or organizations where multiple users need access to the system. By controlling user access and maintaining accurate user information, you can ensure better security and organization within your Jenkins setup.