Building a Simple Search Functionality

JavaScriptJavaScriptBeginner
Practice Now

Introduction

In this project, you will learn how to use JavaScript to implement a simple search functionality. You will learn how to bind the input event to an input box, process the search data, and display the search results.

👀 Preview
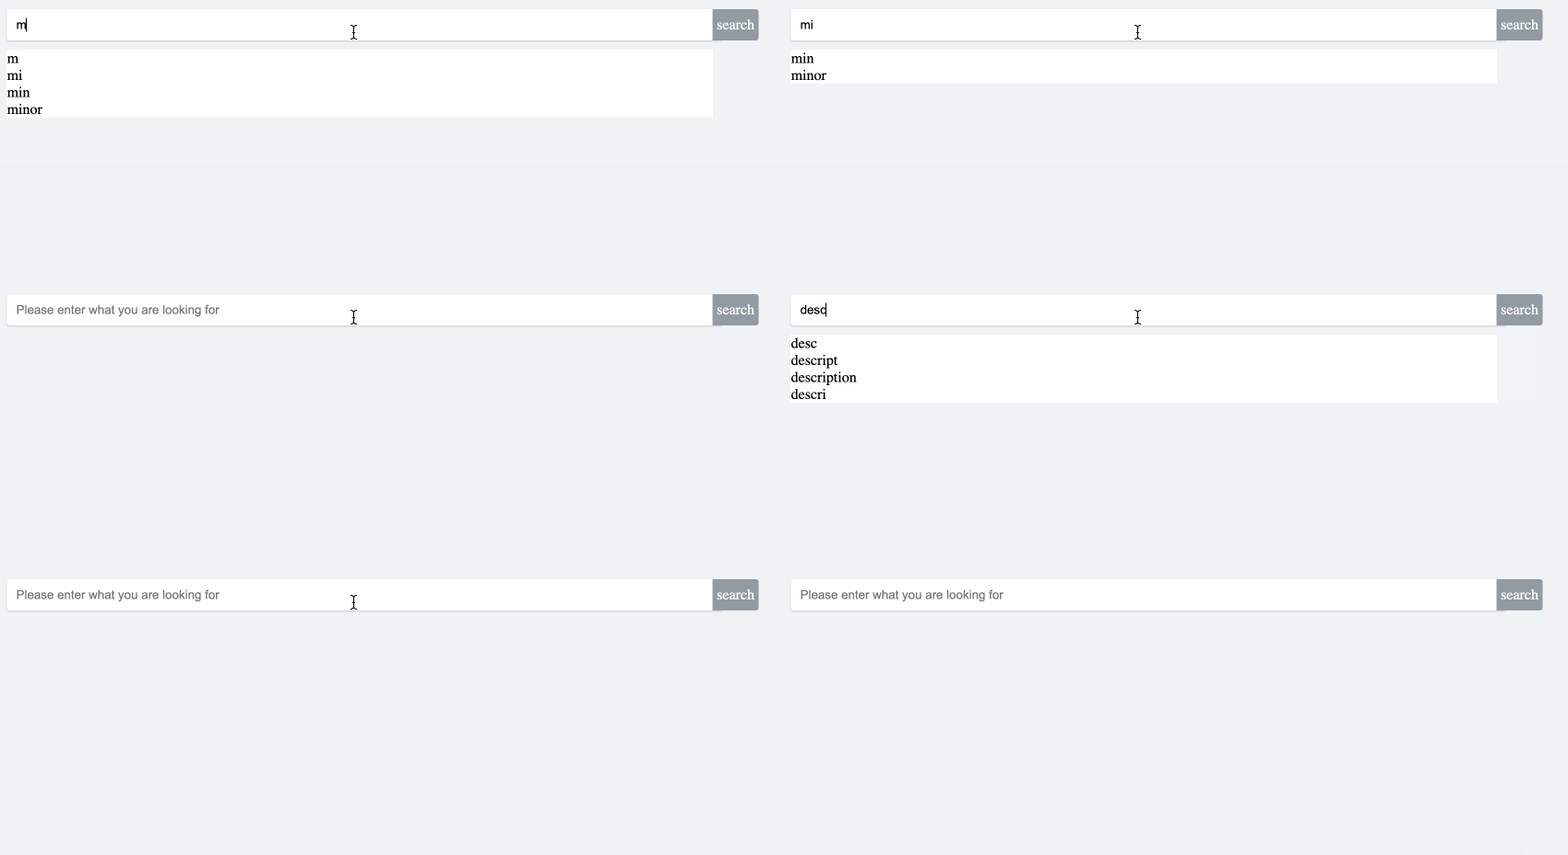
Effect

🎯 Tasks

In this project, you will learn:

  • How to bind the input event to an input box
  • How to implement the handleInput method to filter the search data
  • How to render the search results in a list

🏆 Achievements

After completing this project, you will be able to:

  • Use the addEventListener method to bind events
  • Use the filter method to filter an array based on a condition
  • Manipulate the DOM to update the search results

Skills Graph

%%%%{init: {'theme':'neutral'}}%%%% flowchart RL javascript(("`JavaScript`")) -.-> javascript/BasicConceptsGroup(["`Basic Concepts`"]) javascript(("`JavaScript`")) -.-> javascript/AdvancedConceptsGroup(["`Advanced Concepts`"]) javascript/BasicConceptsGroup -.-> javascript/functions("`Functions`") javascript/BasicConceptsGroup -.-> javascript/array_methods("`Array Methods`") javascript/AdvancedConceptsGroup -.-> javascript/es6("`ES6 Features`") subgraph Lab Skills javascript/functions -.-> lab-299859{{"`Building a Simple Search Functionality`"}} javascript/array_methods -.-> lab-299859{{"`Building a Simple Search Functionality`"}} javascript/es6 -.-> lab-299859{{"`Building a Simple Search Functionality`"}} end

Set Up the Project Structure

In this step, you will set up the project files and structure. Follow the steps below to complete this step:

Open the project folder. The directory structure is as follows:

├── css
│   └── style.css
├── index.html
└── js
    └── index.js

Where:

  • index.html is the main page.
  • css is the folder for storing the project styles.
  • js/index.js is the JavaScript file where you need to add code.

Click on Go Live button in the bottom right corner of WebIDE, to run the project.

Next, open "Web 8080" on the top of the VM and refresh it manually and you will see the page.

In this step, you will implement the render method to display the search results.

  1. In the js/index.js file, locate the render method in the search object.
  2. Inside the render method, add the following code to generate the HTML template for the search results and update the listEl element:
const template = this.data.reduce(
  (prev, next) => prev + `<li>${next.content}</li>`,
  ""
);
this.listEl.innerHTML = template;

The reduce method is used to create an HTML template string that displays the content property of each item in the data array.

Implement the handleInput Method

In this step, you will implement the handleInput method to process the search functionality.

  1. In the js/index.js file, locate the handleInput method in the search object.
  2. Inside the handleInput method, add the following code to filter the data array based on the input value and then render the search results:
const value = e.target.value;
// Use timer to simulate ajax send request, data receive data
setTimeout(() => {
  this.data = !!value
    ? data.filter((val) => val.content.indexOf(value) !== -1)
    : [];
  this.render();
});

The setTimeout function is used to simulate an asynchronous operation, such as an AJAX request, to receive the search data.

Bind the Input Event

In this step, you will learn how to bind the input event to the input box and call the handleInput method when the value of the input box changes.

  1. Open the js/index.js file.
  2. Locate the handle function in the search object.
  3. Inside the handle function, add the following code to bind the input event to the inputEl element and call the handleInput method:
this.inputEl.addEventListener("input", this.handleInput.bind(this));

The bind(this) part is important to ensure that the this inside the handleInput method refers to the search object itself.

After completing these four steps, the js/index.js file should now have the complete implementation of the search functionality, and the project should work as expected. The final effect should be as follows:

Effect
✨ Check Solution and Practice

Summary

Congratulations! You have completed this project. You can practice more labs in LabEx to improve your skills.

Other JavaScript Tutorials you may like