
Introduction
This tutorial guides you through the process of viewing and managing your Git username in the terminal. Understanding how to check and configure your Git username is essential for maintaining a consistent and organized version control system. Git uses your username to identify who made specific changes to files, which is particularly important when collaborating with other developers.
By the end of this tutorial, you will know how to check if Git is installed, view your current Git username configuration, set or update your Git username, configure repository-specific usernames, and create convenient aliases to quickly check your username in the future.
Checking Git Installation and Understanding Configuration
Git maintains three levels of configuration that determine how your identity and preferences are stored:
System level: Applied to all users on the system
- Located at
/etc/gitconfig - Accessed with
git config --system
- Located at
Global (user) level: Applied to a specific user and all their repositories
- Located at
~/.gitconfigor~/.config/git/config - Accessed with
git config --global
- Located at
Local (repository) level: Applied only to a specific repository
- Located at
.git/configwithin a repository - Accessed with
git config --localor simplygit config
- Located at
Let's first verify that Git is installed on your system by checking its version:
- Open the terminal in the LabEx environment
- Type the following command and press Enter:
git --version
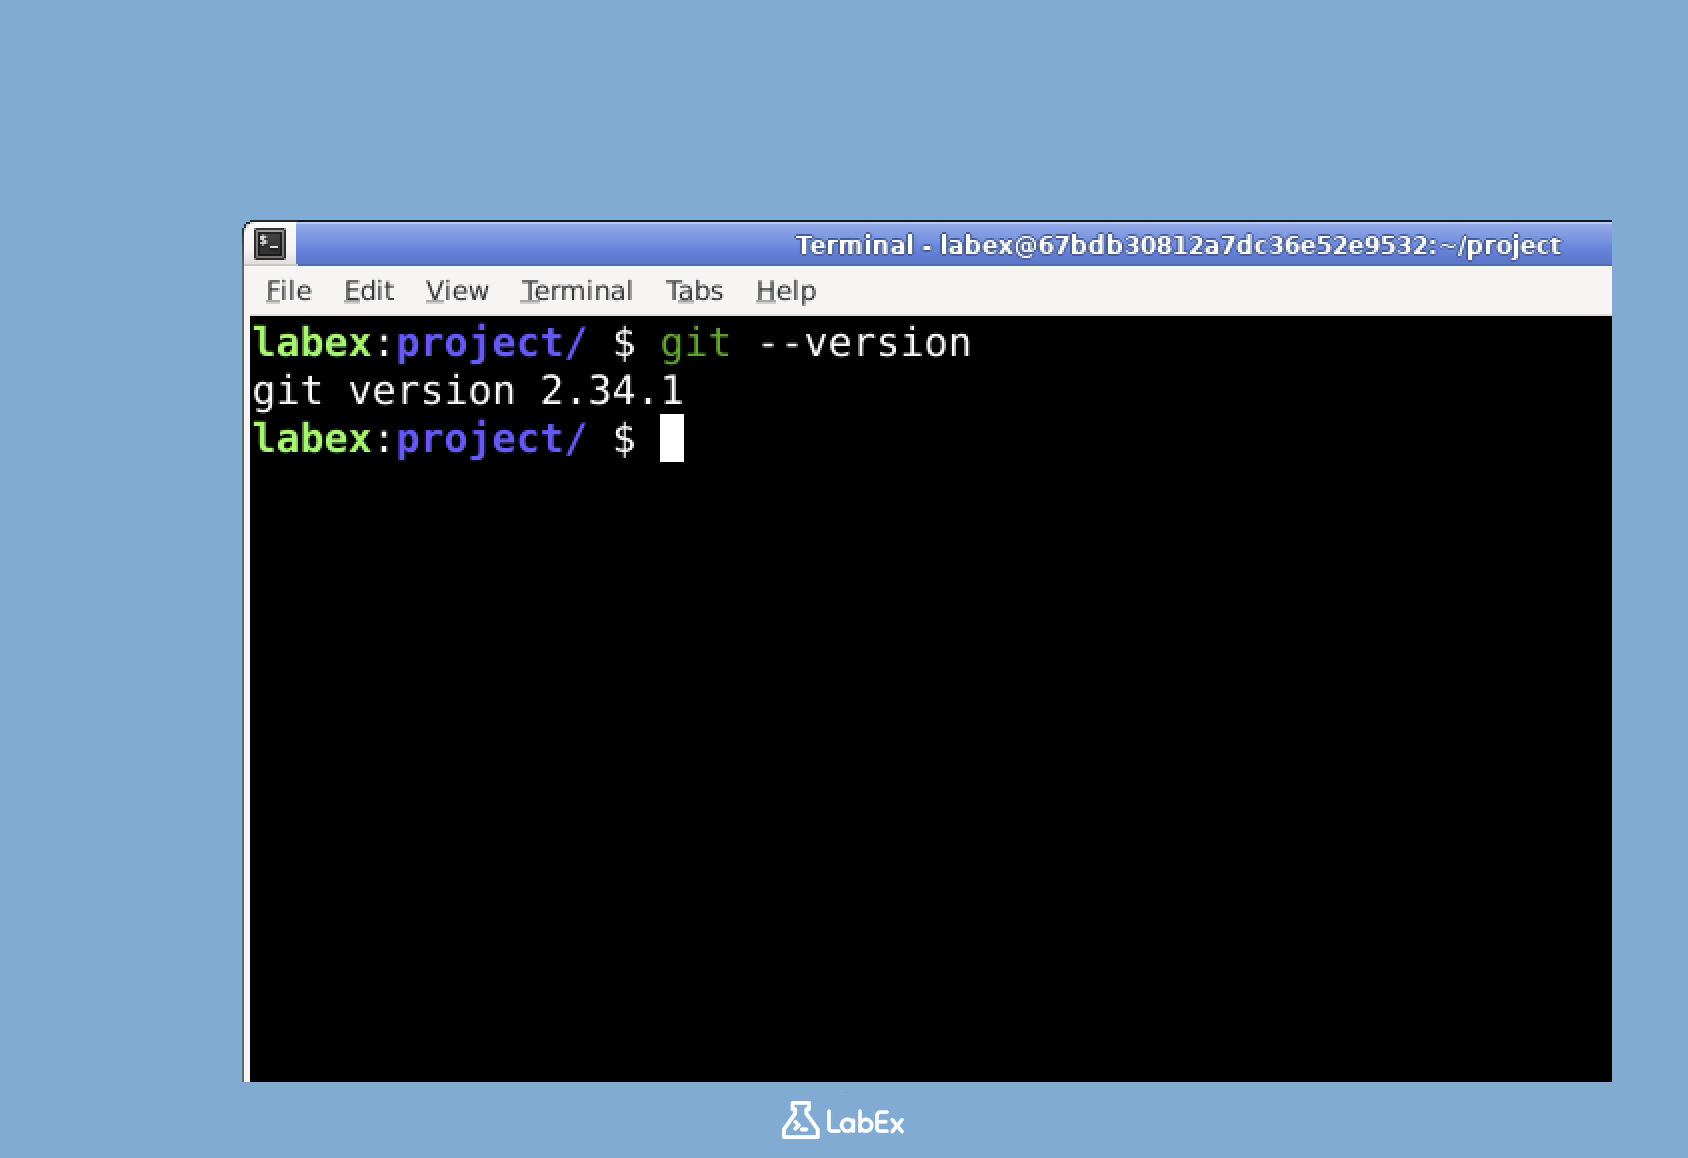
This command will display the version of Git installed on your system. You should see output similar to git version 2.34.1.
The Git username is typically set at the global level so it applies to all your repositories. This username is used to identify you as the author of commits, which is recorded in the Git history.
Viewing Your Current Git Configuration
Now that we've confirmed Git is installed, let's check your current Git configuration to see if your username is already set.
There are several ways to view your Git configuration settings:
View All Git Configuration Settings
To see all your Git configuration settings, run:
git config --list
This will display all configured Git settings, including your username (if set) as user.name and your email as user.email.
View Your Git Username Specifically
To view only your Git username, run:
git config user.name
If your username is already configured, this command will display it. If you haven't set your username yet, the command won't return any output.
Check Global-Level Username Configuration
To specifically check if your username is set at the global level, run:
git config --global user.name
This command focuses only on the global configuration and ignores repository-specific settings.
You can also check your email configuration, which is typically set alongside your username:
git config --global user.email
Don't worry if these commands don't show any output or if you see unexpected values. In the next step, we'll set or update your Git username and email.
Setting Your Git Username
After checking your current configuration, let's set or update your Git username. Setting your Git username is important because it identifies you as the author of commits in your Git repositories.
Setting Your Global Git Username
To set your Git username at the global level (affecting all your repositories):
- Type the following command in your terminal:
git config --global user.name "Your Name"
- Replace
"Your Name"with your preferred name or username. For example:
git config --global user.name "John Doe"
The quotes are important, especially if your name contains spaces.
- Verify that your username has been set correctly:
git config --global user.name
You should now see your newly configured username displayed in the terminal.
Setting Your Git Email
It's also good practice to set your email address alongside your username:
- Set your global email with:
git config --global user.email "your.email@example.com"
Replace
"your.email@example.com"with your actual email address.Verify your email configuration:
git config --global user.email
With both your name and email properly configured, Git will correctly attribute your commits in any repository you work on.
Setting Repository-Specific Git Configuration
While global Git configuration applies to all your repositories, you can also set repository-specific configurations. This is useful when you want to use different identities for different projects, such as separating personal and work contributions.
Let's create a test repository and set a local username for it:
Creating a Test Repository
- First, create a new directory for your test repository:
mkdir ~/project/test-repo
- Navigate to the newly created directory:
cd ~/project/test-repo
- Initialize a new Git repository:
git init
You should see a message indicating that an empty Git repository has been initialized.
Setting a Repository-Specific Username
- Now, set a repository-specific username:
git config user.name "Repo Specific Username"
Notice that we didn't use the --global flag this time. This means the configuration only applies to this specific repository.
- Verify the repository-specific username:
git config user.name
You should see "Repo Specific Username" or whatever name you specified.
Understanding Configuration Priority
You can see both your global and local configurations with:
git config --list
You'll notice that the local user.name setting appears in the list along with your global setting. When Git looks up configuration values, it prioritizes:
- Repository-specific settings first
- Global user settings second
- System settings last
This means that within this repository, Git will use your repository-specific username rather than your global username when you make commits.
Creating Git Username Aliases
To make it easier to check your Git username in the future, you can create custom aliases. An alias is a shortcut command that executes a longer command, saving you time and effort.
Creating a Simple Git Username Alias
Let's create an alias called git-whoami that will display your current Git username:
- Open your shell configuration file with nano:
nano ~/.zshrc
Navigate to the end of the file using the arrow keys.
Add the following line at the end of the file:
alias git-whoami='echo "Your Git username is: $(git config user.name)"'
Save the file by pressing
Ctrl+Ofollowed byEnter, then exit nano by pressingCtrl+X.Apply the changes to your current terminal session:
source ~/.zshrc
- Now test your new alias by typing:
git-whoami
This will display your Git username with a descriptive message.
Creating a More Detailed Identity Alias
You can also create a more comprehensive alias that shows both your username and email:
- Open your shell configuration file again:
nano ~/.zshrc
- Add this additional alias at the end of the file:
alias git-identity='echo "Git User: $(git config user.name)" && echo "Git Email: $(git config user.email)"'
Save and exit nano as before (
Ctrl+O,Enter,Ctrl+X).Apply the changes:
source ~/.zshrc
- Test your new alias:
git-identity
This will display both your Git username and email address.
These aliases make it much more convenient to check your Git identity settings whenever needed. You can create similar aliases for other Git commands you use frequently.
Summary
In this tutorial, you have learned how to:
- Verify Git installation on your system
- View your current Git configuration, including your username
- Set or update your Git username at the global level
- Configure repository-specific Git usernames
- Create convenient aliases to quickly check your Git identity
These skills are essential for proper Git workflow management, especially when collaborating with other developers. By ensuring your Git username is correctly configured, you maintain clear attribution of your contributions in project histories.
Remember that your Git username is separate from your system username and can be customized according to your preferences or project requirements. For professional projects, using your real name is recommended, while for open-source contributions or personal projects, you might prefer using a consistent pseudonym.
With these skills, you can now confidently manage your Git identity across different repositories and projects.


