Introduction
This lab will enhance your Java skills by introducing methods and the fundamentals of object-oriented programming (OOP). These concepts are essential for writing well-structured, reusable, and efficient code. We will cover:
- Creating and utilizing methods to organize code and facilitate reusability.
- Understanding the core ideas behind classes and objects.
- Implementing a basic class that includes methods and attributes.
By the end of this lab, you will be capable of writing Java programs that leverage methods to divide complex problems into smaller, more manageable segments. You'll also gain an understanding of how object-oriented programming operates in Java, a crucial skill for building larger, more complex applications. If these concepts initially seem intricate, don't worry—we'll approach them step by step, and by the lab's conclusion, you will appreciate how these ideas contribute to more organized and powerful code.
Let's begin!
Understanding and Creating Methods
Methods are essentially small programs within your main program. They help you organize your code, improve its readability, and enable code reuse without needing to write the same code repeatedly. Consider methods as specialized tools in a toolkit—each designed for a specific purpose.
Start by opening the
MethodDemo.javafile in the WebIDE. You should see this starter code:public class MethodDemo { public static void main(String[] args) { System.out.println("Welcome to the Method Demo!"); // TODO: Call methods here } // TODO: Add methods here }This is the fundamental structure of our Java program. The
mainmethod is the entry point where our program's execution begins.Now, let's create our first method. We'll make a simple method that prints a greeting. Add this method outside and after the
mainmethod, at the class level:public class MethodDemo { public static void main(String[] args) { System.out.println("Welcome to the Method Demo!"); // TODO: Call methods here } // Add the new method here, outside and after the main method public static void printGreeting(String name) { System.out.println("Hello, " + name + "! Welcome to Java methods."); } }Let's break down what this means:
public: This keyword indicates that the method can be accessed from other classes.static: This means that the method belongs to the class itself, not to a particular instance of the class. We'll delve into this concept more deeply later; for now, think of it as a requirement for methods we want to use without creating an object.void: This signifies that our method does not return any value. It performs an action—printing a greeting—but does not hand back any data.printGreeting: This is the name we've assigned to our method. We will use this name to invoke or call the method.(String name): This is a parameter—a piece of data our method accepts. It expects a String, which we've namedname. When we call this method, we'll need to provide a value for this parameter.
Great! Now that we've created a method, let's use it. Within the
mainmethod, replace the// TODO: Call methods herecomment with:printGreeting("Alice");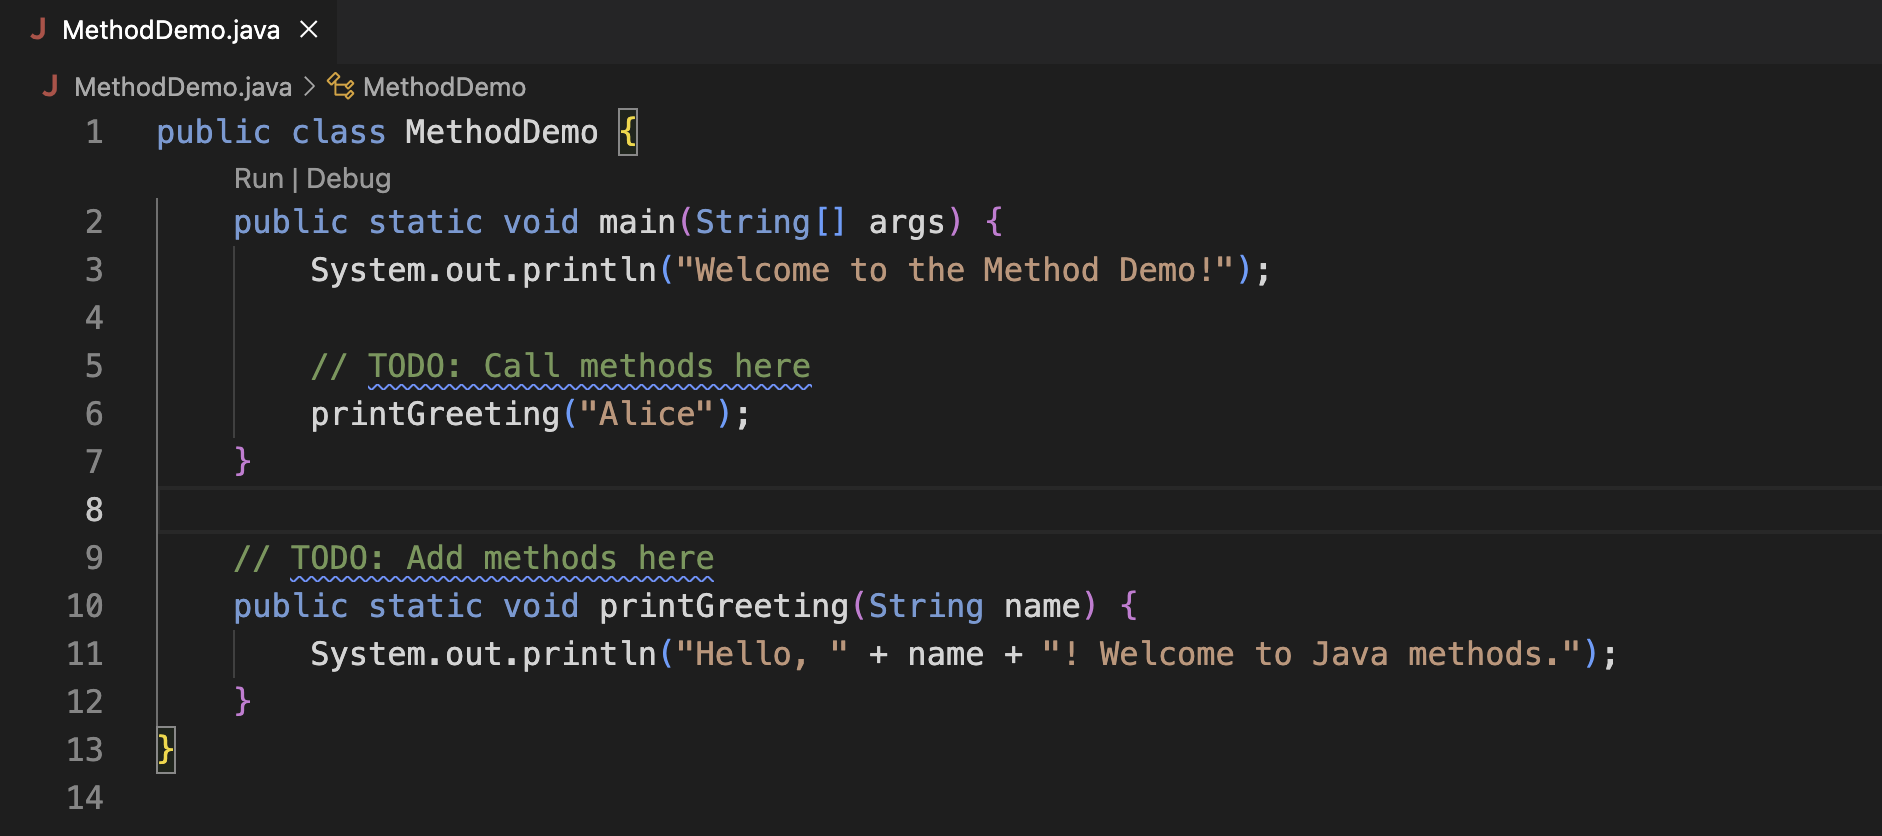
This line calls or invokes our
printGreetingmethod and passes it the name "Alice" as an argument. The argument provides the specific input the method needs to perform its action.Save the file, and let's compile and run the program. In the terminal at the bottom of your WebIDE, type these commands:
javac ~/project/MethodDemo.java
java -cp ~/project MethodDemo
The first command compiles our Java file, translating it into bytecode that the Java Virtual Machine can understand. The second command runs the compiled program. You should see output similar to this:
Welcome to the Method Demo!
Hello, Alice! Welcome to Java methods.
Excellent! You've just created and utilized your first Java method. Let's call it again with a different name. Add this line in the
mainmethod, right after the firstprintGreetingcall:printGreeting("Bob");Save, compile, and run the program again. You should now see:
Welcome to the Method Demo!
Hello, Alice! Welcome to Java methods.
Hello, Bob! Welcome to Java methods.
Notice how we can reuse our method with different inputs? This is a significant benefit of using methods.
Now, let's create a method that returns a value. Add this method to your class, below the
printGreetingmethod:public static int sumNumbers(int a, int b) { return a + b; }This method accepts two integers, adds them together, and returns the result. Notice that instead of
void, we useintto indicate that this method returns an integer value.Let's use this new method in our
mainmethod. Add these lines at the end of themainmethod:int result = sumNumbers(5, 7); System.out.println("The sum of 5 and 7 is: " + result);Here, we are invoking our
sumNumbersmethod, providing the values 5 and 7 as arguments. The method's return value is then stored in a variable calledresult. After storing the return value, we print the value to the console.Save, compile, and run the program once more. You should now see the additional output:
The sum of 5 and 7 is: 12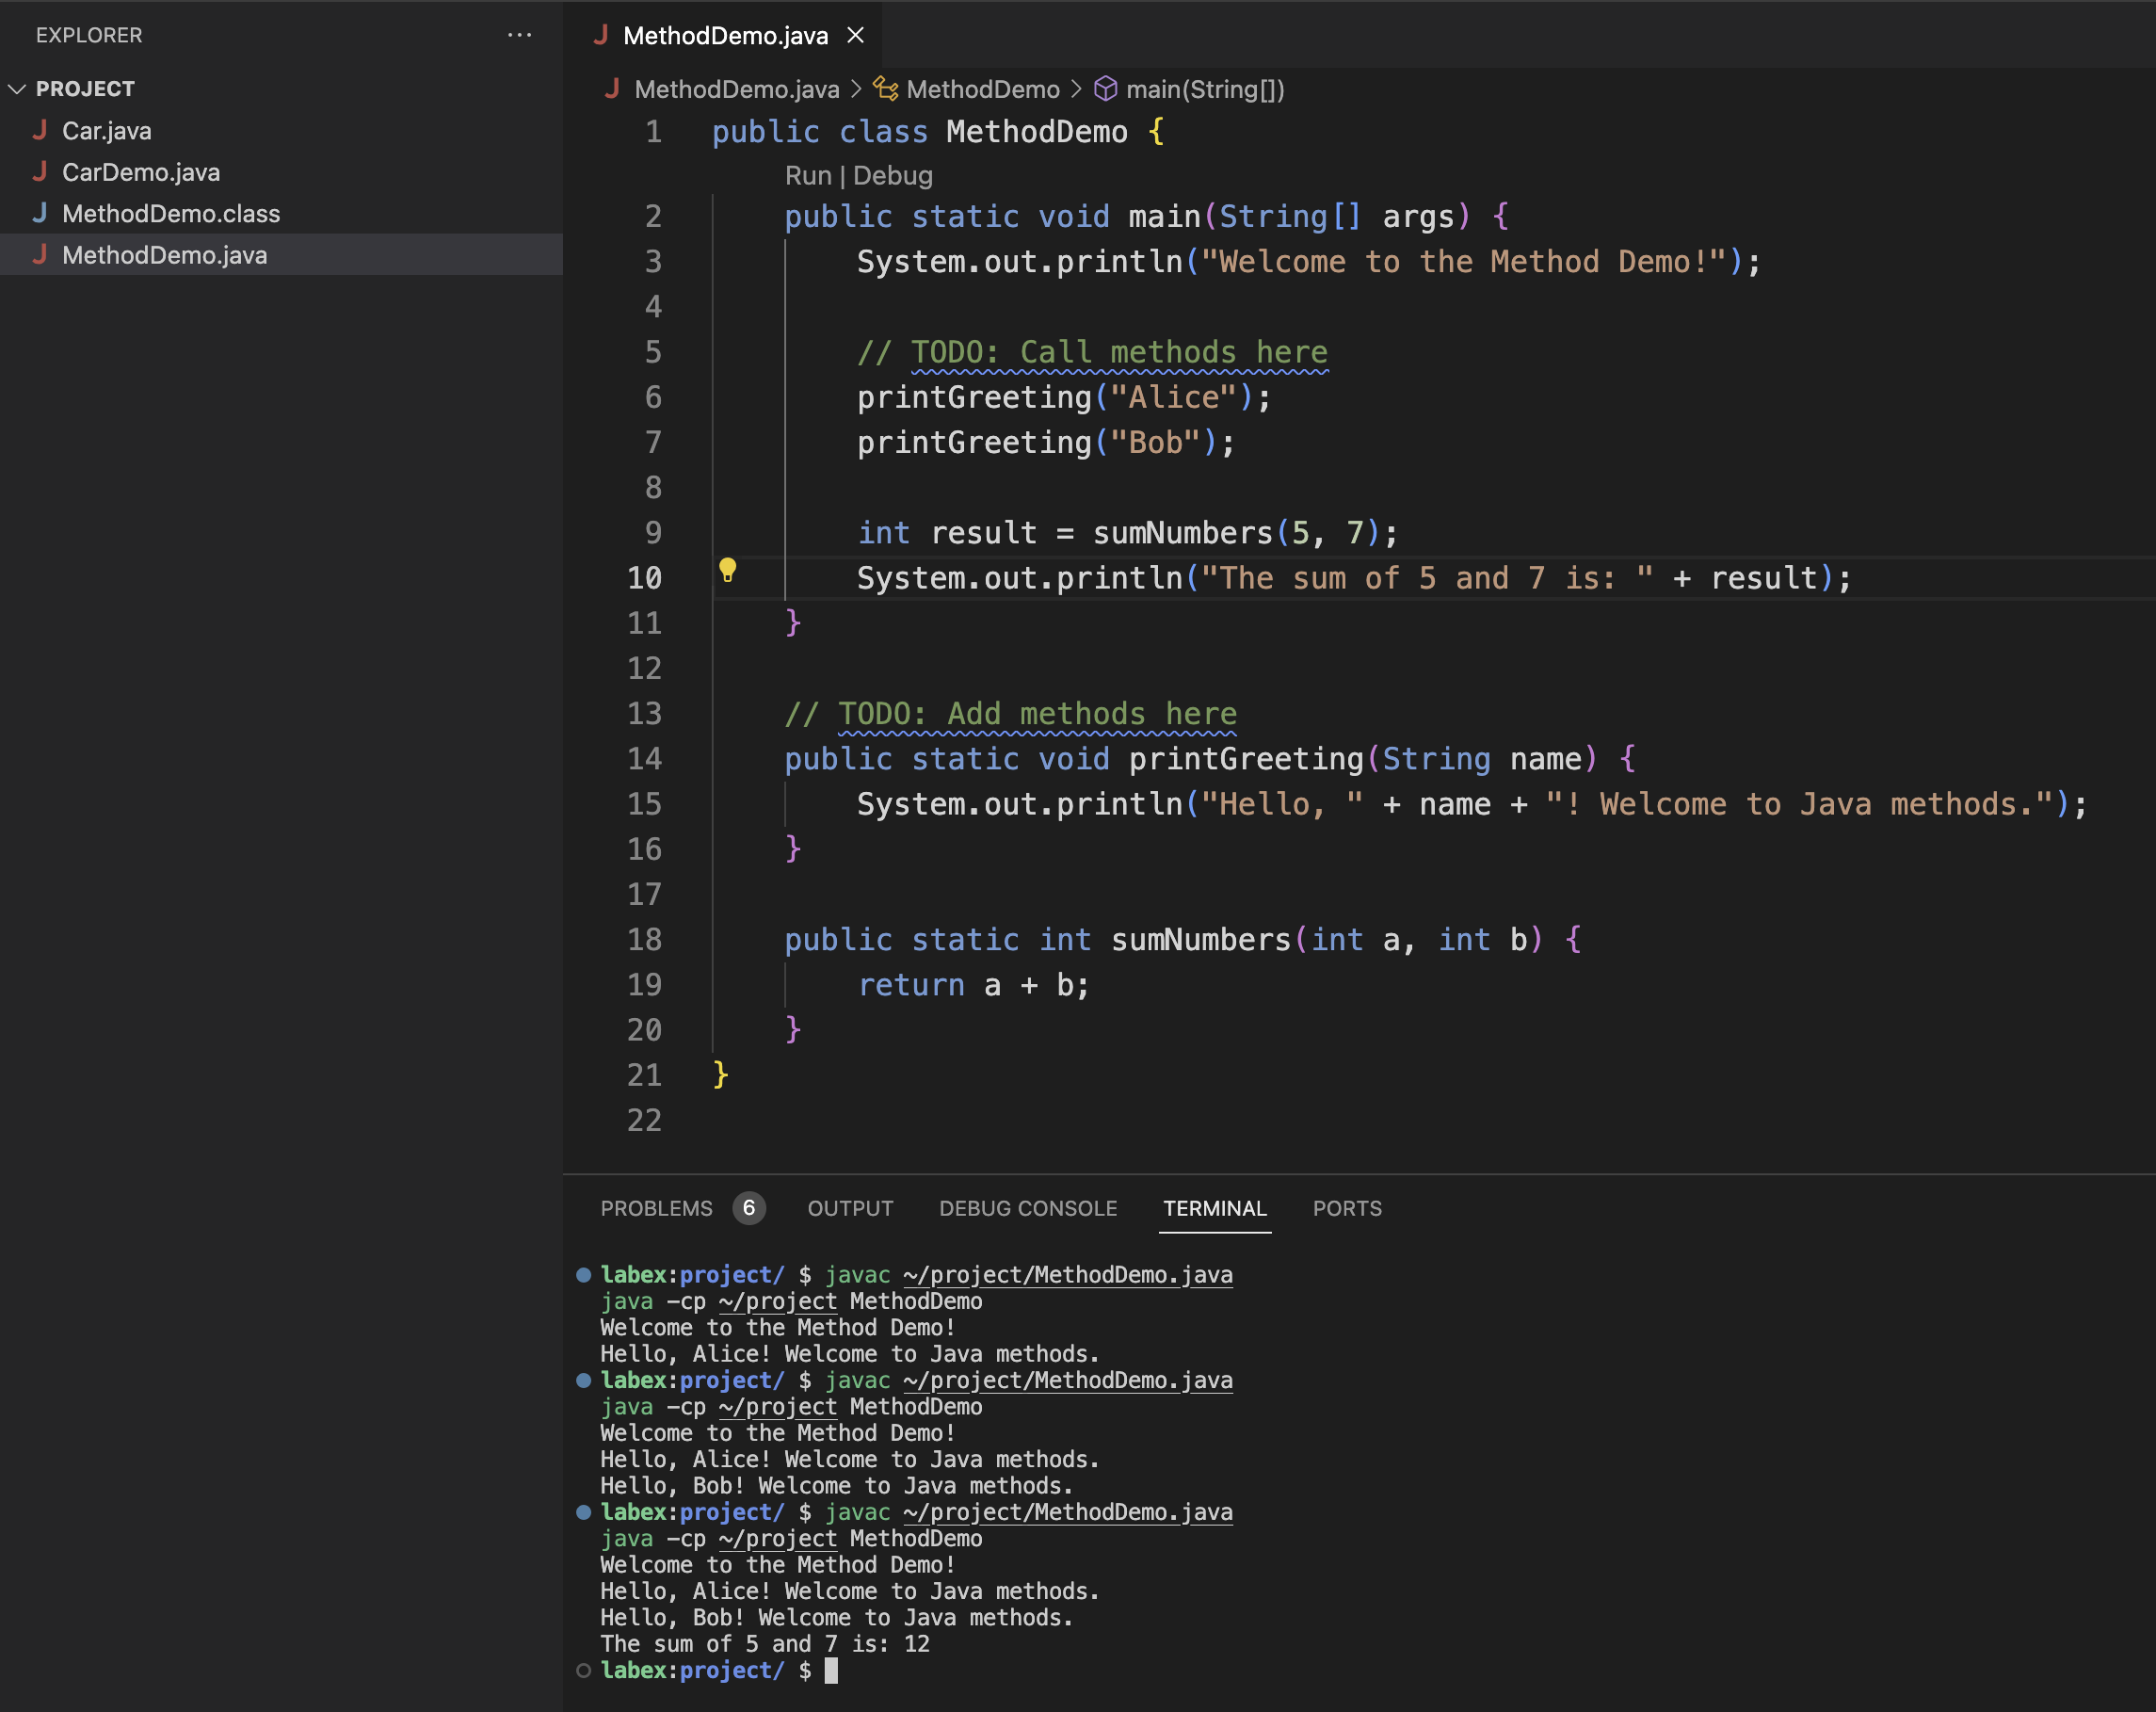
Congratulations! You've created and used your first Java methods. You've seen how methods can perform actions (like displaying greetings) and provide return values (like the sum of two numbers). Methods allow you to structure your code into smaller, reusable pieces, making your programs easier to understand and maintain.
Introduction to Classes and Objects
Now that we grasp methods, let's take a step into object-oriented programming by creating a simple class. In object-oriented programming, we use classes as blueprints to create objects. Think of a class as a cookie cutter, and objects as the cookies you make with it.
Open
Car.javaand let's begin building our class. First, we'll define the class and add some attributes:public class Car { // Attributes private String make; private String model; private int year; }These attributes (also called fields or properties) define what every
Carobject will possess. Each car will have a make, a model, and a year of manufacture.The
privatekeyword signifies that these attributes can only be accessed from within the class itself. This is an example of encapsulation, a concept that helps protect the integrity of data within our objects.Now, let's add a constructor to our class. A constructor is a special method that's automatically called when we create a new object. It's primarily used to initialize the object's attributes. Add this constructor to your
Carclass:// Constructor public Car(String make, String model, int year) { this.make = make; this.model = model; this.year = year; }This constructor takes three parameters and uses them to set the values of our attributes. The
thiskeyword is used to refer to the current object's attributes—it helps to differentiate between the attribute of the object and the parameter passed to the constructor when their names are identical.Next, let's add a method to our class that will display information about the car. Add this method to your
Carclass:// Method public void displayInfo() { System.out.println("Car Information:"); System.out.println("Make: " + make); System.out.println("Model: " + model); System.out.println("Year: " + year); }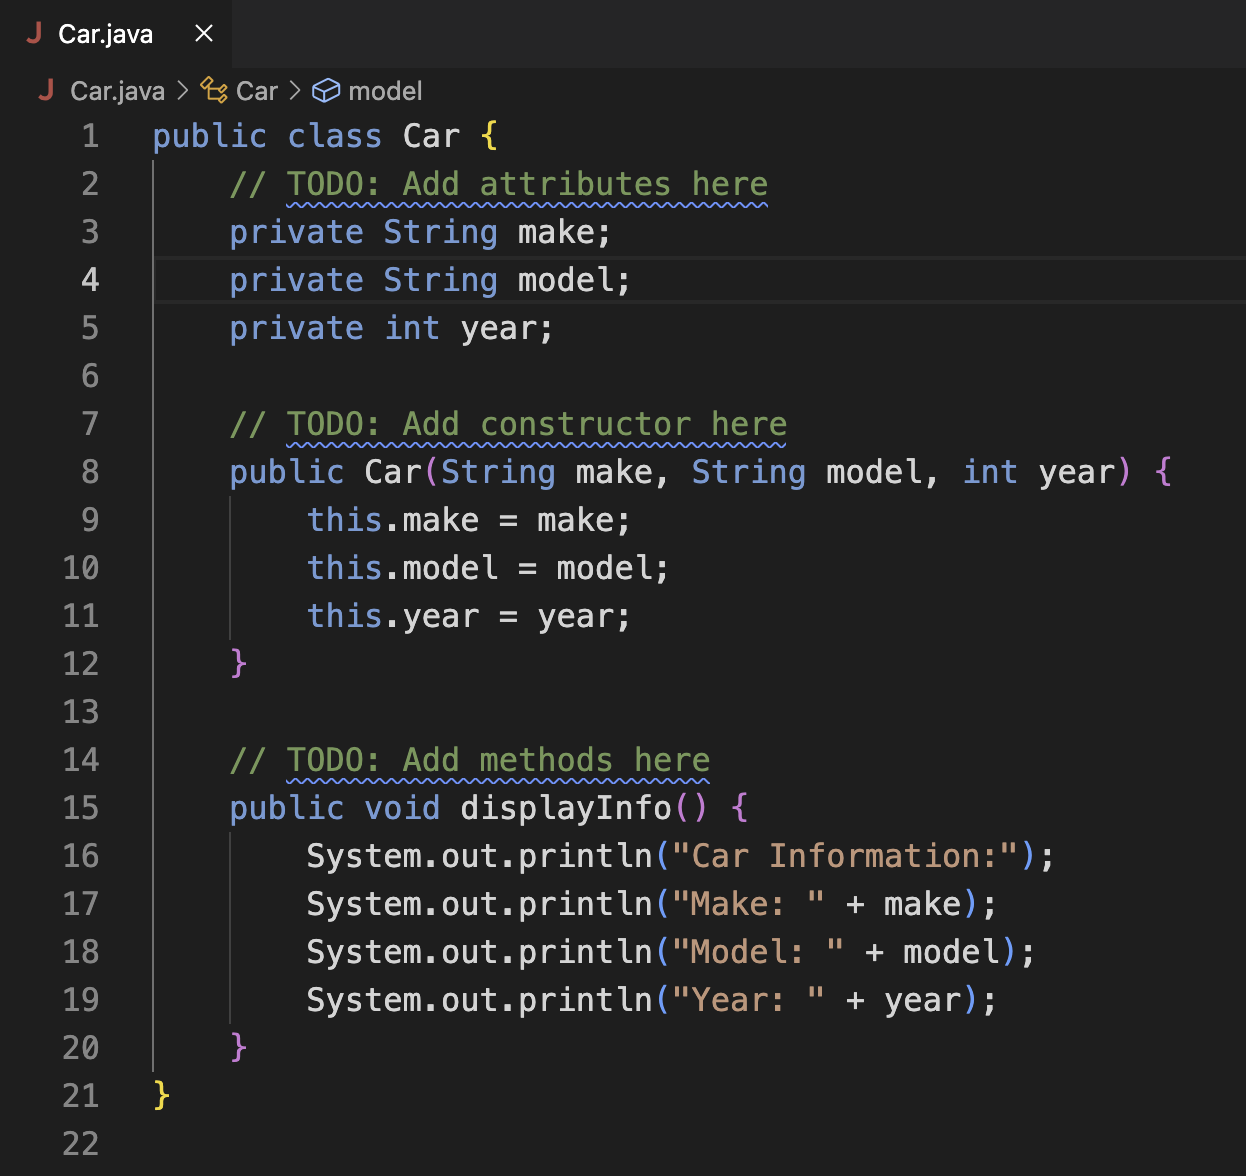
This method doesn't take any parameters and doesn't return any value. It simply prints out the car's information to the console.
Great! We've created our
Carclass. Now let's openCarDemo.javaand add the following code:public class CarDemo { public static void main(String[] args) { // We'll add code here in the next step } }This establishes the basic structure for our demo program.
Now, let's create some
Carobjects and use them. Add this code inside themainmethod:Car myCar = new Car("Toyota", "Corolla", 2022); myCar.displayInfo(); Car friendsCar = new Car("Honda", "Civic", 2023); friendsCar.displayInfo();Here, we're creating two
Carobjects. Thenewkeyword is used to create a new object, and we're calling the constructor we defined earlier to set the make, model, and year. Then, we're calling thedisplayInfomethod on each car object to display their properties.Before we compile and run our program, it is important to note that we're working with multiple Java files (
Car.javaandCarDemo.java). When compiling multiple files that have dependencies, we need to compile them together. Also, ensure thatCarDemo.javaandCar.javaare located within the same directory, otherwise, you'll need to import theCarclass at the beginning ofCarDemo.javaas shown below.If
CarDemo.javaandCar.javaare located in different directories, you might need to add an import statement at the top ofCarDemo.java:import packagename.Car; // Replace 'packagename' with the actual package name if applicableNow, let's compile and run the
CarDemoprogram:javac ~/project/Car.java ~/project/CarDemo.java java -cp ~/project CarDemoThe first command compiles both our Java files together, making sure that all dependencies are addressed. The second command runs our
CarDemoclass.You should see output like this:
Car Information:
Make: Toyota
Model: Corolla
Year: 2022
Car Information:
Make: Honda
Model: Civic
Year: 2023
Congratulations! You've just created your first Java class and used it to create objects. This is the basis of object-oriented programming in Java. You've defined a blueprint (the Car class) and used it to create specific instances (the Car objects). Each object has its own unique set of attributes, but they all share the structure and behavior defined by the class.
Enhancing Our Class with More Methods
Now that we have a fundamental understanding of classes and objects, let's improve our Car class with more methods to increase its utility. We'll add methods that represent actions a car can perform and properties we might want to inquire about a car.
Open the
Car.javafile. Let's add a method that represents the car accelerating. Add this method to theCarclass:public void accelerate() { System.out.println("The " + make + " " + model + " is accelerating."); }This method doesn't modify any of the car's attributes; it simply displays a message about the car accelerating.
Now, let's add a method for braking. Add this method to the
Carclass:public void brake() { System.out.println("The " + make + " " + model + " is braking."); }This method also just displays a message about the car's action, like the previous
acceleratemethod.Next, let's add a method that provides information about the car. Add this method:
public String getMakeAndModel() {
    return make + " " + model;
}
This method combines the make and model into a single string and returns it. Notice that the return type is
String, notvoid, since this method is providing us with information.Finally, let's add a method that determines whether a car is classified as an antique. In many places, a car is considered an antique if it's more than 25 years old. Add this method:
 public boolean isAntique() {
     int currentYear = java.time.Year.now().getValue();
     return (currentYear - year) > 25;
 }
This method uses Java's built-in
Yearclass to obtain the current year. It then calculates the age of the car and returnstrueif it's older than 25 years, andfalseotherwise.With these additional methods added to our
Carclass, let's update ourCarDemo.javafile to use them. OpenCarDemo.javaand replace its contents with:public class CarDemo { public static void main(String[] args) { Car myCar = new Car("Toyota", "Corolla", 2022); Car classicCar = new Car("Ford", "Mustang", 1965); myCar.displayInfo(); myCar.accelerate(); myCar.brake(); System.out.println(classicCar.getMakeAndModel() + " is an antique: " + classicCar.isAntique()); Car[] carArray = {myCar, classicCar}; for (Car car : carArray) { System.out.println(car.getMakeAndModel() + " is an antique: " + car.isAntique()); } } }This new
mainmethod accomplishes several things:- It creates two
Carobjects: a modern car and a classic car. - It calls our newly added
accelerateandbrakemethods on the modern car object. - It uses the
getMakeAndModelandisAntiquemethods on the classic car object. - It creates an array of
Carobjects and uses a for-each loop to iterate through them, demonstrating how we can handle collections of objects.
- It creates two
Save both files, then compile and run the
CarDemoprogram:javac ~/project/Car.java ~/project/CarDemo.java java -cp ~/project CarDemoYou should see output similar to this:
Car Information:
Make: Toyota
Model: Corolla
Year: 2022
The Toyota Corolla is accelerating.
The Toyota Corolla is braking.
Ford Mustang is an antique: true
Toyota Corolla is an antique: false
Ford Mustang is an antique: true
Congratulations! You've significantly extended your Car class and created a more intricate program using objects. This demonstrates how object-oriented programming can be used to model real-world concepts in code. Each car object now possesses its own data (make, model, year) and actions (accelerate, brake, etc.), much like real cars do.
We added methods to our
Carclass that represent actions (accelerate()andbrake()). While these methods don't alter the car's state in our current implementation, in a more complex program, they could modify attributes like speed or fuel level.We added
getMakeAndModel(), which combines two pieces of information into a single string. This is a common pattern in object-oriented programming—creating methods that offer convenient access to object data.The
isAntique()method shows how object data (the car's year) can be combined with external information (the current year) to derive new information about an object.In our
CarDemoclass, we demonstrated how to create and use multiple objects, how to call various methods on these objects, and how to iterate through an array of objects.
This example demonstrates the power of object-oriented programming. We've created a Car class that encapsulates both data (make, model, year) and behavior (accelerate, brake, isAntique). Each Car object that we create is independent, with its own unique set of data, but they all follow the same set of actions as defined by the class.
Summary
In this lab, we've made substantial progress in our Java programming journey. We have covered some basic but essential concepts that are foundational for writing more complex and organized Java programs. Let's summarize what we've learned:
Methods:
- We created and used methods to structure our code and make it more reusable.
- We explored how methods can accept parameters and return values, allowing us to divide complex problems into smaller, manageable tasks.
- Methods help us reduce code repetition and make our programs easier to comprehend and maintain.
Classes and Objects:
- We introduced the concept of classes as blueprints for creating objects.
- We built a
Carclass with attributes (make, model, year) and methods (displayInfo, accelerate, brake, etc.). - We learned how to instantiate objects (instances of a class) and invoke methods on those objects.
Object-Oriented Programming:
- We observed how object-oriented programming allows us to model real-world ideas in our code.
- We encapsulated data (attributes) and behavior (methods) within our
Carclass. - We created multiple
Carobjects, demonstrating how each object has its own set of data but shares the same actions defined by the class.
Enhanced Class Functionality:
- We expanded our
Carclass with more complex methods, including one that utilizes Java's built-in date tools to determine whether a car is an antique. - We saw how methods can interact with object data and external information to generate new information.
- We expanded our
Working with Multiple Objects:
- We created an array of
Carobjects, demonstrating how to work with collections of objects in our programs.
- We created an array of
These concepts form the foundation of Java programming and are essential for creating larger, more intricate applications. As you continue your Java journey, you'll find yourself utilizing these concepts repeatedly.
Remember, mastering programming requires consistent practice. Here are some ideas to extend your learning:
- Try adding more attributes to the
Carclass, likecolorormileage. - Create methods that modify these attributes, such as
paint(String newColor)ordrive(int miles). - Create a
Garageclass that can store multipleCarobjects. Add methods to add cars to the garage, remove cars, and display all cars in the garage. - Experiment with creating classes for other types of objects, such as
BookorStudent.
Continue coding, continue exploring, and most importantly, continue having fun! You're well on your way to becoming a proficient Java programmer.