
Introduction
Welcome to the HTML Personal Webpage Project! In this lab, you will build a complete, single-page website from the ground up using the fundamental building blocks of the web: HTML. This hands-on project is designed for beginners and will guide you through the essential tags and concepts needed to create a structured and content-rich webpage.
You will learn how to:
- Define the basic structure of an HTML document.
- Use headings and paragraphs to format text.
- Organize information with lists.
- Embed images and create hyperlinks.
- Structure data with tables and create a simple contact form.
A web server and basic styling (CSS) have been pre-configured for you. Your primary focus will be on writing clean, semantic HTML. You can preview your work in real-time by switching to the Web 8080 tab in the lab environment. Let's get started!
Set up document structure with head and body
In this step, you will set up the basic structure of your HTML document. Every HTML page has a standard boilerplate structure that includes the <!DOCTYPE>, <html>, <head>, and <body> tags.
<!DOCTYPE html>: This declaration defines the document type to be HTML5.<html>: This is the root element of an HTML page.<head>: This element contains meta-information about the document, such as its title and links to stylesheets. The content inside<head>is not displayed on the page itself.<title>: This sets the title of the browser tab.<body>: This element contains the visible page content that is displayed in the browser.
First, open the index.html file located in the ~/project directory using the file explorer on the left. The file is currently empty. Copy and paste the following code into index.html:
<!DOCTYPE html>
<html lang="en">
  <head>
    <meta charset="UTF-8" />
    <meta name="viewport" content="width=device-width, initial-scale=1.0" />
    <title>My Personal Webpage</title>
    <link rel="stylesheet" href="css/style.css" />
  </head>
  <body>
    <div class="container">
      <!-- Content will go here in the next steps -->
    </div>
  </body>
</html>
After pasting the code, save the file (Ctrl+S or Cmd+S). Now, click on the Web 8080 tab at the top of the lab interface. You should see a blank page, but notice that the browser tab's title is now "My Personal Webpage".
Add formatted text using headings and paragraphs
In this step, you will add the first pieces of visible content to your webpage using headings and paragraphs. These are fundamental tags for structuring text.
<h1>: This is a top-level heading tag, typically used for the main title of a page. Search engines use headings to index the structure and content of your web pages.<p>: This is the paragraph tag, used for blocks of text.
Let's add your name as the main heading and a short bio. In your index.html file, find the comment <!-- Content will go here in the next steps --> inside the <div class="container"> and replace it with the following code:
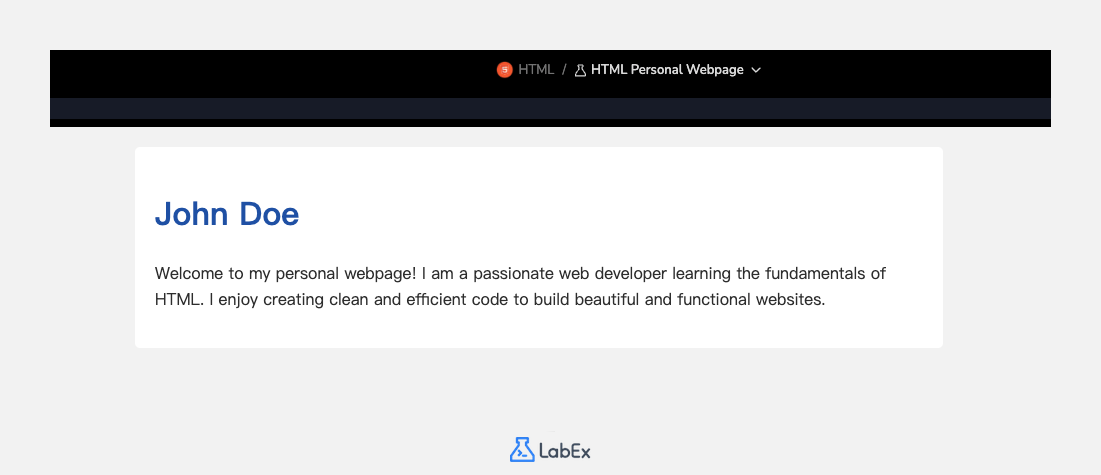
<h1>John Doe</h1>
<p>
  Welcome to my personal webpage! I am a passionate web developer learning the
  fundamentals of HTML. I enjoy creating clean and efficient code to build
  beautiful and functional websites.
</p>
Your complete index.html file should now look like this:
<!DOCTYPE html>
<html lang="en">
  <head>
    <meta charset="UTF-8" />
    <meta name="viewport" content="width=device-width, initial-scale=1.0" />
    <title>My Personal Webpage</title>
    <link rel="stylesheet" href="css/style.css" />
  </head>
  <body>
    <div class="container">
      <h1>John Doe</h1>
      <p>
        Welcome to my personal webpage! I am a passionate web developer learning
        the fundamentals of HTML. I enjoy creating clean and efficient code to
        build beautiful and functional websites.
      </p>
    </div>
  </body>
</html>
Save the file and refresh the Web 8080 tab. You will now see your name and bio displayed on the page.
Insert lists for skills or interests
In this step, you will use lists to organize information, such as your skills or interests. HTML provides two main types of lists: unordered lists (<ul>) for items without a specific order, and ordered lists (<ol>) for numbered items. Each item in a list is defined with an <li> (list item) tag.
Let's add a section for your skills using an unordered list. Add the following code below the paragraph tag (<p>) you added in the previous step.
<h2>My Skills</h2>
<ul>
  <li>HTML & CSS</li>
  <li>JavaScript</li>
  <li>Python</li>
  <li>Problem Solving</li>
</ul>
This code adds a second-level heading (<h2>) to title the section and an unordered list (<ul>) with four list items (<li>).
After adding the code, your index.html file's <body> should look like this:
<body>
  <div class="container">
    <h1>John Doe</h1>
    <p>
      Welcome to my personal webpage! I am a passionate web developer learning
      the fundamentals of HTML. I enjoy creating clean and efficient code to
      build beautiful and functional websites.
    </p>

    <h2>My Skills</h2>
    <ul>
      <li>HTML & CSS</li>
      <li>JavaScript</li>
      <li>Python</li>
      <li>Problem Solving</li>
    </ul>
  </div>
</body>
Save the file and check the Web 8080 tab to see your new skills section with a bulleted list.
Add links and images with attributes
In this step, you will make your page more dynamic by adding an image and a hyperlink.
<img>: The image tag is used to embed an image. It's a self-closing tag and requires two essential attributes:src: Specifies the path to the image file.alt: Provides alternative text for the image, which is important for accessibility and for when the image cannot be displayed.
<a>: The anchor tag is used to create hyperlinks. Thehrefattribute specifies the URL the link goes to.
First, let's add a profile picture. The setup script has already placed a placeholder image at images/profile.png. Add the <img> tag right below the <h1> tag.
Next, let's add a link to an external site, like a GitHub profile. We'll place this in a new "Find Me Online" section. Add the following code below your skills list:
<!-- Add this img tag below the h1 tag -->
<img src="images/profile.png" alt="A placeholder profile picture" />

<!-- Add this new section below the skills list -->
<h2>Find Me Online</h2>
<p>
  You can find my work on
  <a href="https://github.com/labex-labs" target="_blank">GitHub</a>.
</p>
The target="_blank" attribute on the link tells the browser to open the link in a new tab.
Your index.html file's <body> should now be structured like this:
<body>
  <div class="container">
    <h1>John Doe</h1>
    <img src="images/profile.png" alt="A placeholder profile picture" />
    <p>
      Welcome to my personal webpage! I am a passionate web developer learning
      the fundamentals of HTML. I enjoy creating clean and efficient code to
      build beautiful and functional websites.
    </p>

    <h2>My Skills</h2>
    <ul>
      <li>HTML & CSS</li>
      <li>JavaScript</li>
      <li>Python</li>
      <li>Problem Solving</li>
    </ul>

    <h2>Find Me Online</h2>
    <p>
      You can find my work on
      <a href="https://github.com/labex-labs" target="_blank">GitHub</a>.
    </p>
  </div>
</body>
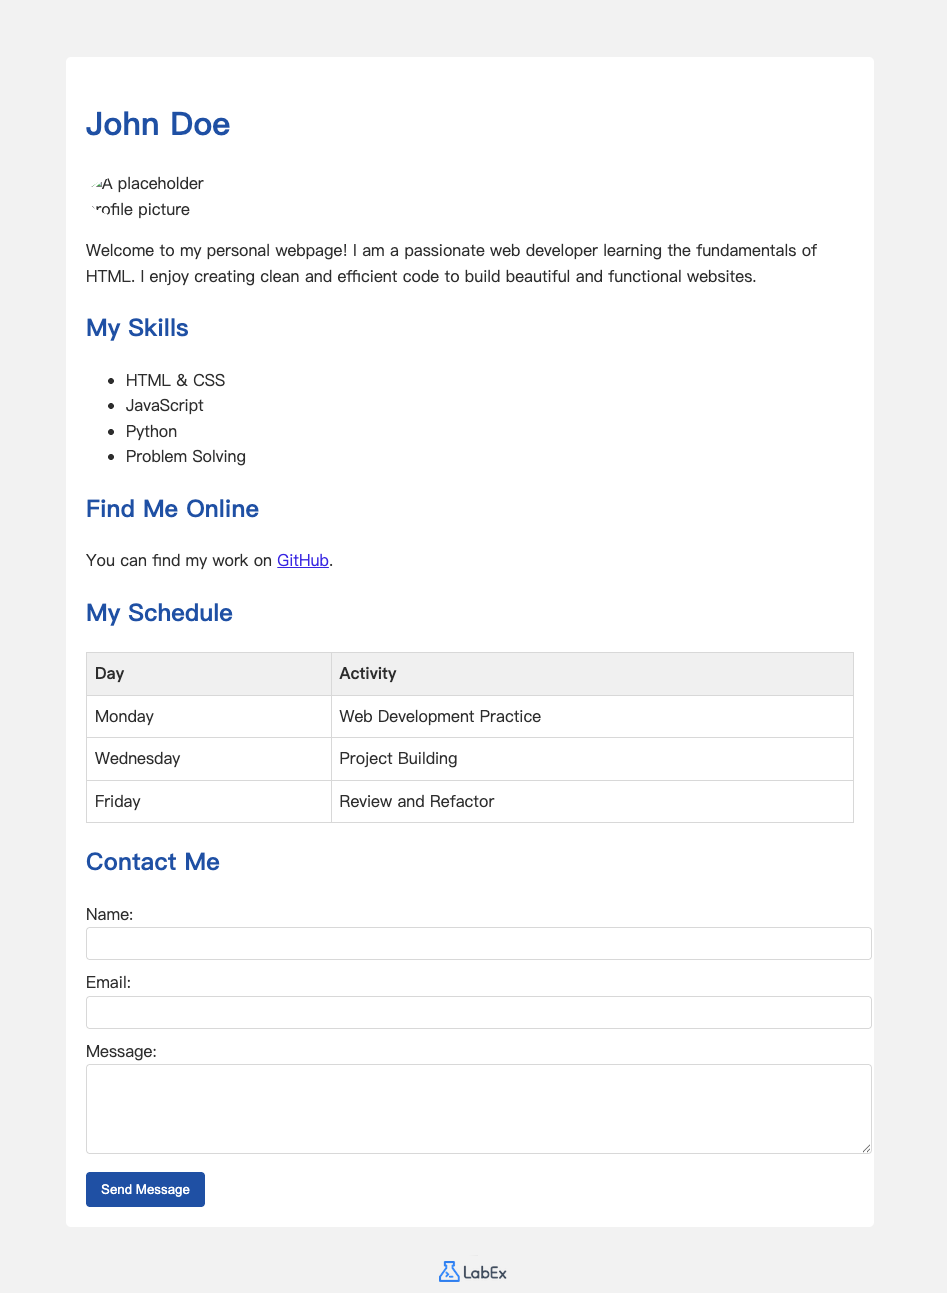
Save the file and refresh the Web 8080 tab. You will see the profile image and a clickable link.
Create table for schedule and form for contact
In this final content step, you will add two more complex structures: a table to display a schedule and a form to allow visitors to contact you.
<table>: Defines a table.<tr>: Defines a row in the table.<th>: Defines a header cell (bold and centered by default).<td>: Defines a data cell.
<form>: Defines an HTML form for user input.<label>: Defines a label for an<input>element.<input>: Defines an input field. Thetypeattribute can betext,email,password, etc.<textarea>: Defines a multi-line text input area.<button>: Defines a clickable button.
First, add a table for a weekly schedule. Add this code below the "Find Me Online" section:
<h2>My Schedule</h2>
<table>
  <tr>
    <th>Day</th>
    <th>Activity</th>
  </tr>
  <tr>
    <td>Monday</td>
    <td>Web Development Practice</td>
  </tr>
  <tr>
    <td>Wednesday</td>
    <td>Project Building</td>
  </tr>
  <tr>
    <td>Friday</td>
    <td>Review and Refactor</td>
  </tr>
</table>
Next, add a contact form. Add this code below the table you just created:
<h2>Contact Me</h2>
<form action="#" method="post">
  <label for="name">Name:</label>
  <input type="text" id="name" name="name" />

  <label for="email">Email:</label>
  <input type="email" id="email" name="email" />

  <label for="message">Message:</label>
  <textarea id="message" name="message" rows="4"></textarea>

  <button type="submit">Send Message</button>
</form>
Save the file and view the Web 8080 tab. Your personal webpage is now complete with a schedule and a contact form!
Summary
Congratulations! You have successfully built a complete personal webpage using HTML.
In this lab, you have practiced using the most fundamental HTML elements to structure a document and present content. You have learned how to:
- Create the basic skeleton of an HTML page with
<html>,<head>, and<body>. - Format text with headings (
<h1>,<h2>) and paragraphs (<p>). - Organize items into an unordered list (
<ul>,<li>). - Embed an image (
<img>) and create a hyperlink (<a>). - Structure data in a
<table>and collect user input with a<form>.
You now have a solid foundation in HTML. Feel free to experiment further by changing the content, adding more pages, or exploring more advanced HTML tags. Keep up the great work on your web development journey!


