
Introduction
HTML forms are a fundamental part of the web, allowing users to interact with websites by entering information. This can range from a simple search box to a complex registration page. In this lab, you will learn the basics of creating an HTML form, including how to add text fields, labels, and submit buttons. We will build a simple contact form step by step.
The lab environment has already started a web server for you. You can write your HTML code in the index.html file and see the live preview by clicking on the Web 8080 tab in the top-left corner.
Create form tag with action attribute
In this step, we will begin by creating the container for our form elements. The <form> tag is used to create an HTML form for user input. All form elements, such as text fields, buttons, and checkboxes, must be placed inside a <form> tag.
The action attribute specifies where to send the form data when the form is submitted. For this lab, we'll leave it empty as we are focusing on the HTML structure, not the back-end processing.
Please open the index.html file from the file explorer on the left and add the following code.
<form action=""></form>
After adding the code, you can switch to the Web 8080 tab to preview the page. You won't see anything yet, as the form is currently empty.
Add input tag with type text for text field
In this step, we will add a field for users to enter text. The <input> tag is one of the most used form elements. It can be displayed in many ways, depending on the type attribute.
To create a single-line text input field, we use type="text". This is perfect for things like usernames, names, or email addresses.
Now, let's add a text input field inside the <form> tags in your index.html file.
<form action="">
  <input type="text" />
</form>
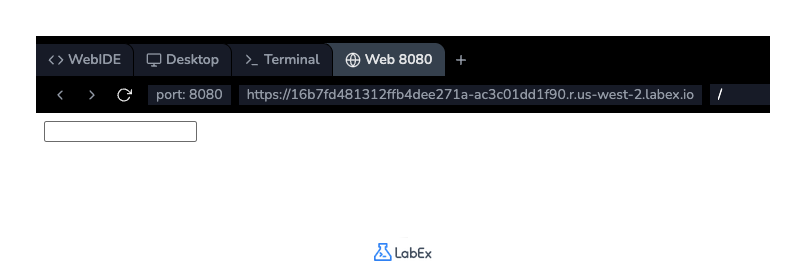
Save the file and switch to the Web 8080 tab. You should now see a small text box on the page where you can type.
Insert input tag with type submit for button
In this step, we will add a button to allow users to submit the form. We can create a submit button using the <input> tag again, but this time with type="submit".
When a user clicks this button, the form's data is sent to the server specified in the <form> tag's action attribute. You can set the text displayed on the button using the value attribute.
Let's add a submit button to our form in index.html.
<form action="">
  <input type="text" />
  <br /><br />
  <input type="submit" value="Submit" />
</form>
We've also added <br><br> tags to create some vertical space between the text field and the button for better layout. Save the file and check the Web 8080 tab to see the new "Submit" button.
Use label tag with for attribute for labeling
In this step, we will add a label to our text field. The <label> tag defines a label for many form elements. It improves usability and accessibility, as clicking on the label will focus the corresponding input field.
To connect a <label> to an <input>, the for attribute of the <label> must be the same as the id attribute of the <input>.
Let's add an id to our text input and a corresponding <label> in index.html.
<form action="">
  <label for="username">Name:</label><br />
  <input type="text" id="username" name="username" />
  <br /><br />
  <input type="submit" value="Submit" />
</form>
We've added a label for "Name:" and linked it to the input field using id="username" and for="username". We also added a name attribute to the input, which is important for identifying the data when the form is submitted.
Save the file and view the changes in the Web 8080 tab. Now, if you click on the "Name:" text, the cursor will automatically move into the text box.
Add textarea tag for multiline input
In this step, we will add a larger text area for users to write a message. While <input type="text"> is for a single line of text, the <textarea> tag is used for multi-line input.
You can control the size of a <textarea> with the rows and cols attributes, which specify the visible number of lines and characters per line, respectively.
Let's add a <textarea> for a message to our form, complete with its own <label>. Update your index.html file with the final code below.
<form action="">
  <label for="username">Name:</label><br />
  <input type="text" id="username" name="username" />
  <br /><br />
  <label for="message">Message:</label><br />
  <textarea id="message" name="message" rows="4" cols="30"></textarea>
  <br /><br />
  <input type="submit" value="Submit" />
</form>
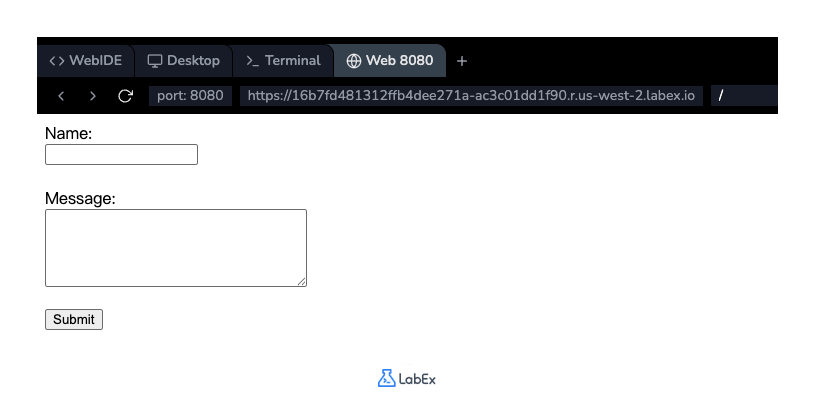
Now our form has a name field and a message area. Save the file and take a look at the completed form in the Web 8080 tab. You now have a functional, well-structured HTML form.
Summary
Congratulations! You have successfully built a basic HTML form. In this lab, you learned how to:
- Use the
<form>tag as a container for form elements. - Create a single-line text field with
<input type="text">. - Create a submit button with
<input type="submit">. - Improve accessibility and usability by associating a
<label>with an input field using theforandidattributes. - Add a multi-line text area with the
<textarea>tag.
These are the foundational building blocks for creating interactive forms on the web. You can now explore other input types and form attributes to build more complex and powerful forms.


