
Introduction
In this lab, participants will learn how to create hyperlinks and navigation using HTML A tags, focusing on building a comprehensive web page structure and implementing various linking techniques. The lab guides students through setting up a basic HTML page, creating page-to-page navigation links, implementing contact links, developing document bookmarks, and exploring link behavior with target attributes.
Participants will start by establishing a fundamental HTML5 document structure, then progressively enhance their skills by adding different types of hyperlinks, including internal page navigation, email and phone contact links, and cross-page references. By the end of the lab, students will have a solid understanding of how to use anchor tags effectively to create interactive and well-structured web pages.
Set Up Basic HTML Page Structure
In this step, you'll learn how to create a basic HTML page structure that serves as the foundation for adding hyperlinks and navigation. HTML (HyperText Markup Language) is the standard markup language for creating web pages.
First, open the WebIDE and navigate to the ~/project directory. Create a new file called index.html by right-clicking in the file explorer and selecting "New File".
Let's create a simple HTML5 document with the essential structure:
<!doctype html>
<html lang="en">
  <head>
    <meta charset="UTF-8" />
    <meta name="viewport" content="width=device-width, initial-scale=1.0" />
    <title>My First HTML Page</title>
  </head>
  <body>
    <h1>Welcome to My Website</h1>
    <p>
      This is a basic HTML page structure that we'll use to create hyperlinks.
    </p>
  </body>
</html>
Let's break down the key components of this HTML structure:
<!DOCTYPE html>declares this is an HTML5 document<html>is the root element of the HTML page<head>contains meta information about the document<meta charset="UTF-8">specifies the character encoding<meta name="viewport">ensures proper rendering on mobile devices<title>sets the page title shown in the browser tab<body>contains the visible page content
Notes: Learn more about How to preview HTML files in the WebIDE.
Example output when you open this file in a browser:
Create Page-to-Page Navigation Links
<a> tags are used to create hyperlinks in HTML. The basic syntax for creating a hyperlink is <a href="URL">Link Text</a>.
In this step, you'll learn how to create navigation links between different pages using HTML anchor (<a>) tags. First, let's create additional HTML files to demonstrate page-to-page navigation.
Create two new files in the ~/project directory: about.html and contact.html.
Update the index.html file to include navigation links:
<!doctype html>
<html lang="en">
<head>
<meta charset="UTF-8" />
<meta name="viewport" content="width=device-width, initial-scale=1.0" />
<title>My Website</title>
</head>
<body>
<nav>
<a href="index.html">Home</a>
<a href="about.html">About</a>
<a href="contact.html">Contact</a>
</nav>
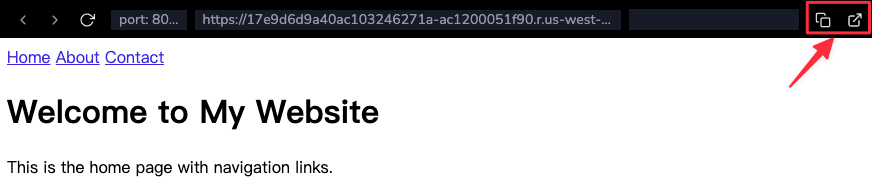
<h1>Welcome to My Website</h1>
<p>This is the home page with navigation links.</p>
</body>
</html>
Create the about.html file:
<!doctype html>
<html lang="en">
  <head>
    <meta charset="UTF-8" />
    <meta name="viewport" content="width=device-width, initial-scale=1.0" />
    <title>About Page</title>
  </head>
  <body>
    <nav>
      <a href="index.html">Home</a>
      <a href="about.html">About</a>
      <a href="contact.html">Contact</a>
    </nav>
    <h1>About Us</h1>
    <p>Learn more about our website and mission.</p>
  </body>
</html>
Create the contact.html file:
<!doctype html>
<html lang="en">
  <head>
    <meta charset="UTF-8" />
    <meta name="viewport" content="width=device-width, initial-scale=1.0" />
    <title>Contact Page</title>
  </head>
  <body>
    <nav>
      <a href="index.html">Home</a>
      <a href="about.html">About</a>
      <a href="contact.html">Contact</a>
    </nav>
    <h1>Contact Us</h1>
    <p>Get in touch with our team.</p>
  </body>
</html>
Key points about page-to-page navigation:
- The
<a href="...">attribute specifies the destination page - Use relative file paths when linking between pages in the same directory
- Each page includes a consistent navigation menu
Example output in a web browser:
Implement Email and Phone Contact Links
In this step, you'll learn how to create clickable email and phone number links using HTML anchor tags. Open the contact.html file and update it with special link types.
Update the contact.html file with the following content:
<!doctype html>
<html lang="en">
  <head>
    <meta charset="UTF-8" />
    <meta name="viewport" content="width=device-width, initial-scale=1.0" />
    <title>Contact Page</title>
  </head>
  <body>
    <nav>
      <a href="index.html">Home</a>
      <a href="about.html">About</a>
      <a href="contact.html">Contact</a>
    </nav>
    <h1>Contact Information</h1>

    <h2>Get in Touch</h2>

    <h3>Email Links</h3>
    <p>
      Contact us at:
      <a href="mailto:support@example.com">support@example.com</a>
    </p>

    <h3>Phone Links</h3>
    <p>
      Call us at:
      <a href="tel:+1-555-123-4567">+1 (555) 123-4567</a>
    </p>

    <h3>Multiple Contact Options</h3>
    <p>
      Email: <a href="mailto:info@example.com">info@example.com</a><br />
      Phone: <a href="tel:+1-800-555-0199">1-800-CONTACT</a>
    </p>
  </body>
</html>
Key points about email and phone links:
mailto:prefix creates an email link that opens the default email clienttel:prefix creates a phone number link that works on mobile devices- These links make it easy for users to contact you with a single click
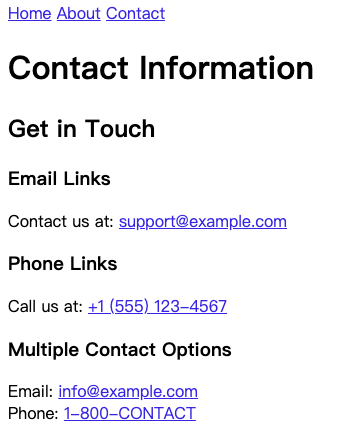
Example output in a web browser:
Create Document Bookmarks within a Single Page
In this step, you'll learn how to create internal page bookmarks using HTML anchor tags. Create a new file called long-document.html in the ~/project directory with the following content:
<!doctype html>
<html lang="en">
  <head>
    <meta charset="UTF-8" />
    <meta name="viewport" content="width=device-width, initial-scale=1.0" />
    <title>Document with Bookmarks</title>
    <style>
      body {
        max-width: 600px;
        margin: 0 auto;
        line-height: 1.6;
      }
      section {
        height: 500px;
        margin-bottom: 20px;
      }
    </style>
  </head>
  <body>
    <h1>Table of Contents</h1>
    <nav>
      <a href="#section1">Section 1</a> | <a href="#section2">Section 2</a> |
      <a href="#section3">Section 3</a>
    </nav>

    <section id="section1">
      <h2>Section 1: Introduction</h2>
      <p>
        This is the first section of our long document. Click the links above to
        navigate quickly.
      </p>
    </section>

    <section id="section2">
      <h2>Section 2: Main Content</h2>
      <p>This is the second section with more detailed information.</p>
    </section>

    <section id="section3">
      <h2>Section 3: Conclusion</h2>
      <p>This is the final section of the document.</p>
    </section>

    <a href="#" style="position: fixed; bottom: 20px; right: 20px;"
      >Back to Top</a
    >
  </body>
</html>
Key points about document bookmarks:
<style>block adds CSS for styling the document, including section height and margins. Don't worry about CSS for now, we'll cover it in later labs.max-width: 600px;sets the maximum width of the documentmargin: 0 auto;centers the document horizontallyline-height: 1.6;sets the line height for better readabilitysection { height: 500px; margin-bottom: 20px; }sets the height and margin for each section
Use
idattributes to create bookmark targets.Create links with
href="#elementId"to jump to specific sections.The
#symbol followed by theidcreates an internal page link.
Add the long-document.html to the end of the navigation link, so you can preview the document.
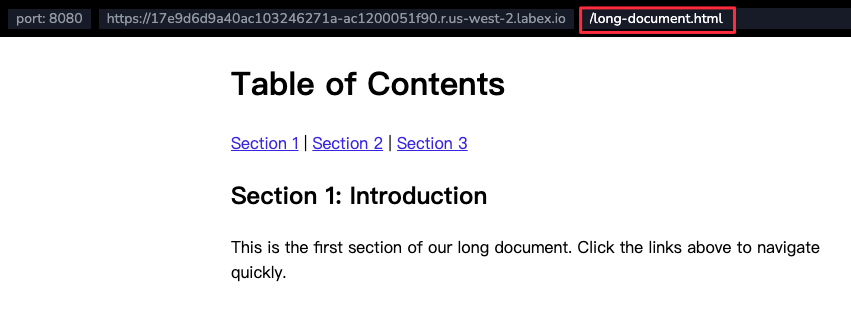
Example output in a web browser:
Use Target Attributes for Link Behavior
In this step, you'll learn about HTML link target attributes that control how links open. Create a new file called link-targets.html in the ~/project directory:
<!doctype html>
<html lang="en">
  <head>
    <meta charset="UTF-8" />
    <meta name="viewport" content="width=device-width, initial-scale=1.0" />
    <title>Link Target Attributes</title>
  </head>
  <body>
    <h1>Link Target Demonstration</h1>

    <h2>Default Link Behavior</h2>
    <p>
      <a href="https://www.example.com">Normal Link</a>
      (Opens in the same window)
    </p>

    <h2>Target Attribute Examples</h2>
    <p>
      <a href="https://www.example.com" target="_blank">New Tab Link</a>
      (Opens in a new tab)
    </p>

    <h2>Multiple Target Demonstrations</h2>
    <p>
      <a href="https://www.example.com" target="_self">Same Window</a> |
      <a href="https://www.example.com" target="_blank">New Tab</a> |
      <a href="https://www.example.com" target="_parent">Parent Frame</a> |
      <a href="https://www.example.com" target="_top">Full Browser Window</a>
    </p>

    <h2>Named Window Target</h2>
    <p>
      <a href="https://www.example.com" target="myWindow"
        >Open in Named Window</a
      >
    </p>
  </body>
</html>
Key points about link target attributes:
_blank: Opens link in a new tab or window_self: Default behavior, opens in the same window_parent: Opens in the parent frame_top: Opens in the full browser window- Custom named targets can create specific window behaviors
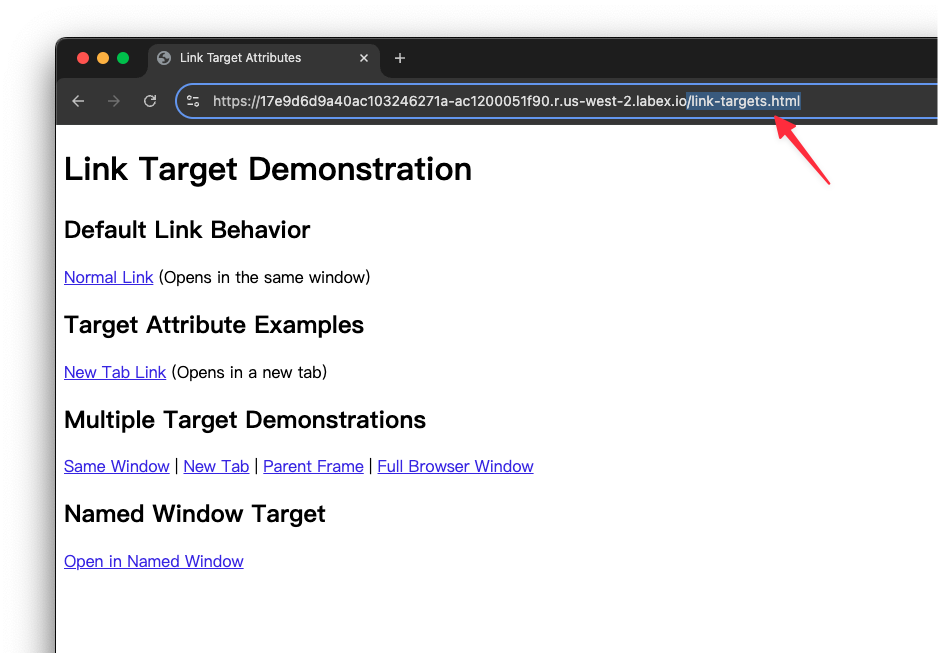
Copy the web server URL and append /link-targets.html to the end of the URL to view the page (new tab).
Example output in a web browser:
Summary
In this lab, participants learned how to create comprehensive HTML web pages and implement various hyperlink techniques. The lab began by establishing a fundamental HTML5 page structure, demonstrating essential elements like DOCTYPE, meta tags, and basic content organization. Participants explored creating navigation links between multiple pages, utilizing HTML anchor tags to connect different sections of a website.
The lab further expanded on hyperlink capabilities by introducing advanced techniques such as implementing email and phone contact links, creating document bookmarks within a single page, and understanding link behavior through target attributes. These practical exercises provided hands-on experience in building interactive and well-structured web pages using HTML's linking mechanisms.


