
Introduction
In this lab, participants will explore the creation and styling of HTML lists, focusing on different list types and their attributes. The lab guides learners through constructing various list structures, including ordered lists with numeric and alphabetic numbering, unordered lists with custom marker styles, and description lists with multiple entries.
Participants will start by setting up a standard HTML5 document structure and progressively build complex list examples, learning how to use tags like <ol>, <ul>, <li>, and <dl> to create semantic and visually appealing list layouts. By experimenting with list attributes and nested list structures, students will gain practical skills in HTML list design and understand how to enhance web page content organization.
Set Up HTML Document Structure
In this step, you'll learn how to create the basic HTML document structure for your list demonstration. HTML documents have a standard structure that provides the foundation for web content.
Open the WebIDE and navigate to the ~/project directory. Create a new file called lists.html by right-clicking in the file explorer and selecting "New File".
Now, let's create the basic HTML5 document structure. Type the following code into the lists.html file:
<!doctype html>
<html lang="en">
  <head>
    <meta charset="UTF-8" />
    <meta name="viewport" content="width=device-width, initial-scale=1.0" />
    <title>HTML Lists Example</title>
  </head>
  <body>
    <!-- We'll add our lists here in the next steps -->
  </body>
</html>
Let's break down the key components of this HTML structure:
<!DOCTYPE html>declares this is an HTML5 document<html lang="en">is the root element with language specification<head>contains metadata about the document<meta charset="UTF-8">ensures proper character encoding<meta name="viewport">helps with responsive design<title>sets the page title shown in the browser tab<body>is where the main content will be placed
Example output in a web browser would show a blank page with the title "HTML Lists Example" in the browser tab.
Notes: Learn more about How to preview HTML files in the WebIDE.
Create Ordered List with Numeric and Alphabetic Types
In this step, you'll learn how to create ordered lists in HTML using the <ol> (ordered list) and <li> (list item) tags. Ordered lists automatically number their items and can be customized with different numbering styles.
Open the lists.html file you created in the previous step. Inside the <body> tag, add the following code to create different types of ordered lists:
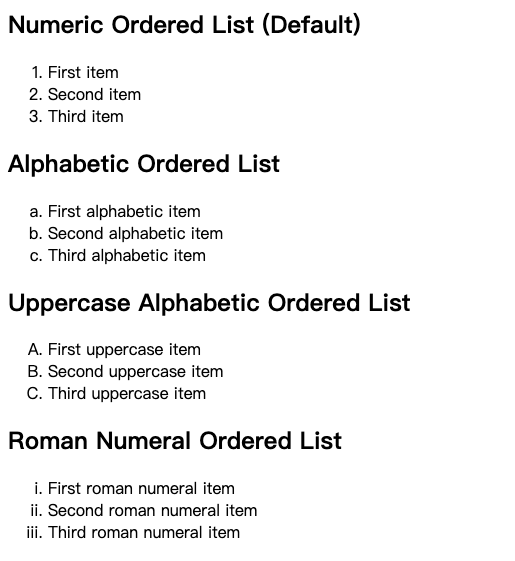
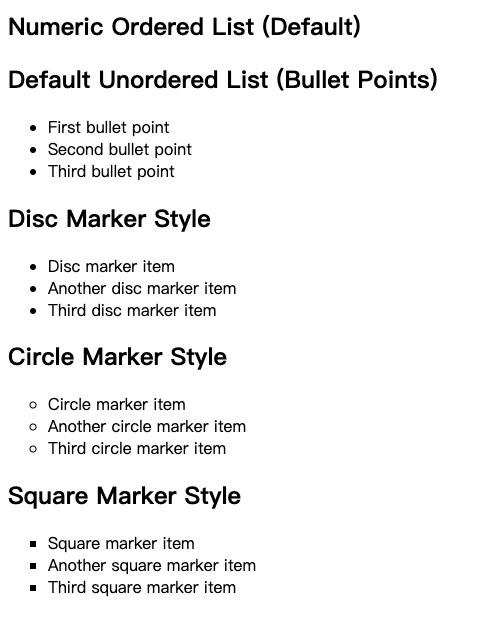
<h2>Numeric Ordered List (Default)</h2>
<ol>
  <li>First item</li>
  <li>Second item</li>
  <li>Third item</li>
</ol>

<h2>Alphabetic Ordered List</h2>
<ol type="a">
  <li>First alphabetic item</li>
  <li>Second alphabetic item</li>
  <li>Third alphabetic item</li>
</ol>

<h2>Uppercase Alphabetic Ordered List</h2>
<ol type="A">
  <li>First uppercase item</li>
  <li>Second uppercase item</li>
  <li>Third uppercase item</li>
</ol>

<h2>Roman Numeral Ordered List</h2>
<ol type="i">
  <li>First roman numeral item</li>
  <li>Second roman numeral item</li>
  <li>Third roman numeral item</li>
</ol>
Let's break down the different list types:
- Default ordered list uses numeric numbering (1, 2, 3)
type="a"creates lowercase alphabetic numbering (a, b, c)type="A"creates uppercase alphabetic numbering (A, B, C)type="i"creates lowercase roman numeral numbering (i, ii, iii)
Example output in a web browser would show four different ordered lists with their respective numbering styles.
Implement Unordered List with Different Marker Styles
In this step, you'll learn how to create unordered lists in HTML using the <ul> (unordered list) and <li> (list item) tags. Unordered lists use different marker styles to display list items without numeric or alphabetic ordering.
Open the lists.html file and add the following code after the previous ordered lists:
<h2>Default Unordered List (Bullet Points)</h2>
<ul>
  <li>First bullet point</li>
  <li>Second bullet point</li>
  <li>Third bullet point</li>
</ul>

<h2>Disc Marker Style</h2>
<ul type="disc">
  <li>Disc marker item</li>
  <li>Another disc marker item</li>
  <li>Third disc marker item</li>
</ul>

<h2>Circle Marker Style</h2>
<ul type="circle">
  <li>Circle marker item</li>
  <li>Another circle marker item</li>
  <li>Third circle marker item</li>
</ul>

<h2>Square Marker Style</h2>
<ul type="square">
  <li>Square marker item</li>
  <li>Another square marker item</li>
  <li>Third square marker item</li>
</ul>
Let's explore the different unordered list marker styles:
- Default unordered list uses solid bullet points
type="disc"creates solid circular markers (default)type="circle"creates hollow circular markerstype="square"creates solid square markers
Example output in a web browser would show four different unordered lists with their respective marker styles.
Design Custom Description List with Multiple Entries
In this step, you'll learn how to create description lists in HTML using the <dl> (description list), <dt> (description term), and <dd> (description details) tags. Description lists are perfect for displaying key-value pairs or terms with their explanations.
Open the lists.html file and add the following code after the previous list examples:
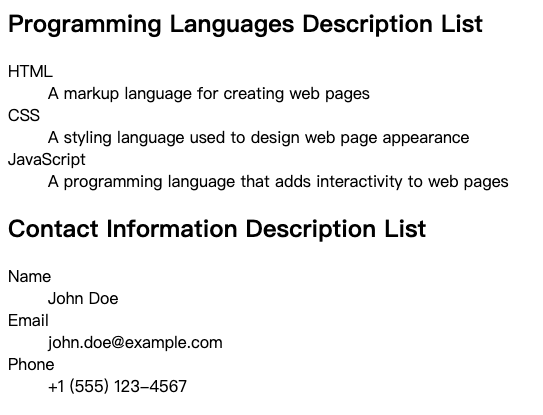
<h2>Programming Languages Description List</h2>
<dl>
  <dt>HTML</dt>
  <dd>A markup language for creating web pages</dd>

  <dt>CSS</dt>
  <dd>A styling language used to design web page appearance</dd>

  <dt>JavaScript</dt>
  <dd>A programming language that adds interactivity to web pages</dd>
</dl>

<h2>Contact Information Description List</h2>
<dl>
  <dt>Name</dt>
  <dd>John Doe</dd>

  <dt>Email</dt>
  <dd>john.doe@example.com</dd>

  <dt>Phone</dt>
  <dd>+1 (555) 123-4567</dd>
</dl>
Key points about description lists:
<dl>defines the entire description list<dt>represents the term or name<dd>provides the description or details- Multiple
<dd>tags can be used for a single<dt> - Useful for glossaries, metadata, and key-value presentations
Example output in a web browser would show two description lists with terms and their corresponding descriptions.
Experiment with List Attributes and Nested List Structures
In this step, you'll explore advanced list techniques by creating nested lists and using additional list attributes. Nested lists allow you to create hierarchical content, while attributes can help you customize list appearance and behavior.
Open the lists.html file and add the following code after the previous list examples:
<h2>Nested Unordered List</h2>
<ul>
  <li>
    Main Category 1
    <ul>
      <li>Subcategory 1.1</li>
      <li>Subcategory 1.2</li>
    </ul>
  </li>
  <li>
    Main Category 2
    <ul>
      <li>Subcategory 2.1</li>
      <li>Subcategory 2.2</li>
    </ul>
  </li>
</ul>

<h2>Nested Ordered List with Start Attribute</h2>
<ol start="5">
  <li>
    First main item
    <ol type="a">
      <li>First nested item</li>
      <li>Second nested item</li>
    </ol>
  </li>
  <li>
    Second main item
    <ol type="a">
      <li>Third nested item</li>
      <li>Fourth nested item</li>
    </ol>
  </li>
</ol>

<h2>Mixed Nested List</h2>
<ul>
  <li>
    Web Development
    <ol>
      <li>HTML</li>
      <li>
        CSS
        <ul>
          <li>Flexbox</li>
          <li>Grid</li>
        </ul>
      </li>
      <li>JavaScript</li>
    </ol>
  </li>
</ul>
Key concepts demonstrated:
- Nested lists can be created by placing a new list inside a list item
- Lists can be mixed (unordered within ordered, or vice versa)
startattribute allows changing the starting number of an ordered listtypeattribute can be used to change numbering or marker styles in nested lists
Example output in a web browser would show three different nested list structures with various styles and hierarchies.
Summary
In this lab, participants learned how to create and style HTML lists using various techniques. The lab began by establishing a standard HTML5 document structure, demonstrating essential elements like DOCTYPE, html, head, and body tags, with a focus on proper metadata and character encoding.
The practical exercises covered creating different types of ordered and unordered lists, including numeric and alphabetic list styles. Participants explored list attributes and nested list structures, gaining hands-on experience in designing structured HTML content with semantic markup. The lab provided a comprehensive introduction to HTML list elements, enabling learners to effectively organize and present information in web documents.


