
Introduction
In this project, you will learn how to implement a user permission management system using JavaScript and jQuery. The project involves fetching user data asynchronously, rendering it in a user permission table, and providing functionality to move users between the user and administrator lists, as well as updating the user permissions accordingly.
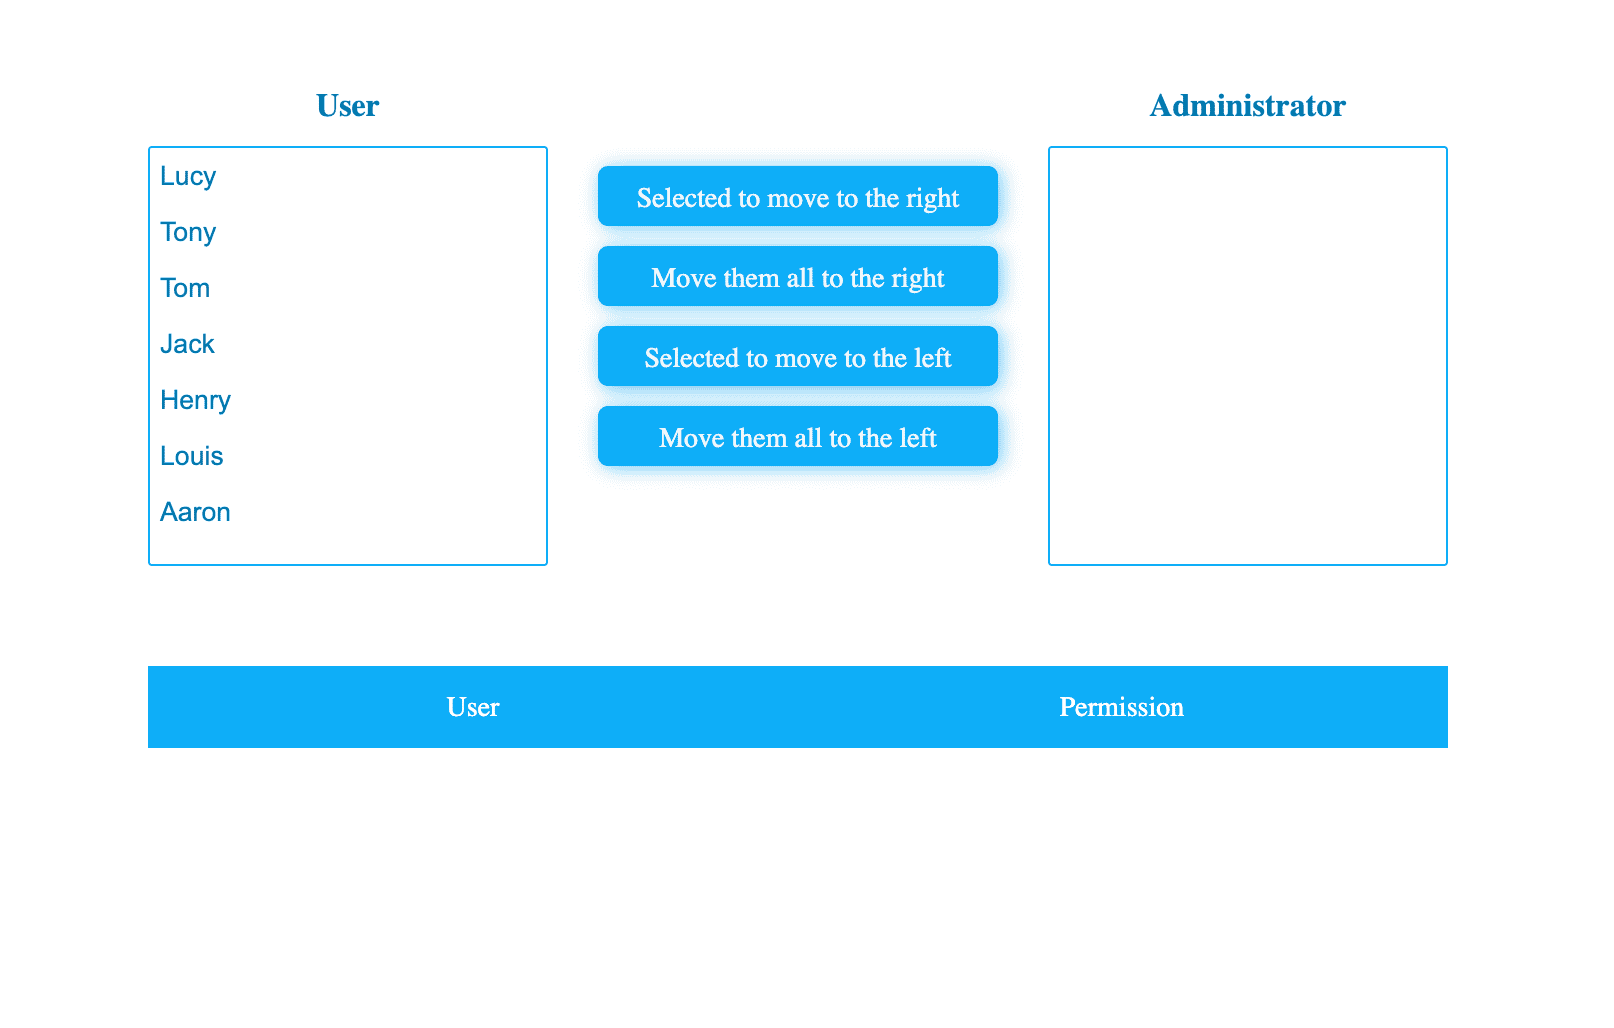
👀 Preview
🎯 Tasks
In this project, you will learn:
- How to fetch user data asynchronously from a JSON file and render it in a user permission table
- How to implement the functionality to move users between the user and administrator lists, both individually and all at once
- How to update the user permissions in the user permission table based on the users in the left and right lists
🏆 Achievements
After completing this project, you will be able to:
- Use AJAX to fetch data asynchronously
- Manipulate the DOM using jQuery to update the user interface
- Implement permission management functionality in a web application
Set Up the Project Structure
In this step, you will set up the project files and structure. Follow the steps below to complete this step:
Open the project folder. The directory structure is as follows:
├── css
├── js
│    ├── index.js
│    ├── jquery-3.6.0.min.js
│    └── userList.json
└── index.html
Among them:
cssis the style folder.js/index.jsis the JS file where code needs to be completed.js/jquery-3.6.0.min.jsis the jQuery file.js/userList.jsonis the data file to be requested.index.htmlis the main page.
Click on Go Live button in the bottom right corner of WebIDE, to run the project.
Next, open "Web 8080" on the top of the VM and manually refresh it to see the page.
Asynchronous Data Fetching and Rendering
In this step, you will learn how to fetch user data asynchronously and render it in the user permission table.
Open the
js/index.jsfile.Implement the
getData()function to fetch the user data from thejs/userList.jsonfile using AJAX.function getData() { // TODO $.ajax("./js/userList.json").then((res) => { res.forEach((item) => { $("#userList tbody").html( $("#userList tbody").html() + ` <tr name=${item.name}> <td>${item.name}</td> <td>${item.right ? "Administrator" : "User"}</td> </tr>` ); }); }); }Call the
getData()function at the beginning of the$(function () { ... })block to initialize the user permission table.$(function () { getData(); // Adding events to buttons // ... });
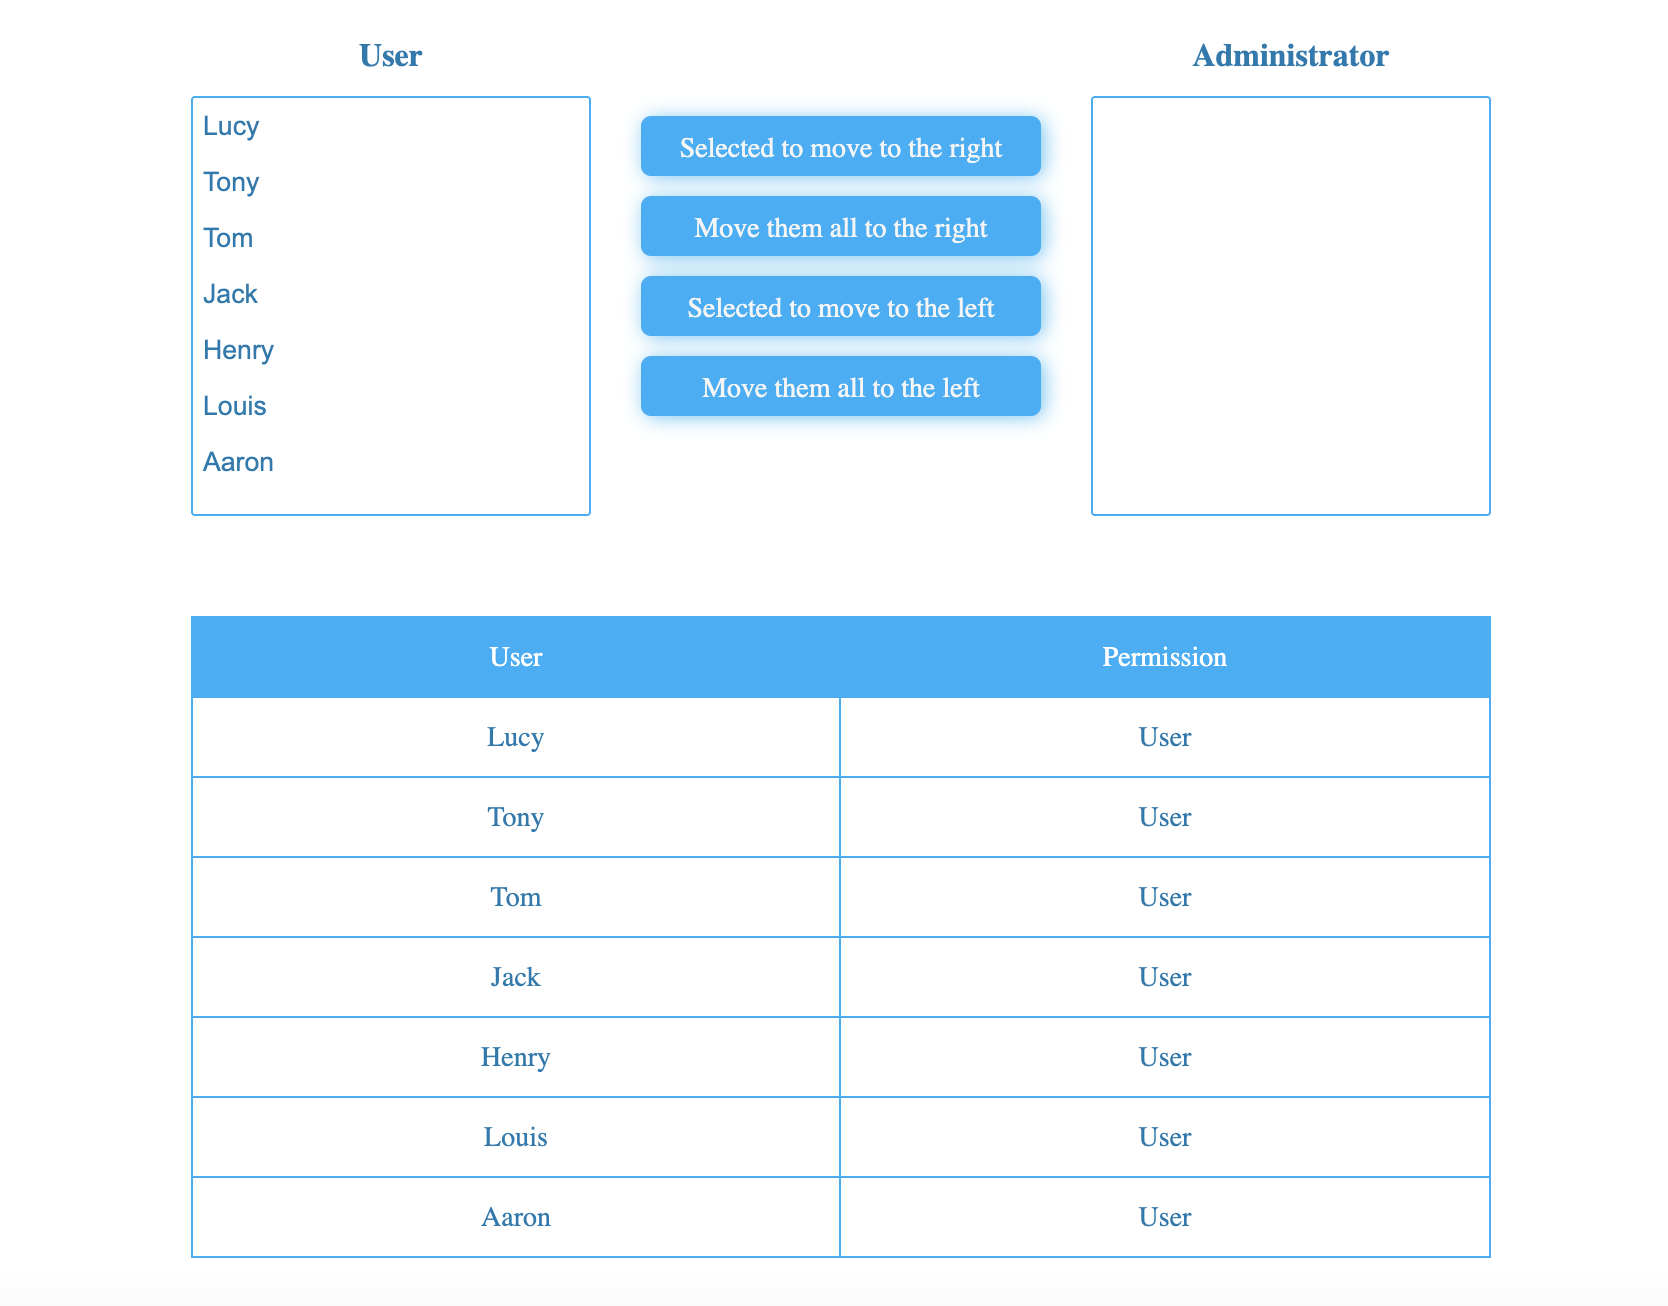
After completing this step, the user permission table will be populated with the data from the js/userList.json file when the page is loaded. The effect is as follows:
Moving Users Between Lists
In this step, you will implement the functionality of moving users between the left and right lists, as well as moving all users to the other side.
Open the
js/index.jsfile and add code inside the$(function () { ... })block.Implement the
$("#add")click event handler to move the selected users from the left list to the right list.$("#add").click(function () { // TODO let option = $("#leftSelect option:selected"); option.each((index, item) => { $(`#leftSelect option[value=${item.value}]`).remove(); $("#rightSelect")[0].add(new Option(item.value, item.value)); }); });Implement the
$("#addAll")click event handler to move all users from the left list to the right list.$("#addAll").click(function () { // TODO let option = $("#leftSelect option"); option.each((index, item) => { $(`#leftSelect option[value=${item.value}]`).remove(); $("#rightSelect")[0].add(new Option(item.value, item.value)); }); });Implement the
$("#remove")click event handler to move the selected users from the right list to the left list.$("#remove").click(function () { // TODO let option = $("#rightSelect option:selected"); option.each((index, item) => { $(`#rightSelect option[value=${item.value}]`).remove(); $("#leftSelect")[0].add(new Option(item.value, item.value)); }); });Implement the
$("#removeAll")click event handler to move all users from the right list to the left list.$("#removeAll").click(function () { // TODO let option = $("#rightSelect option"); option.each((index, item) => { $(`#rightSelect option[value=${item.value}]`).remove(); $("#leftSelect")[0].add(new Option(item.value, item.value)); }); });
After completing this step, you will be able to move users between the left and right lists, as well as move all users to the other side.
Updating User Permissions
In this step, you will implement the functionality of updating the user permissions in the user permission table based on the users in the left and right lists.
Locate the
changeAccessfunction injs/index.js.Implement the
changeAccess()function to update the permissions in the user permission table.function changeAccess(right, changeList) { changeList.each((index, item) => { $(`#userList tr[name=${item.value}] td:last`).html(right); }); }The
changeAccess()function is called at the end of the event handler for the click of a button that moves the user between lists.$("#add").click(function () { // TODO // ... changeAccess("Administrator", option); }); $("#addAll").click(function () { // TODO // ... changeAccess("Administrator", option); }); $("#remove").click(function () { // TODO // ... changeAccess("User", option); }); $("#removeAll").click(function () { // TODO // ... changeAccess("User", option); });
After completing this step, the user permissions in the user permission table will be updated automatically when users are moved between the left and right lists. The effect is as follows:
Summary
Congratulations! You have completed this project. You can practice more labs in LabEx to improve your skills.


