
Introduction
Welcome to the JavaScript Event Handling lab! Events are actions that happen in the browser, such as a user clicking a button, moving the mouse, or pressing a key. Event handling is the process of writing code that responds to these events, making your web pages interactive and dynamic.
In this lab, you will learn the fundamental ways to handle events in JavaScript. We will start with the basic onclick attribute in HTML and progress to the more powerful and flexible addEventListener method. You will also learn how to use the event object to control event behavior and get information about the event.
By the end of this lab, you will be able to:
- Attach event handlers to HTML elements.
- Separate your JavaScript logic from your HTML structure.
- Prevent the default browser action for an event.
- Identify which element triggered an event.
Let's get started!
Add onclick attribute to HTML element
In this step, you will learn the most direct way to handle an event: using an HTML event handler attribute. The onclick attribute allows you to run a piece of JavaScript code when an element is clicked. While this method is simple, it's generally better to separate your HTML and JavaScript, which we will cover in the next steps.
First, let's add an onclick attribute to our button.
- In the file explorer on the left side of the WebIDE, find and open the
index.htmlfile. - Locate the
<button>element. - Modify the button tag to include an
onclickattribute that shows an alert.
Your modified <button> element should look like this:
<button id="myButton" Clicked!')">Click Me</button>
After adding the code, save the index.html file.
To see your changes, switch to the Web 8080 tab at the top of the interface. Click the "Click Me" button, and you should see a browser alert pop up with the message "Button Clicked!".
Use addEventListener for click event
In this step, we will use the modern and recommended approach for event handling: the addEventListener method. This method allows you to attach an event handler to an element without mixing your JavaScript code into your HTML markup. This practice is known as "unobtrusive JavaScript" and leads to cleaner, more maintainable code.
First, let's clean up our HTML by removing the onclick attribute we added in the previous step.
- Open the
index.htmlfile. - Remove the
onclickattribute from the<button>element. It should look like this again:
<button id="myButton">Click Me</button>
Now, let's add the event listener using JavaScript.
- Open the
script.jsfile from the file explorer. It is currently empty. - Add the following code to
script.js:
const button = document.querySelector("#myButton");

button.addEventListener("click", () => {
  alert("Clicked with addEventListener!");
});
Let's break down this code:
document.querySelector('#myButton'): This line selects the button element from the DOM using its ID,myButton.addEventListener('click', ...): This method is called on the button element. It takes two main arguments:- The first argument is the event type to listen for, in this case,
'click'. - The second argument is the "handler" or "listener" function that will be executed when the event occurs. Here, we are using an anonymous arrow function
() => { ... }.
- The first argument is the event type to listen for, in this case,
Save the script.js file and switch to the Web 8080 tab. Click the button, and you should now see an alert with the message "Clicked with addEventListener!".
Define event handler function
In this step, you'll learn how to make your code even cleaner and more reusable by defining a named function for your event handler. Instead of using an anonymous function directly inside addEventListener, you can define a separate function and then pass its name to the listener.
This approach is useful when the event handling logic is complex or when you want to reuse the same function for multiple events or elements.
Let's modify our script.js file to use a named function.
- Open the
script.jsfile. - Replace the existing code with the following:
const button = document.querySelector("#myButton");
function handleClick() {
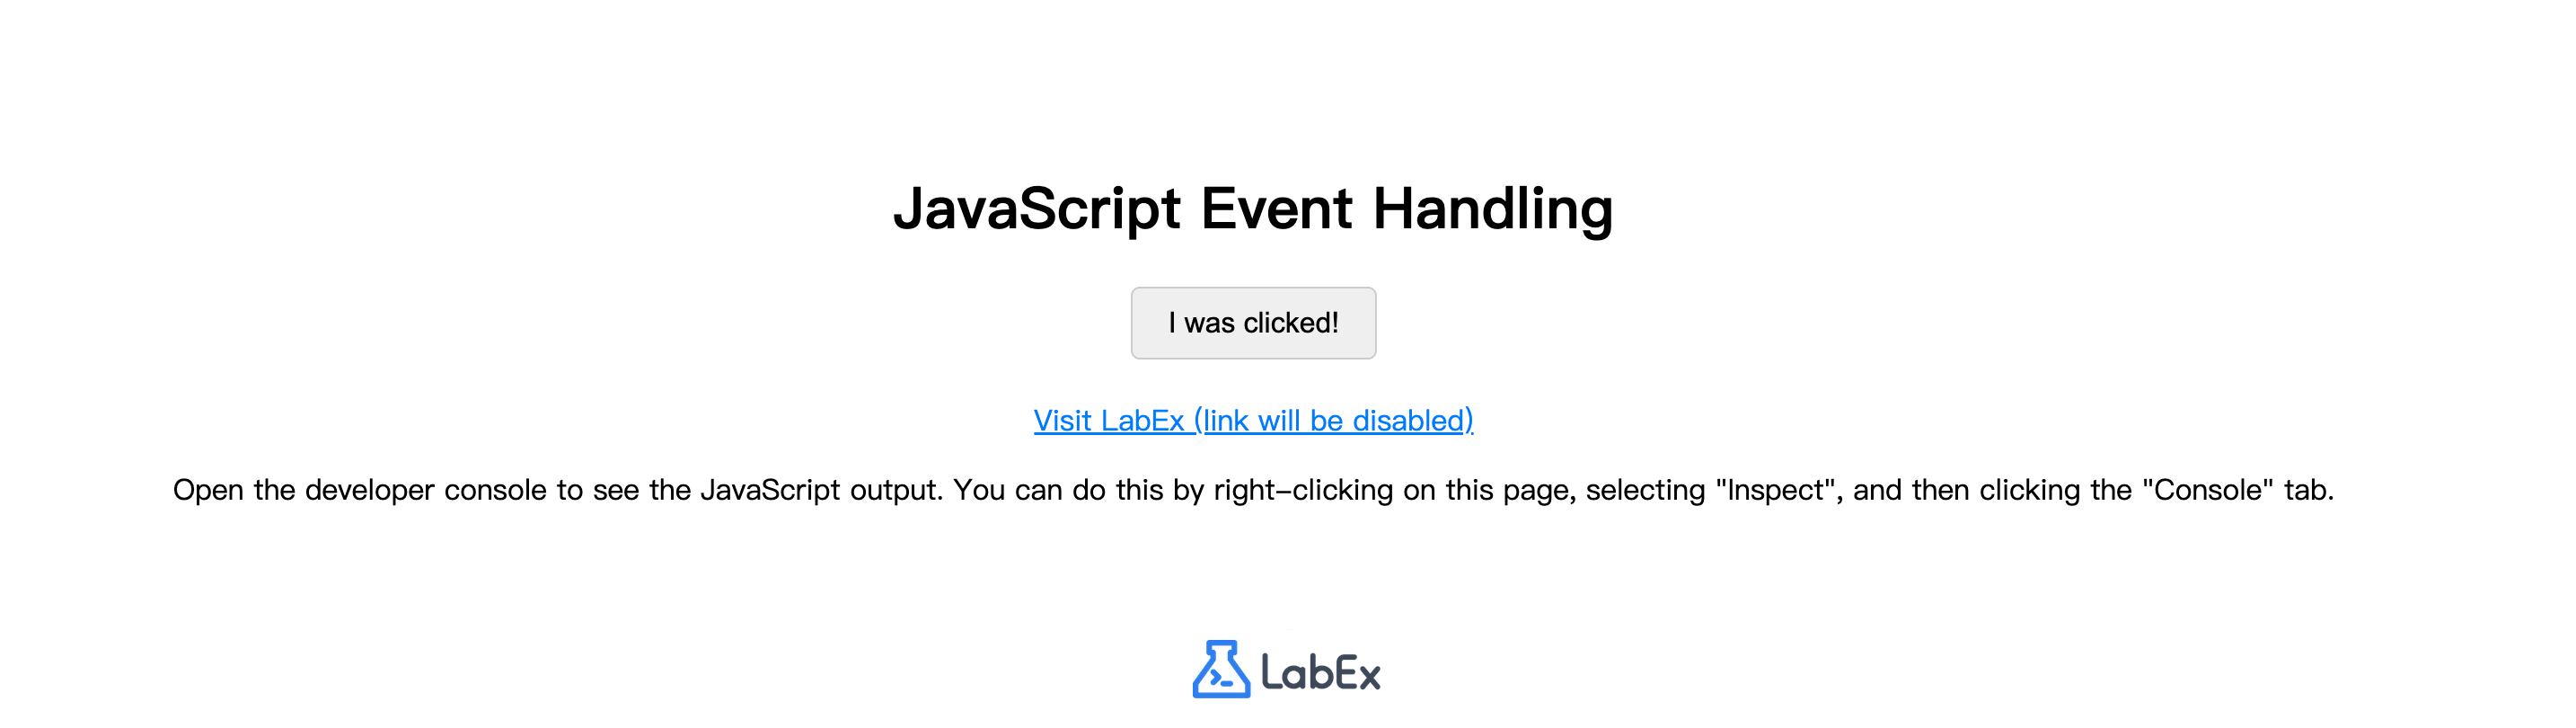
button.textContent = "I was clicked!";
}
button.addEventListener("click", handleClick);
Here's what changed:
- We defined a new function called
handleClick. This function contains the logic that will run when the button is clicked—in this case, it changes the button's text. - In
addEventListener, we now pass the function namehandleClickas the second argument. Notice that we are passing the function reference itself, not calling it (i.e.,handleClick, nothandleClick()). The browser will invoke the function for us when the click event happens.
Save the script.js file and go to the Web 8080 tab. Click the button. This time, instead of an alert, you will see the button's text change to "I was clicked!".
Prevent default action with preventDefault
In this step, we will explore the event object and one of its most useful methods: preventDefault(). When an event occurs, the browser automatically passes an event object to the handler function. This object contains information about the event and allows you to control its behavior.
Some HTML elements have a default action. For example, the default action for a link (<a> tag) is to navigate to the URL specified in its href attribute. The event.preventDefault() method allows you to stop this default action from happening.
Our index.html file already contains a link with the ID myLink. Let's add an event listener to it to prevent it from navigating.
- Open the
script.jsfile. - Add the following code to the end of the file:
const link = document.querySelector("#myLink");

function handleLinkClick(event) {
  console.log("Link click detected, navigation prevented.");
  event.preventDefault();
}

link.addEventListener("click", handleLinkClick);
Let's analyze the new code:
- We select the
<a>element with the IDmyLink. - We define a handler function
handleLinkClickthat accepts one parameter, which we've namedevent. This will be the event object provided by the browser. - Inside the function, we call
event.preventDefault()to stop the browser from following the link. - We also add a
console.logmessage to confirm that our handler is running.
Save the script.js file. Now, go to the Web 8080 tab.
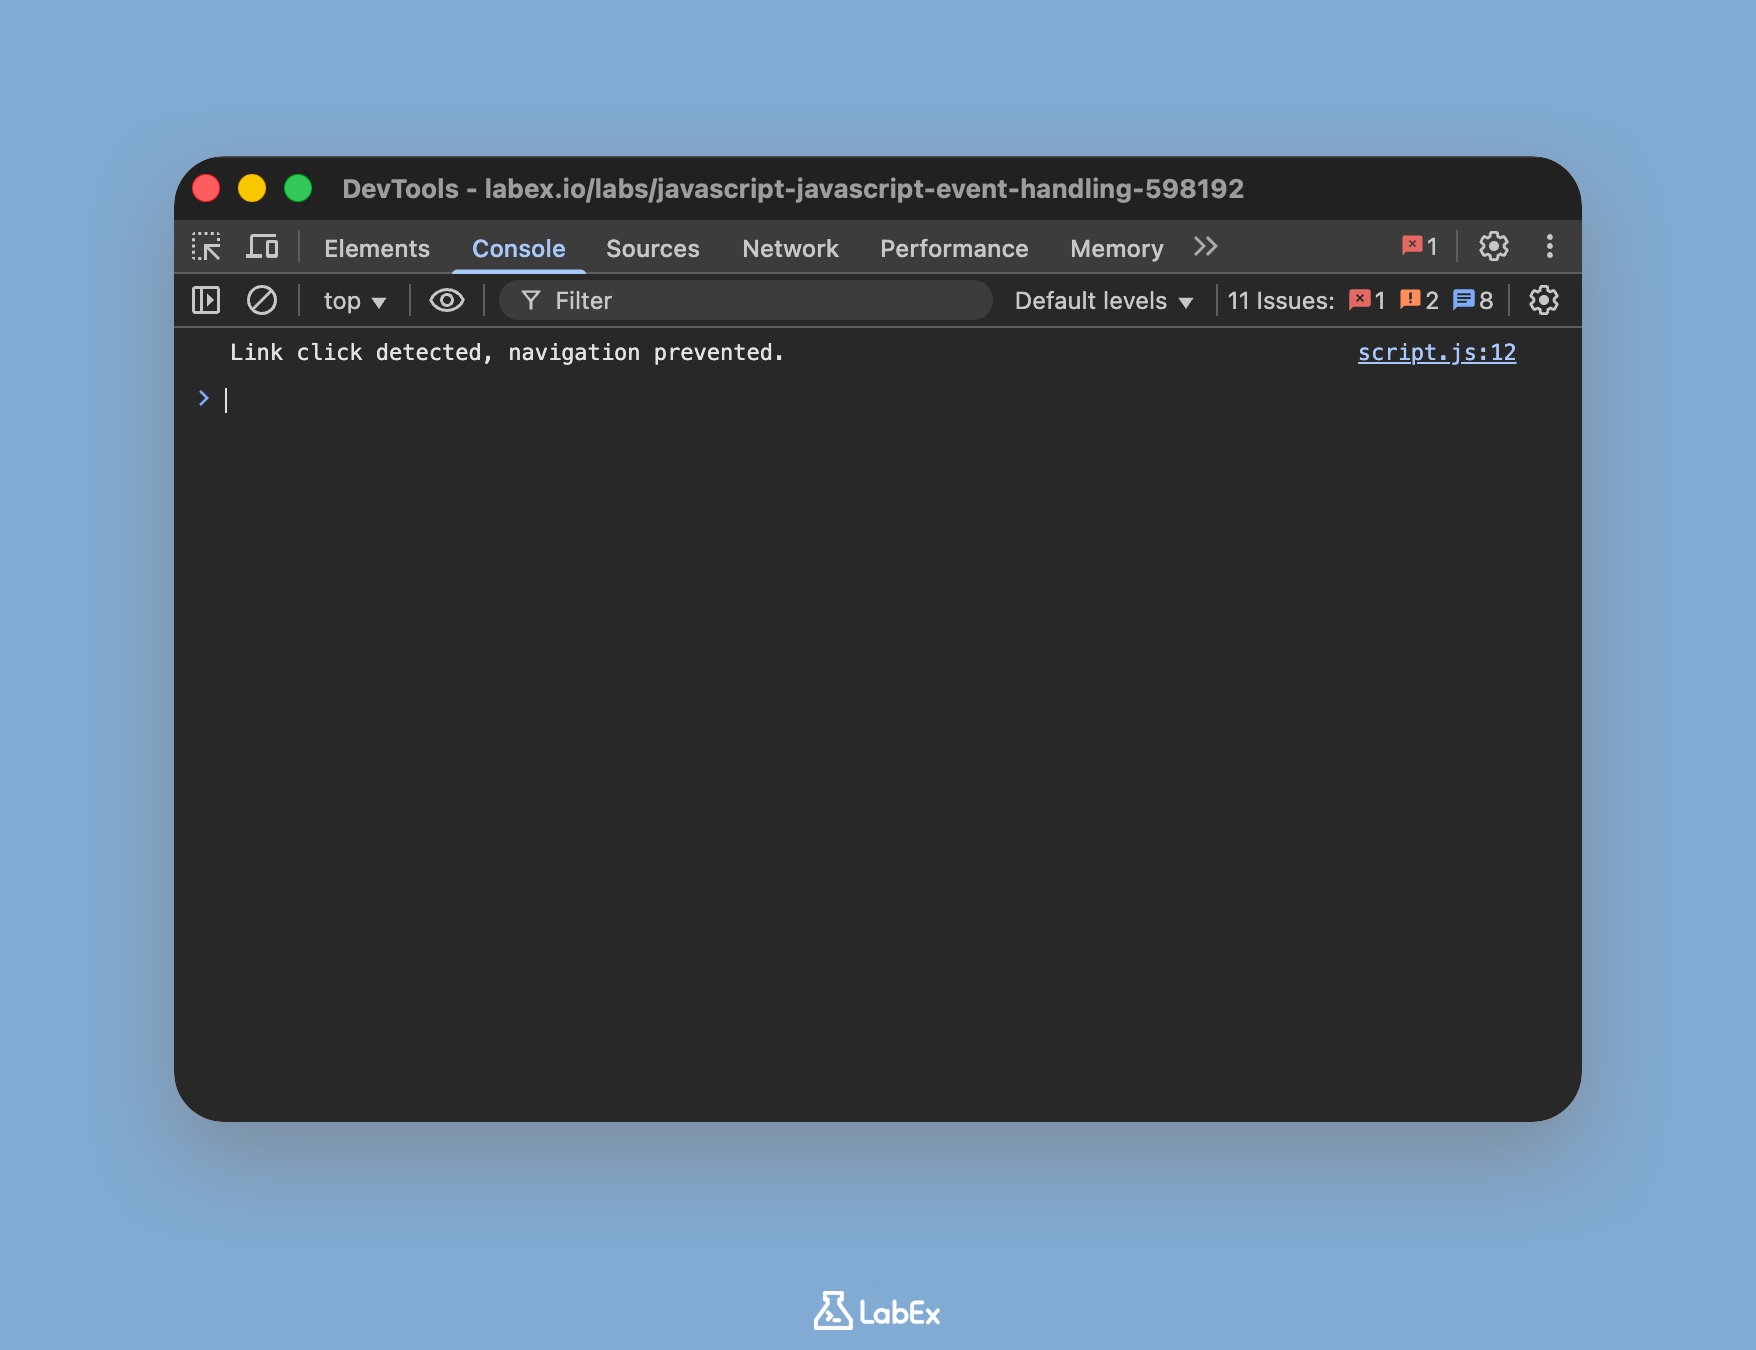
- Right-click anywhere on the page and select "Inspect" to open the browser's developer tools.
- Switch to the "Console" tab within the developer tools.
- Click the "Visit LabEx (link will be disabled)" link.
You will notice two things: the page does not navigate to labex.io, and the message "Link click detected, navigation prevented." appears in the console.
Access event target with event.target
In this final step, we'll learn about another important property of the event object: event.target. This property gives you a reference to the specific element that triggered the event. This is incredibly useful, especially when you have one event listener on a parent element managing events for multiple children (a technique called event delegation).
For this lab, we'll use event.target in a simpler context: to modify the element that was clicked directly, without needing a separate variable for it.
Let's modify the handleClick function for our button to use event.target.
- Open the
script.jsfile. - Find the
handleClickfunction you wrote in Step 3 and modify it to accept theeventparameter and useevent.target.
Replace the old handleClick function with this new version:
function handleClick(event) {
// event.target refers to the button that was clicked
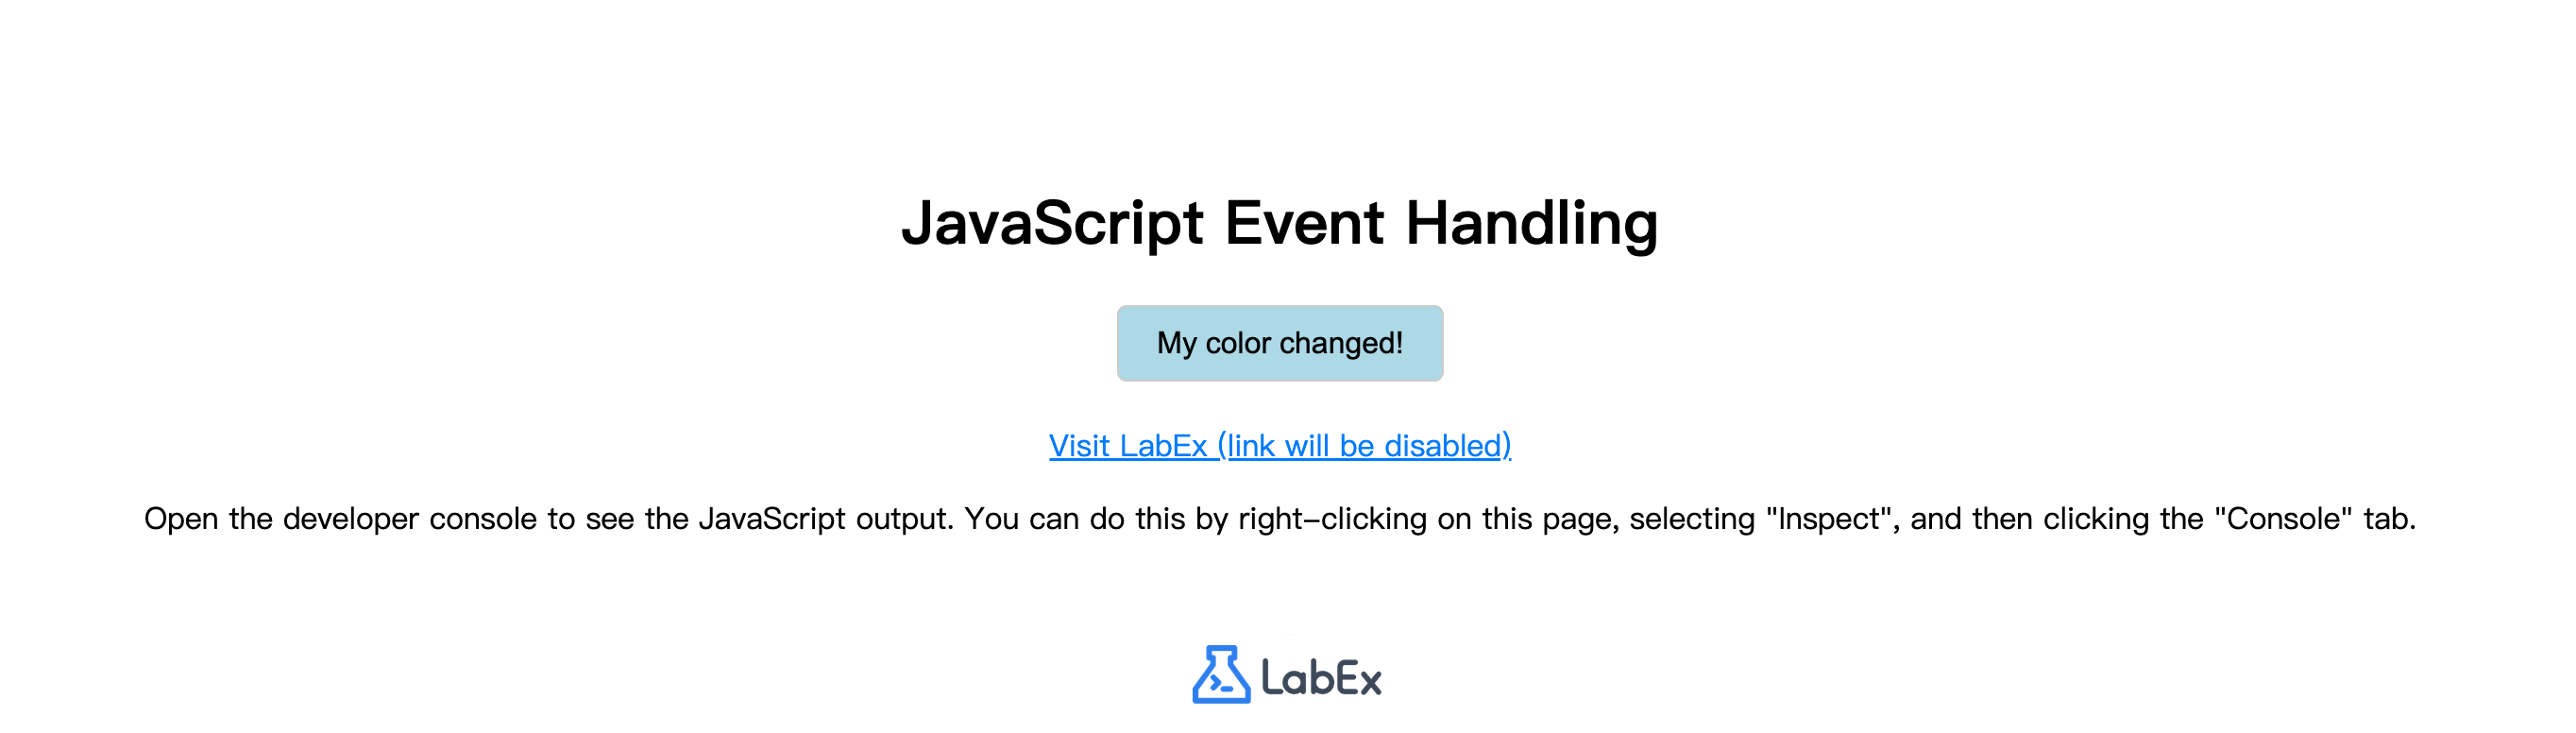
event.target.style.backgroundColor = "lightblue";
event.target.textContent = "My color changed!";
}
Here's the breakdown:
- The
handleClickfunction now accepts theeventobject as a parameter. - Instead of using the
buttonvariable, we now useevent.targetto refer to the element that was clicked. event.target.style.backgroundColor = 'lightblue'changes the background color of the clicked element.event.target.textContent = 'My color changed!'changes its text content.
Your full script.js file should now look something like this:
const button = document.querySelector("#myButton");

function handleClick(event) {
  // event.target refers to the button that was clicked
  event.target.style.backgroundColor = "lightblue";
  event.target.textContent = "My color changed!";
}

button.addEventListener("click", handleClick);

const link = document.querySelector("#myLink");

function handleLinkClick(event) {
  console.log("Link click detected, navigation prevented.");
  event.preventDefault();
}

link.addEventListener("click", handleLinkClick);
Save the file and switch to the Web 8080 tab. Click the button. You will see its background color change to light blue and its text update to "My color changed!".
Summary
Congratulations on completing the JavaScript Event Handling lab! You have successfully learned the core concepts of making web pages interactive by responding to user actions.
In this lab, you have covered:
- The basic
onclickattribute for simple event handling directly in HTML. - The modern and preferred
addEventListenermethod for separating concerns and keeping your JavaScript code clean. - How to define and use named functions as event handlers for better code organization and reusability.
- The powerful
eventobject, usingevent.preventDefault()to stop default browser behaviors. - How to identify the element that triggered an event using the
event.targetproperty.
These skills are fundamental to front-end web development and will be the building blocks for creating rich, dynamic, and user-friendly web applications. Keep practicing these concepts to master them.


