
Introduction
In this lab, you will explore one of the most fundamental data structures in JavaScript: the array. An array is a special variable that can hold more than one value at a time. Arrays are used to store ordered collections of data, such as a list of items, numbers, or strings.
You will learn how to:
- Create an array.
- Access and modify array elements.
- Add and remove elements using common array methods.
- Loop through an array to process its elements.
Throughout this lab, you will be working within the WebIDE. You will write your JavaScript code in the script.js file. To see the results of your code, you will use the browser's developer console, which can be accessed in the "Web 8080" tab.
Create array literal with square brackets
In this step, you will learn the most common way to create a JavaScript array: using an array literal. An array literal is a list of zero or more expressions, each of which represents an array element, enclosed in square brackets ([]).
First, locate the script.js file in the file explorer on the left side of the WebIDE. Click on it to open it in the editor.
Now, add the following code to script.js to create an array of fruits and log it to the console.
const fruits = ["Apple", "Banana", "Cherry"];

console.log(fruits);
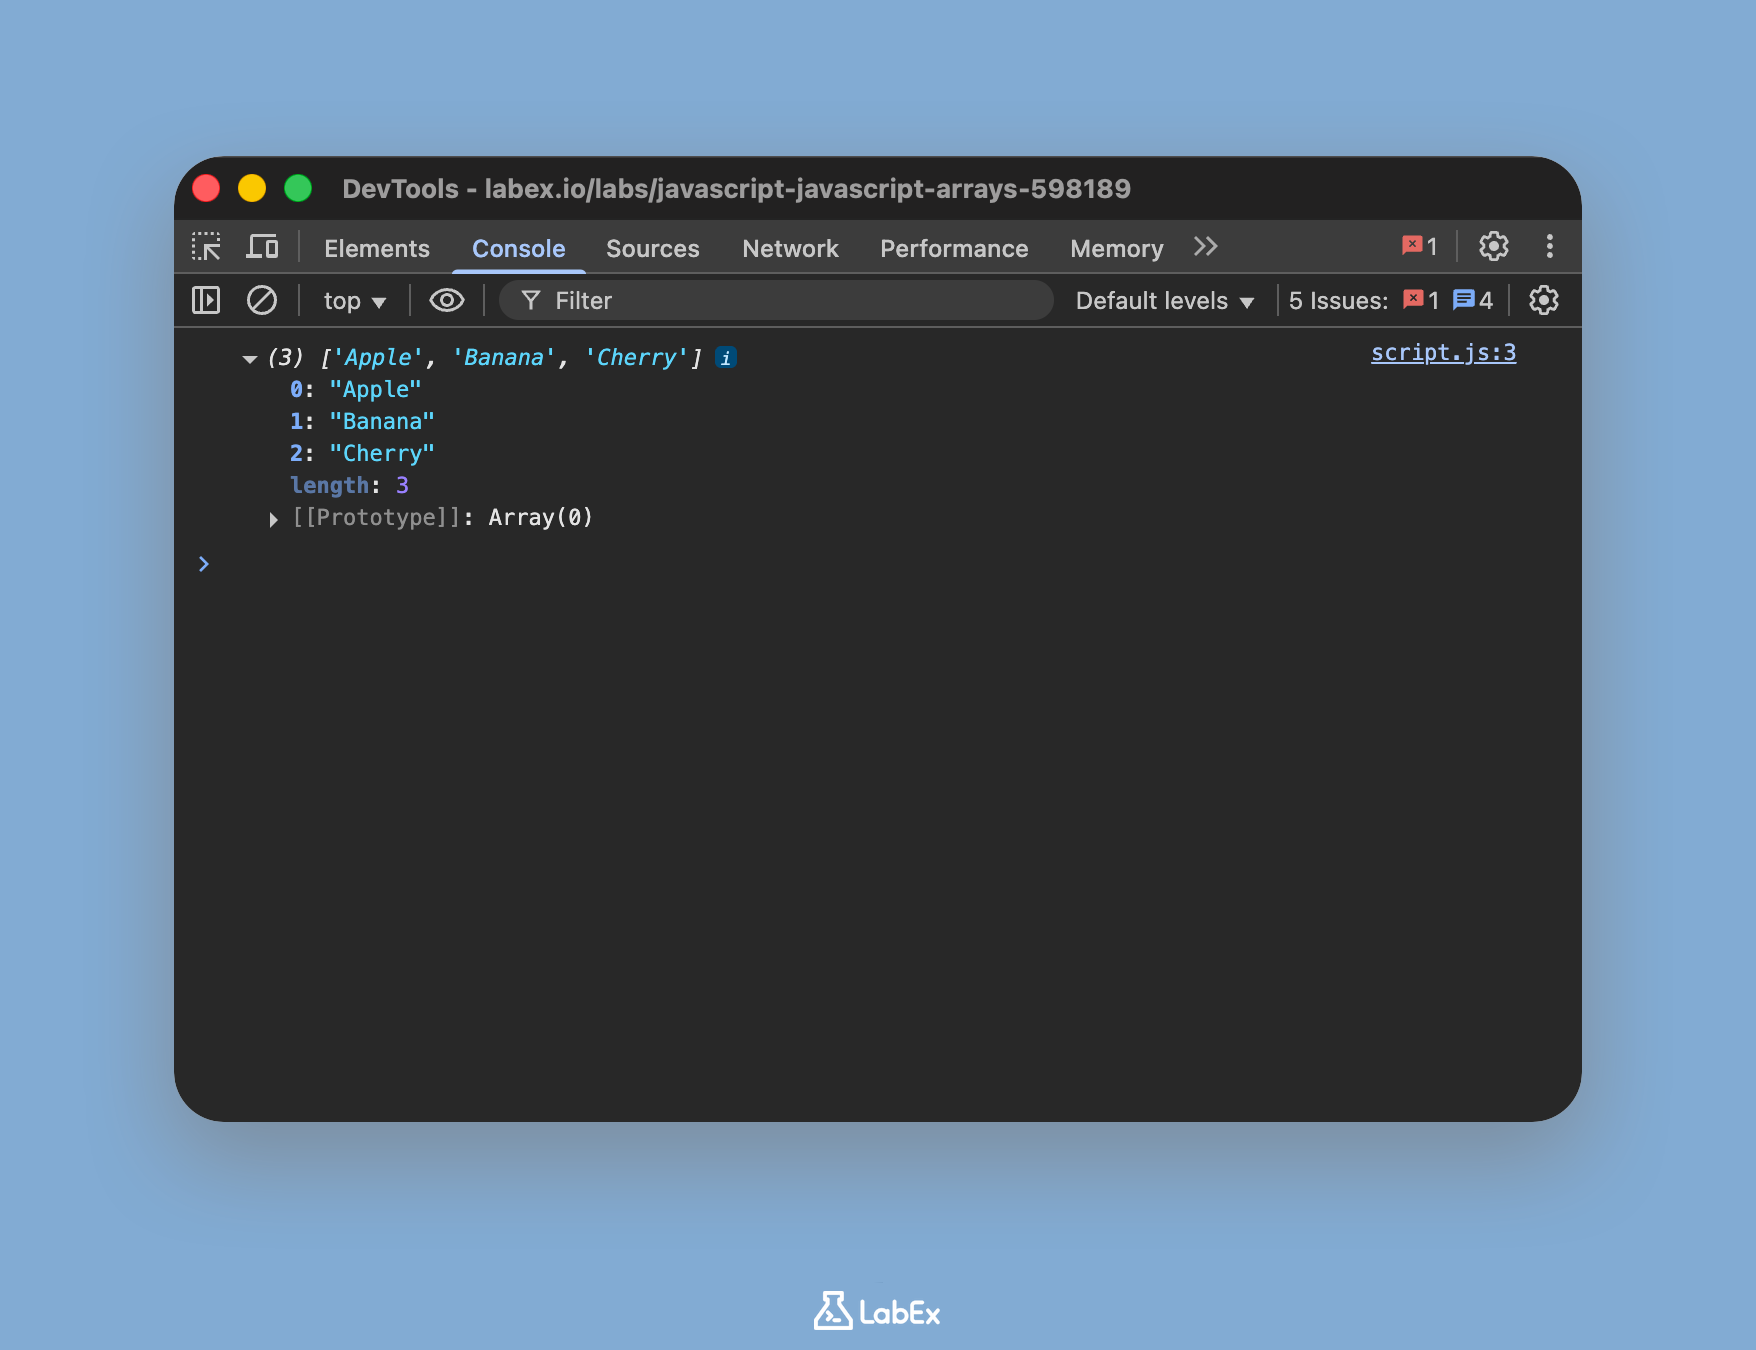
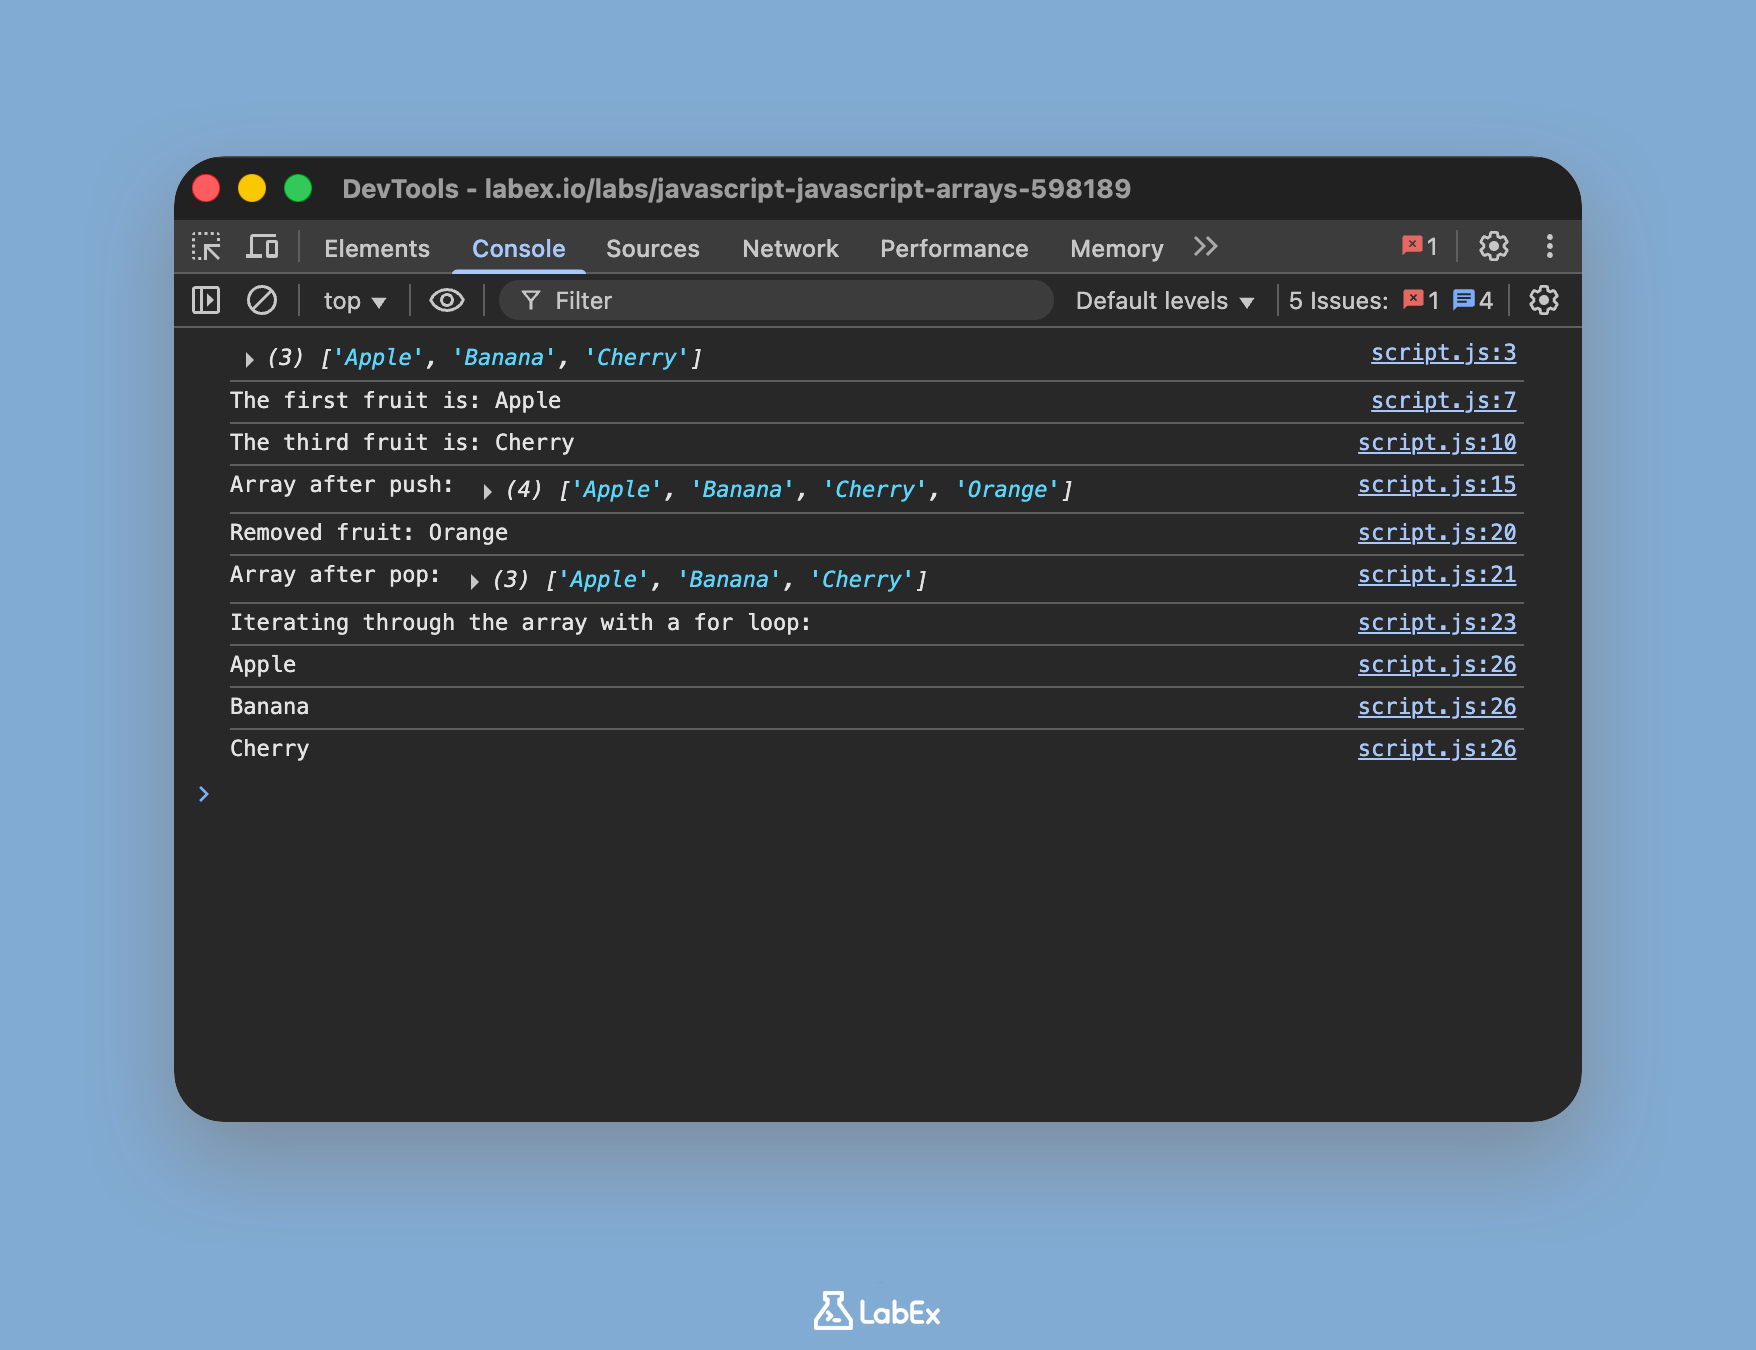
After adding the code, save the file (you can use Ctrl+S or Cmd+S). To see the output, switch to the "Web 8080" tab at the top of the screen. You may need to open your browser's developer console (usually by pressing F12 or right-clicking on the page and selecting "Inspect," then navigating to the "Console" tab). You should see the array printed in the console.
["Apple", "Banana", "Cherry"];
Access array element by index
In this step, you will learn how to access individual elements within an array. JavaScript arrays are zero-indexed, which means the first element is at index 0, the second at index 1, and so on. You can access an element by referring to its index number in square brackets.
Let's continue editing the script.js file. Add the following lines below your existing code to access and log the first element of the fruits array.
// Access the first element (index 0)
const firstFruit = fruits[0];
console.log("The first fruit is:", firstFruit);

// Access the third element (index 2)
console.log("The third fruit is:", fruits[2]);
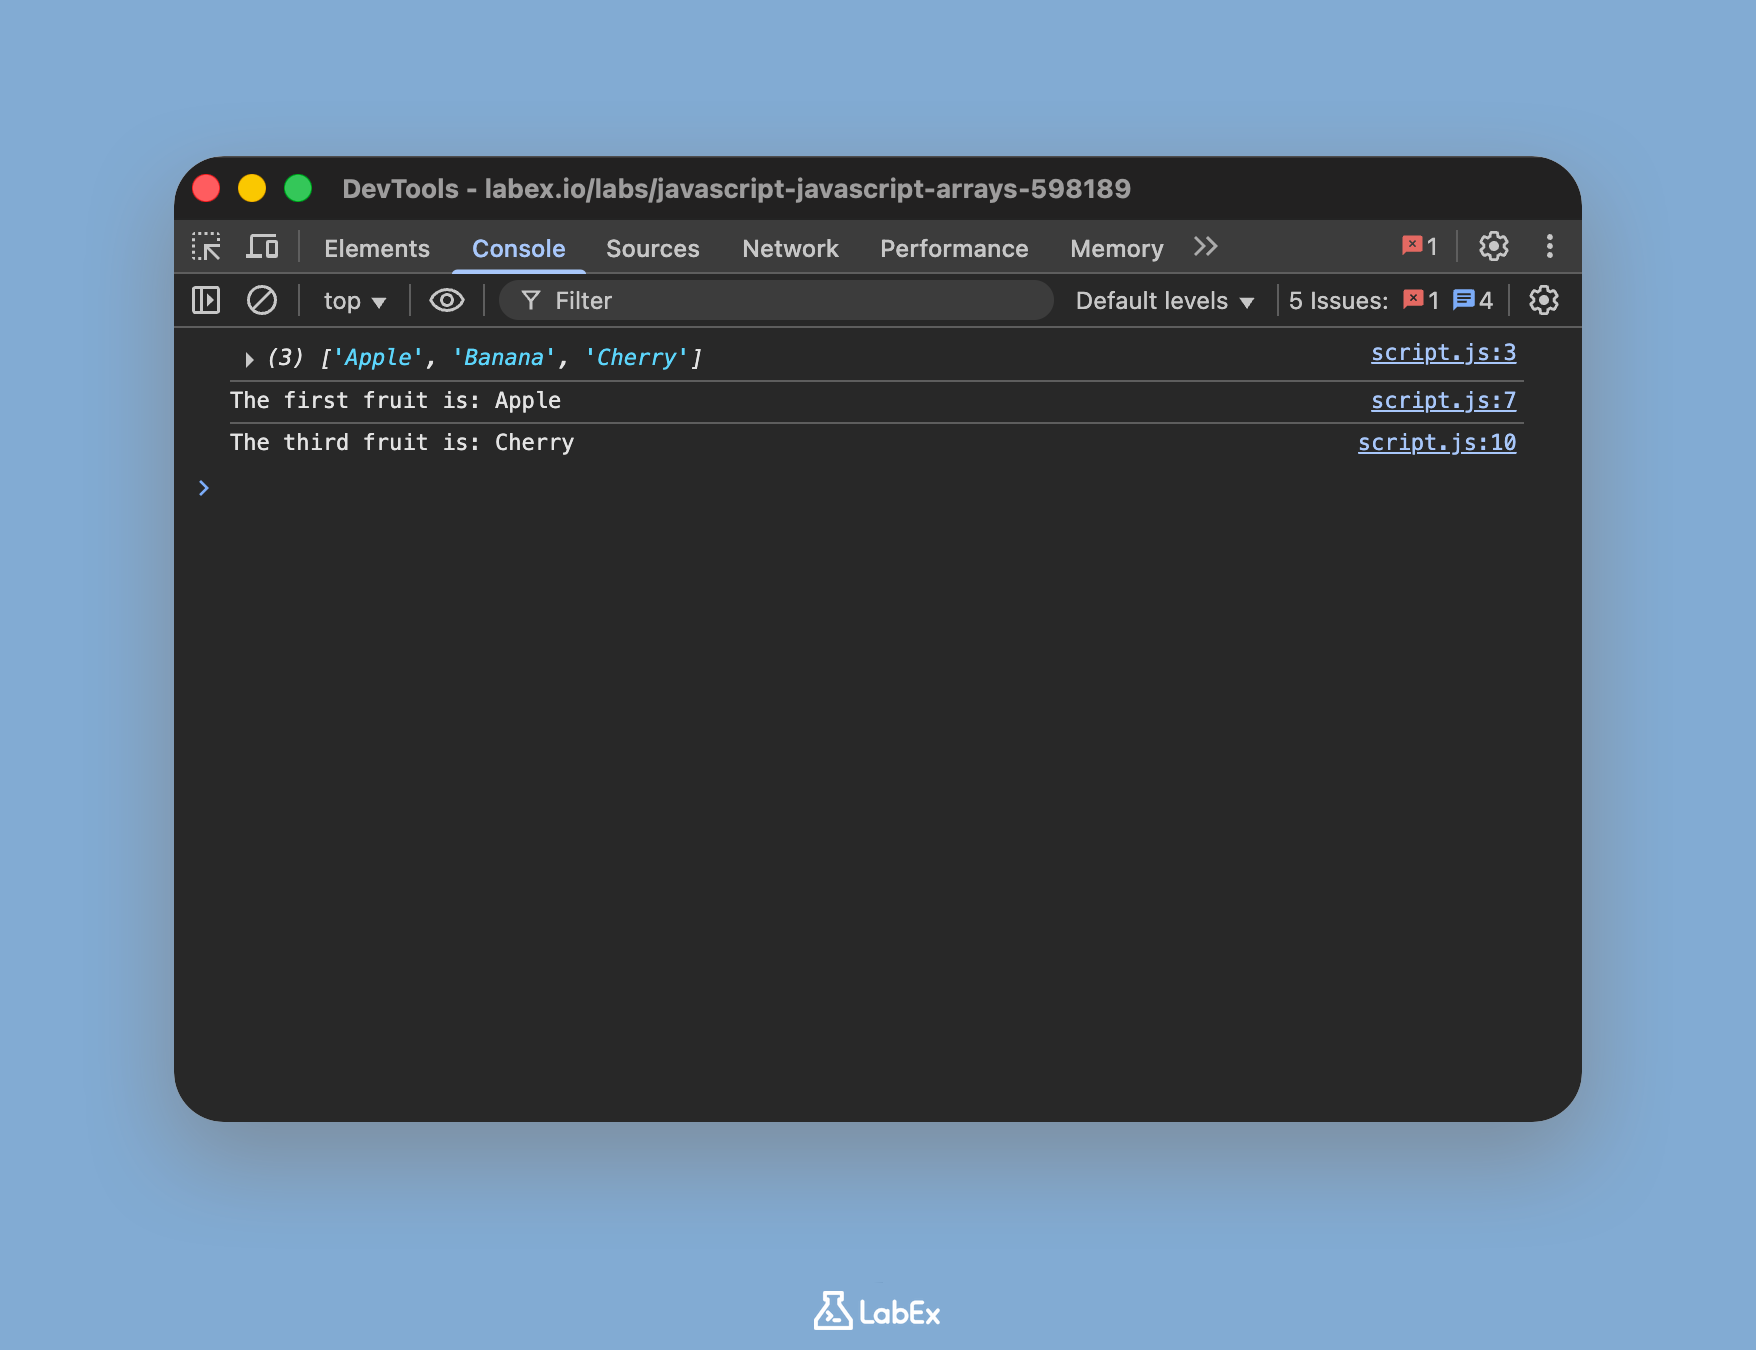
Save the script.js file and refresh the "Web 8080" tab. Check the developer console. You will see the new output in addition to the output from the previous step.
The first fruit is: Apple
The third fruit is: Cherry
Add element with push method
In this step, you will learn how to add a new element to the end of an existing array. The easiest way to do this is with the push() method. This method adds one or more elements to the end of an array and returns the new length of the array.
Add the following code to the end of your script.js file to add "Orange" to your fruits array.
// Add a new element to the end of the array
fruits.push("Orange");

console.log("Array after push:", fruits);
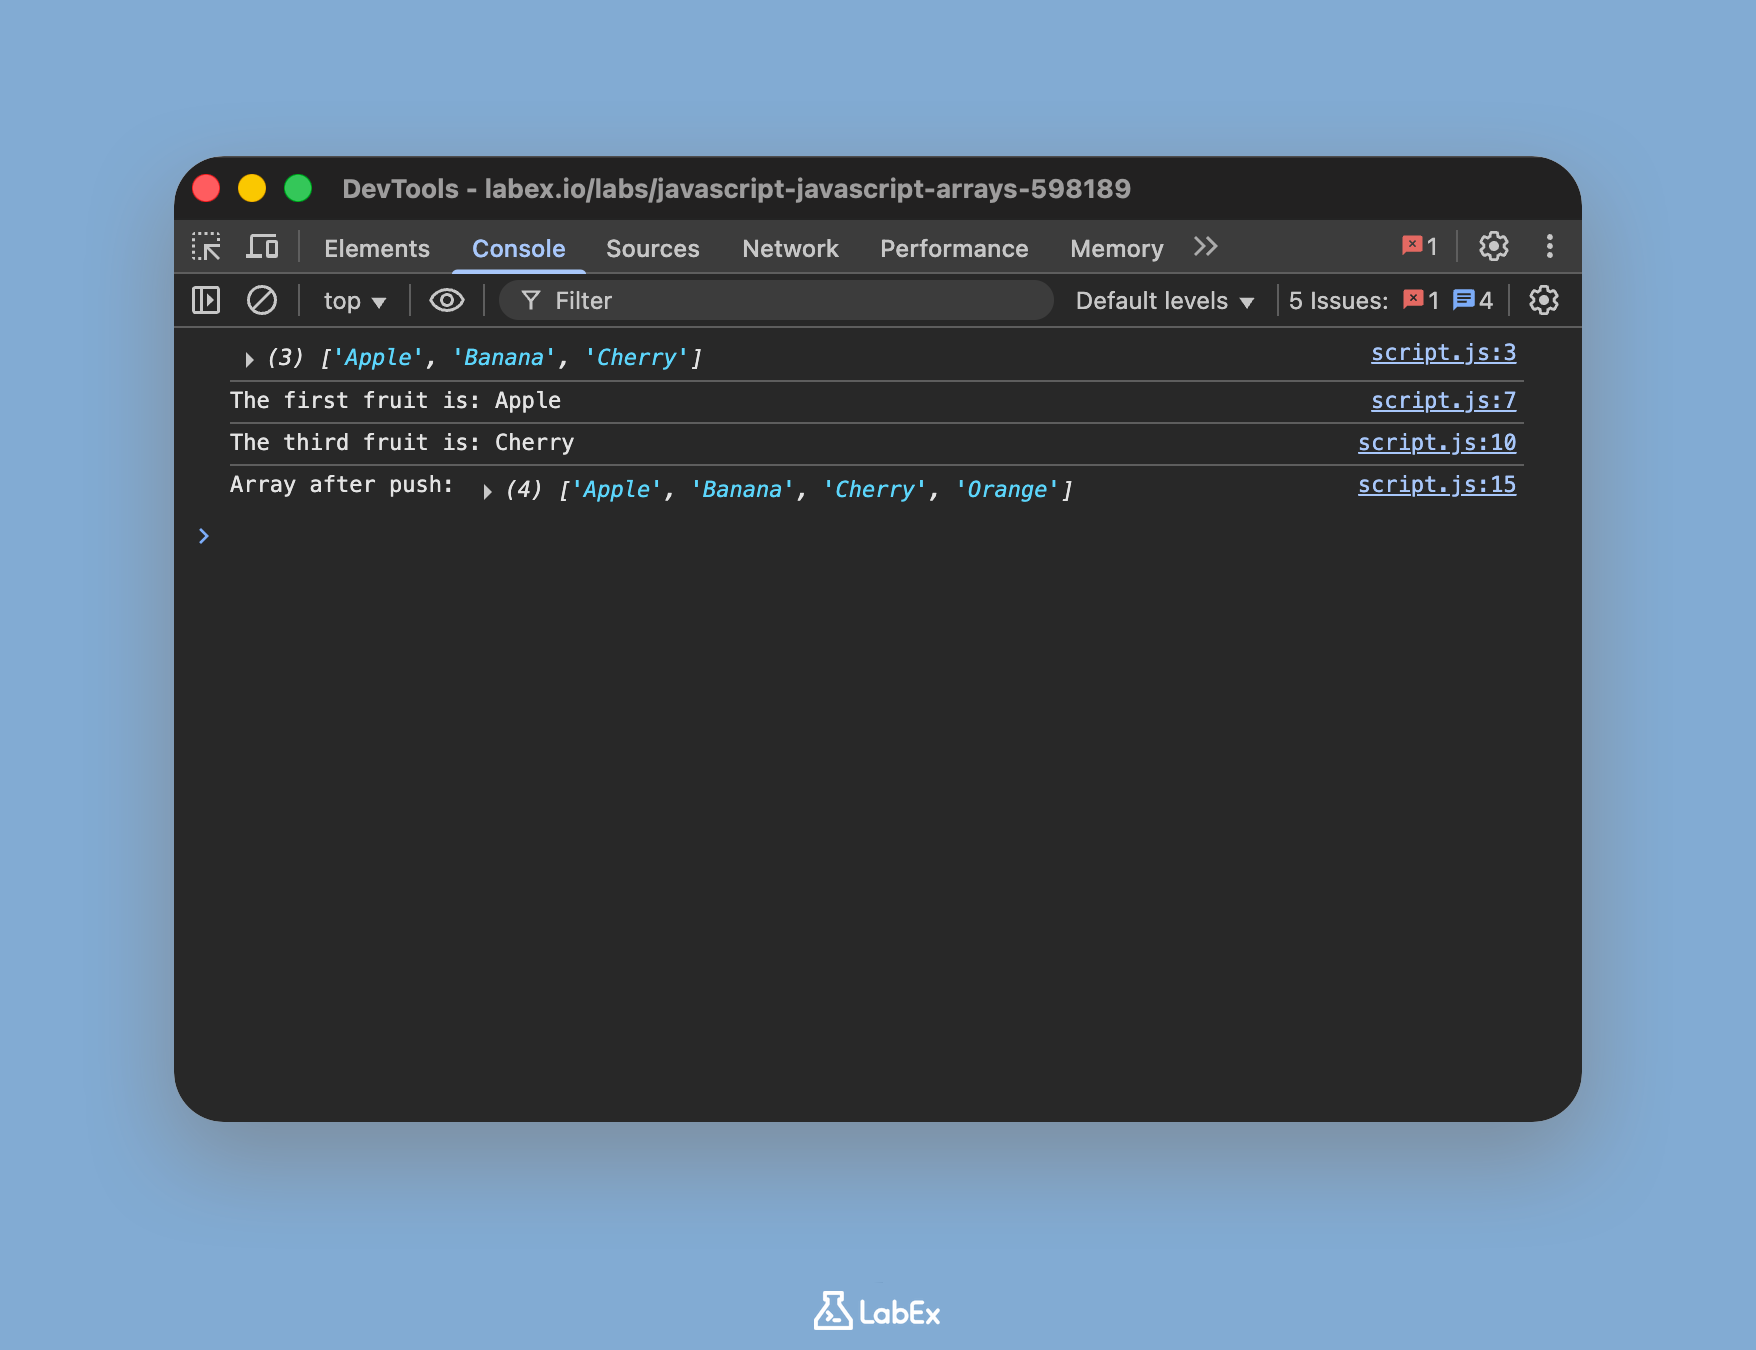
Save the file and check the console in the "Web 8080" tab. You will see that the fruits array now contains four elements.
Array after push: [ "Apple", "Banana", "Cherry", "Orange" ]
Remove last element with pop method
In this step, you will learn how to remove the last element from an array using the pop() method. This method removes the last element from an array and returns that element. This action changes the length of the array.
Add the following code to the end of your script.js file. This will remove the last element you just added and log both the removed element and the updated array.
// Remove the last element from the array
const removedFruit = fruits.pop();

console.log("Removed fruit:", removedFruit);
console.log("Array after pop:", fruits);
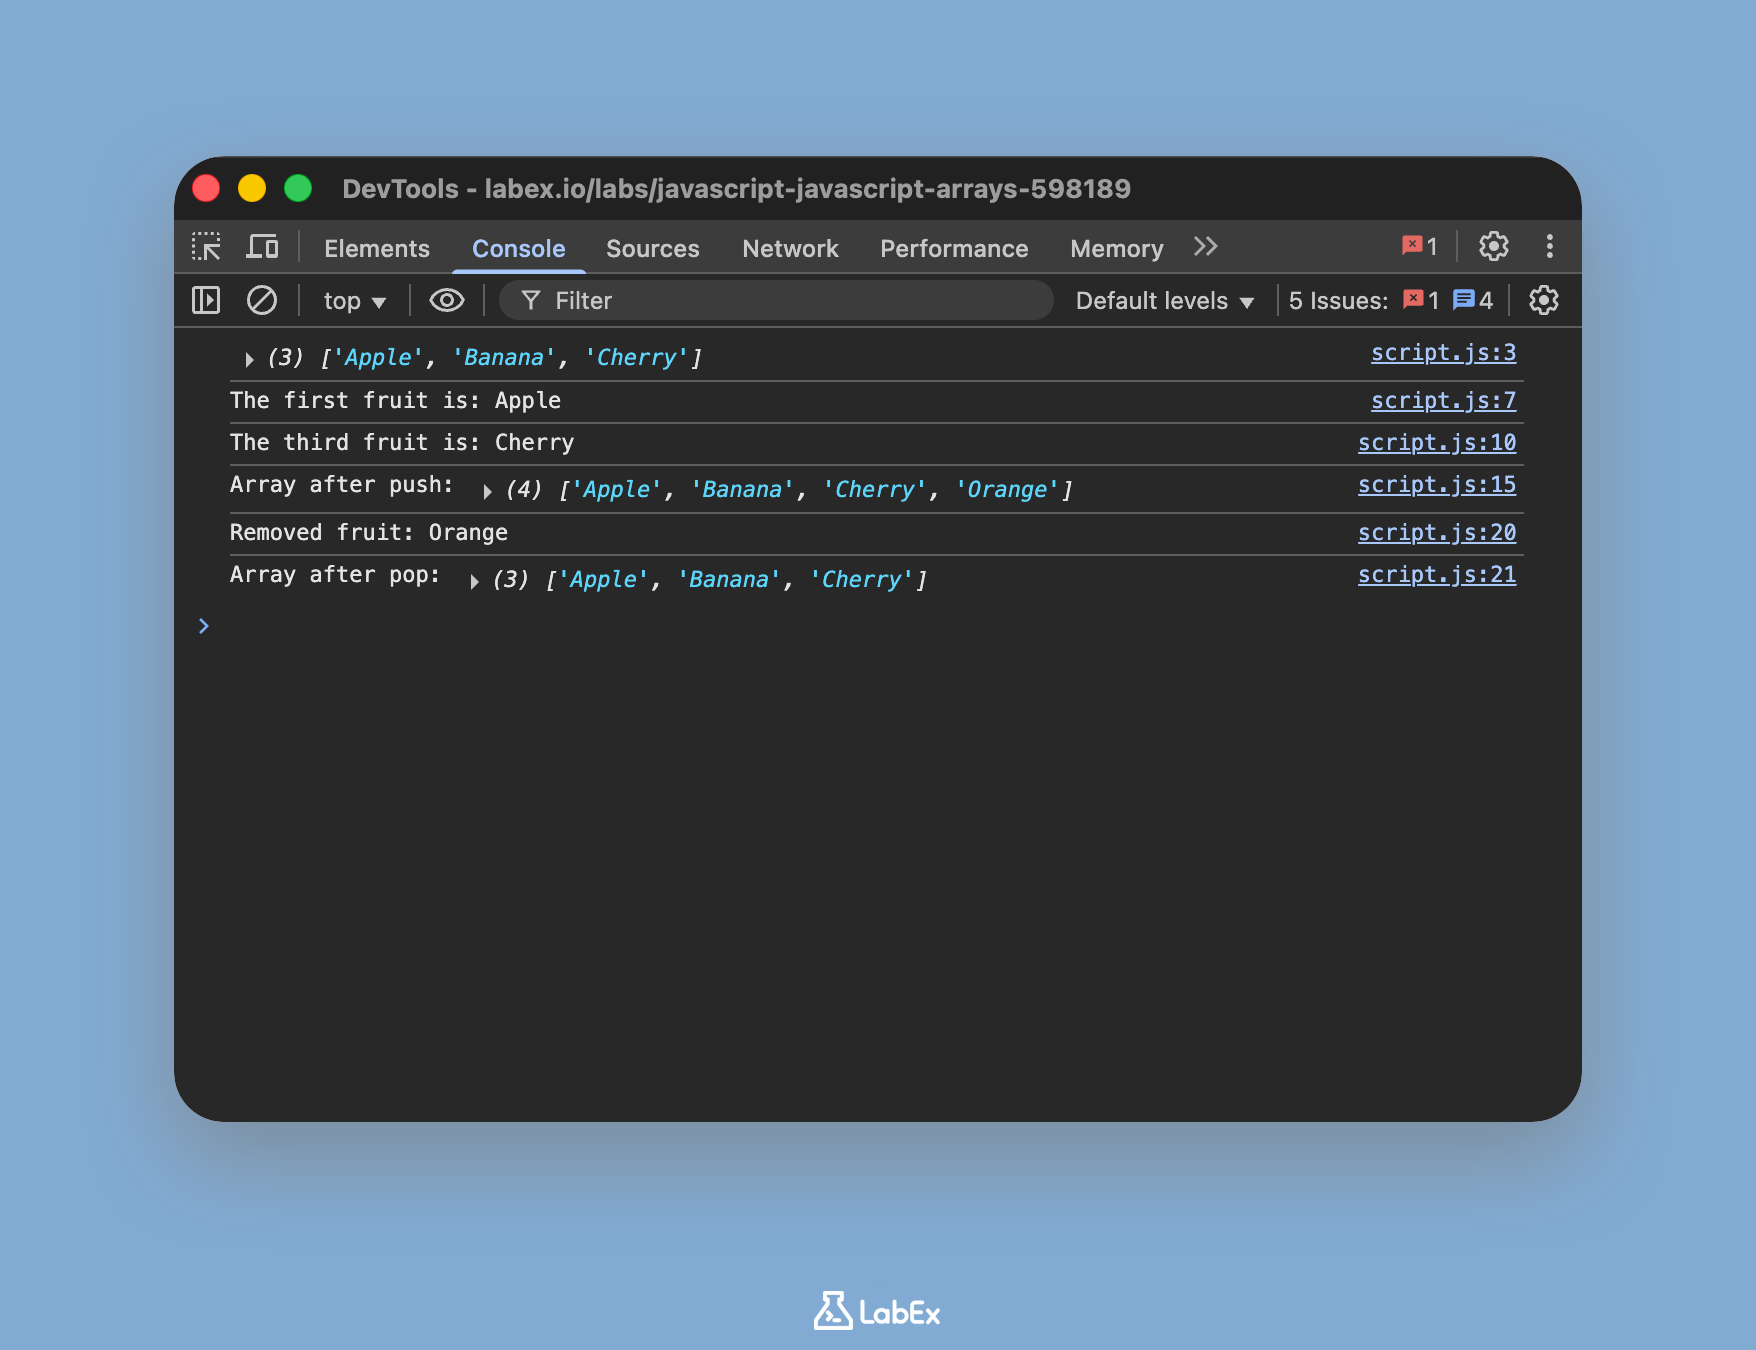
Save the file and observe the console output in the "Web 8080" tab. You will see that "Orange" was removed, and the array is back to its original three elements.
Removed fruit: Orange
Array after pop: [ "Apple", "Banana", "Cherry" ]
Iterate array using for loop
In this step, you will learn how to loop through all the elements in an array. A common way to do this is by using a for loop. You can use the array's length property to determine how many times the loop should run.
Add the following for loop to the end of script.js to print each fruit in the array to the console on a new line.
console.log("Iterating through the array with a for loop:");

for (let i = 0; i < fruits.length; i++) {
  console.log(fruits[i]);
}
The loop starts with i = 0 and continues as long as i is less than the length of the fruits array. In each iteration, it prints the element at the current index i.
Save the file and check the console in the "Web 8080" tab. You will see each fruit listed individually.
Iterating through the array with a for loop:
Apple
Banana
Cherry
Summary
Congratulations on completing the JavaScript Arrays lab!
In this lab, you have learned the essential operations for working with arrays in JavaScript. You have practiced:
- Creating an array using the literal syntax
[]. - Accessing elements by their zero-based index, like
array[0]. - Adding an element to the end of an array with the
push()method. - Removing the last element from an array with the
pop()method. - Iterating over every element in an array using a
forloop and thelengthproperty.
Arrays are a cornerstone of JavaScript programming. There are many more powerful methods to explore, such as forEach(), map(), and filter(), which can make your code even more concise and expressive. Keep practicing to master this fundamental data structure.


