
Introduction
In this lab, participants will explore the fundamental concepts of creating and styling <div> elements in HTML, focusing on understanding their purpose, structure, and versatility in web page design. The lab guides learners through a comprehensive journey of div element usage, starting with basic creation and progressing to advanced styling techniques.
Participants will learn how div elements serve as essential containers for organizing and grouping web content, discovering their block-level characteristics, and practicing techniques for customizing sizes, positioning, and visual appearance. By working through practical examples and hands-on exercises, students will gain practical skills in using div elements to create logical, well-structured web page layouts that enhance both design and functionality.
Understand the Purpose of Div Elements
In this step, you'll learn about the fundamental purpose of <div> elements in HTML and how they are used to structure and organize web page content.
A <div> (division) element is a container used to group and organize other HTML elements. It's a versatile block-level element that helps developers create logical sections and apply styling to groups of content. Think of a <div> like a box that can hold other elements and help structure your web page layout.
Let's create a simple HTML file to demonstrate the basic usage of <div> elements. Open the WebIDE and create a new file called div-example.html in the ~/project directory.
<!doctype html>
<html lang="en">
  <head>
    <meta charset="UTF-8" />
    <title>Div Element Example</title>
  </head>
  <body>
    <div>
      <h1>Welcome to My Website</h1>
      <p>This is a paragraph inside a div element.</p>
    </div>

    <div>
      <h2>About Section</h2>
      <p>Here's some information about our project.</p>
    </div>
  </body>
</html>
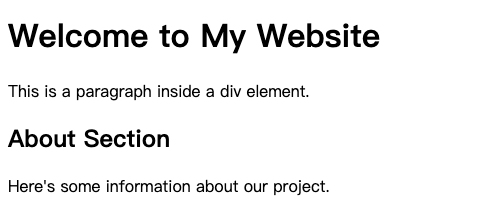
In this example, we've used two <div> elements to create separate sections on the page. Each <div> contains a heading and a paragraph, demonstrating how divs can group related content together.
Key characteristics of <div> elements:
- They are block-level elements, meaning they typically start on a new line
- They can contain other HTML elements
- They are often used for layout and styling purposes
- They have no inherent visual representation without CSS
Example output when viewed in a web browser:
Create a Basic Div with Text Content
In this step, you'll learn how to create a div element and add text content to it. Building on the previous step, we'll explore how to add meaningful text inside div elements.
Open the WebIDE and modify the div-example.html file in the ~/project directory to include more detailed text content:
<!doctype html>
<html lang="en">
  <head>
    <meta charset="UTF-8" />
    <title>Div Text Content Example</title>
  </head>
  <body>
    <div>
      <h1>Welcome to Our Learning Platform</h1>
      <p>This div contains an introduction to our website.</p>
      <p>We provide interactive learning experiences for web development.</p>
    </div>

    <div>
      <h2>Course Highlights</h2>
      <p>Our courses cover various web technologies:</p>
      <ul>
        <li>HTML Fundamentals</li>
        <li>CSS Styling</li>
        <li>JavaScript Interactivity</li>
      </ul>
    </div>
  </body>
</html>
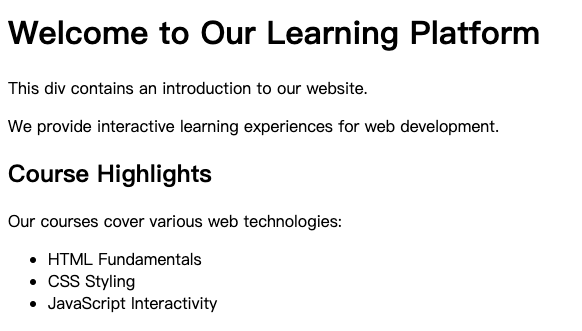
In this example, we've demonstrated several ways to add text content to div elements:
- Using heading tags (
<h1>,<h2>) - Adding paragraphs with
<p>tags - Including an unordered list with
<ul>and<li>tags
Each div can contain multiple types of text and HTML elements. This flexibility allows you to create structured and organized content on your web page.
Example output when viewed in a web browser would look like:
Add Background Color to Div Element
In this step, you'll learn how to add background colors to div elements using inline CSS styles. Background colors help create visual separation and enhance the design of your web page.
Open the div-example.html file in the ~/project directory and modify it to include background colors:
<!doctype html>
<html lang="en">
  <head>
    <meta charset="UTF-8" />
    <title>Div Background Color Example</title>
    <style>
      .intro-section {
        background-color: #f0f0f0;
        padding: 15px;
      }

      .courses-section {
        background-color: #e6f2ff;
        padding: 15px;
      }
    </style>
  </head>
  <body>
    <div class="intro-section">
      <h1>Welcome to Our Learning Platform</h1>
      <p>This section has a light gray background.</p>
      <p>Background colors help create visual hierarchy.</p>
    </div>

    <div class="courses-section">
      <h2>Course Highlights</h2>
      <p>This section has a light blue background.</p>
      <ul>
        <li>HTML Fundamentals</li>
        <li>CSS Styling</li>
        <li>JavaScript Interactivity</li>
      </ul>
    </div>
  </body>
</html>
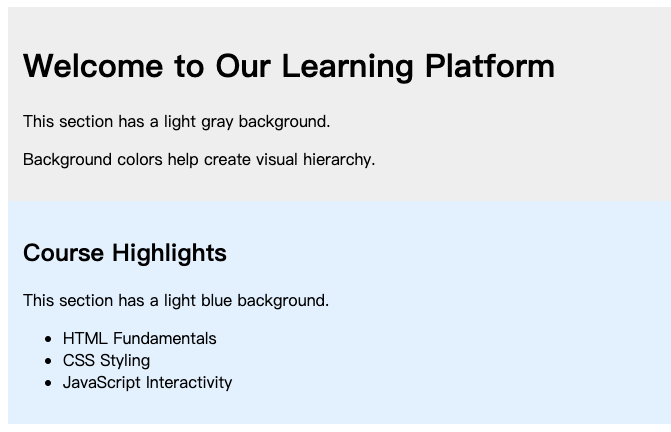
In this example, we've demonstrated two ways to add background colors:
- Using inline CSS
styletag in the<head>section - Creating CSS classes with specific background colors
- Adding
paddingto create some space inside the div
Key points about background colors:
- Use hexadecimal color codes (e.g.,
#f0f0f0) - You can use color names or RGB values
background-colorproperty sets the backgroundpaddingadds space inside the div
Example visual output:
Explore Div Element Block-Level Characteristics
In this step, you'll learn about the block-level characteristics of div elements and how they behave in web page layout. Div elements are unique in their ability to create distinct content sections that automatically start on a new line.
Create a new file called block-level-example.html in the ~/project directory with the following content:
<!doctype html>
<html lang="en">
  <head>
    <meta charset="UTF-8" />
    <title>Div Block-Level Characteristics</title>
    <style>
      .block-example {
        border: 2px solid blue;
        margin: 10px 0;
        padding: 10px;
      }
    </style>
  </head>
  <body>
    <div class="block-example">
      <h2>First Div Block</h2>
      <p>
        This is the first div element. Notice how it takes up the full width of
        its container.
      </p>
    </div>

    <div class="block-example">
      <h2>Second Div Block</h2>
      <p>
        This div starts on a new line, even though the previous div is right
        above it.
      </p>
    </div>

    <p>
      This is a paragraph outside the divs to show the block-level behavior.
    </p>
  </body>
</html>
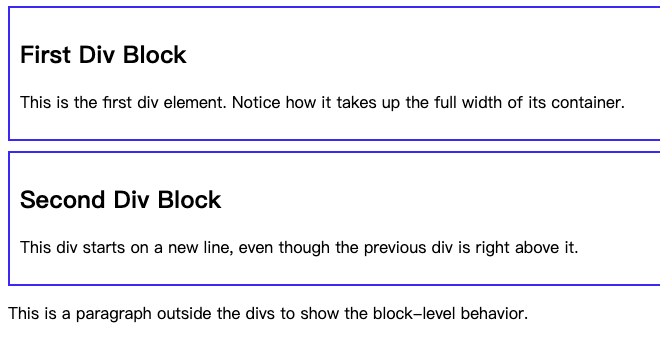
Key block-level characteristics of div elements:
- They always start on a new line
- They take up the full width of their parent container
- They create a "block" of content that can be easily styled and positioned
To demonstrate the block-level nature, we've added:
- A blue border to visualize each div's boundaries
- Margin and padding to show spacing
- Multiple divs to illustrate how they stack vertically
Example visual output would look like:
Customize Div Sizes and Positioning
In this step, you'll learn how to customize the size and positioning of div elements using CSS properties. This will help you create more complex and visually appealing web layouts.
Create a new file called div-sizing-example.html in the ~/project directory with the following content:
<!doctype html>
<html lang="en">
<head>
<meta charset="UTF-8" />
<title>Div Sizing and Positioning</title>
<style>
.container {
width: 100%;
max-width: 800px;
margin: 0 auto;
}
.box {
width: 300px;
height: 200px;
background-color: #f0f0f0;
margin: 20px;
padding: 15px;
border: 2px solid #333;
}
.inline-boxes {
display: flex;
justify-content: space-between;
}
</style>
</head>
<body>
<div class="container">
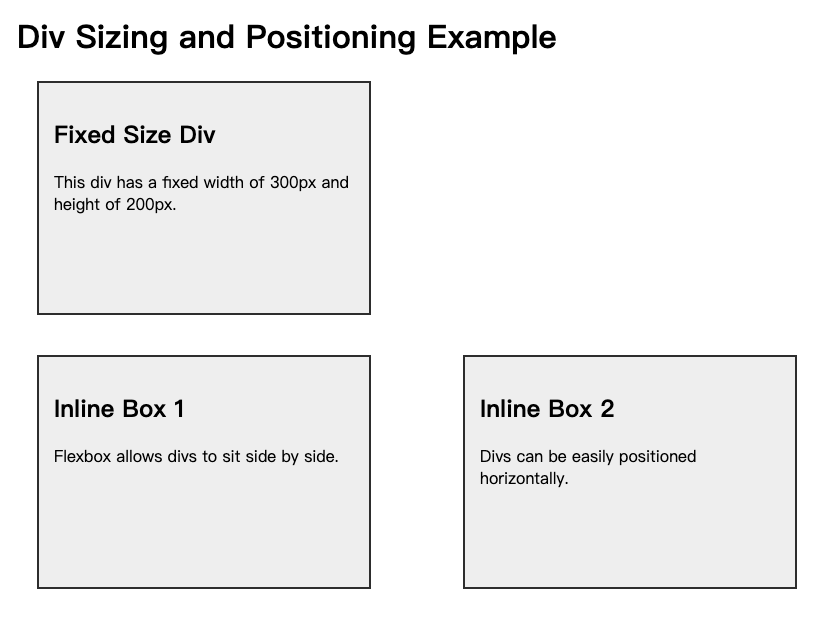
<h1>Div Sizing and Positioning Example</h1>
<div class="box">
<h2>Fixed Size Div</h2>
<p>This div has a fixed width of 300px and height of 200px.</p>
</div>
<div class="inline-boxes">
<div class="box">
<h2>Inline Box 1</h2>
<p>Flexbox allows divs to sit side by side.</p>
</div>
<div class="box">
<h2>Inline Box 2</h2>
<p>Divs can be easily positioned horizontally.</p>
</div>
</div>
</div>
</body>
</html>
Key CSS properties for customizing div sizes and positioning:
widthandheight: Control the size of the divmargin: Add space around the divpadding: Add space inside the divdisplay: flex: Create flexible layoutsmax-width: Limit the maximum width of a divmargin: 0 auto: Center a div horizontally
Example visual output would look like:
Summary
In this lab, participants explored the fundamental usage and styling of <div> elements in HTML, focusing on understanding their role in web page structure and organization. The lab guided learners through creating basic div containers, adding text content, applying background colors, and examining block-level characteristics of these versatile HTML elements.
Participants learned how divs serve as flexible containers for grouping related content, can be used to create logical sections within a webpage, and provide a foundation for layout and styling. By practicing hands-on examples, learners gained practical skills in using div elements to structure web content and apply basic CSS properties, enhancing their understanding of HTML page composition and design techniques.


