Introduction
In this lab, you will learn how to install and perform the initial setup of Redis on a LabEx VM. The lab covers essential steps to get Redis up and running, including verifying the installation and ensuring the server is accessible.
This lab guides you through updating package lists, installing the Redis server, and confirming the installation by checking the Redis service status. You will also learn how to start the Redis server and test its connectivity.
Install Redis and Connect to the Server
In this step, we will install Redis on the LabEx VM and connect to the Redis server using the redis-cli command-line tool. Redis is an open-source, in-memory data structure store, often used as a database, cache, and message broker.
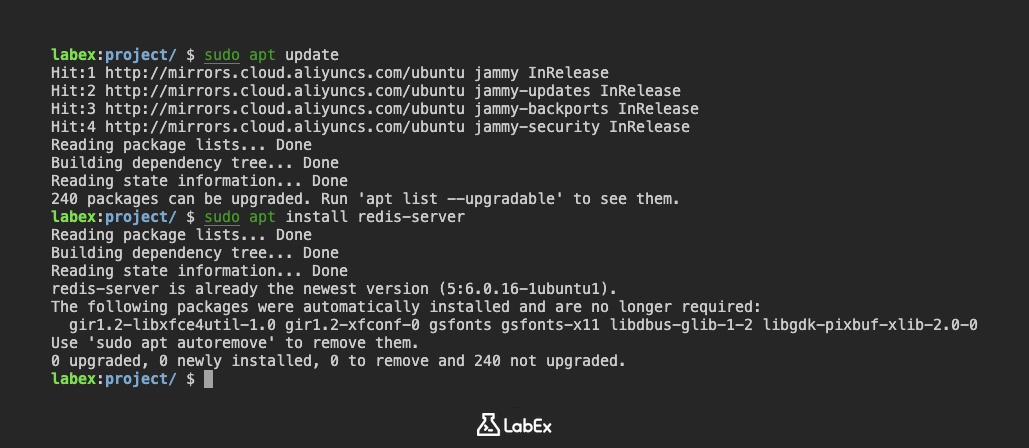
First, let's update the package lists to ensure we have the latest versions of software. Open a terminal in the LabEx VM.
Execute the following command:
sudo apt update
This command updates the list of available packages. You should see output indicating that the package lists are being updated.
Next, install Redis using the apt install command:
sudo apt install redis-server
This command will install the Redis server and its dependencies. You may be prompted to confirm the installation by typing y and pressing Enter.
After the installation is complete, start the Redis server:
sudo service redis-server start
Now, let's connect to the Redis server using the redis-cli command. This command opens the Redis command-line interface, allowing you to interact with the Redis server.
redis-cli
You should see a prompt that looks like this:
127.0.0.1:6379>
This indicates that you are now connected to the Redis server and can start executing commands. Keep this connection open for the next step.
Test Connectivity and Set a Key
Now that you are connected to the Redis server using redis-cli, let's test the connection and set a simple key-value pair.
First, test the connectivity using the PING command:
PING
If the Redis server is running correctly, you should receive the following response:
PONG
This confirms that the Redis server is up and running and that you can communicate with it.
Next, let's set a key-value pair. The SET command is used to set the string value of a key. For example, let's set a key named mykey with the value Hello Redis:
SET mykey "Hello Redis"
You should receive the following response:
OK
This indicates that the key-value pair has been successfully set.
Finally, exit the redis-cli:
quit
It's important to exit the redis-cli so that your commands are logged, before clicking the "Continue" button.
Get the Value of a Key
In this step, we will retrieve the value of the key we set in the previous step using the GET command.
First, connect to the Redis server using the redis-cli command:
redis-cli
Now, let's retrieve the value of the key mykey using the GET command:
GET mykey
You should receive the following response:
"Hello Redis"
This is the value we set for the key mykey in the previous step.
Finally, exit the redis-cli:
quit
Remember to exit the redis-cli to ensure your commands are logged before clicking the "Continue" button.
Summary
In this lab, you have learned how to install and perform the initial setup of Redis on a LabEx VM. You started by updating the package lists and installing the Redis server. You then connected to the Redis server using the redis-cli command-line tool, tested the connection with the PING command, set a key-value pair using the SET command, and retrieved the value of a key using the GET command. Remember to exit the redis-cli after each step to ensure your commands are logged.