Introduction
In React, you will often need to display multiple similar components from a collection of data. You can use JavaScript's array methods, like map(), to manipulate an array of data and transform it into an array of JSX elements.
A "key" is a special string attribute you need to include when creating lists of elements. Keys help React identify which items have changed, are added, or are removed. This allows React to efficiently update the user interface.
In this lab, you will learn how to take an array of data, transform it into a list of components, and render it, while also understanding the critical role of the key prop.
Create array of items in component
In this step, you will begin by defining the data that you want to display as a list. In most applications, this data would come from an API or a database, but for this lab, we will define a simple array directly within our component.
First, ensure you are in the correct directory. Your React application my-app has been created in the /home/labex/project directory.
Using the file explorer on the left side of the WebIDE, open the file my-app/src/App.jsx.
Inside the App component function, before the return statement, define a constant named products which will be an array of strings.
function App() {
  const products = ["Laptop", "Mouse", "Keyboard", "Monitor"];

  return (
    <>
      <h1>My Product List</h1>
    </>
  );
}

export default App;
At this point, the array is defined but not yet rendered. The next step will show you how to display this data.
Map array to JSX elements with map method
In this step, you will use the JavaScript map() method to transform your products array into a list of JSX elements. The map() method creates a new array by calling a function on every element of the original array.
We will map each product string to a <li> (list item) element.
Modify your src/App.jsx file. Inside the return statement, embed the mapping logic within curly braces {}.
function App() {
  const products = ["Laptop", "Mouse", "Keyboard", "Monitor"];

  const listItems = products.map((product) => <li>{product}</li>);

  return (
    <>
      <h1>My Product List</h1>
      {listItems}
    </>
  );
}

export default App;
Now, let's install the project dependencies and start the development server to see the result.
Open a new terminal in the WebIDE. First, navigate to your project directory:
cd my-app
Next, install the dependencies:
npm install
Finally, start the development server. The --host and --port flags are necessary to make the application accessible within the LabEx environment.
npm run dev -- --host 0.0.0.0 --port 8080
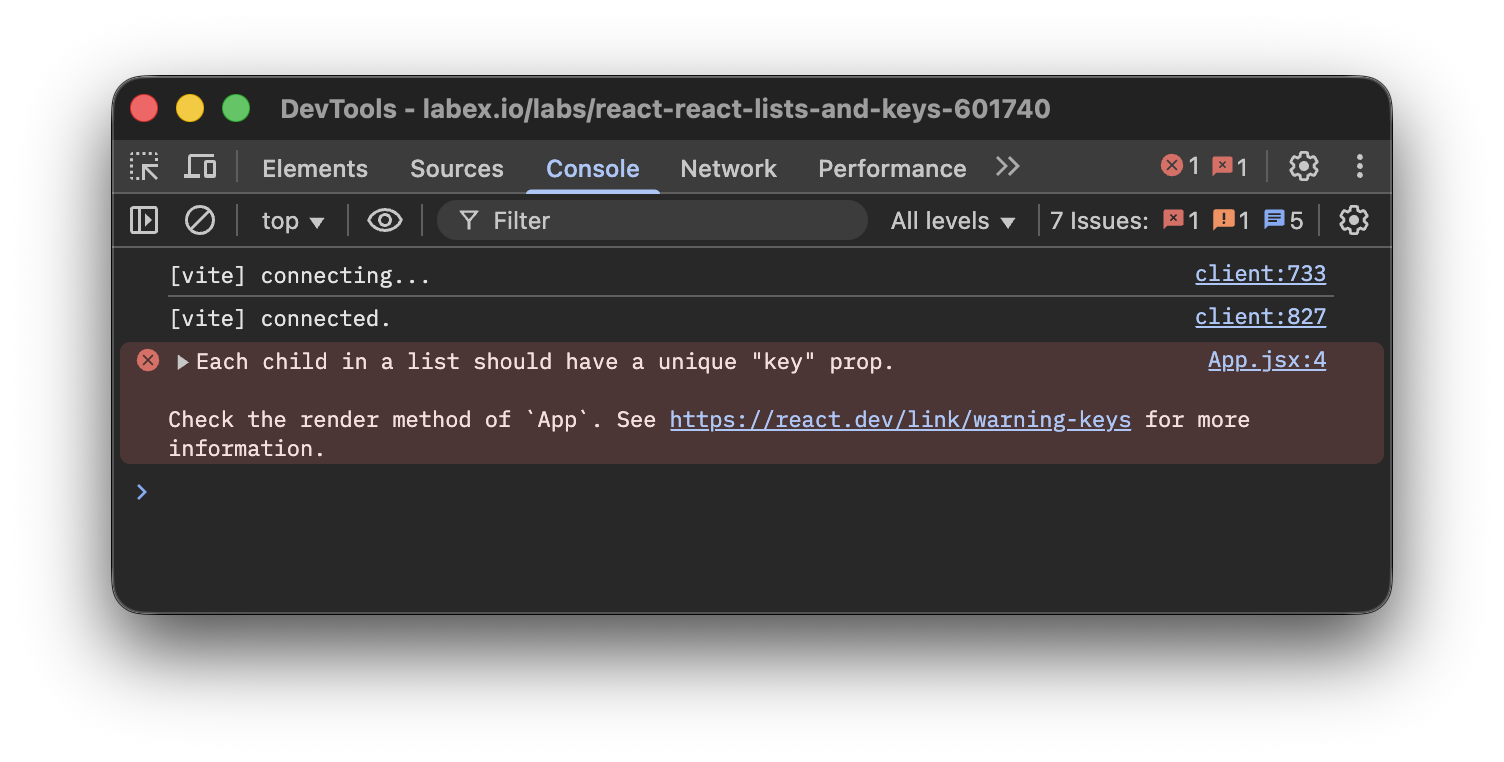
After the server starts, switch to the Web 8080 tab in your LabEx interface. You should see your list of products. However, if you open the browser's developer console (Right-click -> Inspect -> Console), you will see a warning: Warning: Each child in a list should have a unique "key" prop. We will fix this in the next step.
Assign unique key prop to each list item
In this step, you will fix the console warning by providing a unique key to each list item. Keys are crucial for React to track each item's identity, which helps in efficiently re-rendering the list when data changes.
The best way to pick a key is to use a string that uniquely identifies a list item among its siblings. Most often, you would use IDs from your data.
Let's modify our data to be an array of objects, where each object has a unique id. Update src/App.jsx as follows. We will use the id of each product as its key.
function App() {
  const products = [
    { id: "p1", name: "Laptop" },
    { id: "p2", name: "Mouse" },
    { id: "p3", name: "Keyboard" },
    { id: "p4", name: "Monitor" }
  ];

  const listItems = products.map((product) => (
    <li key={product.id}>{product.name}</li>
  ));

  return (
    <>
      <h1>My Product List</h1>
      {listItems}
    </>
  );
}

export default App;
Notice the key={product.id} prop added to the <li> element. The key is a special prop that is used by React internally and is not passed down to your component.
After saving the file, check the Web 8080 tab and the developer console again. The list should render as before, but the warning about missing keys will be gone.
Use index as key if no unique id available
In this step, you will learn how to handle situations where your data does not have stable, unique IDs. In such cases, you can use the item's index in the array as a last resort.
The map() function provides the index of the current item as an optional second argument. You can use this index for the key.
Let's revert our products array to a simple array of strings and use the index as the key. Modify src/App.jsx:
function App() {
  const products = ["Laptop", "Mouse", "Keyboard", "Monitor"];

  const listItems = products.map((product, index) => (
    <li key={index}>{product}</li>
  ));

  return (
    <>
      <h1>My Product List</h1>
      {listItems}
    </>
  );
}

export default App;
Important Note: Using the index as a key is not recommended if the order of items may change. This can negatively impact performance and cause issues with component state. If you sort, add, or remove items from the list, the indexes will change, which can confuse React's rendering algorithm. Only use it if the list is static and will never be reordered.
Render mapped list inside ul or ol tag
In this step, you will wrap your list items in a <ul> (unordered list) or <ol> (ordered list) tag. This is important for creating semantically correct HTML, which is good for accessibility and SEO.
Currently, we are rendering a series of <li> elements directly inside a fragment (<>...</>). Let's wrap our listItems variable in a <ul> tag to create a proper unordered list.
Update your src/App.jsx with the final code:
function App() {
  const products = ["Laptop", "Mouse", "Keyboard", "Monitor"];

  const listItems = products.map((product, index) => (
    <li key={index}>{product}</li>
  ));

  return (
    <>
      <h1>My Product List</h1>
      <ul>{listItems}</ul>
    </>
  );
}

export default App;
Now, go back to the Web 8080 tab. You will see your list is now properly formatted with bullet points, as expected from a standard HTML <ul> element. You have successfully rendered a dynamic list in React with correct keys and semantic HTML.

Summary
Congratulations on completing the lab!
In this lab, you have learned the fundamental concepts of rendering lists in React. You have practiced:
- Defining a data array within a component.
- Using the
map()method to transform an array of data into an array of JSX elements. - The critical importance of the
keyprop for list items to help React with efficient rendering. - How to use stable, unique IDs from your data as keys.
- How to use the array index as a key as a last resort and the potential drawbacks of doing so.
- Wrapping your list items in
<ul>or<ol>for semantic HTML.
These skills are essential for building dynamic and data-driven applications with React.