
Introduction
In this lab, you will learn how to utilize Nmap, a powerful open-source network scanning tool widely used by security professionals. Nmap helps identify active hosts, open ports, and running services within a network, providing essential visibility for security assessments.
You will gain practical experience in performing basic Nmap scans, interpreting scan results, and understanding different scanning techniques. These skills are fundamental for network security analysis while emphasizing the importance of ethical scanning practices on authorized networks only.
Installing Nmap
Before we can start exploring networks, we need to equip ourselves with the right tool. Nmap (Network Mapper) is a free and open-source utility that helps network administrators and security professionals discover devices on a network and identify available services. In this step, we'll install Nmap on your system.
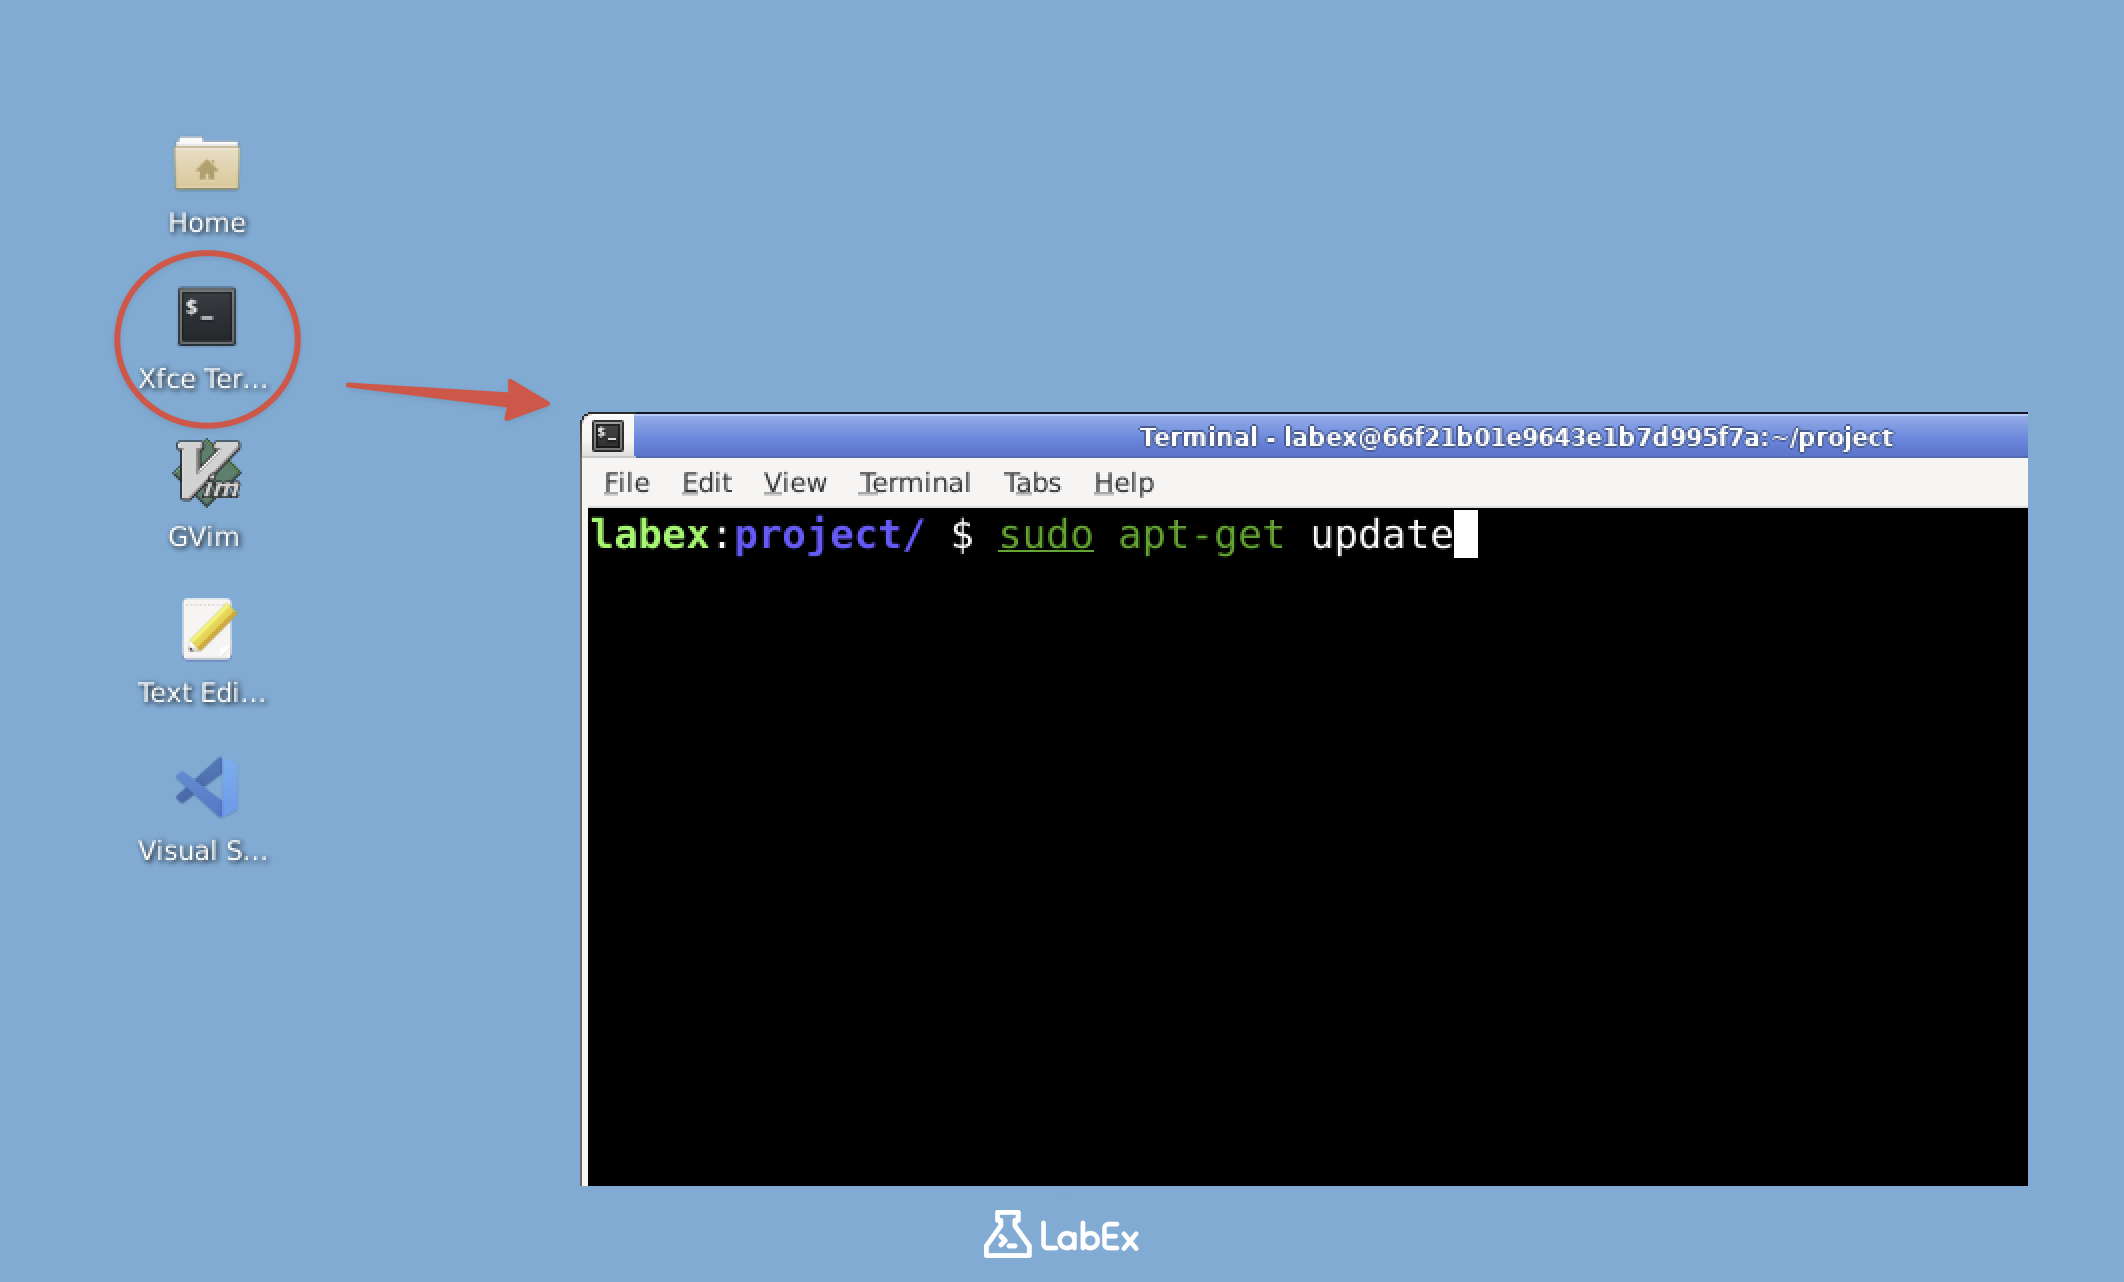
- First, let's open the terminal. The terminal is where we'll be running all our Nmap commands. On Linux systems like our lab environment, the terminal is the primary way to interact with networking tools. On your desktop, locate and open the Xfce Terminal.
Note: Free users can't connect to the internet, so Nmap is already pre-installed in the lab environment, You can jump to item 4 in the list (check if Nmap is installed). Upgrade to a pro user to practice installing Nmap by yourself.
Pro Users Only
- Once the terminal is open, we need to update the package lists. This is an important first step because it ensures our system knows about the latest available software versions. Type the following command and press Enter:
sudo apt-get update
sudo stands for "superuser do" and gives us administrative privileges, which are often needed for installing software.
- Now that our package lists are up-to-date, let's install Nmap. The following command will download and install Nmap along with any required dependencies:
sudo apt-get install nmap -y
The -y flag automatically confirms "yes" to any installation prompts, which is useful when running scripts or when you're sure you want to proceed.
- After the installation completes, we should verify that Nmap was installed correctly. Checking the version serves two purposes: it confirms the installation worked and tells us which version we're using. Enter:
nmap --version
You should see output similar to this:
Nmap version 7.80 ( https://nmap.org )
Platform: x86_64-pc-linux-gnu
Compiled with: liblua-5.3.6 openssl-3.0.2 nmap-libssh2-1.8.2 libz-1.2.11 libpcre-8.39 libpcap-1.10.1 nmap-libdnet-1.12 ipv6
Compiled without:
Available nsock engines: epoll poll select
The version number might be different as Nmap is regularly updated with new features and improvements.
Congratulations! You now have Nmap installed and ready to use. Think of Nmap as a powerful flashlight that lets you see what's happening in your network. It can show you which devices are connected, what services they're running, and even what operating systems they're using. These capabilities make Nmap an essential tool for both network administration and security testing.
If you'd like to explore Nmap's full capabilities, you can type man nmap in the terminal to view its manual page. This documentation contains all the advanced options and features, but don't feel overwhelmed - we'll start with the fundamentals in this lab and build up your knowledge step by step.
Understanding IP Addresses
Before we start scanning networks, it's crucial to understand IP addresses. Think of an IP address like a home address for your computer on the network. Just as a postal service needs your home address to deliver mail, other devices on the network need your IP address to communicate with your computer.
- An IP address is a unique identifier for a device on a network. It typically looks like a series of numbers separated by dots, such as 192.168.1.1. These numbers range from 0 to 255, and each segment represents part of the network hierarchy. The first part identifies the network itself, while the latter parts identify specific devices.
graph LR
    A[Internet] --- B[Router 192.168.1.1]
    B --- C[PC 192.168.1.10]
    B --- D[Laptop 192.168.1.11]
    B --- E[Smartphone 192.168.1.12]
    B --- F[Smart TV 192.168.1.13]
    style A fill:#f9f,stroke:#333,stroke-width:4px
    style B fill:#bbf,stroke:#333,stroke-width:2px
    style C fill:#dfd,stroke:#333,stroke-width:2px
    style D fill:#dfd,stroke:#333,stroke-width:2px
    style E fill:#dfd,stroke:#333,stroke-width:2px
    style F fill:#dfd,stroke:#333,stroke-width:2px
- To find your own IP address, we'll use a command that shows network interface information. This is important because we need to know our own address before we can scan other devices on the network. Enter this command:
ip addr show | grep inet
Let's break this down step by step:
ip addr showdisplays detailed information about all network interfaces on your system- The
|symbol (called a pipe) takes the output from the first command and sends it to the next command grep inetfilters the output to show only lines containing "inet", which include IP addresses in a format we can easily read
You'll see output similar to this:
inet 127.0.0.1/8 scope host lo
inet 172.19.0.3/16 brd 172.19.255.255 scope global eth1
The numbers after the forward slash (like /8 and /16) use CIDR notation (Classless Inter-Domain Routing). This notation indicates how many bits of the IP address are used for the network portion versus the device portion. For example, /16 means the first 16 bits (the first two numbers) identify the network, while the remaining bits can be assigned to individual devices.
In this output, you'll see several IP addresses. Here's what they mean in practical terms:
127.0.0.1is called the "loopback" or "localhost" address. This special address always refers back to your own computer, used when a program needs to communicate with itself.172.19.0.3is your machine's actual network address. This is the address other devices would use to send data to your computer, similar to how your street address identifies your home.
Make a note of the IP address that isn't 127.0.0.1 (in this case, 172.19.0.3). We'll use this real network address in our scanning exercises.
This CIDR notation is important for understanding which devices are on your local network versus remote networks.
You might notice some addresses starting with "fe80::" - these are IPv6 addresses, the newer version of IP addressing designed to replace IPv4. While IPv6 is increasingly important, most local networks still primarily use IPv4 addresses like the ones we're examining here. For our network scanning purposes, we'll focus on IPv4 addresses as they're more commonly used in local network environments.
Performing a Basic Nmap Scan
Now that we understand IP addresses and have Nmap installed, let's perform our first network scan. This initial scan will target your own machine, which is the safest way to learn Nmap's basic functionality before scanning other systems.
- First, we'll use the IP address you identified in the previous step. The basic Nmap scan command simply requires the target IP address. Run the following command, replacing
<YOUR_IP>with the IP address you found:
nmap <YOUR_IP>
For example, if your IP is 172.19.0.3, you would run:
nmap 172.19.0.3
This command tells Nmap to scan the most common 1000 TCP ports on the specified IP address. TCP ports are like numbered doors on a computer where network services can communicate.
- After executing the command, Nmap will perform the scan and display results. Here's a typical output you might see:
Starting Nmap 7.80 ( https://nmap.org ) at 2024-09-24 10:00 CST
Nmap scan report for 336efdcfb776.external (172.19.0.3)
Host is up (0.00017s latency).
Not shown: 998 closed ports
PORT     STATE SERVICE
22/tcp   open  ssh
3001/tcp open  nessus

Nmap done: 1 IP address (1 host up) scanned in 0.19 seconds
Let's examine each part of this output to understand what Nmap is telling us:
- "Starting Nmap 7.80": Shows the version of Nmap being used. Different versions may have slightly different features or output formats.
- "Host is up (0.00017s latency)": Confirms the target machine responded to network requests, with the response time shown in seconds.
- "Not shown: 998 closed ports": Indicates that out of the 1000 common ports scanned, 998 weren't accepting connections.
- "PORT STATE SERVICE": Lists all open ports found during the scan:
22/tcp open ssh: Port 22 is open running SSH (Secure Shell), used for secure remote administration of systems.3001/tcp open nessus: Port 3001 is open running what Nmap believes to be Nessus, a vulnerability scanner.
This basic scan provides valuable information about network services running on your machine. In practical terms, this information helps with:
- Security auditing by identifying unnecessary open ports that could be exploited
- Network troubleshooting by verifying expected services are available
- Incident detection by spotting unexpected services that might indicate a compromise
Remember, network scanning should only be performed on systems you own or have explicit permission to test. Scanning networks without authorization may violate laws and ethical guidelines. Always get proper permissions before scanning any system that isn't your own.
Performing an OS Detection Scan
Nmap isn't just limited to finding open ports. It can also try to determine the operating system of the target machine. This feature is incredibly useful for network administrators and security professionals because different operating systems have different vulnerabilities and require different security measures.
Before we begin, it's important to understand how OS detection works. Nmap sends specially crafted packets to the target and analyzes the responses. Each operating system responds slightly differently to network requests, creating a unique "fingerprint" that Nmap can match against its database.
- To perform an OS detection scan, we use the
-Oflag (note that this is a capital letter 'O', not the number zero). This scan requires root privileges because it needs to send and analyze raw packets at a low level. We'll usesudoto run this command. Replace<YOUR_IP>with the actual IP address you want to scan:
sudo nmap -O <YOUR_IP>
For example, if your target IP is 172.19.0.3, you would run:
sudo nmap -O 172.19.0.3
- The output will show the open ports like a basic scan, but now includes operating system information. Here's what a typical result might look like:
Starting Nmap 7.80 ( https://nmap.org ) at 2024-09-24 10:01 CST
Nmap scan report for 336efdcfb776.external (172.19.0.3)
Host is up (0.000035s latency).
Not shown: 998 closed ports
PORT     STATE SERVICE
22/tcp   open  ssh
3001/tcp open  nessus
Device type: general purpose
Running: Linux 2.6.X
OS CPE: cpe:/o:linux:linux_kernel:2.6.32
OS details: Linux 2.6.32
Network Distance: 0 hops

OS detection performed. Please report any incorrect results at https://nmap.org/submit/ .
Nmap done: 1 IP address (1 host up) scanned in 1.76 seconds
Let's examine the new OS-related information in detail:
- "Device type: general purpose": This tells us the device is a standard computer system rather than specialized hardware like a router or IoT device.
- "Running: Linux 2.6.X": Nmap's primary guess about the operating system family and version.
- "OS CPE": This is a standardized identifier for the operating system version.
- "OS details": A more specific version identification based on the fingerprint match.
Understanding this information is valuable for several practical applications:
- Security professionals use it to identify potentially vulnerable systems that need patching.
- Network administrators maintain accurate inventories of their network devices.
- System administrators verify that machines are running the expected operating systems.
Remember that OS detection isn't perfect. Several factors can affect accuracy:
- Firewalls may block the probes Nmap uses for detection.
- Custom kernel configurations might not match standard fingerprints.
- Virtual machines sometimes show the host OS instead of the guest OS.
For best results, combine OS detection with other Nmap techniques and verify findings through multiple methods when possible.
Scanning a Network Range
In real network environments, you often need to scan multiple IP addresses or entire network segments. This is useful for discovering all the devices on a network, which is a common task for network administrators and security professionals. Let's try scanning a network range.
- We'll start with scanning a small range of IP addresses. This is often the first step when exploring an unfamiliar network. The command below scans 20 consecutive IP addresses starting from 172.19.0.1:
nmap 172.19.0.1-20
This command tells Nmap to sequentially check each IP address from 172.19.0.1 to 172.19.0.20, reporting which hosts are online and what ports are open.
- Now, let's scan an entire subnet using CIDR notation that we learned about earlier. The /24 suffix means we're scanning all 256 addresses in the last octet. Run the following command, replacing
<YOUR_NETWORK>with your network address:
nmap YOUR_NETWORK /24
For example:
nmap 172.19.0.0/24
This scan will check every IP from 172.19.0.0 to 172.19.0.255. The /24 notation is equivalent to a subnet mask of 255.255.255.0.
- To save the scan results for documentation or later analysis, we use the
-oN(output normal) flag. This creates a human-readable text file:
nmap 172.19.0.0/24 -oN network_scan.txt
The command performs the same subnet scan but writes the output to network_scan.txt in your current working directory.
- Let's examine the contents of the output file:
cat network_scan.txt
The output shows detailed information about each responsive host. Here's an example of what you might see:
## Nmap 7.80 scan initiated Fri Sep 27 15:45:29 2024 as: nmap -oN network_scan.txt 172.19.0.0/24
Nmap scan report for iZrj9gvdh5xn02z8rmsn9mZ (172.19.0.1)
Host is up (0.00045s latency).
Not shown: 997 closed ports
PORT      STATE SERVICE
22/tcp    open  ssh
111/tcp   open  rpcbind
10010/tcp open  rxapi

Nmap scan report for node_openresty.external (172.19.0.2)
Host is up (0.00047s latency).
Not shown: 999 closed ports
PORT   STATE SERVICE
80/tcp open  http

Nmap scan report for 36cff415ddd9.external (172.19.0.3)
Host is up (0.00045s latency).
Not shown: 998 closed ports
PORT     STATE SERVICE
22/tcp   open  ssh
3001/tcp open  nessus

Nmap scan report for 041bf22f47a1.external (172.19.0.4)
Host is up (0.00050s latency).
Not shown: 998 closed ports
PORT     STATE SERVICE
22/tcp   open  ssh
3001/tcp open  nessus

Nmap scan report for 2299e8eff7e5.external (172.19.0.5)
Host is up (0.00048s latency).
Not shown: 998 closed ports
PORT     STATE SERVICE
22/tcp   open  ssh
3001/tcp open  nessus

## Nmap done at Fri Sep 27 15:45:32 2024 -- 256 IP addresses (5 hosts up) scanned in 3.25 seconds
Let's break down the output:
- The scan covered all 256 possible addresses in the 172.19.0.0/24 range
- Only 5 hosts responded to the scan (were "up")
- Each host entry shows:
- Hostname (if resolvable) and IP address
- Network latency measurement
- Number of ports checked (with closed ports not shown by default)
- List of open ports with their associated services
Practical applications of network scanning include:
- Network inventory: Maintaining an accurate list of all devices on your network
- Security auditing: Identifying unauthorized devices or services
- Troubleshooting: Verifying network connectivity and service availability
- Vulnerability assessment: Discovering potentially vulnerable services
Remember that network scanning should only be performed on networks you own or have explicit permission to scan. Unauthorized scanning may violate privacy laws or network usage policies.
Summary
In this lab, you have learned the fundamentals of network scanning using Nmap, a powerful tool for network reconnaissance and security assessment. You practiced installing Nmap, performing basic scans to identify open ports and services, detecting operating systems, and exploring network ranges while managing scan outputs effectively.
These skills form the foundation for more advanced network security practices. Remember to always obtain proper authorization before scanning networks and use this knowledge responsibly to enhance digital security.


