
Introduction
In this lab, you will learn about the installation and basic usage of Nmap, a powerful network scanning and security auditing tool. Nmap, also known as Network Mapper, is an open - source utility widely used by system administrators and security experts to find hosts, services, and vulnerabilities on a network.
This lab will guide you through installing Nmap, setting up a local service for scanning, and conducting basic scans to understand Nmap's capabilities.
Installing Nmap
In this step, we'll guide you through the process of installing Nmap on your Ubuntu Linux system. Nmap is a powerful network scanning tool that's widely used in cybersecurity for tasks like network discovery and security auditing. It's available in the default Ubuntu repositories, which means the installation process is quite straightforward.
First, you need to open your terminal. The terminal is a text-based interface that allows you to interact with your system by entering commands. By default, you should be in the /home/labex/project directory. If you're not in this directory, you can navigate there using the following command. This command changes your current working directory to /home/labex/project.
cd /home/labex/project
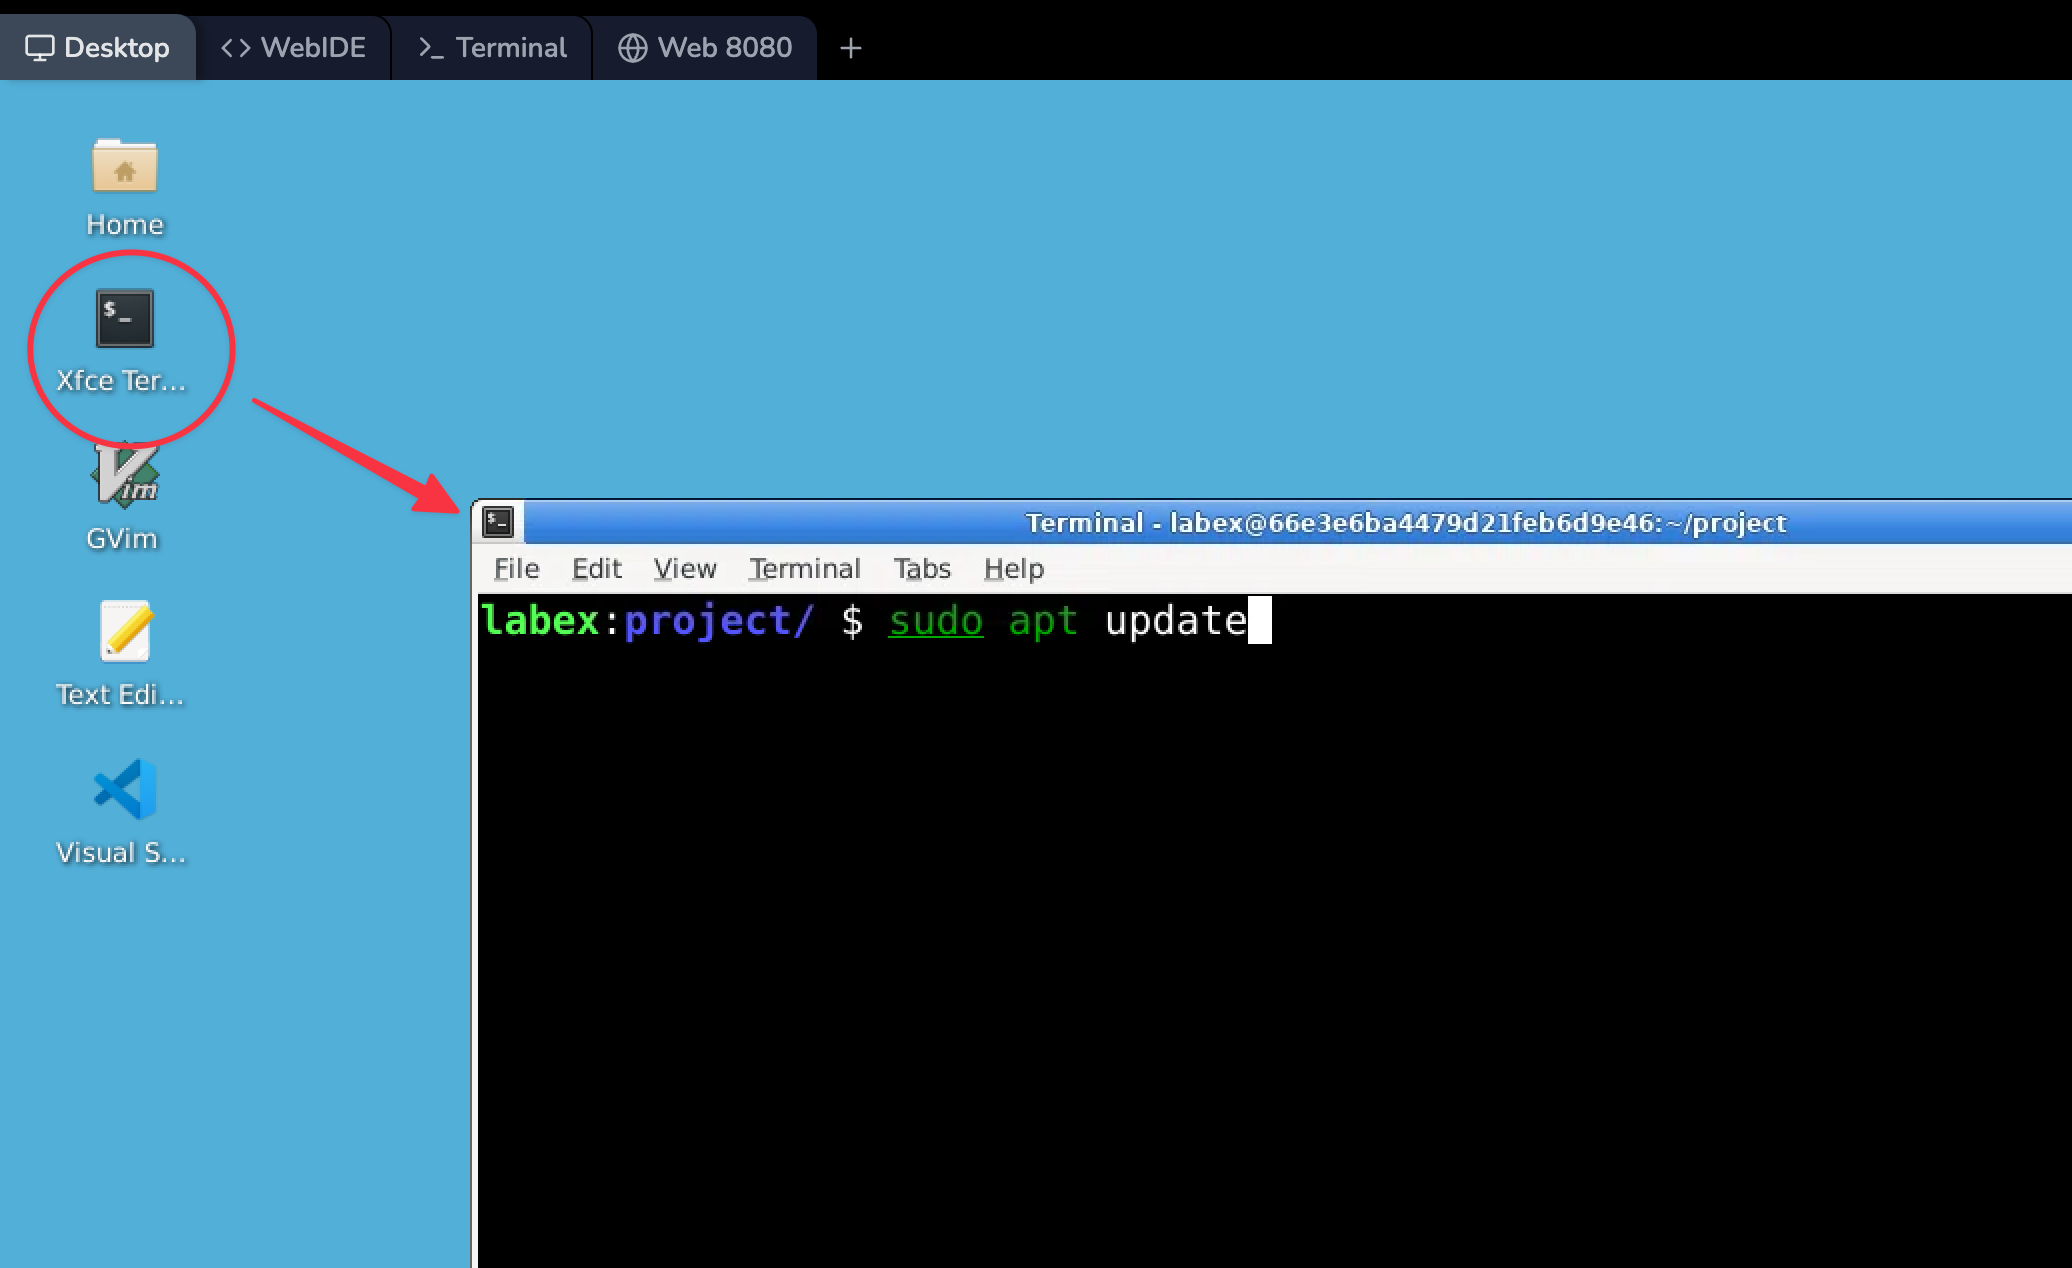
Now that you're in the correct directory, it's time to update the package list and install Nmap. The package list contains information about all the software available in the Ubuntu repositories. Updating it ensures that you're getting the latest version of Nmap.
sudo apt update
sudo apt install nmap -y
The sudo command is used to run commands with administrative privileges. Since installing software requires administrative access, you need to use sudo. The -y flag is used with the apt install command. It automatically answers "yes" to any prompts during the installation process, so you don't have to manually confirm each step.
After the installation is complete, it's important to verify that Nmap was installed correctly. You can do this by checking its version. The --version option for the nmap command displays the version information of Nmap.
nmap --version
You should see output similar to this (note that your version might be different):
Nmap version 7.80 ( https://nmap.org )
Platform: x86_64-pc-linux-gnu
Compiled with: liblua-5.3.3 openssl-1.1.1f nmap-libssh2-1.8.2 libz-1.2.11 libpcre-8.39 libpcap-1.9.1 nmap-libdnet-1.12 ipv6
Compiled without:
Available nsock engines: epoll poll select
This output confirms that Nmap is installed on your system. It also provides information about the version of Nmap and the compilation options used, which can be useful for troubleshooting or understanding the capabilities of your installed Nmap.
Setting Up a Local Service for Scanning
Before we start using Nmap for scanning, it's essential to have a target service running. This way, we can test Nmap's scanning capabilities effectively. In this step, we'll set up a simple HTTP server using Python's built-in http.server module. Python's http.server module is a convenient tool that allows us to quickly start an HTTP server without the need for complex configurations.
First, let's create a new directory for our HTTP server. A directory is like a folder on your computer where we can store all the files related to our server.
mkdir -p /home/labex/project/http-server
cd /home/labex/project/http-server
The mkdir -p command creates a directory named http-server in the specified path. The -p option ensures that if any intermediate directories don't exist, they will be created as well. The cd command then changes our current working directory to the newly created http-server directory.
Now, let's create a simple HTML file that our server will serve. HTML is the standard markup language for creating web pages.
echo "<html><body><h1>Welcome to the Nmap Lab</h1></body></html>" > index.html
This command uses the echo command to print the HTML code to the terminal and then redirects that output to a file named index.html. So, we've created a file with a basic HTML structure and a welcome message.
Next, we'll start the Python HTTP server.
python3 -m http.server 8000
This command uses the python3 interpreter to run the http.server module as a script. The -m option tells Python to run the module as a script. We specify port 8000, which means our server will listen for incoming requests on this port.
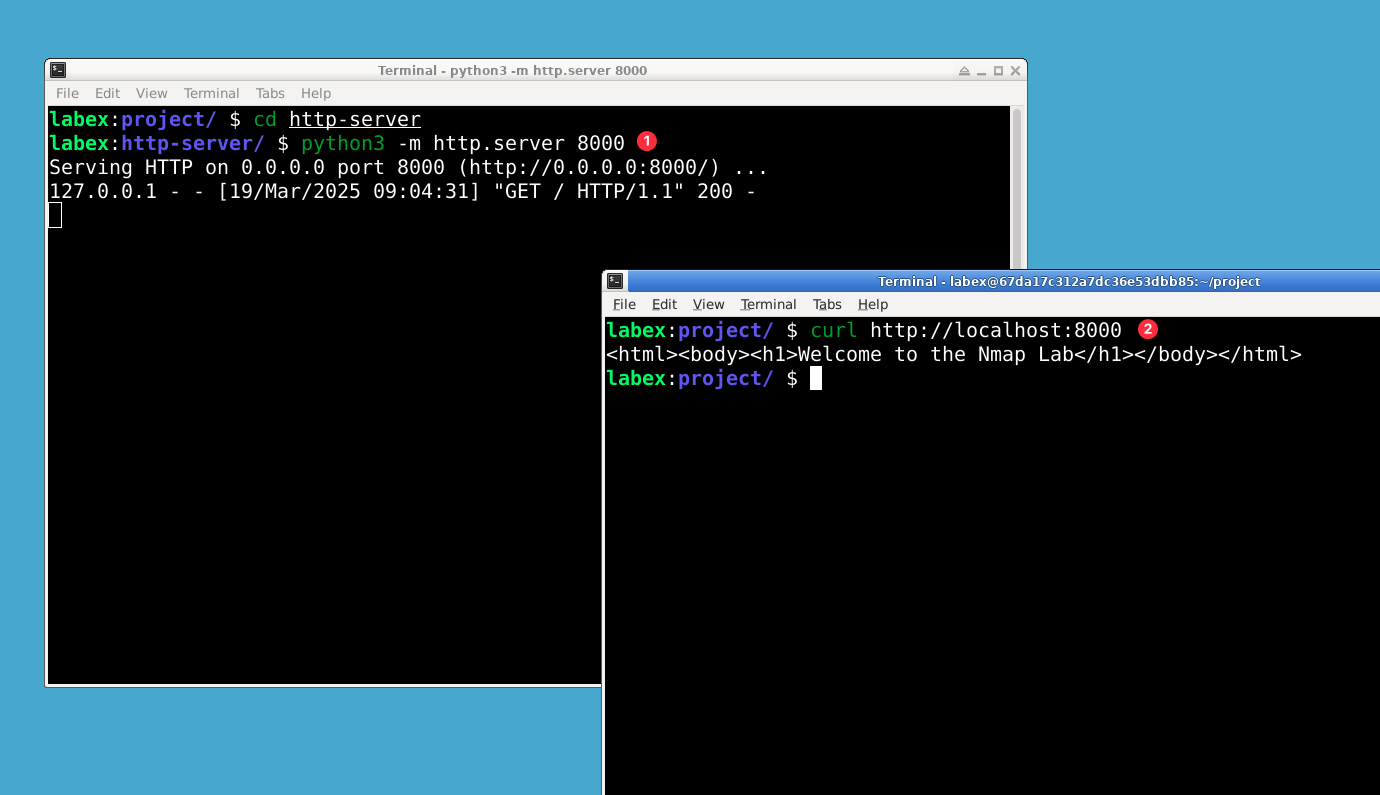
Important: Open a new terminal tab or window to continue. Keep the HTTP server running in this terminal, and use the new terminal for all subsequent Nmap commands in this lab. This ensures the HTTP server remains active while you perform the scans.
To verify that the server is running, you can use the curl command in the new terminal. curl is a command-line tool used to transfer data from or to a server.
curl http://localhost:8000
When you run this command, curl sends a request to the HTTP server running on localhost (which refers to your own computer) at port 8000. If the server is running correctly, you should see the HTML content we created earlier.
127.0.0.1 - - [13/Sep/2024 15:24:21] "GET / HTTP/1.1" 200 -
<html>
  <body>
    <h1>Welcome to the Nmap Lab</h1>
  </body>
</html>
This output shows that the server received the request, processed it successfully (indicated by the 200 status code), and returned the HTML content of the index.html file.
Basic Nmap Scanning
Now that we have successfully installed Nmap and set up a local service, it's time to start performing some basic scans. This will help you understand how Nmap operates and what kind of information it can provide.
First, we'll perform a simple TCP connect scan on our local HTTP server. A TCP connect scan is a fundamental type of scan in Nmap. It tries to establish a full TCP connection to the target port. If the connection is successful, it means the port is open.
Here's the command to perform this scan:
nmap -sT -p 8000 localhost
Let's break down this command:
-sTis an option that specifies a TCP connect scan. This tells Nmap to use the TCP connect method to check the status of the ports.-p 8000indicates that we want Nmap to scan only port 8000. You can change this number to scan other ports if needed.localhostis the target of our scan. It refers to the local machine where the service is running.
After running this command, you should see output similar to this:
Starting Nmap 7.80 ( https://nmap.org ) at 2024-09-13 15:27 CST
Nmap scan report for localhost (127.0.0.1)
Host is up (0.00011s latency).
Other addresses for localhost (not scanned): ::1

PORT     STATE SERVICE
8000/tcp open  http-alt

Nmap done: 1 IP address (1 host up) scanned in 0.06 seconds
This output shows that port 8000 is open and running an HTTP service. The STATE column indicates the status of the port, and in this case, it's open. The SERVICE column gives an idea of what kind of service might be running on that port.
Now, let's perform a more detailed scan. Sometimes, just knowing that a port is open isn't enough. We might want to know more about the service running on that port, such as its version.
Here's the command for a more detailed scan:
nmap -sV -p 8000 localhost
The -sV option is used to tell Nmap to probe open ports to determine service/version information. This means Nmap will try to figure out what specific software and version is running on the open port.
After running this command, you should see output similar to this:
Starting Nmap 7.80 ( https://nmap.org ) at 2024-09-13 15:27 CST
Nmap scan report for localhost (127.0.0.1)
Host is up (0.00011s latency).
Other addresses for localhost (not scanned): ::1

PORT     STATE SERVICE VERSION
8000/tcp open  http    SimpleHTTPServer 0.6 (Python 3.10.12)

Service detection performed. Please report any incorrect results at https://nmap.org/submit/ .
Nmap done: 1 IP address (1 host up) scanned in 6.48 seconds
This output provides more detailed information about the service running on port 8000. It tells us that it's a Python SimpleHTTPServer, and even gives us the version number.
You can view the Nmap requests in the logs of the terminal where you started the Python HTTP server. This can be useful for debugging or further analysis.
Scanning Multiple Ports
In real-world scenarios, you often need to scan multiple ports or even entire port ranges. Let's explore how to do this with Nmap.
When it comes to network scanning, you might want to check multiple ports at once. This is useful because different services run on different ports, and by scanning multiple ports, you can get a comprehensive view of the services available on a target.
First, let's scan the most common 1000 ports on localhost. Localhost refers to the current device you are working on, represented by the IP address 127.0.0.1. Scanning the most common 1000 ports is a quick way to get an overview of the services running on your local machine.
nmap localhost
After running this command, you'll see an output similar to the following:
Starting Nmap 7.80 ( https://nmap.org ) at 2024-09-13 15:29 CST
Nmap scan report for localhost (127.0.0.1)
Host is up (0.00016s latency).
Other addresses for localhost (not scanned): ::1
Not shown: 997 closed ports
PORT     STATE SERVICE
22/tcp   open  ssh
3001/tcp open  nessus
8000/tcp open  http-alt

Nmap done: 1 IP address (1 host up) scanned in 0.08 seconds
This command, without any port specification, will scan the top 1000 most common ports. You should see a list of open, closed, and filtered ports. The output shows the port number, its state (open, closed, or filtered), and the associated service.
Now, let's scan all 65535 ports. In the TCP/IP protocol, there are a total of 65535 ports available. Scanning all of them can give you a complete picture of the services running on the target, but it takes more time.
nmap -p- localhost
The -p- option tells Nmap to scan all ports from 1 to 65535. This scan will take longer to complete because it has to check every single port.
Finally, let's scan a specific range of ports. Sometimes, you might have an idea about which ports a particular service might be running on, and you only want to scan those ports.
nmap -p 1-1000 localhost
This command scans ports 1 through 1000. By specifying a port range, you can focus your scan on the ports that are most relevant to your needs.
Output Formats and Saving Results
Nmap offers a variety of output formats, each tailored to different needs. Understanding these formats and how to save scan results is crucial for further analysis and sharing of your findings. In this step, we'll take a closer look at some of these formats and learn how to save the scan results effectively.
First, let's perform a scan and save the output in normal format. The normal format is a human - readable text format that presents the scan results in a clear and straightforward manner. To save the output in this format, we use the following command:
nmap -oN normal_output.txt localhost
In this command, the -oN option is used to instruct Nmap to save the output in normal format. The normal_output.txt is the name of the file where the results will be stored. The localhost is the target we are scanning, which refers to the local machine itself.
Now, let's save the output in XML format. XML (eXtensible Markup Language) is a widely used format for data storage and exchange. It has a structured format that can be easily parsed by scripts or imported into other tools for further processing. To save the output in XML format, we use the following command:
nmap -oX xml_output.xml localhost
Here, the -oX option tells Nmap to save the output in XML format. The xml_output.xml is the file where the XML - formatted results will be saved.
Finally, let's save the output in grepable format. The grepable format is designed to be easily parsed by tools like grep, which is a powerful text - searching utility in Unix - like systems. This format is useful when you want to quickly search for specific information in the scan results. To save the output in grepable format, we use the following command:
nmap -oG grepable_output.txt localhost
The -oG option is used to save the output in grepable format, and the grepable_output.txt is the file where the results will be stored.
After saving the results in different formats, you may want to view the contents of these files. You can use the cat command to display the contents of a text file. For example, to view the normal - formatted output file, you can use the following command:
cat normal_output.txt
This will print the contents of the normal_output.txt file to the terminal, allowing you to see the scan results.
Summary
In this lab, you have learned the basics of Nmap, a powerful network scanning and security auditing tool. First, you installed Nmap on an Ubuntu Linux system and verified its installation. Then, you set up a local HTTP server as a target for scans, showing how to create a simple service for testing.
You also explored various scanning techniques, starting from basic port scans to detailed service version detection. You learned to scan specific ports, ranges, and all 65535 ports on a system, which is crucial for understanding the network and finding potential vulnerabilities. Finally, you learned about Nmap's output options, such as saving results in normal text, XML, and grepable formats, which are essential for documentation and further analysis.
This lab has provided you with practical experience using Nmap, laying a foundation for more advanced network scanning and security auditing. Remember to use Nmap responsibly and with proper authorization.


