Introduction
In modern CI/CD pipelines, flexibility and automation are key. Hardcoding values into build jobs makes them rigid and difficult to manage. Jenkins allows you to overcome this by parameterizing your builds and executing scripts as part of the build process.
In this lab, you will learn how to create a flexible Jenkins job. You will start by adding parameters to allow for user input at build time. Then, you will learn to execute shell scripts as a build step, pass the parameters into those scripts, and configure post-build actions that respond conditionally to the build's success or failure. These are fundamental skills for creating robust and dynamic automation workflows in Jenkins.
A Jenkins instance is already running in your environment. You can access the Jenkins web interface by opening the Firefox browser on the desktop. The browser will automatically open to http://localhost:8080, so you don't need to manually enter the URL. No login is required.
Create and Parameterize a Freestyle Project
In this step, you will create a new Jenkins Freestyle project and add parameters to it. Parameters make your jobs interactive, allowing you to provide input each time a build is triggered.
First, let's create the job.
- Open the Firefox browser from the desktop interface. The browser will automatically open to
http://localhost:8080, so you don't need to manually enter the URL. No login is required. - On the Jenkins dashboard, click on New Item in the left-hand menu.
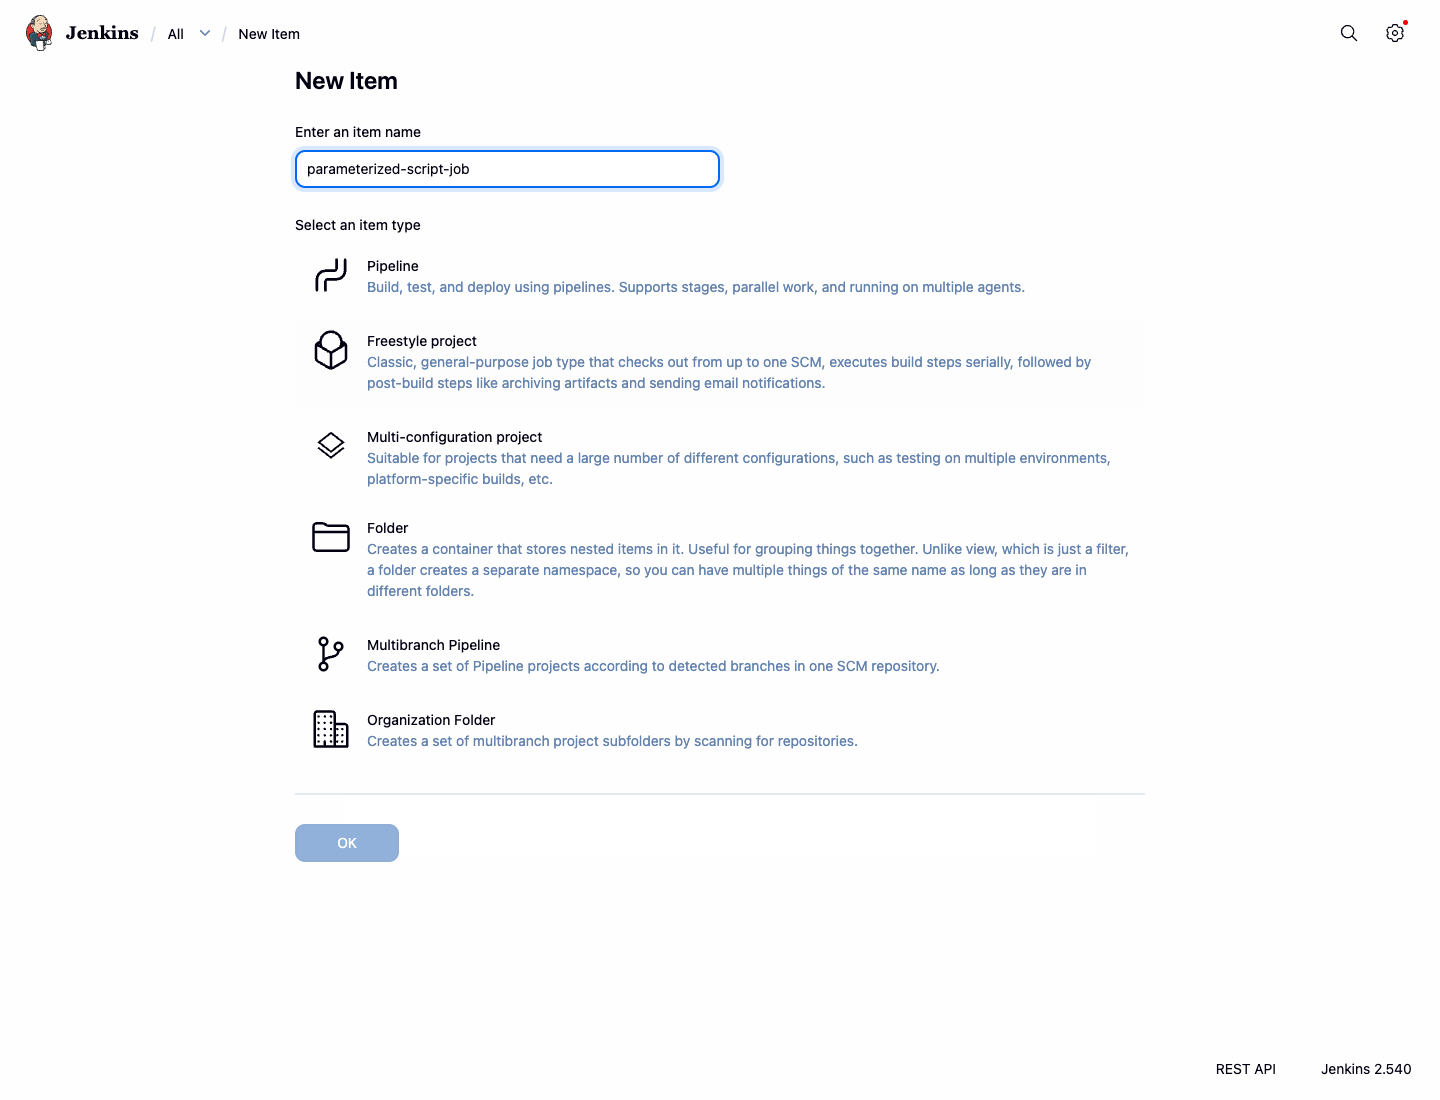
- Enter
parameterized-script-jobas the item name. - Select Freestyle project and click OK.
You will be taken to the job's configuration page. Now, let's add parameters.
In the General section, check the box for This project is parameterized.
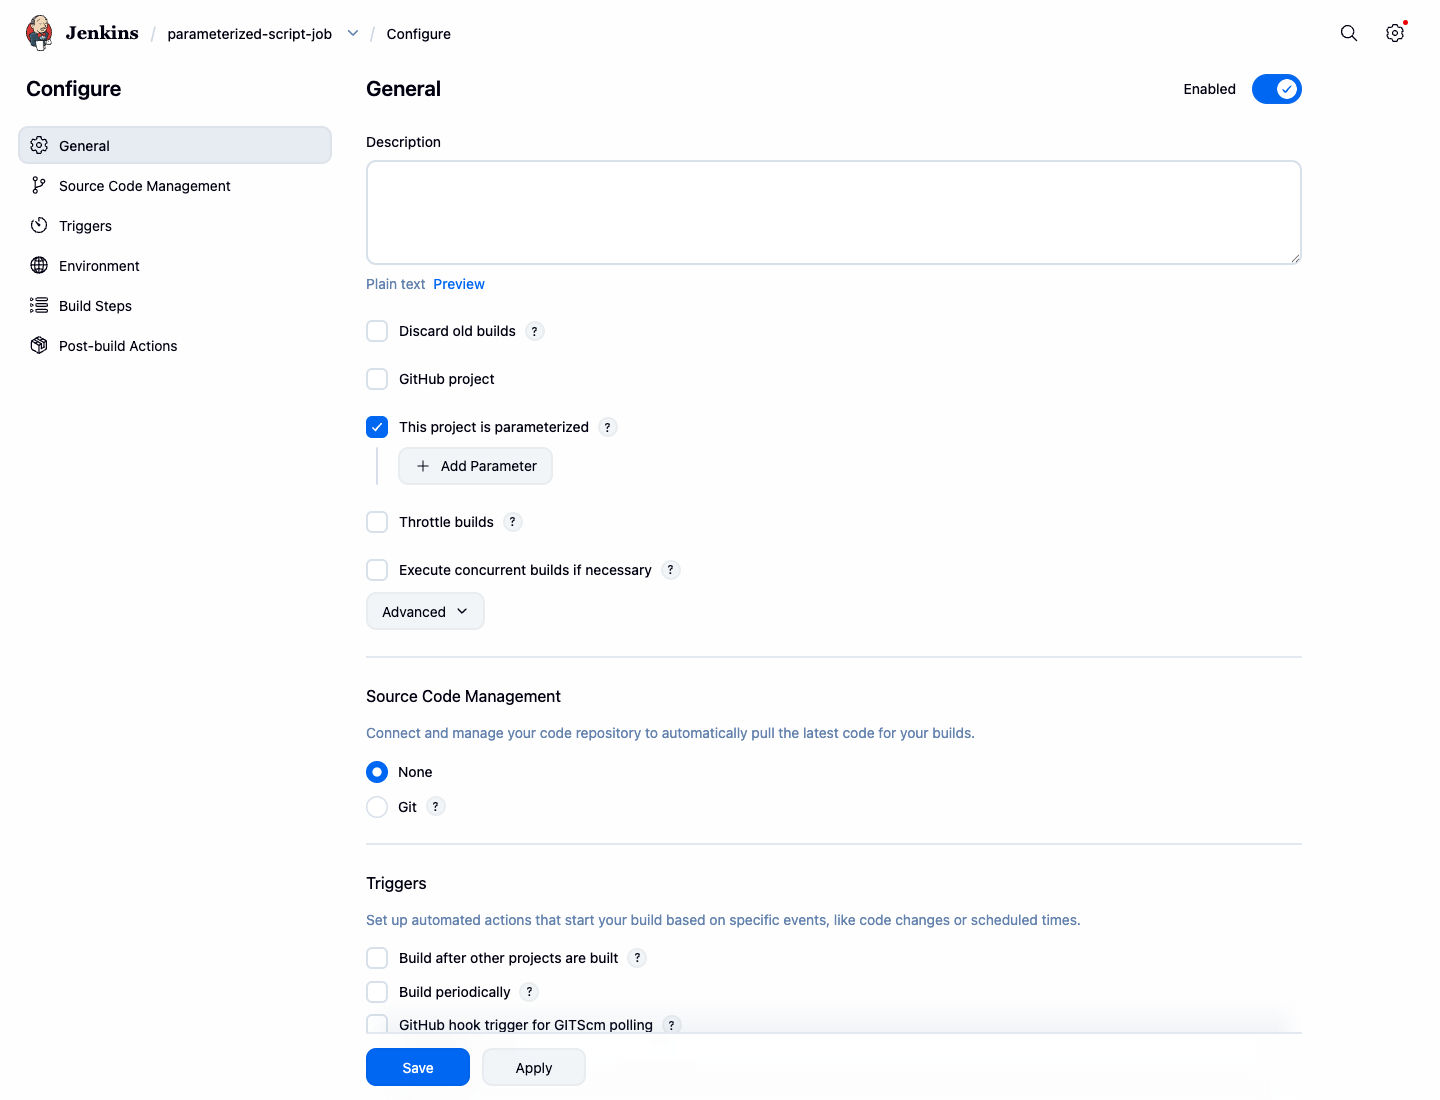
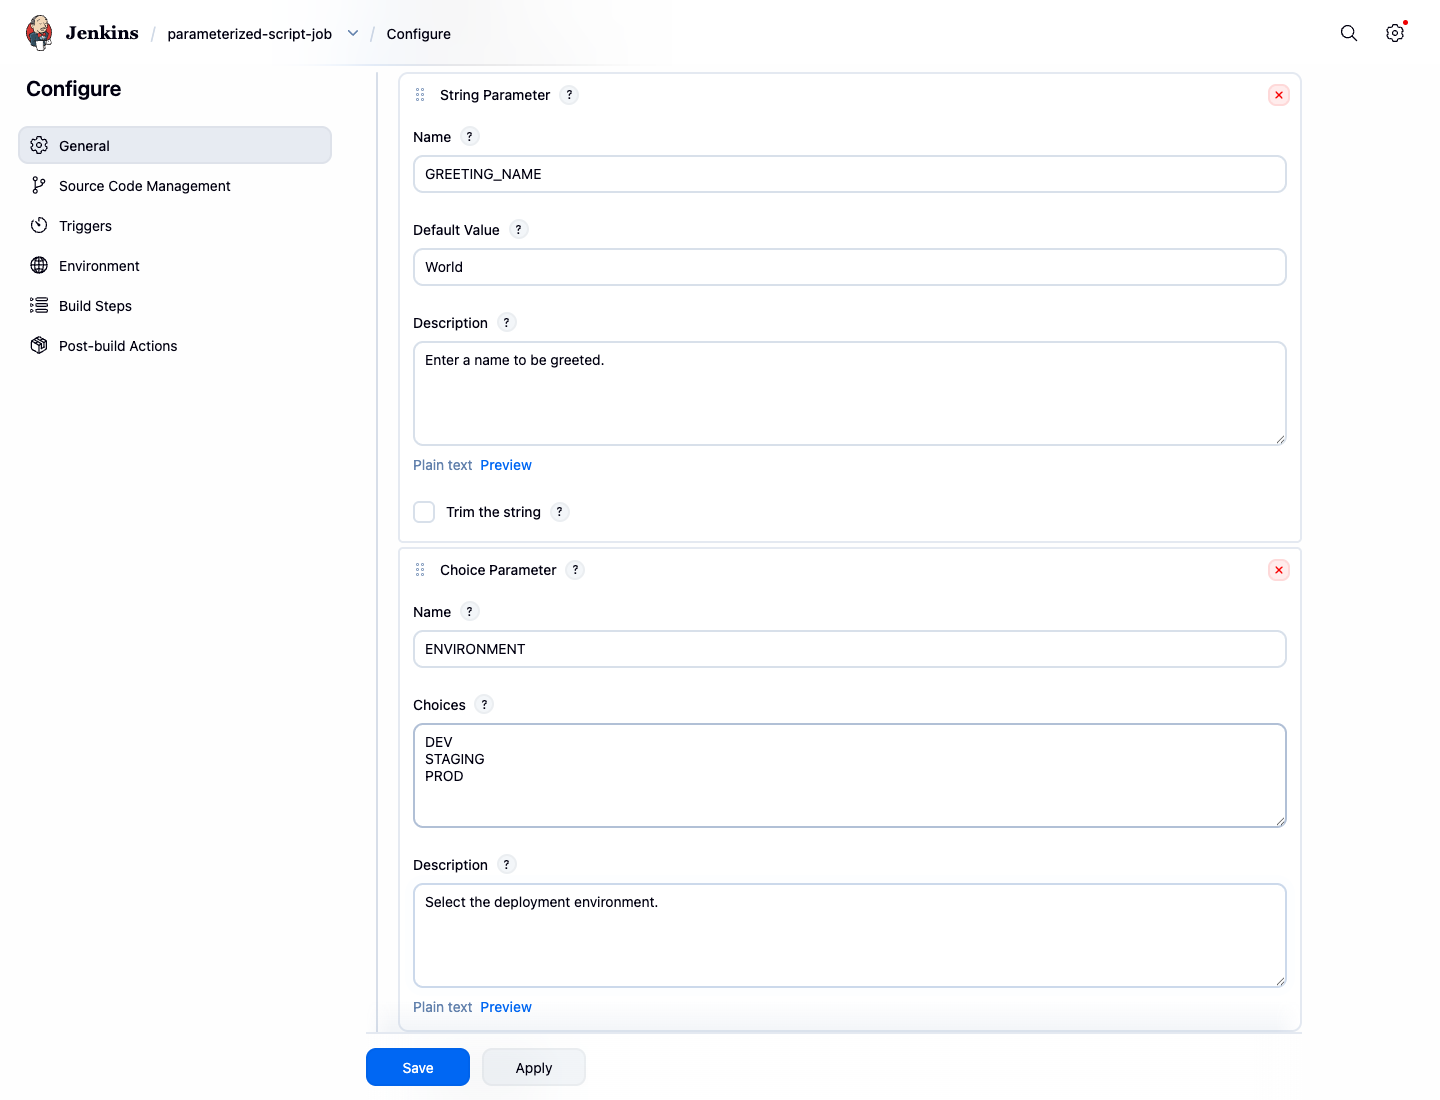
Click the Add Parameter dropdown and select String Parameter.
- Name:
GREETING_NAME - Default Value:
World - Description:
Enter a name to be greeted.
- Name:
Click the Add Parameter dropdown again and select Choice Parameter.
Name:
ENVIRONMENTChoices: (Enter each choice on a new line)
DEV STAGING PRODDescription:
Select the deployment environment.
These parameters will be available to use in later build steps.
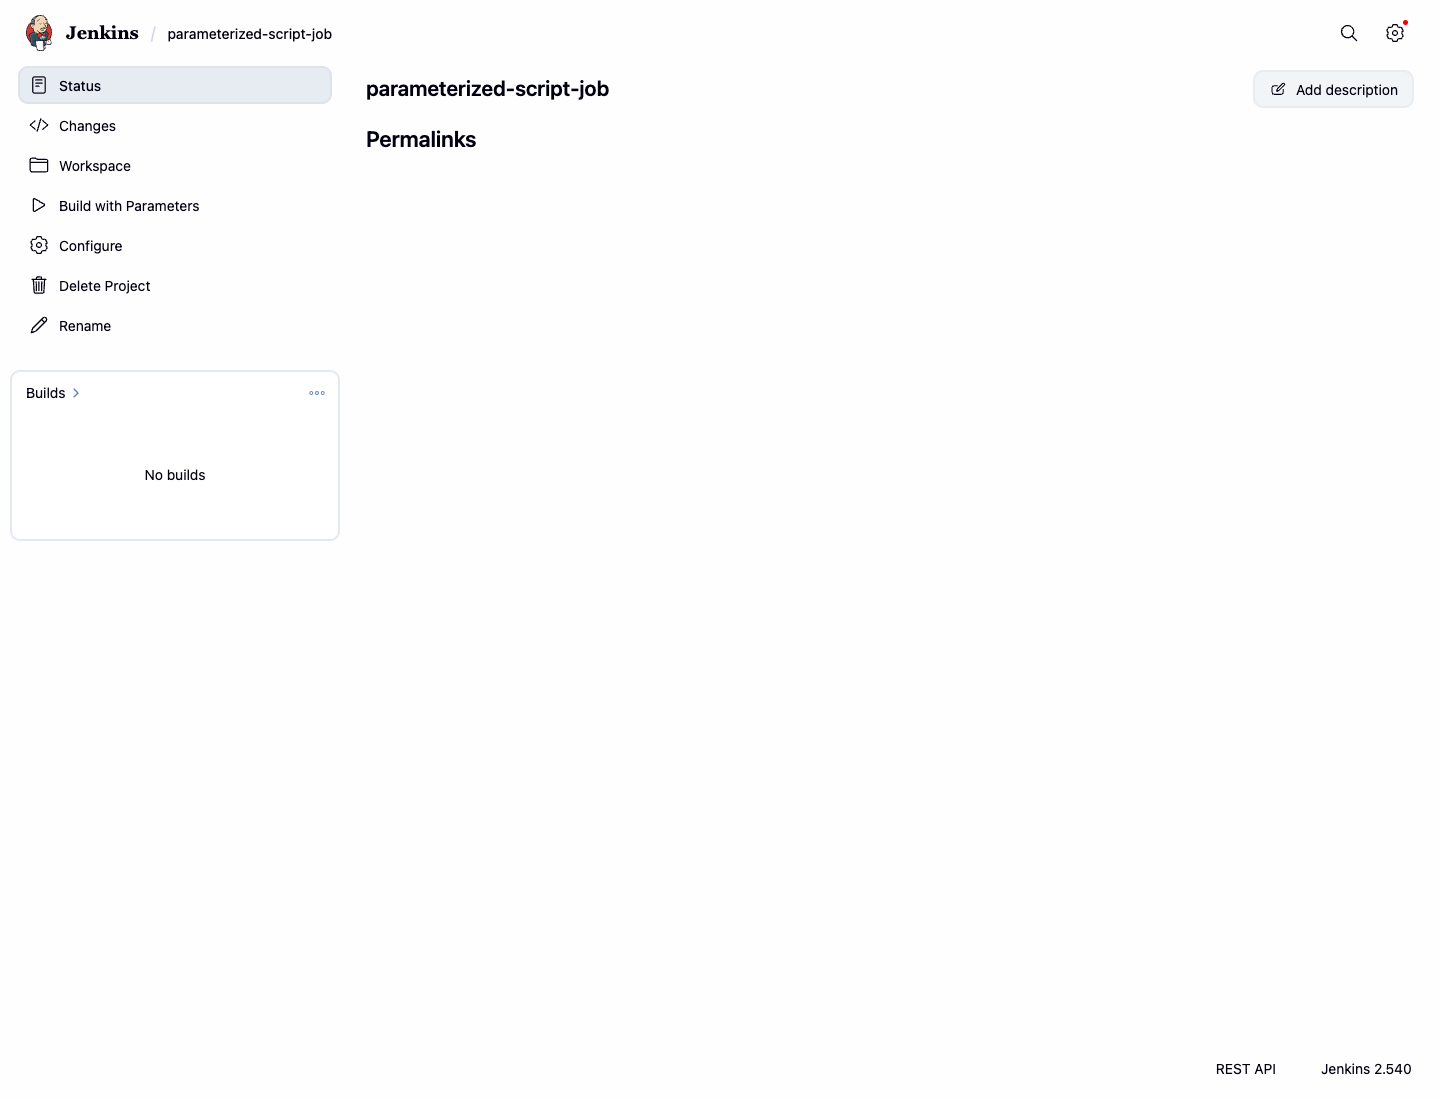
Finally, scroll to the bottom and click Save. You will be redirected to the job's main page, where you will now see a Build with Parameters option instead of "Build Now".
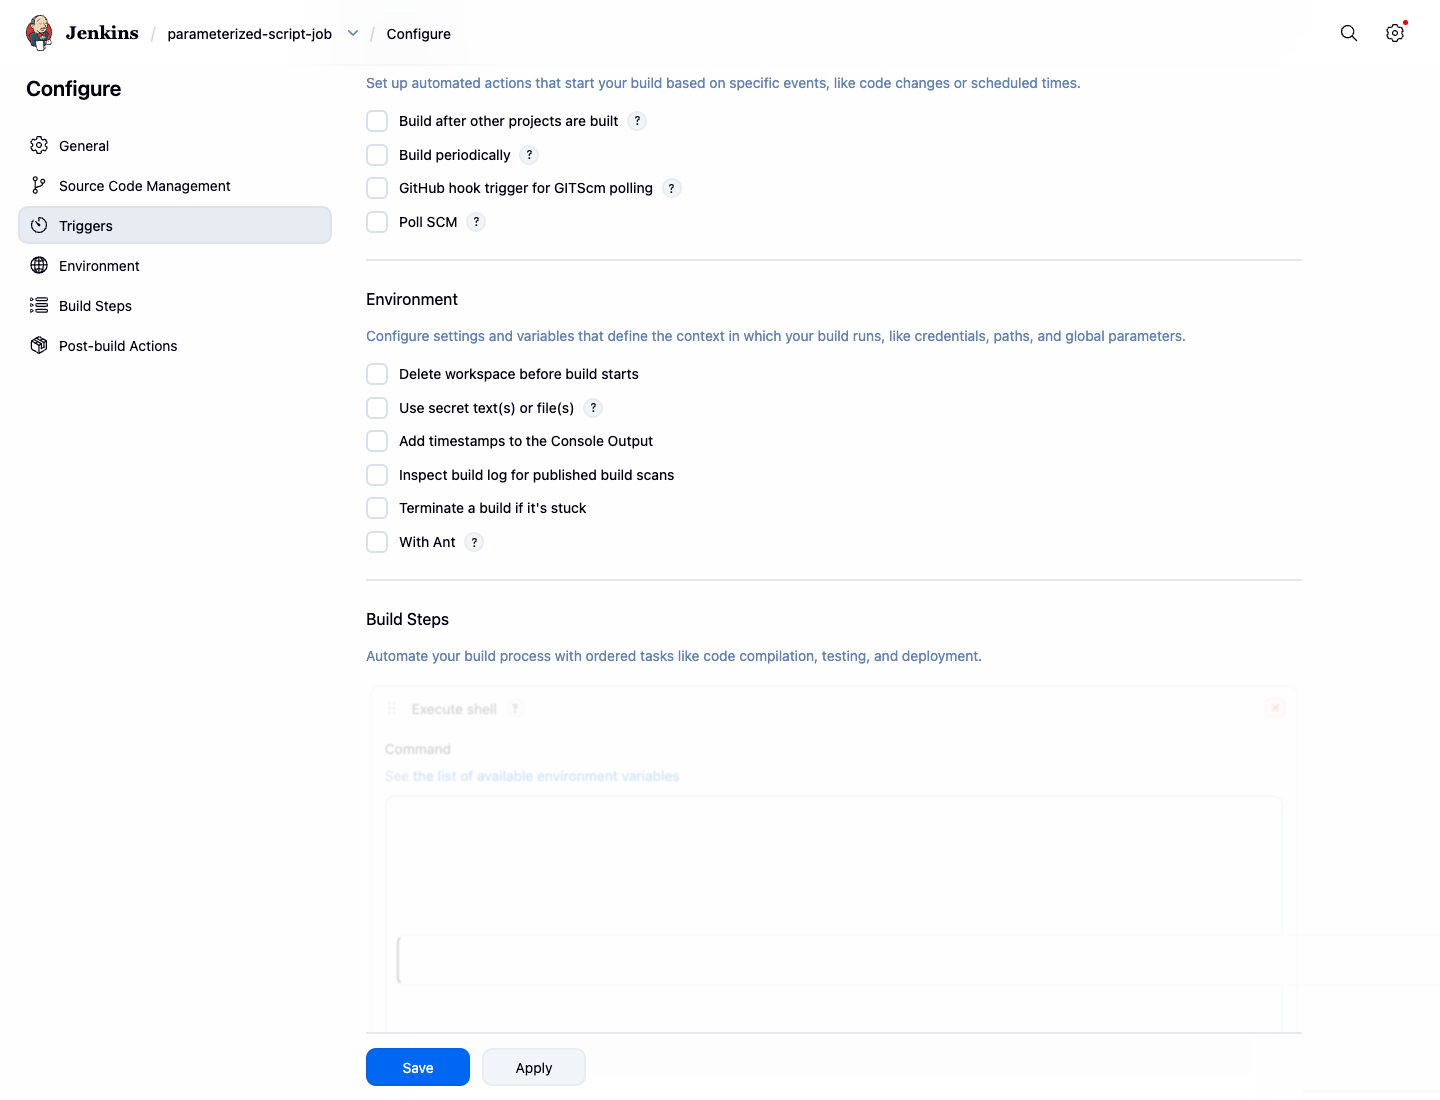
Add a Shell Script Build Step
In this step, you will add a shell script to your job's build process. This is a common way to perform tasks like compiling code, running tests, or deploying applications.
- Navigate to the
parameterized-script-jobdashboard in Jenkins. - Click Configure from the left-hand menu.
- Scroll down to the Build Steps section.
- Click the Add build step dropdown and select Execute shell.
- In the Command text area, enter the following script. This script will create a project directory structure within the Jenkins workspace and list its contents.
echo "--- Starting Build Step ---"
echo "Current directory:"
pwd
echo "Creating project directory structure:"
mkdir -p my-app
echo "Version 1.0" > my-app/version.txt
echo "Listing files in the project directory:"
ls -la my-app
echo "--- Build Step Finished ---"
- Click Save to apply the changes.
Now, let's run the job to see the script in action.
- On the job page, click Build with Parameters.
- Leave the default parameter values and click the Build button.
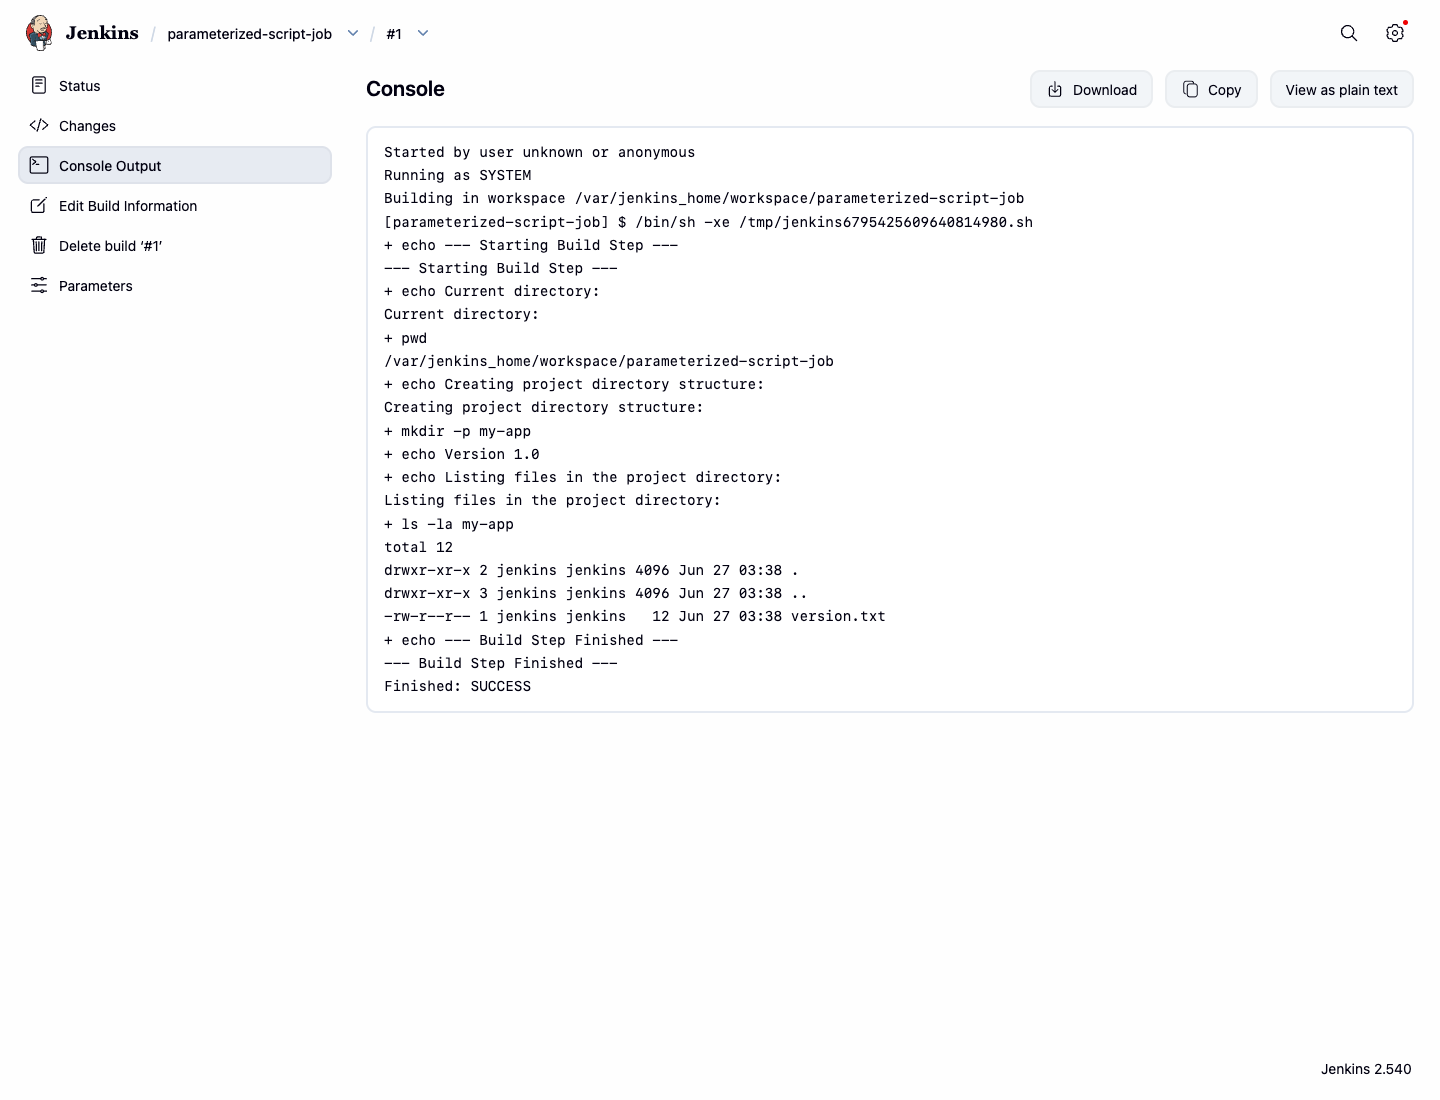
- A new build will appear in the Build History on the left. Click on the build number (e.g.,
#1). - Click on Console Output to view the logs.
You should see the output from your shell script, including the file listing.
Started by user unknown or anonymous
Running as SYSTEM
Building in workspace /var/jenkins_home/workspace/parameterized-script-job
[parameterized-script-job] $ /bin/sh -xe /tmp/jenkins....sh
+ echo --- Starting Build Step ---
--- Starting Build Step ---
+ echo Current directory:
Current directory:
+ pwd
/var/jenkins_home/workspace/parameterized-script-job
+ echo Creating project directory structure:
Creating project directory structure:
+ mkdir -p my-app
+ echo Version 1.0
+ echo Listing files in the project directory:
Listing files in the project directory:
+ ls -la my-app
total 12
drwxr-xr-x 2 jenkins jenkins 4096 ... .
drwxr-xr-x 3 jenkins jenkins 4096 ... ..
-rw-r--r-- 1 jenkins jenkins   12 ... version.txt
+ echo --- Build Step Finished ---
--- Build Step Finished ---
Finished: SUCCESS
Pass Parameters to the Shell Script
In this step, you will learn how to use the parameters you defined in Step 1 within your shell script. Jenkins exposes build parameters as environment variables, which you can access in your script using the $VARIABLE_NAME syntax.
- Go back to the Configure page for your
parameterized-script-job. - Scroll down to the Build Steps section and find the Execute shell command box.
- Replace the existing script with the following one:
echo "--- Starting Parameterized Build Step ---"
echo "Hello, $GREETING_NAME!"
echo "Deploying to the $ENVIRONMENT environment."

## Create project structure if not exists and read the version from the file
mkdir -p my-app
echo "Version 1.0" > my-app/version.txt
APP_VERSION=$(cat my-app/version.txt)
echo "Application version is: $APP_VERSION"
echo "--- Parameterized Build Step Finished ---"
Notice how $GREETING_NAME and $ENVIRONMENT are used directly in the echo commands. When the job runs, Jenkins will substitute these with the values selected by the user.
- Click Save.
Now, let's run the build with custom parameters.
- Click Build with Parameters.
- Change
GREETING_NAMEtoLabEx. - Select
STAGINGfrom theENVIRONMENTdropdown. - Click Build.
- Check the Console Output for the new build.
The output should now reflect the custom values you provided.
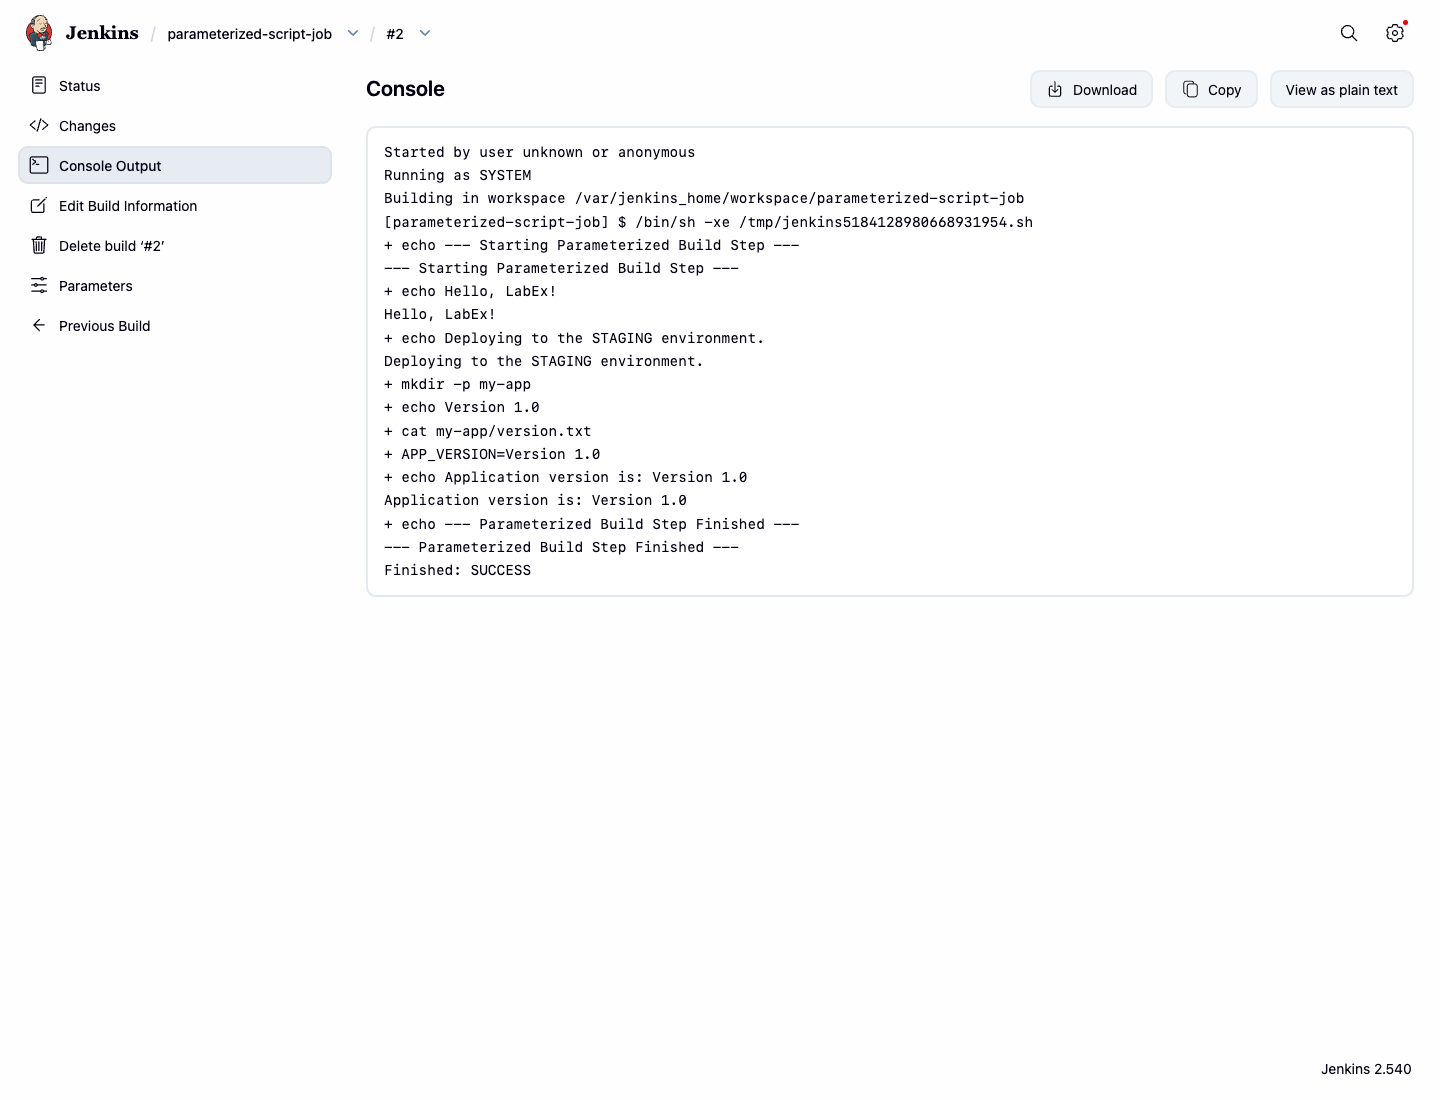
--- Starting Parameterized Build Step ---
+ echo Hello, LabEx!
Hello, LabEx!
+ echo Deploying to the STAGING environment.
Deploying to the STAGING environment.
+ mkdir -p my-app
+ echo Version 1.0
+ cat my-app/version.txt
+ APP_VERSION=Version 1.0
+ echo Application version is: Version 1.0
Application version is: Version 1.0
+ echo --- Parameterized Build Step Finished ---
--- Parameterized Build Step Finished ---
Handle Build Failures with Shell Conditions
In this step, you will simulate a build failure directly in the shell script. This is a reliable way to make a Freestyle job stop when a deployment rule is violated.
Modify the Script to Simulate Failure
Now, let's modify the script to fail under a specific condition.
- Go to the Configure page for your
parameterized-script-job. - In the Execute shell command box, replace the script with the following:
echo "Deploying to the $ENVIRONMENT environment."

if [ "$ENVIRONMENT" = "PROD" ]; then
  echo "Error: Production deployment is not allowed!"
  echo "Failure handled by shell condition."
  exit 1
fi

echo "Deployment to $ENVIRONMENT was successful."
This script checks the ENVIRONMENT parameter. If it is set to PROD, it prints an error and exits with a status code of 1. In shell scripting, any non-zero exit code signals a failure to Jenkins.
- Click Save.
Test the Failure Condition
Now, let's test the failure condition.
- Click Build with Parameters.
- Select
PRODfor theENVIRONMENTand click Build. - The build will fail, indicated by a red icon in the Build History.
- Check the Console Output. You will see the error message from your script and the final Jenkins build status.
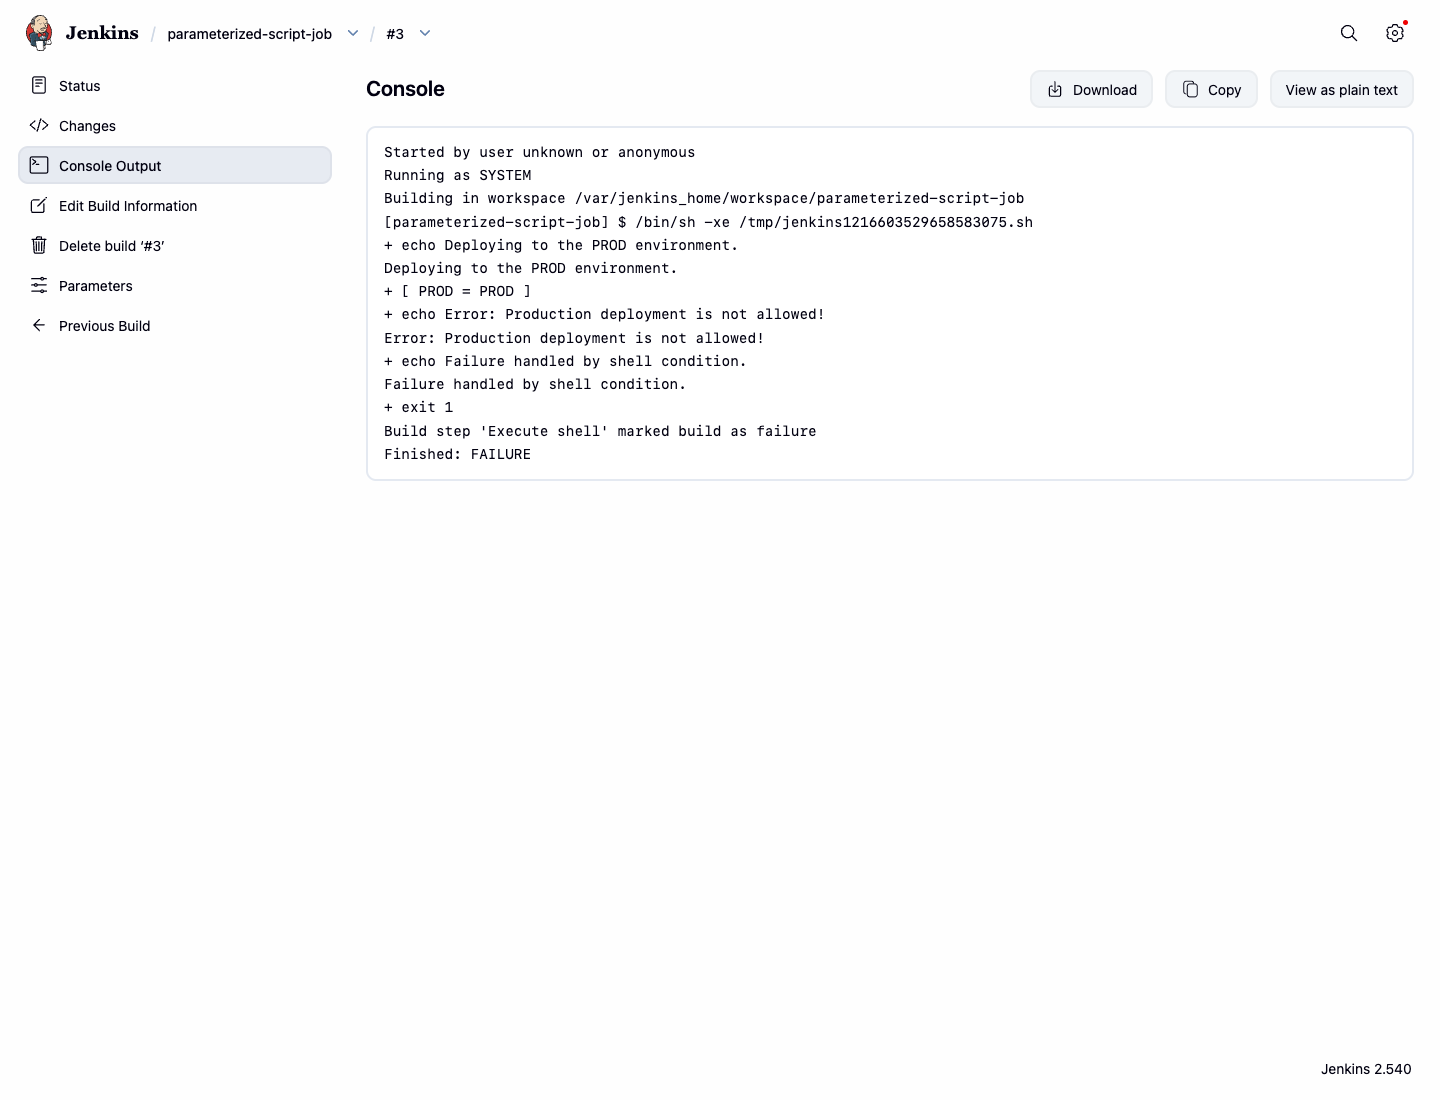
Deploying to the PROD environment.
+ [ PROD = PROD ]
+ echo Error: Production deployment is not allowed!
Error: Production deployment is not allowed!
+ echo Failure handled by shell condition.
Failure handled by shell condition.
+ exit 1
Build step 'Execute shell' marked build as failure
Finished: FAILURE
If you run the build again with DEV or STAGING, it will succeed because the failure condition is not triggered.
Summary
Congratulations. You have successfully created a flexible and robust Jenkins job.
In this lab, you have learned how to:
- Create a parameterized Jenkins job using String and Choice parameters.
- Execute shell scripts as part of a build process.
- Access and use build parameters as environment variables within your scripts.
- Implement conditional logic in a script to control the build outcome.
- Use shell conditions and exit codes to control whether a build succeeds or fails.
These skills are essential for building sophisticated CI/CD pipelines that can adapt to different inputs and handle errors intelligently. You can now apply these concepts to automate your own development and deployment workflows.