Introduction
Welcome to your first hands-on experience with Jenkins. Jenkins is a powerful, open-source automation server used for building, testing, and deploying software, a practice known as Continuous Integration and Continuous Deployment (CI/CD).
In this lab, you will get comfortable with the fundamental aspects of the Jenkins user interface. We will guide you through the main dashboard, show you how to create and configure your first simple project, run a build, and inspect the results. The Jenkins service is already installed and running in this environment, so you can focus directly on exploring its features.
By the end of this lab, you will be able to:
- Navigate the main Jenkins dashboard.
- Create a new Freestyle project.
- Run a build job manually.
- View the build history and console output.
Let's get started.
Accessing and Exploring the Jenkins Dashboard
In this step, you will log in to the Jenkins web interface and familiarize yourself with the main dashboard. The Jenkins service is already running in a container for you.
First, access the Jenkins web interface. At the top of your LabEx screen, click the Desktop Interface tab. Inside the virtual desktop, open the Firefox web browser. The browser will automatically open to http://localhost:8080, so you don't need to manually enter the URL. No login is required.
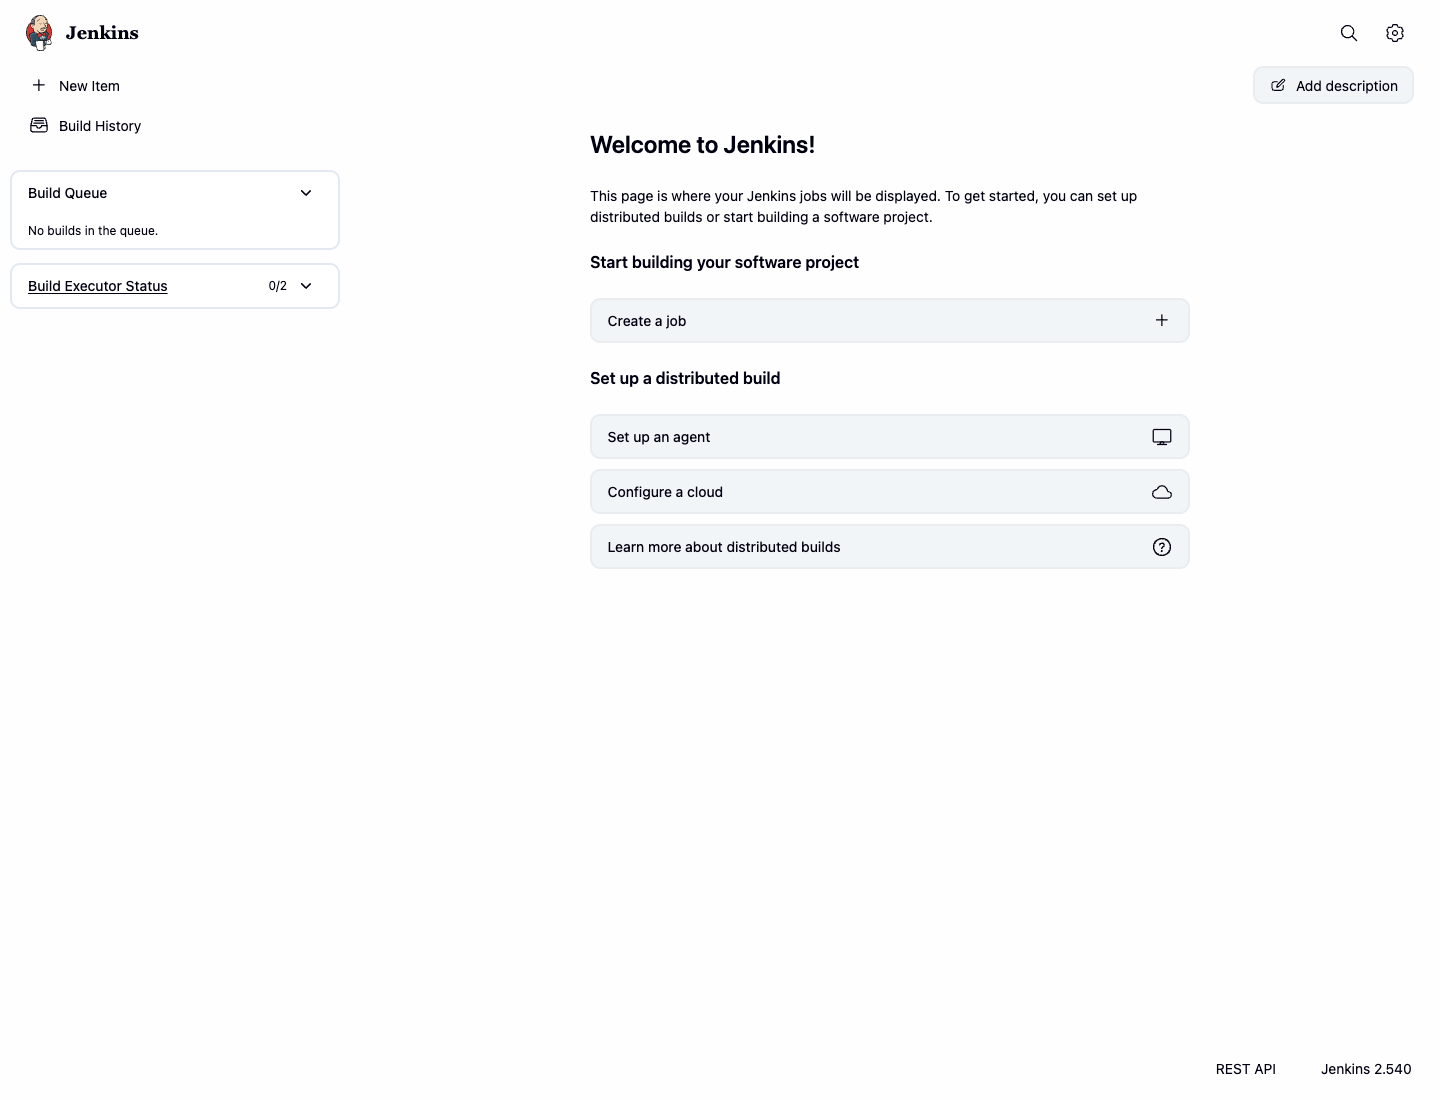
You will see the main Jenkins dashboard. Take a moment to look at its key components:
- Navigation Sidebar (Left): This is your primary navigation menu. You will find important links like
New Item(to create new jobs),Build History(a global view of all builds). - Main Content Area: This area displays a list of all your created jobs. Initially, it will be empty.
Now that you are familiar with the dashboard, you are ready to create your first project.
Creating a Freestyle Project
In this step, you will create your first Jenkins job using the "Freestyle project" type. A Freestyle project is a highly flexible and easy-to-use option, perfect for beginners and a wide variety of automation tasks.
In the Jenkins web interface, click on New Item in the left-hand navigation sidebar.
On the next page, you need to provide a name for your project and select its type.
- In the Enter an item name field, type
My-First-Job. - Select Freestyle project from the list of options.
- Click the OK button at the bottom.
- In the Enter an item name field, type

You will now be on the project's configuration page. This is where you define what your job will do. For this lab, we will add a single, simple build step. Scroll down to the Build Steps section.
Click the Add build step dropdown button and select Execute shell. This allows you to run shell commands as part of your build.
A command box will appear. In this box, type the following command:
echo "Hello from my first Jenkins job!"
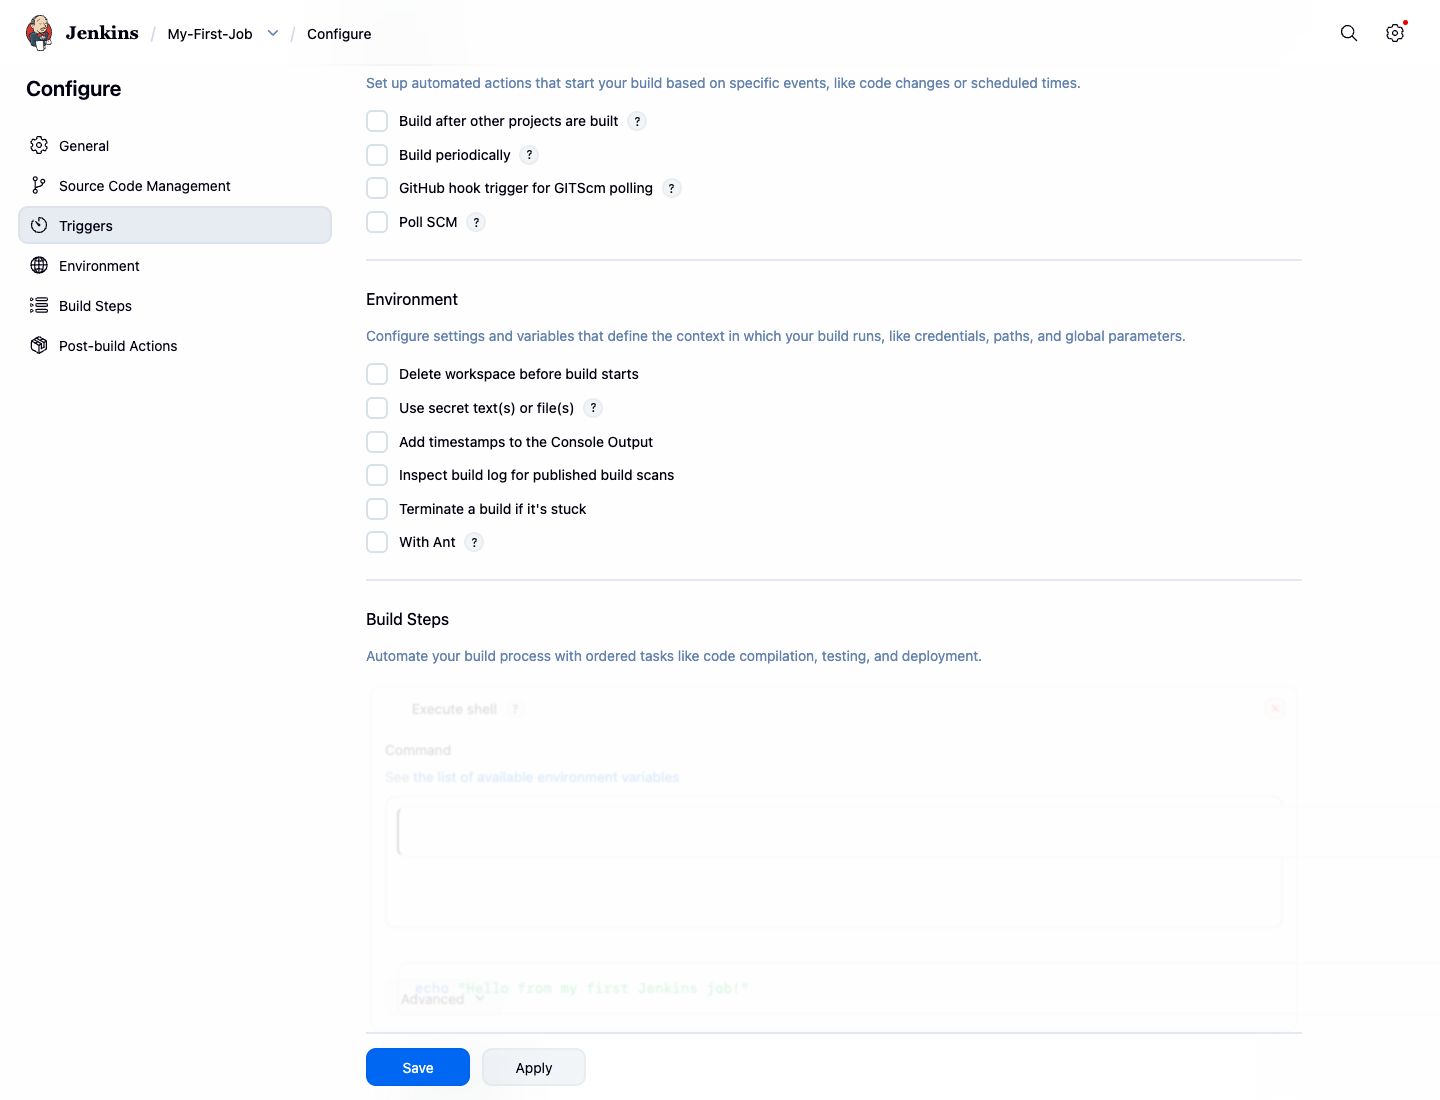
- Finally, scroll to the bottom of the page and click the Save button.
After saving, Jenkins will redirect you to the main page for your newly created project, My-First-Job.
Running the Build Job
In this step, you will run, or "build," the job you just created. Running a job means executing the steps you configured for it.
You should currently be on the project page for My-First-Job. If you navigated away, you can get back to it by clicking on its name on the main Jenkins dashboard.
- On the project page for
My-First-Job, look at the navigation sidebar on the left. You will see an option called Build Now.
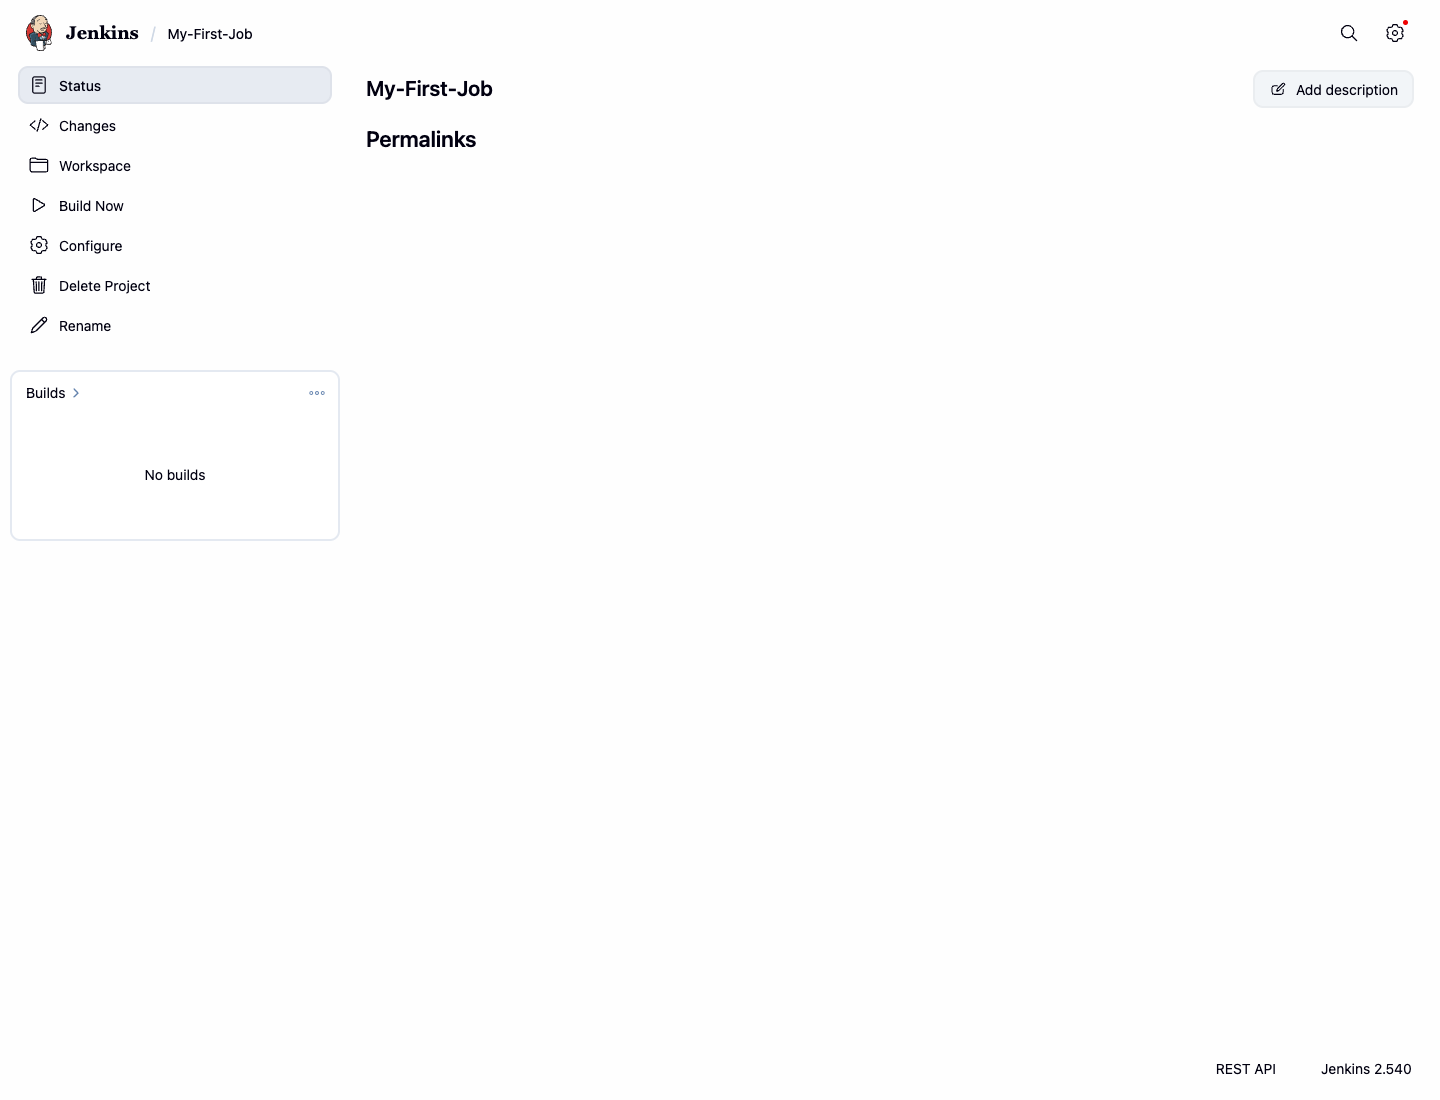
- Click Build Now to start the build process.
Once you click it, a new build will be scheduled. You will see it appear under the Build History section on the lower left. The build will be assigned a number, starting with #1.
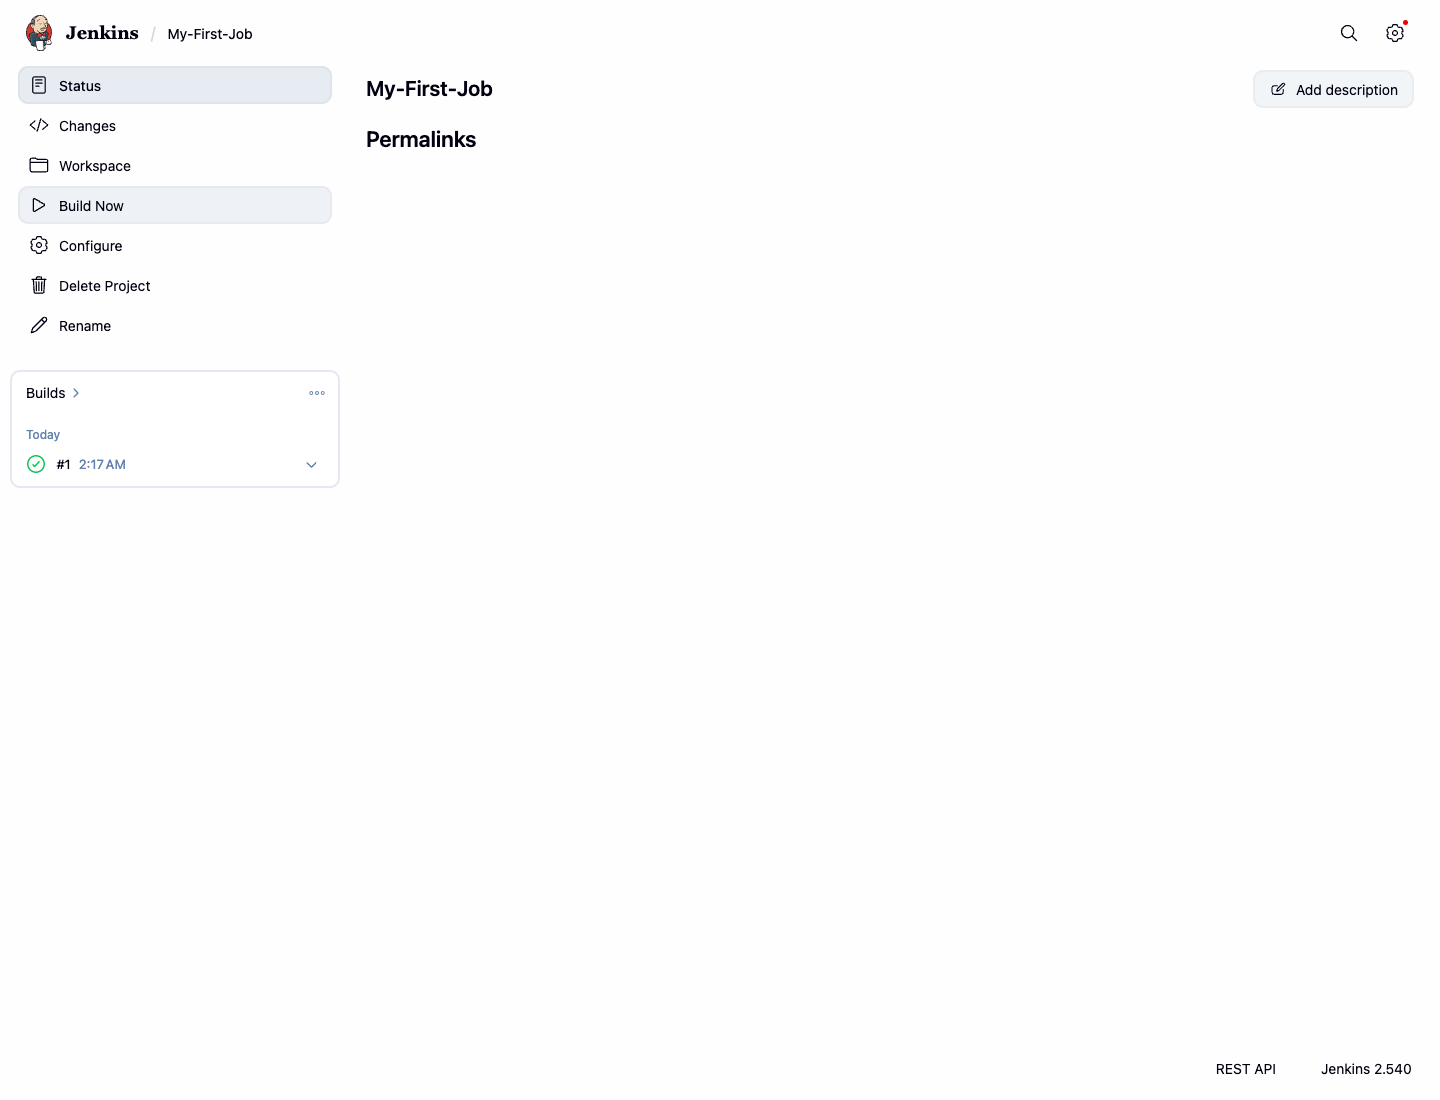
A small status icon appears next to the build number. A blinking green icon means the build is in progress. A solid green circle means the build was successful. Since our job is very simple, it will complete in just a second or two.
You have now successfully triggered your first build.
Viewing the Console Output
In this step, you will learn how to check the results of your build. Reviewing the output is a critical part of any automation process, as it tells you exactly what happened and whether it succeeded.
On the
My-First-Jobproject page, look at the Build History section in the bottom-left corner. You should see your first build, labeled#1, with a green circle indicating success.Click on the build number
#1to go to the details page for that specific build.On the build page, you will see various details about the build, such as when it ran. The most important link here for debugging is Console Output. Click on Console Output in the left sidebar.
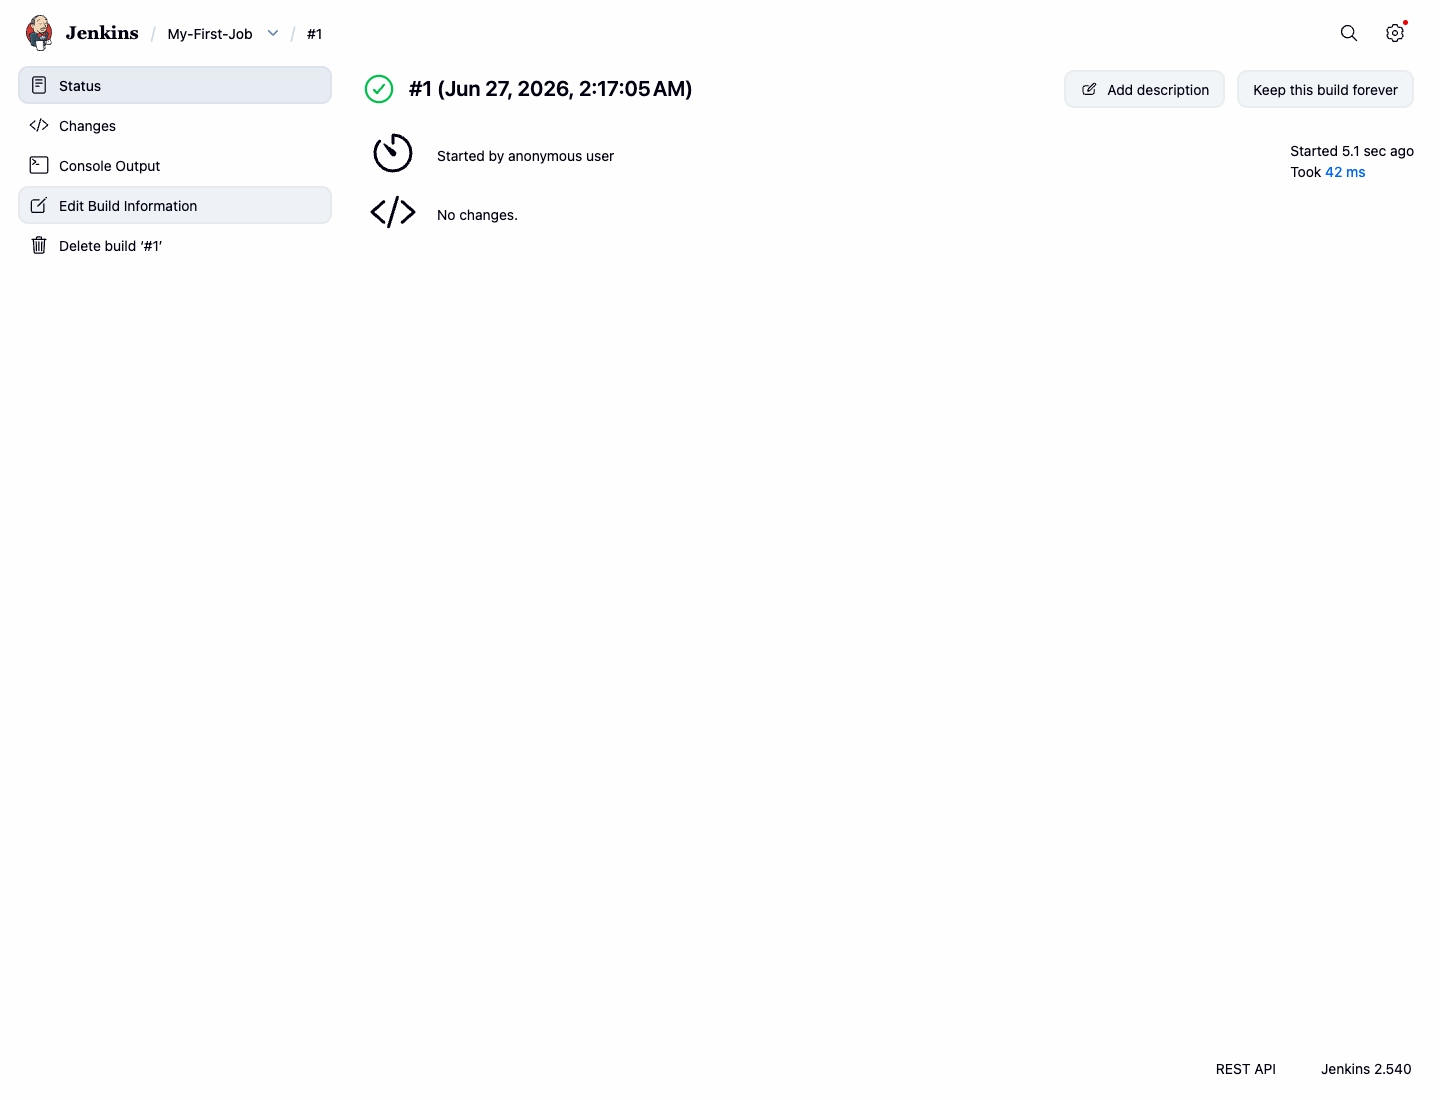
- The Console Output page displays a detailed log of every action Jenkins performed during the build. You will see that Jenkins started the build, executed your shell command, and then marked the build as finished.
The output should look similar to this:
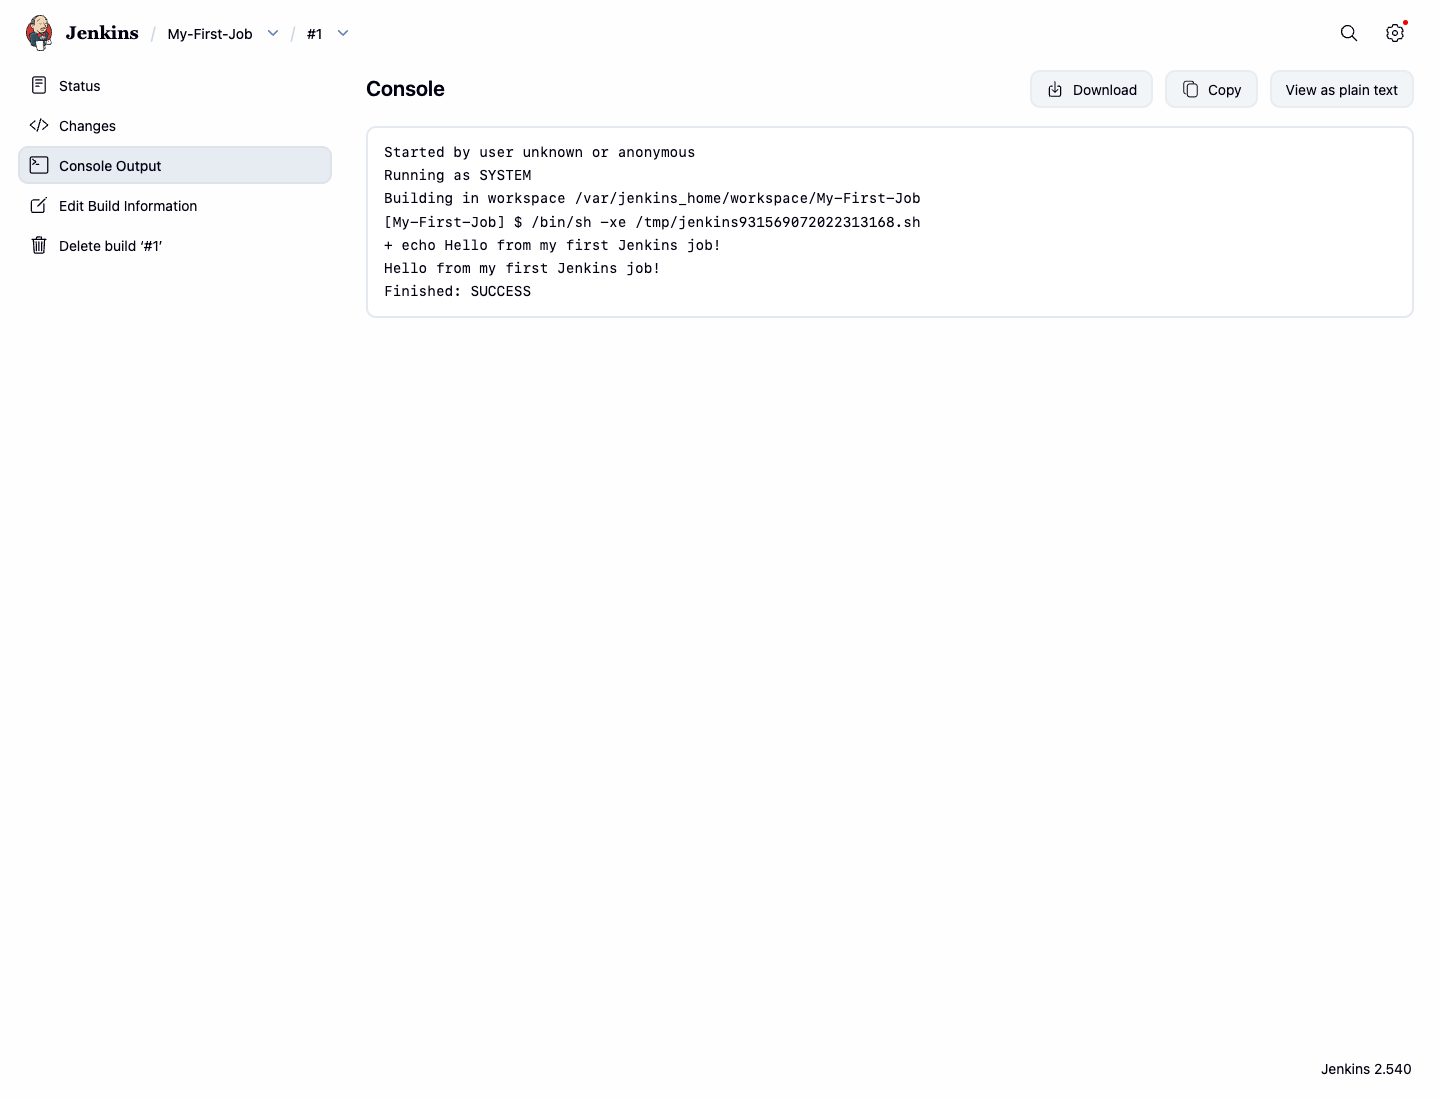
Started by user admin
Running as SYSTEM
Building in workspace /var/jenkins_home/workspace/My-First-Job
[My-First-Job] $ /bin/sh -xe /tmp/jenkins12345.sh
+ echo 'Hello from my first Jenkins job!'
Hello from my first Jenkins job!
Finished: SUCCESS
As you can see, the log includes the echo command we configured and its output: Hello from my first Jenkins job!. The final Finished: SUCCESS status confirms that the job ran without any errors.
Summary
Congratulations on completing this introductory lab. You have successfully taken your first steps into the world of Jenkins.
In this lab, you have learned how to:
- Access the Jenkins dashboard and identify its key components.
- Create a new Freestyle project from scratch.
- Configure a simple "Execute shell" build step.
- Manually trigger a build for your project.
- Find and inspect the build history and the detailed console output to verify the result.
These fundamental skills are the building blocks for creating more complex and powerful automation pipelines. You are now well-prepared to explore more advanced Jenkins features.