Introduction
In this lab, you will learn to install and verify Hydra, a versatile password-cracking tool for brute-forcing network logins across various protocols. The exercises cover package installation, version verification, and basic command testing to ensure proper functionality.
You will practice essential Hydra operations including checking its version, locating the executable, and exploring command options. These hands-on steps will help you confirm a successful installation while familiarizing you with this important security tool.
Install Hydra on Your System
In this step, you will install Hydra, a powerful password-cracking tool used for testing network security. Hydra performs brute-force attacks against login systems and supports over 30 protocols including HTTP, FTP, SSH, and more. We'll install it on your LabEx VM which provides a safe environment for learning.
Note: Free users can't connect to the internet, so Hydra is already pre-installed in the lab environment. You can jump to item 4 in the list (check if Hydra is installed). Upgrade to a pro user to practice installing Hydra by yourself.
- First, we need to update the package list. This ensures you'll install the latest available version of Hydra and its dependencies:
sudo apt update
The sudo command gives you administrator privileges, while apt update refreshes your system's list of available packages.
- Now install Hydra using the apt package manager. The
-yflag automatically confirms any prompts during installation:
sudo apt install -y hydra
The installation process will automatically handle all required dependencies. These are additional software components Hydra needs to function properly. Wait for the process to complete - you'll see a message when it's done.
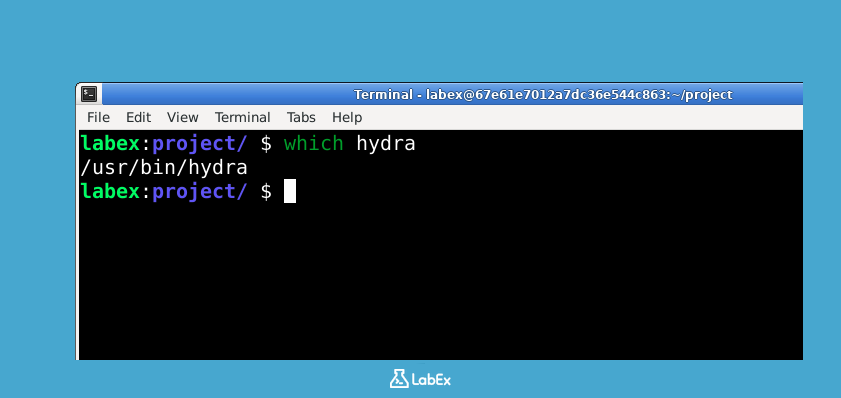
After installation, let's verify Hydra is properly installed and accessible. The
whichcommand shows where the system finds the Hydra executable:
which hydra
Expected output:
/usr/bin/hydra
This output confirms Hydra is installed correctly. The /usr/bin/ location means the tool is available system-wide, so you can run it from any directory in your terminal. In the next steps, we'll explore how to use Hydra's powerful features.
Verify Hydra Installation with Version Check
In this step, we'll verify that Hydra is properly installed by checking its version number. This is an essential first check because it confirms three important things: that the software is installed correctly, that your system can find it (through the PATH), and that it's ready to use.
When working with command-line tools like Hydra, checking the version is always a good starting point. It helps you confirm you're working with the right tool and gives you basic information about your installation.
- Let's start with a basic version check. Type this command in your terminal:
hydra -v
- After running this, you should see output similar to:
Hydra v9.2 (c) 2022 by van Hauser/THC & David Maciejak - Please do not use in military or secret service organizations, or for illegal purposes.
This shows you the version number (v9.2 in this example) and some copyright information. The version number is particularly important when following tutorials or documentation, as different versions might have slightly different features.
- For more technical details about your Hydra installation, including how it was compiled, use the capital
-Voption:
hydra -V
- This command will display additional build information that might be useful for troubleshooting or when reporting issues.
These simple checks accomplish several important things:
- They confirm Hydra is installed and working
- They verify your system can find the Hydra command (meaning it's in your PATH)
- They give you information about which version you're using
- They help identify any immediate problems with the installation
If either of these commands fails or gives an error, it likely means Hydra isn't installed correctly or isn't in your system's PATH, and you'll need to troubleshoot the installation.
Locate Hydra Executable Path
In this step, you will learn how to find where Hydra is installed on your system. When we install software like Hydra, the system places its executable file in specific directories. Knowing this path is essential because:
- It helps you verify the installation was successful
- You'll need this path when creating scripts or aliases
- System administrators often need to check executable locations for security audits
Let's start with the basic command to locate Hydra:
- Use the
whichcommand to locate Hydra's executable. This command searches through your system's PATH environment variable to find where Hydra is installed:
which hydra
- The output will show you the full path where Hydra's main executable resides. A typical Linux system will show something like:
/usr/bin/hydra
- Now let's get more details about this executable file. The following command combines
ls -l(which shows file details) withwhich hydra(to get the path):
ls -l $(which hydra)
- This gives you important information including:
- File permissions (who can read/write/execute it)
- File owner (usually root for system-installed programs)
- File size and modification date
- The actual path
Example output:
-rwxr-xr-x 1 root root 123456 Jan 1 00:00 /usr/bin/hydra
- To go even deeper, we can check what kind of file Hydra's executable is. This is particularly useful when you need to verify it's a genuine binary and not a script or symlink:
file $(which hydra)
- The output tells you it's a compiled binary (not a script) and shows technical details about its architecture and linking:
/usr/bin/hydra: ELF 64-bit LSB shared object, x86-64, version 1 (SYSV), dynamically linked, interpreter /lib64/ld-linux-x86-64.so.2, BuildID[sha1]=abcdef1234567890, for GNU/Linux 3.2.0, stripped
These commands give you a complete picture of where Hydra is installed and what kind of executable it is, which is fundamental knowledge for working with any command-line tool.
Run Hydra with Help Command
In this step, you will learn how to access Hydra's built-in help documentation to understand its basic usage and command syntax. Hydra's help system is your first reference point when working with this tool, as it explains all available commands and options in detail.
- To display the basic help menu that shows general command structure and common options, run this simple command in your terminal:
hydra -h
- The output will display Hydra's version information followed by the basic command syntax. This includes:
- Required parameter formats
- Common option flags
- Basic usage examples Here's what you'll typically see:
Hydra v9.2 (c) 2022 by van Hauser/THC & David Maciejak
Syntax: hydra [[[-l LOGIN|-L FILE] [-p PASS|-P FILE]] | [-C FILE]] [-e nsr] [-o FILE] [-t TASKS] [-M FILE [-T TASKS]] [-w TIME] [-W TIME] [-f] [-s PORT] [-x MIN:MAX:CHARSET] [-SuvV46] [service://server[:PORT][/OPT]]

Options:
  -l LOGIN or -L FILE  login with LOGIN name, or load several logins from FILE
  -p PASS  or -P FILE  try password PASS, or load several passwords from FILE
  ...
- For protocol-specific help that shows advanced options for particular services (like HTTP or FTP), use this command format:
hydra -U SERVICE
Replace SERVICE with the actual protocol name you're working with, such as http, ftp, or ssh. This will display specialized options for that particular service.
- To discover all available service modules that Hydra can work with, execute this command (note that 'foo' and 'bar' are just placeholders here):
hydra -l foo -p bar -U
- The comprehensive help output provides crucial information including:
- Mandatory vs optional parameters for each module
- Practical usage examples
- Complete list of supported protocols
- Performance-related settings for tuning your tests
Remember that Hydra's help system is context-sensitive - the information displayed changes based on which options you combine with the -h or -U flags.
Test Hydra with a Dummy Command
In this step, you will run a safe test command with Hydra to verify its basic functionality without attacking any real systems. This is an important first step to understand how Hydra works before using it in real scenarios.
- First, create a test password list. This file will contain sample passwords that Hydra will try during the test:
echo -e "password\n123456\nqwerty" > ~/project/test_passwords.txt
- Create a test username list. Similarly, this file contains sample usernames that Hydra will attempt to use:
echo -e "admin\ntest\nroot" > ~/project/test_usernames.txt
- Now we'll run Hydra in test mode against localhost (your own machine). This is completely safe because we're targeting ourselves and using test credentials that won't actually work:
hydra -L ~/project/test_usernames.txt -P ~/project/test_passwords.txt 127.0.0.1 ssh -t 1 -vV
- You should see output showing the test attempt. This output demonstrates how Hydra works through the password combinations, though it won't actually succeed in logging in:
[DATA] attacking ssh://127.0.0.1:22/
[VERBOSE] Resolving addresses ... [VERBOSE] resolving done
[INFO] Testing if password authentication is supported by ssh://127.0.0.1:22
[22][ssh] host: 127.0.0.1   login: admin   password: password
[22][ssh] host: 127.0.0.1   login: admin   password: 123456
[22][ssh] host: 127.0.0.1   login: admin   password: qwerty
...
[STATUS] attack finished for 127.0.0.1 (waiting for children to complete tests)
- The command uses these safe parameters that are important to understand:
-L: Specifies the path to the username list file we created-P: Specifies the path to the password list file we created-t 1: Limits Hydra to 1 parallel connection (makes the test slower but safer)-vV: Enables verbose output so we can see what Hydra is doingssh: Specifies we're testing against SSH protocol (though this test won't succeed)
This test demonstrates Hydra's basic operation without any risk, showing how it systematically tries different username/password combinations. The output shows the attempts being made, though none will succeed against your local machine.
Summary
In this lab, you have learned how to install and verify the Hydra password-cracking tool on a LabEx VM system. The process involved updating packages, installing Hydra via apt, and confirming its installation path in /usr/bin/hydra. You also verified the installation by checking Hydra's version using both hydra -v and hydra -V commands.
Additionally, you explored Hydra's basic functionality by locating its executable path with which hydra and testing commands like hydra -h. These steps ensured Hydra was properly installed and ready for practical use in security testing scenarios.