
Introduction
HTML lists are a fundamental part of web development, used to group and organize related items. They make content more readable and accessible. There are two main types of lists:
- Unordered Lists (
<ul>): Used when the order of items does not matter. These are typically displayed with bullet points. - Ordered Lists (
<ol>): Used when the order of items is important. These are typically displayed with numbers.
In this lab, you will learn how to create both types of lists, add items to them, and even create nested sublists to build more complex structures. By the end, you will have a single HTML page demonstrating these list types.
Create ul tag for unordered list
In this step, you will create an unordered list. Unordered lists are defined with the <ul> tag and are used for items where the sequence is not important.
First, locate the index.html file in the file explorer on the left side of the WebIDE. Click on it to open it in the editor.
Inside the <body> of your index.html file, add an empty unordered list by placing <ul> and </ul> tags right after the <h1> heading.
Your index.html file should now look like this:
<!DOCTYPE html>
<html lang="en">
  <head>
    <meta charset="UTF-8" />
    <meta name="viewport" content="width=device-width, initial-scale=1.0" />
    <title>My Lists</title>
  </head>
  <body>
    <h1>My Grocery List</h1>
    <ul></ul>
  </body>
</html>
After adding the code, save the file. You can preview your changes by switching to the Web 8080 tab. At this point, you won't see any list items, as we haven't added any yet.

Add li tags inside ul for list items
In this step, you will add items to the unordered list. Each item in a list is defined with the <li> (list item) tag. These <li> tags must be placed inside the parent <ul> tag.
Let's add three items to our grocery list. Modify your index.html file to include "Milk", "Bread", and "Cheese" as list items.
<!DOCTYPE html>
<html lang="en">
  <head>
    <meta charset="UTF-8" />
    <meta name="viewport" content="width=device-width, initial-scale=1.0" />
    <title>My Lists</title>
  </head>
  <body>
    <h1>My Grocery List</h1>
    <ul>
      <li>Milk</li>
      <li>Bread</li>
      <li>Cheese</li>
    </ul>
  </body>
</html>
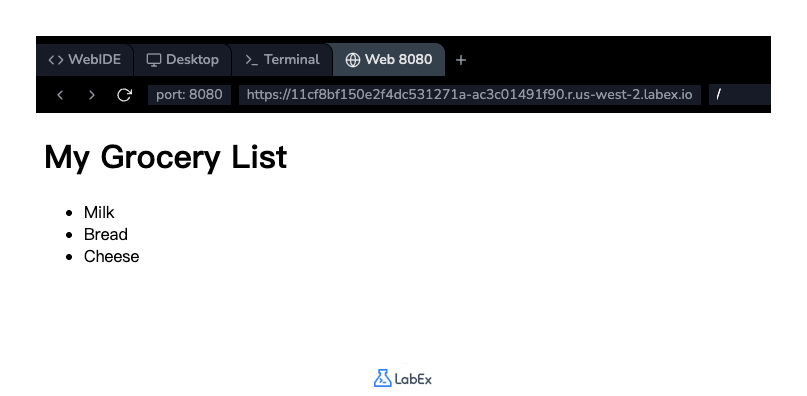
Save the file and switch to the Web 8080 tab to see your changes. You should now see a bulleted list with the three grocery items.
Create ol tag for ordered list
In this step, you will create an ordered list. Ordered lists are defined with the <ol> tag and are used when the order of items is important, such as in a recipe or a to-do list. The browser will automatically number the items.
Let's add a new section for a to-do list. In your index.html file, add a new heading <h2>To-Do List</h2> and an empty ordered list <ol></ol> below the existing unordered list.
Your index.html file should now contain both list structures:
<!DOCTYPE html>
<html lang="en">
  <head>
    <meta charset="UTF-8" />
    <meta name="viewport" content="width=device-width, initial-scale=1.0" />
    <title>My Lists</title>
  </head>
  <body>
    <h1>My Grocery List</h1>
    <ul>
      <li>Milk</li>
      <li>Bread</li>
      <li>Cheese</li>
    </ul>

    <h2>To-Do List</h2>
    <ol></ol>
  </body>
</html>
Save the file and check the preview in the Web 8080 tab. You will see the new heading, but the ordered list will be empty for now.
Add li tags inside ol for numbered items
In this step, you will add items to your new ordered list. Just like with unordered lists, you use the <li> tag to define each item. The browser will handle the numbering automatically.
Let's add three tasks to our to-do list. Edit the index.html file and place the following <li> elements inside your <ol> tags.
<!DOCTYPE html>
<html lang="en">
  <head>
    <meta charset="UTF-8" />
    <meta name="viewport" content="width=device-width, initial-scale=1.0" />
    <title>My Lists</title>
  </head>
  <body>
    <h1>My Grocery List</h1>
    <ul>
      <li>Milk</li>
      <li>Bread</li>
      <li>Cheese</li>
    </ul>

    <h2>To-Do List</h2>
    <ol>
      <li>Pay bills</li>
      <li>Walk the dog</li>
      <li>Go to the gym</li>
    </ol>
  </body>
</html>
Save the file and refresh the Web 8080 tab. You will now see a numbered list showing your three tasks.
Nest ul inside ol for sublists
In this step, you will learn how to create nested lists, also known as sublists. This is useful for breaking down a list item into smaller, related points. You can nest a list (<ul> or <ol>) inside an <li> element.
Let's add more detail to the "Go to the gym" task. We will add a nested unordered list to specify the workout activities. To do this, place a new <ul> block inside the <li>Go to the gym</li> element.
Update your index.html file with the following code:
<!DOCTYPE html>
<html lang="en">
  <head>
    <meta charset="UTF-8" />
    <meta name="viewport" content="width=device-width, initial-scale=1.0" />
    <title>My Lists</title>
  </head>
  <body>
    <h1>My Grocery List</h1>
    <ul>
      <li>Milk</li>
      <li>Bread</li>
      <li>Cheese</li>
    </ul>

    <h2>To-Do List</h2>
    <ol>
      <li>Pay bills</li>
      <li>Walk the dog</li>
      <li>
        Go to the gym
        <ul>
          <li>Treadmill</li>
          <li>Weights</li>
        </ul>
      </li>
    </ol>
  </body>
</html>
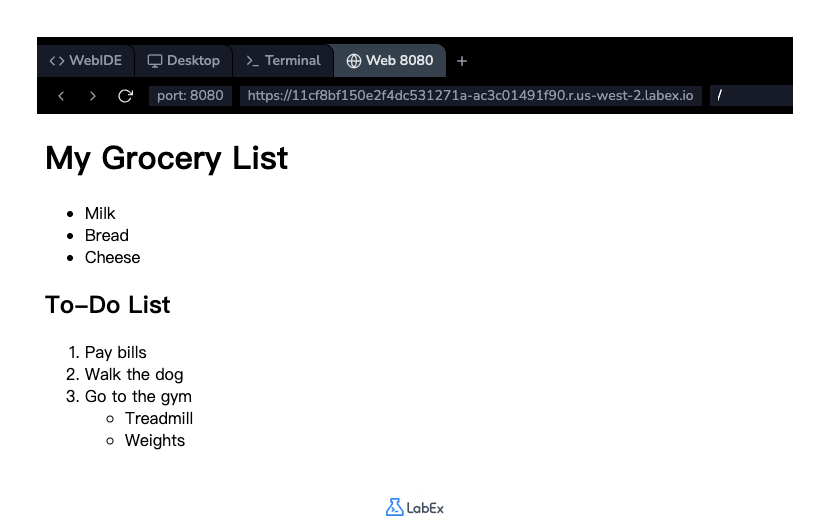
Save the file and view it in the Web 8080 tab. You will see an indented, bulleted sublist under the "Go to the gym" item. This demonstrates how you can create more complex and organized content structures.
Summary
Congratulations on completing the lab!
In this lab, you have learned the essentials of creating lists in HTML. You have successfully:
- Created an unordered list (
<ul>) for items without a specific order. - Created an ordered list (
<ol>) for items where sequence matters. - Used the list item tag (
<li>) to add items to both types of lists. - Created a nested list to build a hierarchical structure.
Lists are a crucial tool for organizing content and improving the readability of your web pages. You can now use them effectively in your future web projects.


