
Introduction
In this lab, you will learn the fundamental skills required to use two essential text editors in Linux: vi/vim and nano. These are the most commonly used text editors in Linux environments, each with its own strengths and use cases.
You will start with the vi text editor, a powerful and ubiquitous tool in Unix-like systems. You'll learn to create files, enter text using Insert Mode, save your work with commands like :w and :wq, navigate using movement keys, search for text, and perform basic editing operations like deleting words.
In the second part of the lab, you will explore nano, a more user-friendly editor that's perfect for beginners. You'll discover its intuitive interface, learn basic editing operations, and understand when to choose nano over vim for different tasks.
By the end of this lab, you'll be comfortable using both editors and will understand which tool is best suited for different scenarios in your Linux workflow.
Create a File and Enter Text in Insert Mode
In this step, you will learn how to use the vi editor to create a new text file and enter text. vi (and its modern version, vim) is a powerful and ubiquitous text editor in Unix-like operating systems. It operates in different modes, the two most basic being Normal Mode (for commands) and Insert Mode (for typing text).
First, let's ensure you are in the correct working directory. All work for this lab will be done in the ~/project directory.
Open a terminal. The prompt should show you are in the
projectdirectory. You can verify the full path with thepwd(print working directory) command.pwdYou should see the following output, confirming your location:
/home/labex/project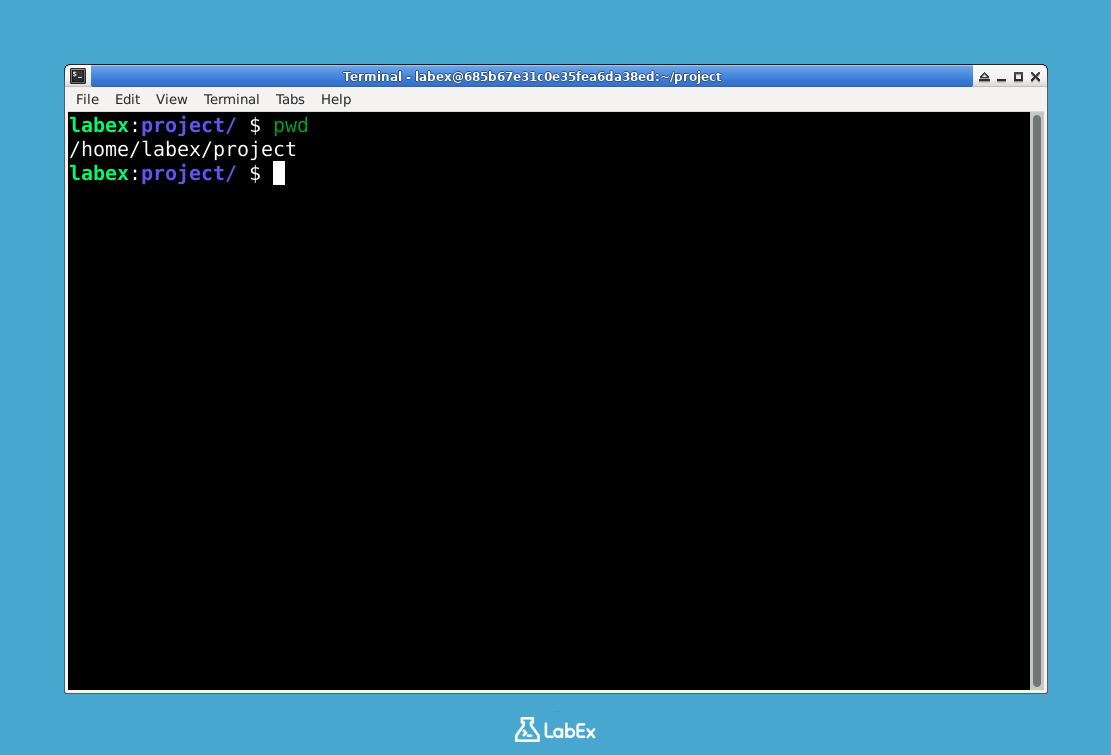
Now, start the
vieditor and create a new file namedtest.txt. When you run this command,viwill start and take over your terminal window.vi test.txtYour terminal will clear and you will see a screen with tildes (
~) down the left side. These indicate empty lines. At the bottom of the screen, you will see the filename"test.txt" [New File]. You are currently in Normal Mode.To start typing text, you need to switch to Insert Mode. Press the
ikey on your keyboard.iNotice that at the bottom of the screen,
-- INSERT --appears. This confirms you are in Insert Mode and can now type text directly into the file.Enter the following sentence:
Now is the time for all good men to come to the aid of their country.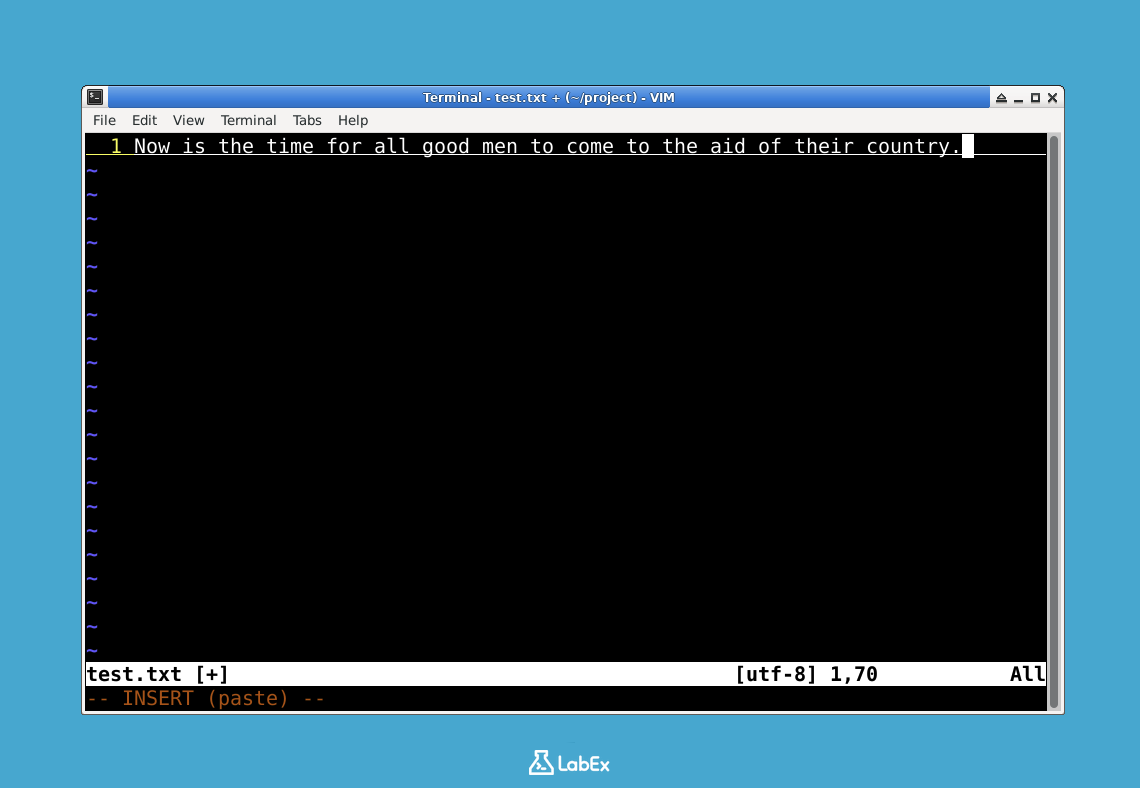
At this point, the text you've typed exists in the editor's memory buffer but has not yet been saved to the disk. In the next step, you will learn how to save your work and exit the editor.
Save and Quit the File using :w and :wq
In this step, you will learn how to save your changes and exit the vi editor. These actions are performed using commands in Normal Mode. Since you are currently in Insert Mode from the previous step, you first need to return to Normal Mode.
To switch from Insert Mode back to Normal Mode, press the
Esckey.EscYou will notice that the
-- INSERT --indicator at the bottom of the screen disappears. This means you are now in Normal Mode, where keystrokes are interpreted as commands instead of text input.Now, let's save the file. In Normal Mode, commands that are preceded by a colon (
:) are displayed on a command line at the bottom of the screen. To write (save) the file, you use the:wcommand.Type the following sequence and press
Enter::wAfter you press
Enter,viwill write the contents of the buffer to thetest.txtfile. You will see a confirmation message at the bottom, similar to this:"test.txt" [New] 1L, 79C writtenThis message confirms that the file
test.txtwas saved, containing 1 line and 79 characters.Finally, to exit
vi, you can use the:qcommand for "quit". A more common command is:wq, which combines writing the file and quitting into a single action. Since you are already in Normal Mode, type the following and pressEnter::wqThis command saves any final changes and then closes the
vieditor, returning you to the shell prompt in your terminal. Your terminal should now display the familiar command prompt, and thetest.txtfile is saved in your~/projectdirectory.
Navigate and Search Text using gg, h, j, k, l, and /
In this step, you'll practice some of vi's powerful navigation and search commands. These commands allow you to move the cursor and find text efficiently without using the mouse. All of these operations are performed in Normal Mode.
First, you need to open the
test.txtfile again. From your shell prompt in the~/projectdirectory, enter the following command:vi test.txtThe editor will open with the file's content displayed. The cursor will likely be at the beginning of the first line.
To ensure the cursor is at the very beginning of the file, you can use the
ggcommand. While in Normal Mode (pressEscif you are not sure), typegg.ggThe cursor will immediately jump to the first character of the first line, which is 'N' in our file.
The primary way to move the cursor in
viis with theh,j,k, andlkeys. This is a core skill for anyviuser.hmoves the cursor one character to the left.lmoves the cursor one character to the right.jmoves the cursor one line down.kmoves the cursor one line up.
Try pressing these keys to move the cursor around the sentence. This method of navigation works in any terminal environment.
Now, let's search for text. The
/command is used to search forward in the file. To search for all occurrences of the letter 'a', follow these steps: a. Make sure you are in Normal Mode (pressEsc). b. Type/followed by the character you want to search for, in this case,a. Then pressEnter./aThe cursor will jump to the first 'a' it finds after your current cursor position.
c. To find the next instance of the same search term, simply press the
nkey (for "next").nPress
nseveral times to cycle through all the 'a's in the file.
You have now practiced basic navigation and searching. In the next step, you will learn how to delete text.
Delete a Word with dw and Quit without Saving with :q!
In this step, you will learn how to delete text and how to exit vi without saving your changes. This is a crucial skill for when you make a mistake and want to revert to the last saved version of the file. You should still have vi open with the test.txt file from the previous step.
First, let's move the cursor to the word we want to delete. Ensure you are in Normal Mode (press
Escif you are not sure). Use thehandlkeys to move the cursor until it is positioned on the first letter of the wordtime.With the cursor on the
toftime, type thedwcommand. This command stands for "delete word".dwYou will see the word
timeand the space following it disappear from the screen. The sentence now looks incorrect, which is perfect for our next action.You have now modified the file in the editor's buffer. Let's pretend this deletion was a mistake. Instead of saving this incorrect version, you will quit and discard the change. The command to do this is
:q!. Theqis for "quit" and the!forces the action, ignoring any unsaved changes.a. Make sure you are in Normal Mode (press
Esc). b. Type the following command and pressEnter::q!This command will immediately exit the
vieditor and return you to the shell prompt. Because you used:q!, the deletion of the wordtimewas not saved to thetest.txtfile. If you were to open the file again, the wordtimewould still be there.
Launch the Interactive vimtutor for Further Practice
In this step, you will discover vimtutor, an interactive tutorial designed to teach you vi/vim skills in a hands-on way. This lab has covered the absolute basics, but vimtutor provides a comprehensive, self-paced course that is highly recommended for all new users.
You should be at the shell prompt in the
~/projectdirectory. To start the tutorial, simply type the commandvimtutorand pressEnter.vimtutorThis command opens
viwith a special tutorial file. The file itself contains all the instructions. You will read the text, and then practice the commands described directly in the tutorial file. It is a safe and effective way to learn because you are practicing on a temporary copy of the file.The tutorial is divided into lessons and is estimated to take about 25-30 minutes to complete. You can work through it at your own pace.
When you are finished with the tutorial (or want to leave at any time), you can exit just like you would from any
visession. Since you don't need to save any changes to the tutorial file, the best way to exit is by using the:q!command.a. Press
Escto ensure you are in Normal Mode. b. Type:q!and pressEnter.:q!
This concludes the hands-on portion of this lab. By completing these steps, you have learned the fundamental skills for creating, editing, saving, and navigating files with the vi editor.
Introduction to the nano Editor
In this step, you will learn how to use nano, a user-friendly text editor that's perfect for beginners and quick edits. Unlike vi, nano displays helpful shortcuts at the bottom of the screen and doesn't have different modes, making it more intuitive for new users.
First, let's create a new file using
nano. From your shell prompt in the~/projectdirectory, enter the following command:nano welcome.txtThe
nanoeditor will open with a blank file. Notice the helpful menu at the bottom showing available functions.Unlike
vi, you can immediately start typing innanowithout switching modes. Copy and paste the following text: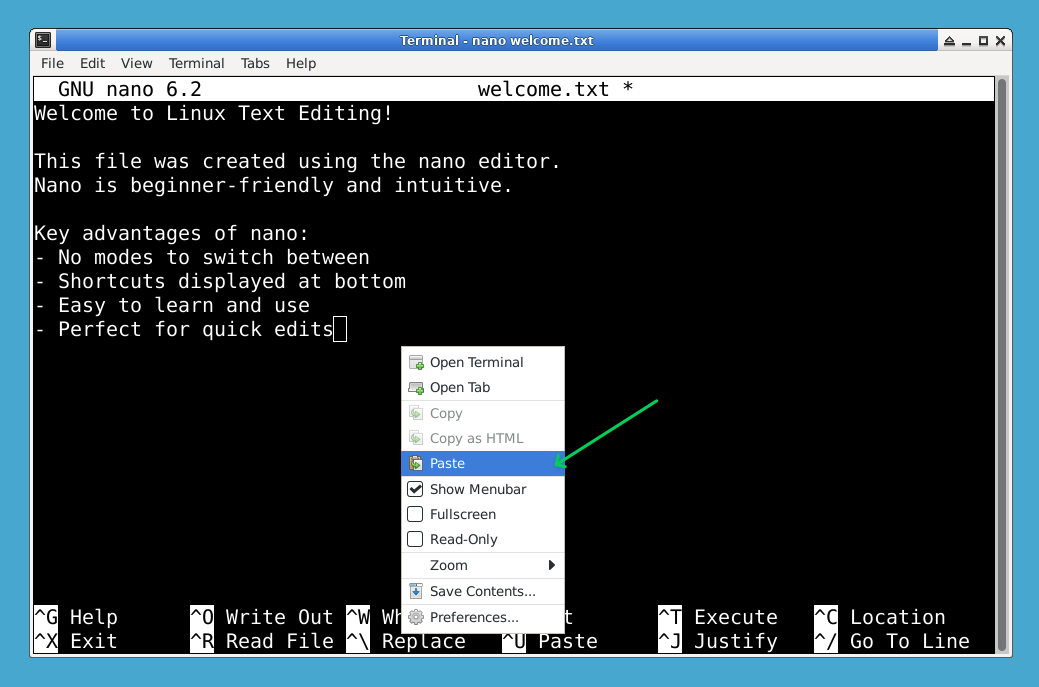
Welcome to Linux Text Editing!

This file was created using the nano editor.
Nano is beginner-friendly and intuitive.

Key advantages of nano:
- No modes to switch between
- Shortcuts displayed at bottom
- Easy to learn and use
- Perfect for quick edits
Now let's save the file. In
nano, "Save" is called Write Out. PressCtrl+Oto start Write Out. You'll see a prompt asking for the filename. The current namewelcome.txtis already shown, so pressEnterto confirm and save the file.You'll see a message at the bottom indicating the file was written successfully, showing the number of lines written.
To exit
nano, pressCtrl+X. Since you've already saved the file,nanowill exit immediately and return you to the shell prompt. If you pressCtrl+Xbefore saving,nanowill ask whether to save changes; pressYand thenEnterto save and exit.
Comparing nano and vi/vim: When to Use Each Editor
In this final step, you will learn about the key differences between nano and vi/vim, and understand when to use each editor. Let's create a comparison file using both editors to demonstrate their differences.
First, let's use
nanoto create a comparison file:nano editor_comparison.txtEnter the following content in nano:
TEXT EDITOR COMPARISON: nano vs vi/vim

NANO EDITOR:
Pros:
- Beginner-friendly interface
- No modes to learn
- Shortcuts displayed on screen
- Immediate text input
- Good for quick edits and simple tasks

Cons:
- Limited advanced features
- Less efficient for complex editing
- Not available on all systems
Save the file and exit nano.
Now, let's open the same file with
vito add more content:vi editor_comparison.txtNavigate to the end of the file using
G(capital G), then pressoto open a new line and enter Insert Mode. Add the following content:VI/VIM EDITOR: Pros: - Extremely powerful and feature-rich - Available on virtually all Unix/Linux systems - Highly efficient once mastered - Excellent for programming and complex editing - Extensive customization options Cons: - Steep learning curve - Modal interface can be confusing for beginners - Requires memorizing many commandsPress
Escto return to Normal Mode, then save and exit with:wq.Let's view the completed comparison file:
cat editor_comparison.txtThis will display the complete comparison showing content added by both editors.
When to use each editor:
Use nano when:
- You're new to Linux text editing
- Making quick, simple edits
- Working on configuration files occasionally
- You prefer a straightforward, intuitive interface
Use vi/vim when:
- You're doing extensive programming or text manipulation
- Working on remote servers (vi is always available)
- You need advanced features like macros, plugins, or complex search/replace
- Efficiency and speed are important once you've learned the commands
Both editors are valuable tools in a Linux user's toolkit, and knowing both gives you flexibility in different situations.
Summary
In this lab, you learned how to use two essential text editors in Linux: vi/vim and nano.
With vi/vim, you mastered the fundamental concepts of modal editing, learning to switch between Normal Mode and Insert Mode. You practiced creating files, entering text, saving with :w and :wq, navigating with movement keys (h, j, k, l), searching with /, editing with commands like dw, and quitting without saving using :q!. You also discovered the interactive vimtutor for continued learning.
With nano, you experienced a more beginner-friendly approach to text editing. You learned to create and edit files without worrying about modes, used the intuitive interface with shortcuts displayed at the bottom of the screen, and practiced basic operations like saving and exiting files.
Key takeaways:
nanois perfect for beginners and quick edits with its intuitive interface and visible shortcutsvi/vimis more powerful and efficient for complex editing tasks, but requires more learning investment- Both editors are valuable tools - nano for simplicity and vim for power and availability
- Understanding when to use each editor will make you more effective in different Linux scenarios
You now have the foundation to choose the right text editor for your specific needs and can continue developing your skills with both tools.


