
Introduction
Welcome to the CSS Box Model lab! In web design, every HTML element can be considered as a box. The CSS Box Model is a fundamental concept that describes how these boxes are rendered on a web page. It consists of four main parts: the content area, padding, border, and margin.
In this lab, you will learn how to manipulate each of these components to control the size and spacing of elements. We will work with an index.html file and a style.css file. All your changes will be made in the style.css file, and you can instantly see the results by switching to the Web 8080 tab in the LabEx interface.
Let's get started!
Set width property on a div element
In this step, we will begin by defining the size of our element's content area. The width property in CSS sets the width of an element's content box. The other components of the box model (padding, border, margin) will be added around this content area.
First, locate the style.css file in the file explorer on the left side of the WebIDE. Click on it to open it in the editor.
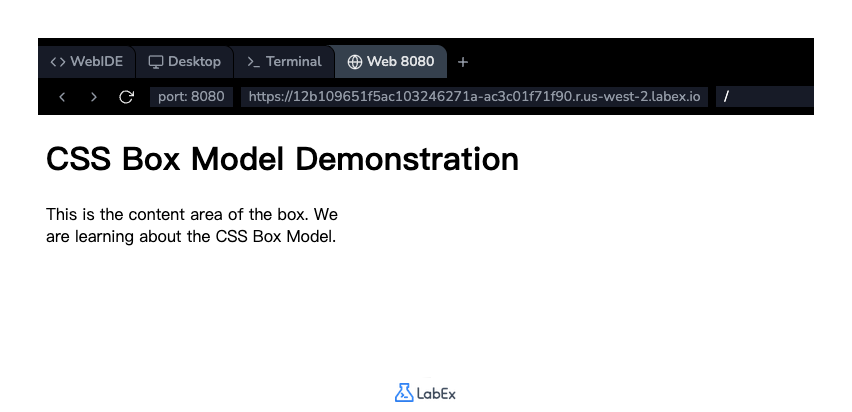
Now, add the following CSS rule to the style.css file. This rule targets the div element with the class box and sets its width to 300 pixels.
.box {
  width: 300px;
}
After adding the code, save the file (Ctrl+S or Cmd+S). To see the effect, click on the Web 8080 tab. You will notice that the text inside the box now wraps to fit within a 300-pixel wide container.
Apply padding property with uniform values
In this step, we will add some space between the content and the edge of the element. This space is called padding. The padding property clears an area around the content. It is inside the element's border.
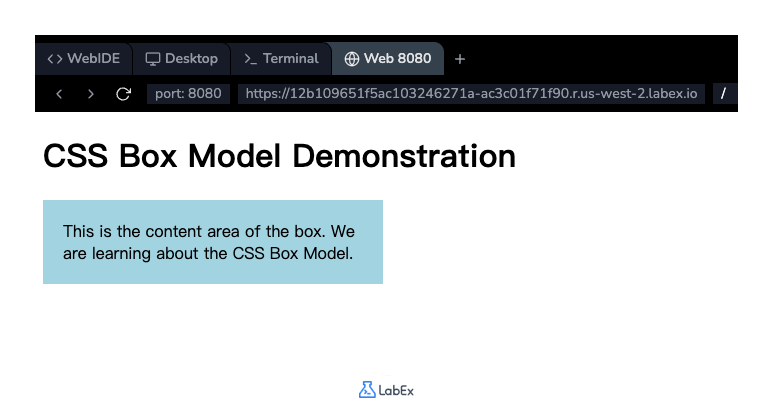
Let's add 20 pixels of padding to all four sides of our box. Modify the existing .box rule in your style.css file to include the padding property.
.box {
  width: 300px;
  padding: 20px;
  background-color: lightblue; /* Added for better visualization */
}
We've also added a background-color to make the content and padding areas more visible. Save the file and switch to the Web 8080 tab. You will see that there is now a 20-pixel light blue space surrounding the text content inside the box. Notice that the overall visible width of the box has increased, as the padding is added on top of the content's width.
Use border property with style width color
In this step, we will add a border around our element's padding and content. The border property is a shorthand that allows you to set the border's width, style, and color all at once.
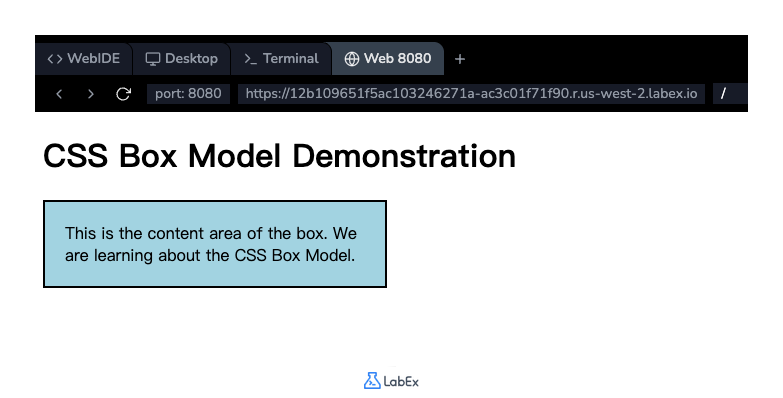
Let's add a solid black border that is 2 pixels wide. Update the .box rule in your style.css file as shown below:
.box {
  width: 300px;
  padding: 20px;
  background-color: lightblue;
  border: 2px solid black;
}
The values for the border property are border-width, border-style, and border-color, respectively.
Save the file and refresh the Web 8080 tab. You will now see a black line drawn around the padding area of the box. The total width of the element has increased again to accommodate this new border.
Implement margin property for spacing
In this step, we will control the space outside the element's border. This is done using the margin property. The margin creates empty space around an element, pushing other elements away from it.
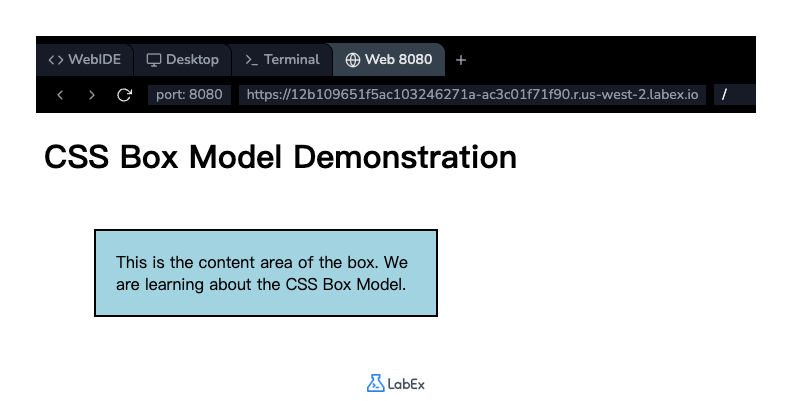
Let's add a 50-pixel margin to all sides of our box to create some separation from the heading and the edges of the page. Add the margin property to the .box rule in style.css.
.box {
  width: 300px;
  padding: 20px;
  background-color: lightblue;
  border: 2px solid black;
  margin: 50px;
}
Save the file and check the Web 8080 tab. You'll observe that the entire box is now pushed down from the <h1> element and away from the left edge of the browser window. This demonstrates how margin is used to control the spacing between elements.
Add box-sizing border-box to include padding
In this step, we will address a common layout challenge. By default, an element's width and height properties apply only to the content box. The padding and border are added on top of that, which can make sizing unpredictable. For our box, the total width is currently 300px (width) + 40px (left/right padding) + 4px (left/right border) = 344px.
To simplify this, we can use the box-sizing property. By setting it to border-box, we tell the browser to include the padding and border within the element's total width and height.
Add the box-sizing: border-box; property to your .box rule.
.box {
  width: 300px;
  padding: 20px;
  background-color: lightblue;
  border: 2px solid black;
  margin: 50px;
  box-sizing: border-box;
}
Save the file and look at the Web 8080 tab. You will see the box shrink. Now, the total width of the box, including padding and border, is exactly 300 pixels. The browser automatically adjusts the content area to fit. This behavior is much more intuitive for creating layouts.
Summary
Congratulations on completing the lab! You have successfully learned the fundamentals of the CSS Box Model.
In this lab, you have practiced:
- Setting the
widthof an element's content area. - Applying
paddingto create space between the content and the border. - Adding a
borderaround the padding and content. - Using
marginto create space outside the element's border. - Utilizing
box-sizing: border-boxfor more predictable and intuitive element sizing.
Understanding the Box Model is crucial for controlling the layout and spacing of elements on a web page. Keep practicing these concepts to become proficient in CSS.


