Introduction
Jenkins builds are easier to understand when they publish results. Test reports show which tests passed or failed, and notifications help a team notice builds that need attention.
In this lab, you will use the Jenkins dashboard to create a Freestyle job, generate a small JUnit XML report, publish it as a Jenkins test report, configure an email notification recipient, and run a second build with one failing test.
Create a Job that Produces JUnit XML
In this step, you will create a Jenkins Freestyle job that writes a JUnit XML file. JUnit XML is a common report format that Jenkins can read even when the test data comes from a simple shell script.
Open the Desktop interface. Firefox opens Jenkins automatically. If it does not, open http://localhost:8080.
From the Jenkins dashboard:
Click New Item, enter test-report-demo, select Freestyle project, then click OK.
On the configuration page, scroll to Build Steps, click Add build step, and select Execute shell.
Enter this shell script in the Command box:
mkdir -p reports
printf '%s\n' \
  '<testsuite name="LabExSuite" tests="2" failures="0" skipped="0">' \
  '  <testcase classname="demo.HealthTest" name="test_home_page"/>' \
  '  <testcase classname="demo.HealthTest" name="test_api_status"/>' \
  '</testsuite>' > reports/junit.xml
echo "Generated passing JUnit report"
Click Save.
The job page should open after saving.
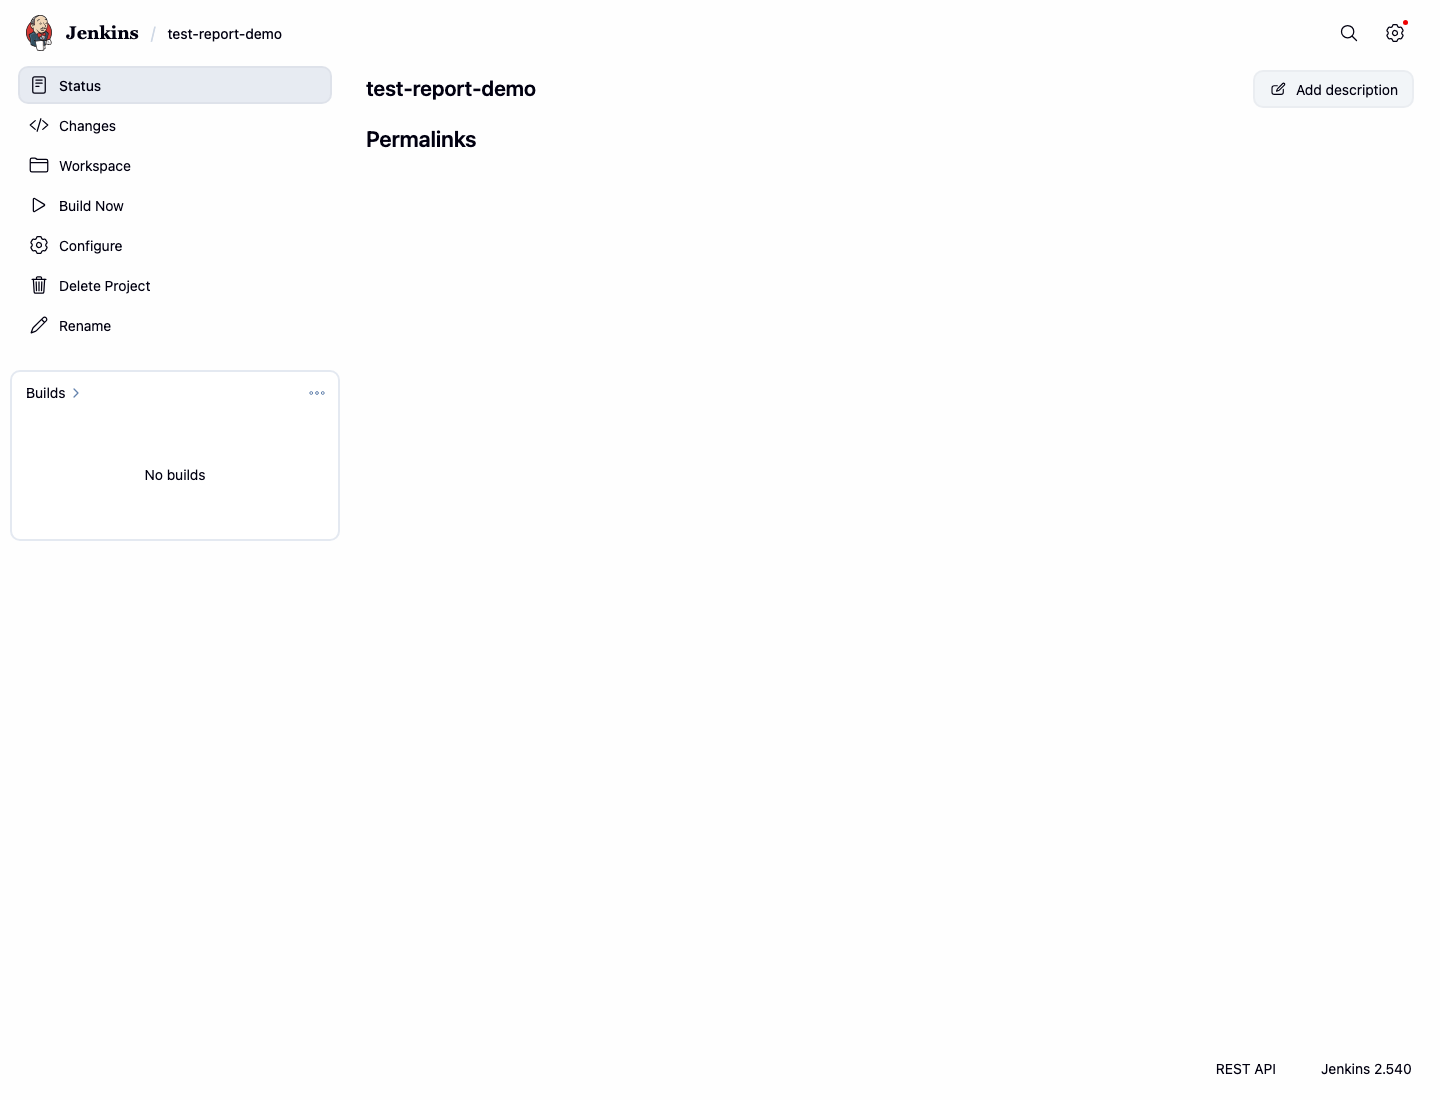
Run this command in the terminal to record the saved shell step:
docker exec jenkins sh -lc "grep -n -E 'reports/junit.xml|Generated passing JUnit report' /var/jenkins_home/jobs/test-report-demo/config.xml" | tee /home/labex/project/test-report-job-config.txt
Publish the JUnit Test Result Report
In this step, you will add a post-build action that publishes the JUnit XML file. A build step creates files during the build. A post-build action processes files after the build finishes.
On the test-report-demo job page, click Configure.
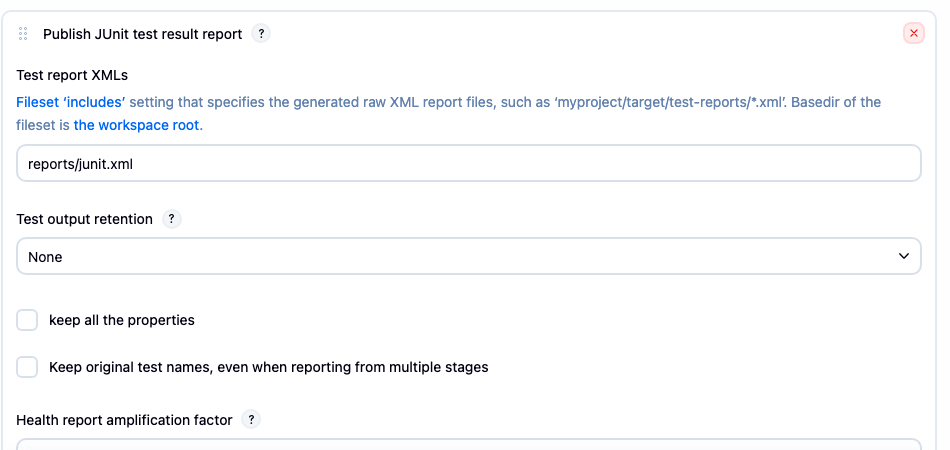
Scroll to Post-build Actions, click Add post-build action, and select Publish JUnit test result report.
In the Test report XMLs field, enter:
reports/junit.xml
Click Save.
Run this command to record the saved JUnit publisher:
docker exec jenkins sh -lc "grep -n -E 'JUnitResultArchiver|<testResults>reports/junit.xml</testResults>' /var/jenkins_home/jobs/test-report-demo/config.xml" | tee /home/labex/project/junit-publisher-lines.txt
The output should include both JUnitResultArchiver and reports/junit.xml.
Run a Build and Inspect Test Results
In this step, you will run the job and inspect the published test report. The first report has two passing tests, so Jenkins should mark the build as successful.
On the test-report-demo job page, click Build Now.
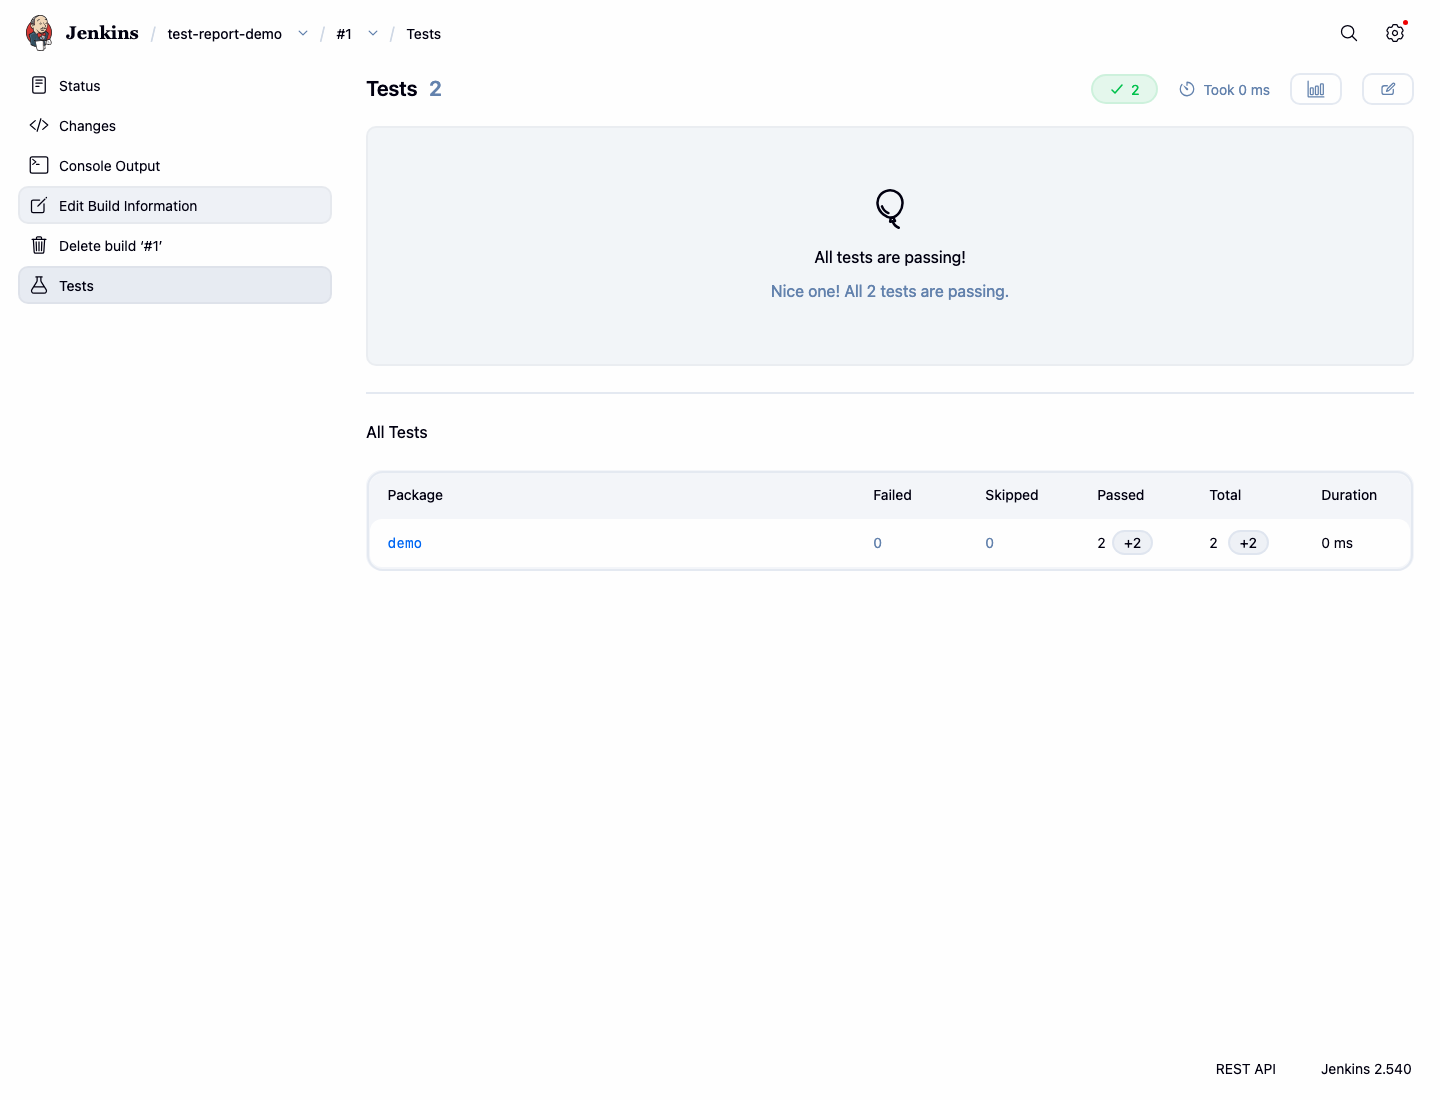
When build #1 appears in the build history, open it and click Test Result.
The test result page should show zero failures and list the demo package.
Run this command in the terminal to save the same result data for verification:
curl -fsS http://localhost:8080/job/test-report-demo/1/api/json | grep '"result":"SUCCESS"' | tee /home/labex/project/passing-test-result.txt
curl -fsS http://localhost:8080/job/test-report-demo/1/testReport/api/json | grep '"failCount":0' | tee -a /home/labex/project/passing-test-result.txt
You should see:
"result":"SUCCESS"
"failCount":0
Add a Build Notification Recipient
In this step, you will add a Jenkins email notification recipient. In a production controller, Jenkins would need SMTP settings before it can send mail. In this lab, the important beginner concept is where the job stores the notification recipient.
On the test-report-demo job page, click Configure.
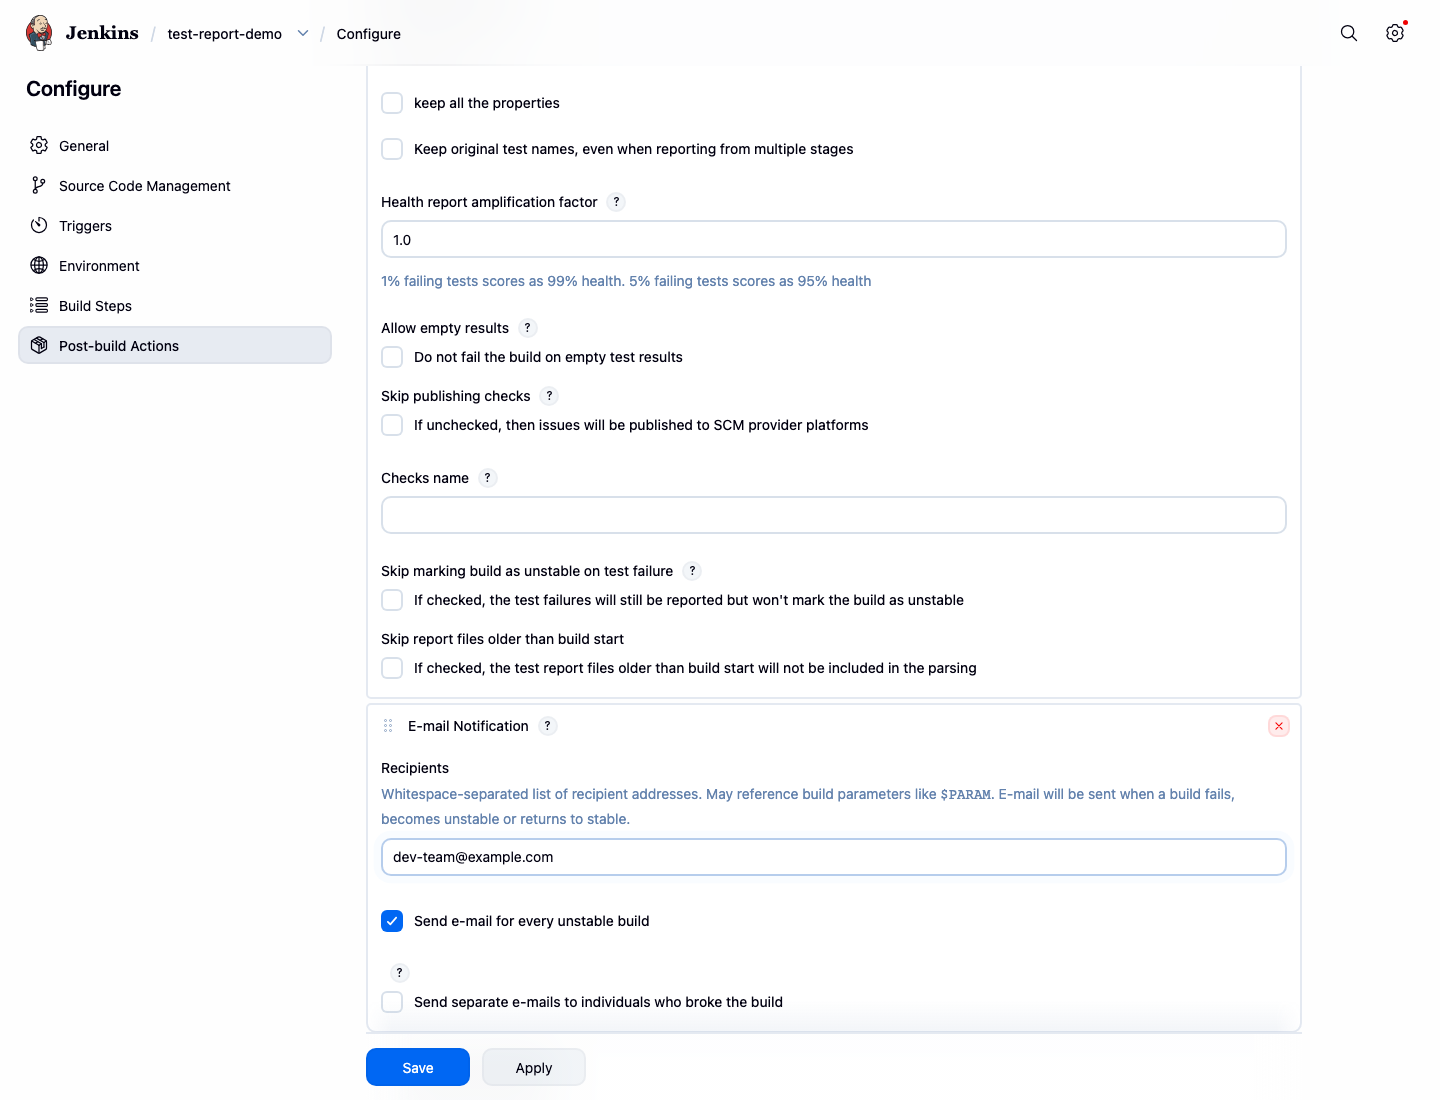
Scroll to Post-build Actions, click Add post-build action, and select E-mail Notification.
In the Recipients field, enter:
dev-team@example.com
Click Save.
Run this command to record the saved notification configuration:
docker exec jenkins sh -lc "grep -n -E 'hudson.tasks.Mailer|dev-team@example.com' /var/jenkins_home/jobs/test-report-demo/config.xml" | tee /home/labex/project/mail-notification-lines.txt
The output should include the Jenkins mailer publisher and the recipient address.
Make One Test Fail and Rebuild
In this step, you will update the shell step so the JUnit report contains one failed test. Jenkins marks builds with failed JUnit tests as UNSTABLE, which is the kind of build result that a team notification should highlight.
On the test-report-demo job page, click Configure.
Find the Execute shell build step. Replace the command with this failing report:
mkdir -p reports
printf '%s\n' \
  '<testsuite name="LabExSuite" tests="2" failures="1" skipped="0">' \
  '  <testcase classname="demo.HealthTest" name="test_home_page"/>' \
  '  <testcase classname="demo.HealthTest" name="test_api_status">' \
  '    <failure message="API returned 500">simulated failure</failure>' \
  '  </testcase>' \
  '</testsuite>' > reports/junit.xml
echo "Generated failing JUnit report"
Click Save, then click Build Now.
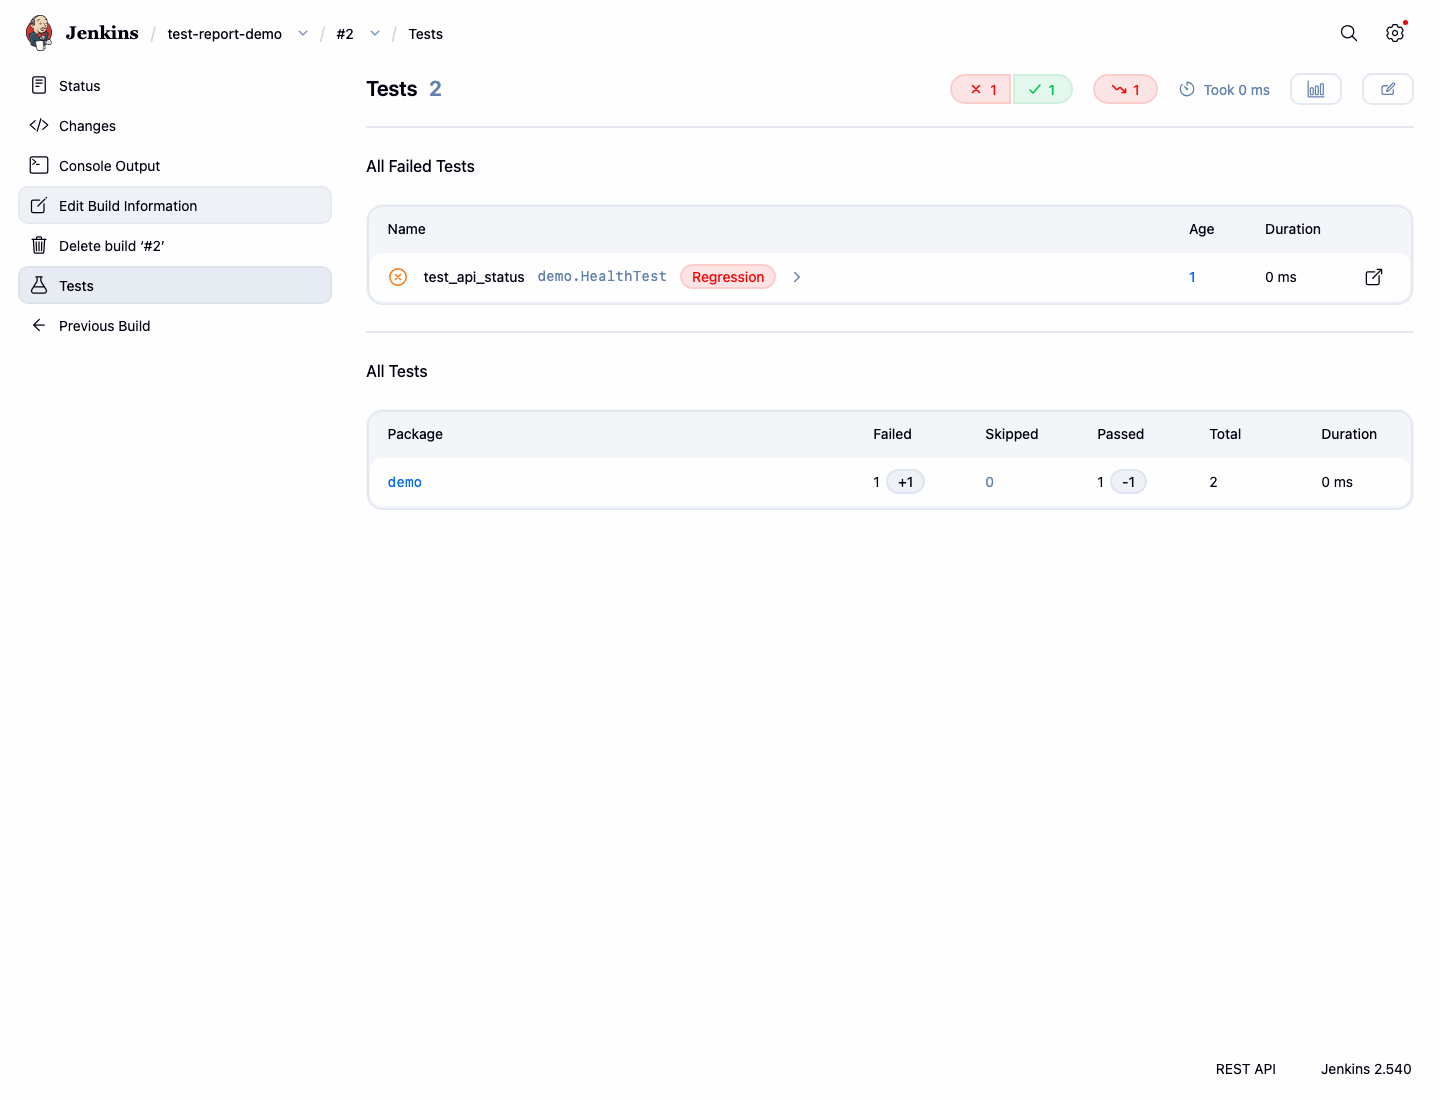
When build #2 appears, open it and click Test Result. The page should show one failed test.
Run this command to save the unstable build evidence:
curl -fsS http://localhost:8080/job/test-report-demo/2/api/json | grep '"result":"UNSTABLE"' | tee /home/labex/project/unstable-test-result.txt
curl -fsS http://localhost:8080/job/test-report-demo/2/testReport/api/json | grep '"failCount":1' | tee -a /home/labex/project/unstable-test-result.txt
You should see:
"result":"UNSTABLE"
"failCount":1
Summary
You created a Jenkins Freestyle job from the dashboard, generated JUnit XML, published it with a post-build action, inspected passing and failing test reports, and configured an email notification recipient for the job.