Introduction
Jenkins' true power lies in its extensibility, which is made possible by its vast ecosystem of plugins. Plugins can add new features, integrate with other tools, and enhance the user interface. Effectively managing these plugins is a critical skill for any Jenkins administrator.
In this lab, you will get hands-on experience with Jenkins administration and the core lifecycle of plugin management using the web interface. To keep the exercise reliable, you will work with plugins that are already present in the lab image instead of downloading new plugins from the internet. You will learn how to:
- Open the Jenkins Plugin Manager.
- Search installed plugins and inspect plugin metadata.
- Check the update center and advanced plugin settings.
- Mark an installed plugin for removal.
A Jenkins instance is already running for you and is ready for plugin management.
Access Jenkins Web Interface
Before managing plugins, you need to access the Jenkins web interface. A Jenkins instance is already running for you.
- Open the Firefox browser from the desktop interface. The browser will automatically open to
http://localhost:8080, so you don't need to manually enter the URL. No login is required.
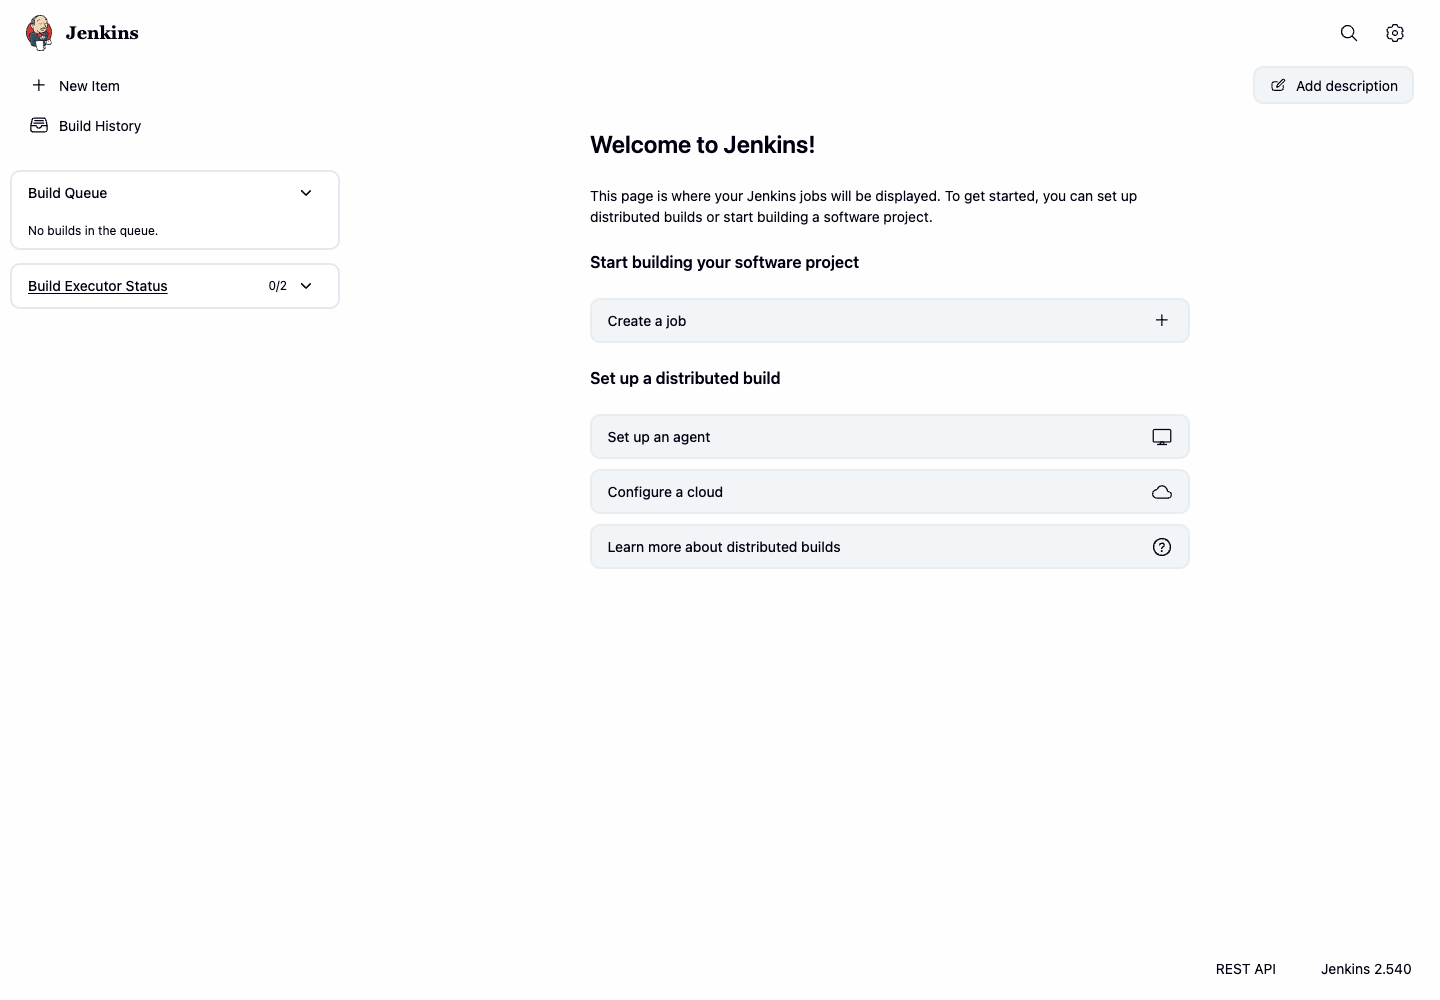
Your Jenkins instance is now ready for plugin management.
Browse Installed Plugins
In this step, you will learn how to use the Plugin Manager to search installed plugins. This is the safest first action when auditing a Jenkins controller because it does not change the system.
First, ensure you have accessed the Jenkins interface.
- From the main Jenkins dashboard, click the gear icon in the top right corner to access the settings panel.
- In the settings panel, click Plugins.

- You will be taken to the Plugin Manager. Click the Installed plugins tab.
- In the search box, type
gitto filter the list. - Confirm that Git plugin appears in the results. Notice the plugin version, health score, enabled status, and uninstall action.
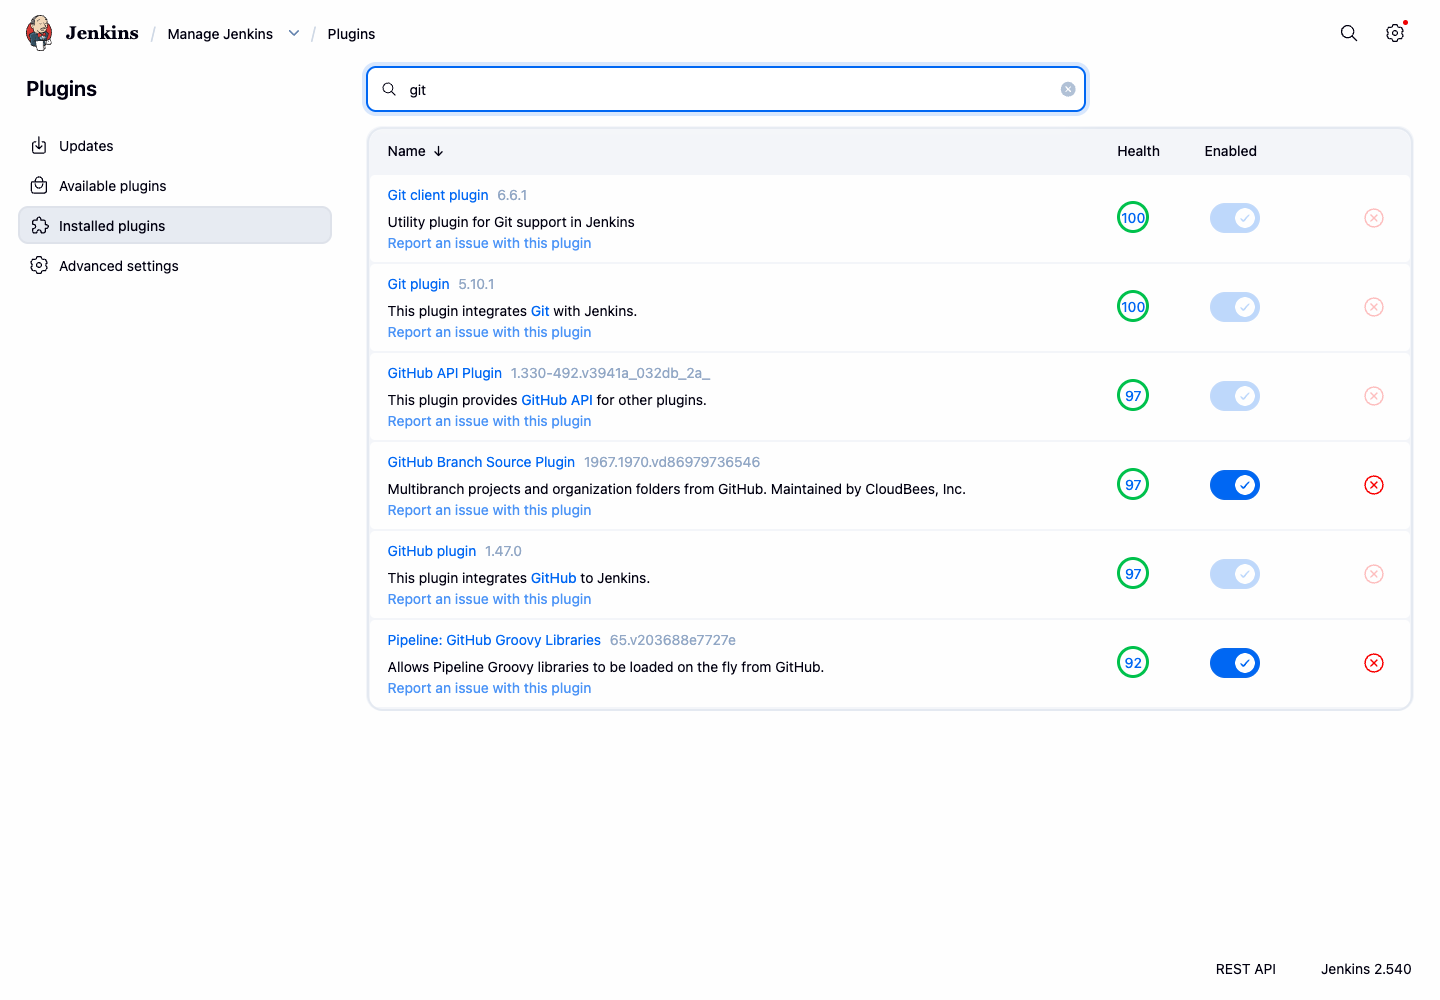
You have now confirmed that Jenkins can list installed plugins and show their current status.
Check Plugin Update Information
Keeping plugins up-to-date is crucial for security, stability, and access to new features. In this step, you will learn where Jenkins shows update information without applying any changes.
Click the gear icon in the top right corner of the Jenkins dashboard to access the Jenkins management panel, then click Plugins to navigate back to the Plugin Manager.
Click the Updates tab. This tab lists installed plugins that have newer versions available in the update center.
Observe the list of plugins. The Jenkins instance in this lab may or may not have pending updates, depending on the current update center metadata.
Click Advanced settings in the left sidebar.
Review the update site URL. Jenkins uses this update site to check plugin metadata.
Do not install or update plugins in this lab. The goal is to understand where update information is shown and where Jenkins stores the update center configuration.
Uninstall a Plugin
In this final step, you will learn how Jenkins marks a plugin for removal. Removing unused plugins helps keep your Jenkins instance clean, secure, and performant. You will uninstall the Ant Plugin, which is available in this lab image and is not required by the earlier steps.
Click the gear icon in the top right corner of the Jenkins dashboard to access the Jenkins management panel, then click Plugins to navigate to the Plugin Manager.
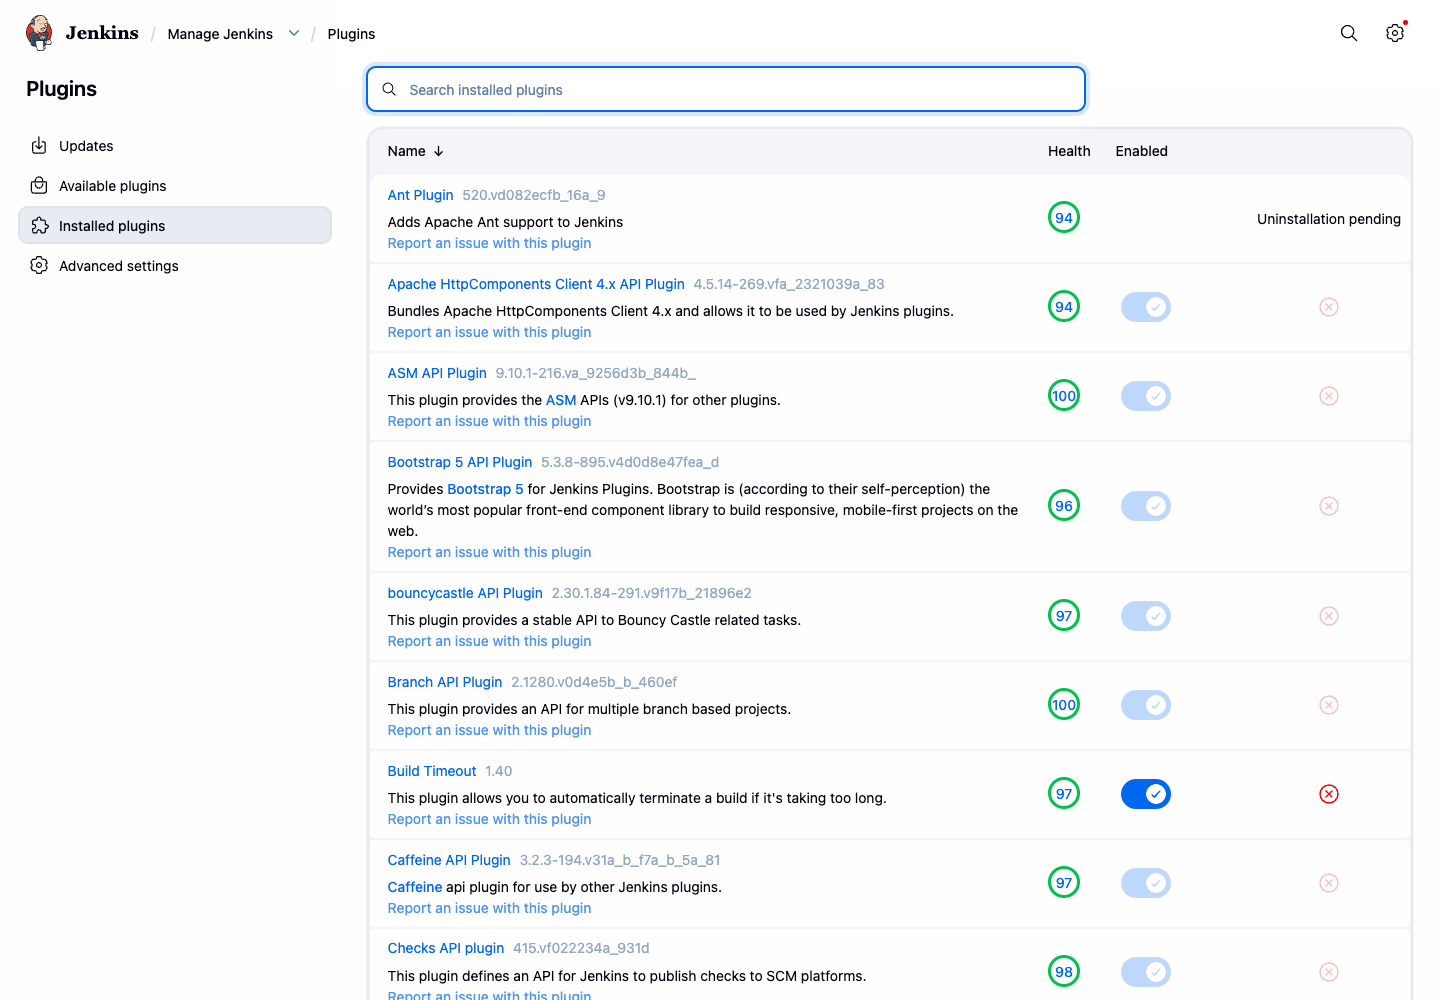
Click on the Installed plugins tab. This tab shows all plugins currently installed on your Jenkins instance.
In the search box, type
antto quickly find the plugin.Find Ant Plugin and click the Uninstall button, which looks like an X icon, on the right side of the plugin's entry.
Jenkins asks for confirmation. Read the message, then click Yes.
After you confirm, Jenkins displays Uninstallation pending for the plugin.
This marks the plugin binary for removal. Jenkins keeps plugin configuration files so administrators can recover settings later if needed.
Summary
Congratulations on completing this lab. You have successfully learned the essential skills for managing plugins in a Jenkins environment using the web interface.
In this lab, you practiced key aspects of Jenkins plugin lifecycle:
- Inspecting: You searched installed plugins and checked plugin metadata.
- Updating: You learned where update information and update center settings are shown.
- Uninstalling: You marked an installed plugin for removal and observed the pending uninstall state.
Mastering these skills is fundamental to tailoring Jenkins to your specific needs and maintaining a healthy, secure, and efficient CI/CD server.