Introduction
Welcome to this lab on configuring basic Freestyle projects in Jenkins. The Freestyle project is a highly flexible and easy-to-use option in Jenkins, suitable for any type of project. It allows you to configure build triggers, build steps, and post-build actions through a web-based graphical interface.
In this lab, you will learn how to:
- Add shell command build steps to a project.
- Schedule builds to run automatically using triggers.
- Archive build artifacts for later use.
- Configure post-build actions like workspace cleanup.
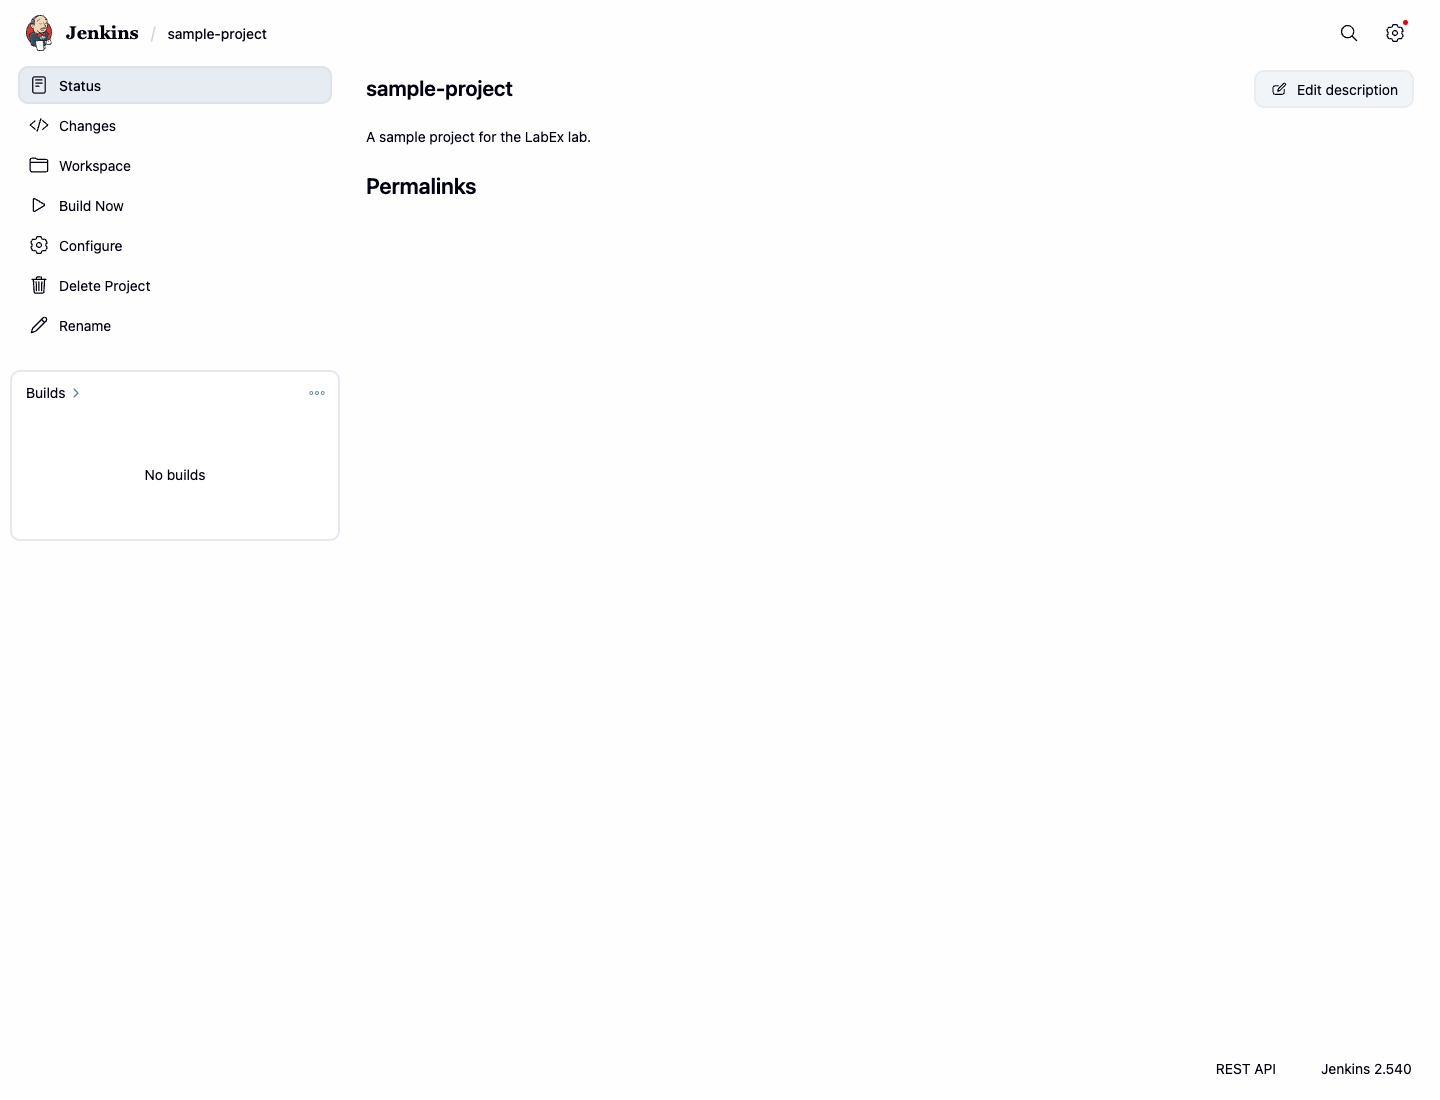
A Jenkins instance is already running, and a basic Freestyle project named sample-project has been created for you. You can access the Jenkins web interface by opening the Firefox browser on the desktop. The browser will automatically open to http://localhost:8080, so you don't need to manually enter the URL. No login is required.
Add a Build Step
In this step, you will add a build step to your Freestyle project. Build steps are the core of a project, defining the actions Jenkins will perform, such as compiling code, running tests, or executing shell scripts.
First, let's navigate to the project configuration page.
- Open the Firefox browser from the desktop interface. The browser will automatically open to
http://localhost:8080, so you don't need to manually enter the URL. No login is required. - On the Jenkins dashboard, you will see the
sample-project. Click on its name to go to the project page. - In the left-hand menu, click on Configure.
Now, you are on the project's configuration page. Let's add a build step.
- Scroll down to the Build Steps section.
- Click the Add build step dropdown button and select Execute shell.
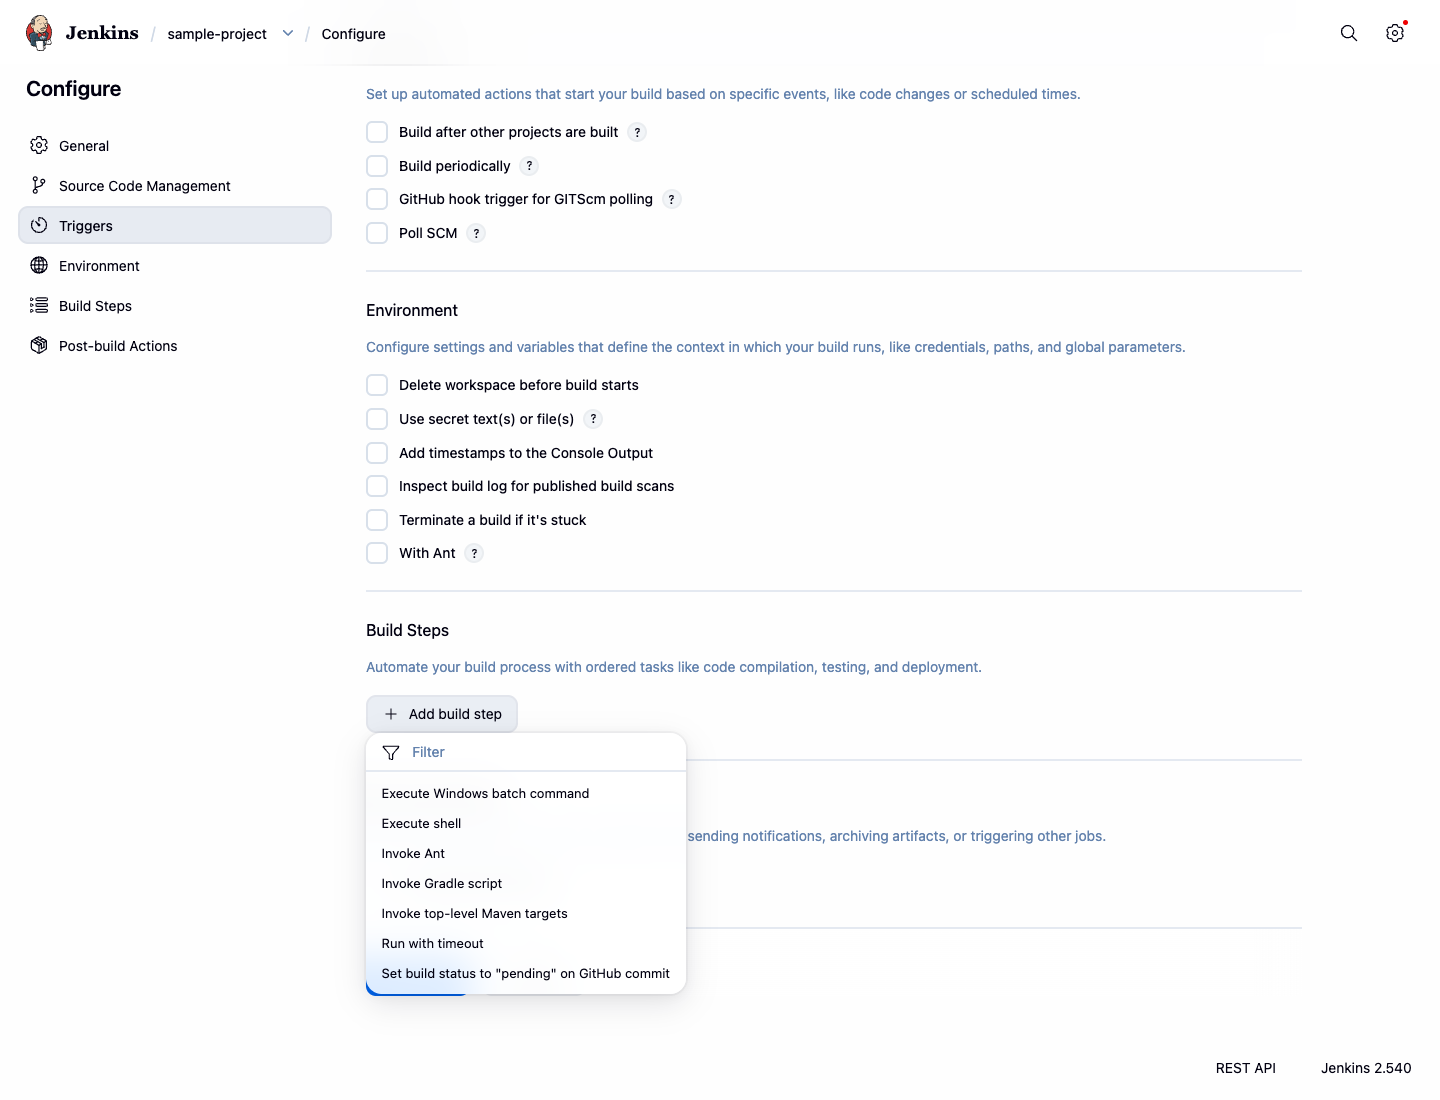
- A text box will appear. Enter the following commands into the Command box:
echo "Building the project..."
date
echo "Build complete."
- Click the Save button at the bottom of the page.
You have now configured a build step. Let's run the build to see it in action.
- On the project page, click Build Now in the left-hand menu.
- A new build will appear in the Build History section. Click on the build number (e.g.,
#1). - In the left-hand menu for that build, click on Console Output.
You will see the output of the shell commands you added, confirming that your build step was executed successfully.
Started by user admin
Running as SYSTEM
Building in workspace /var/jenkins_home/workspace/sample-project
[sample-project] $ /bin/sh -xe /tmp/jenkins12345.sh
+ echo 'Building the project...'
Building the project...
+ date
Tue Jan 1 12:00:00 UTC 2024
+ echo 'Build complete.'
Build complete.
Finished: SUCCESS
Schedule Builds with Triggers
In this step, you will learn how to schedule builds automatically using build triggers. This is a fundamental feature for continuous integration, allowing you to run builds periodically.
- Navigate back to the
sample-projectconfiguration page (Project Page > Configure). - Find the Triggers section.
- Check the box next to Build periodically.
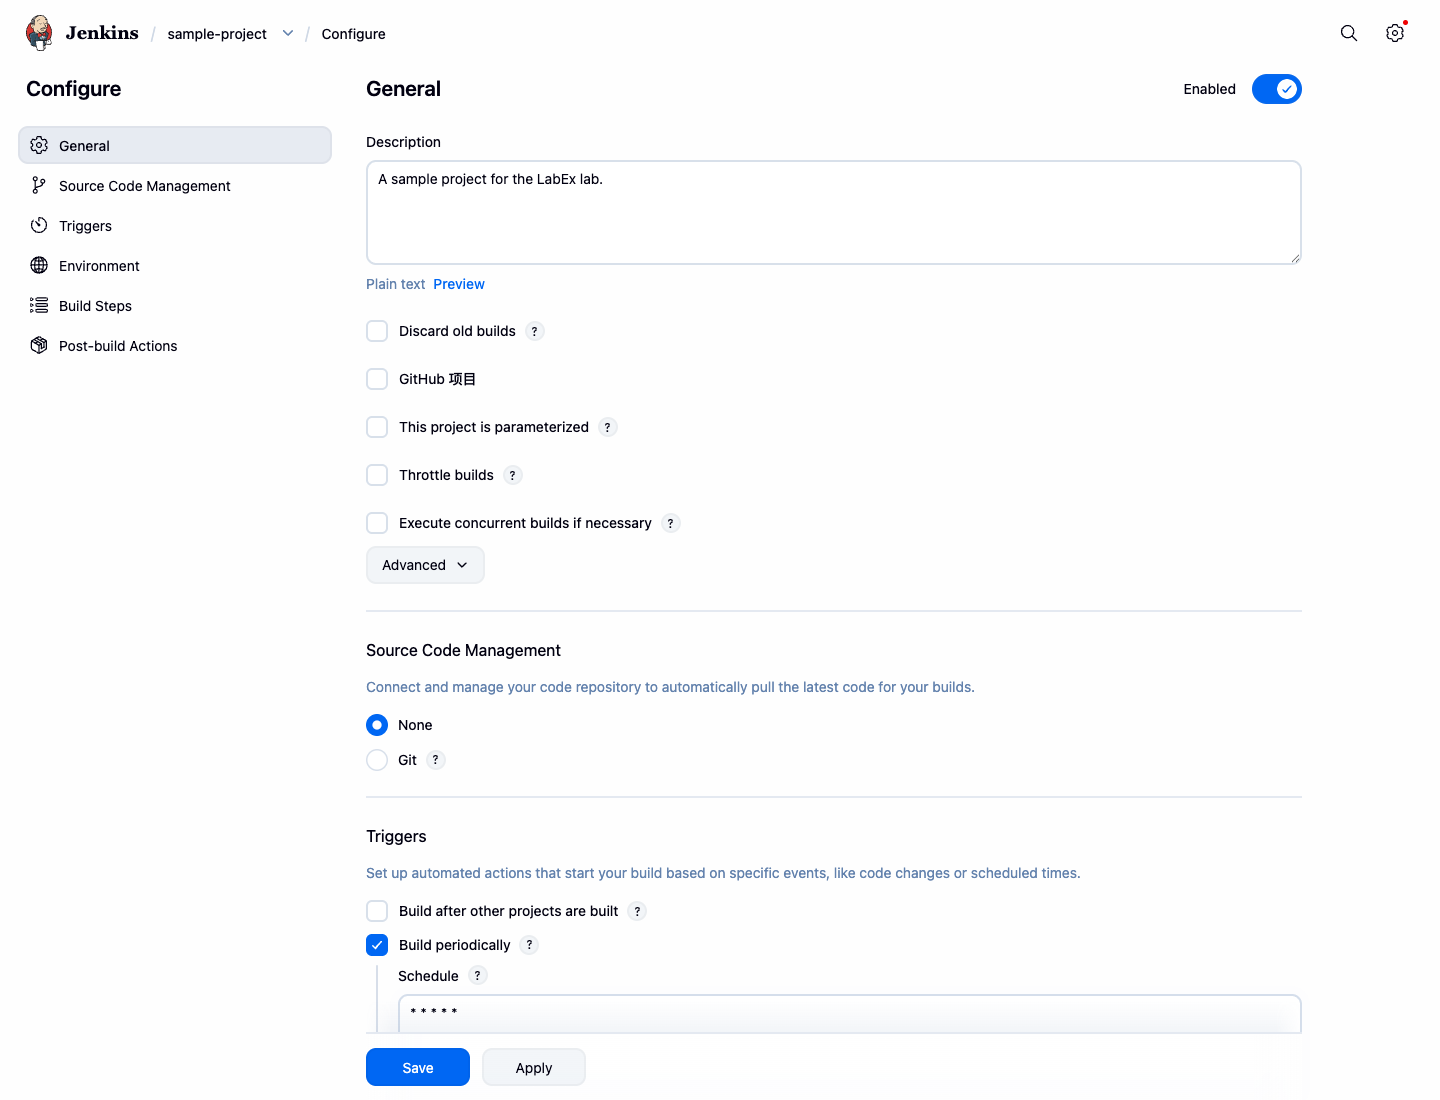
- A Schedule text area will appear. This field uses cron syntax to define the schedule. The syntax consists of 5 fields separated by spaces:
MINUTE HOUR DAYOFMONTH MONTH DAYOFWEEK. - To run the build approximately every minute, enter the following into the Schedule field:
* * * * *
This cron expression means "run every minute". While Jenkins supports the H symbol for load distribution, H/1 * * * * actually runs once per hour, not every minute. For truly running every minute, use * * * * *.
- Click Save.
Jenkins will now automatically trigger a new build for sample-project about once every minute. You can observe this by watching the Build History on the project's page.
Archive Build Artifacts
In this step, you will learn how to archive build artifacts. Artifacts are the output files produced by a build, such as compiled binaries or reports. Archiving them makes them available for download after the build is complete.
First, we need to modify our build step to create a file that we can archive.
- Navigate to the
sample-projectconfiguration page. - Scroll to the Build Steps section and find your Execute shell command box.
- Add a new line to the script to create a file named
build-info.txt. The$BUILD_NUMBERis an environment variable provided by Jenkins that holds the current build number.
echo "Building the project..."
date
echo "Build complete."
echo "This artifact is from build #$BUILD_NUMBER" > build-info.txt
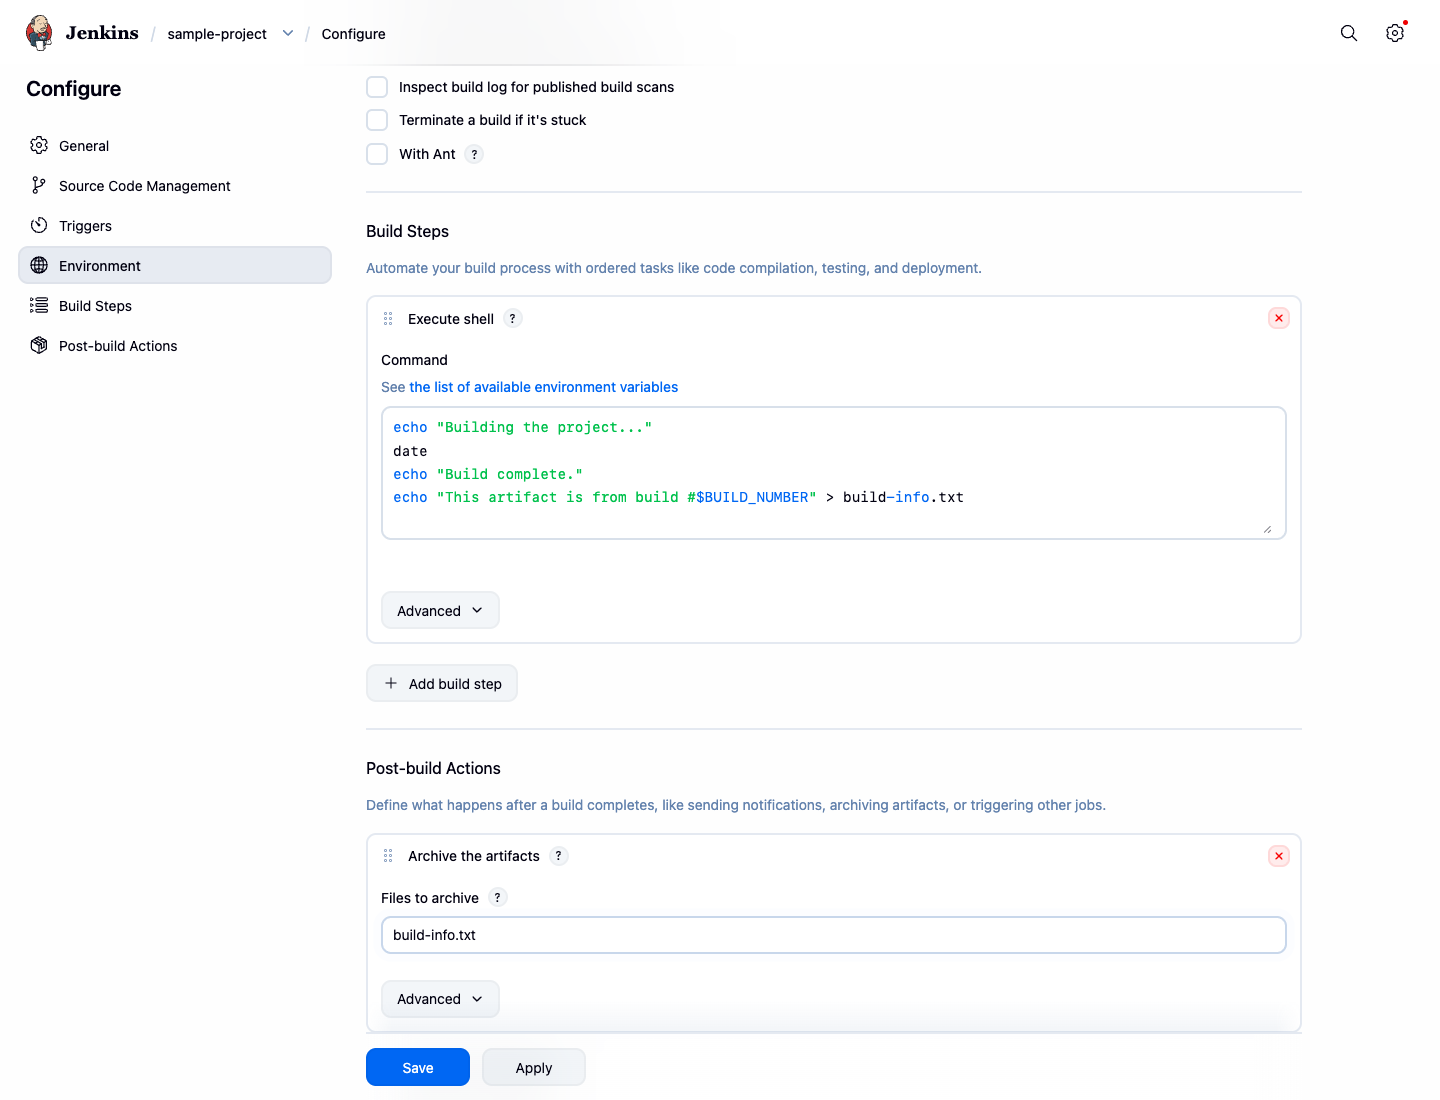
Next, let's configure a post-build action to archive this file.
- Scroll down to the Post-build Actions section.
- Click the Add post-build action dropdown and select Archive the artifacts.
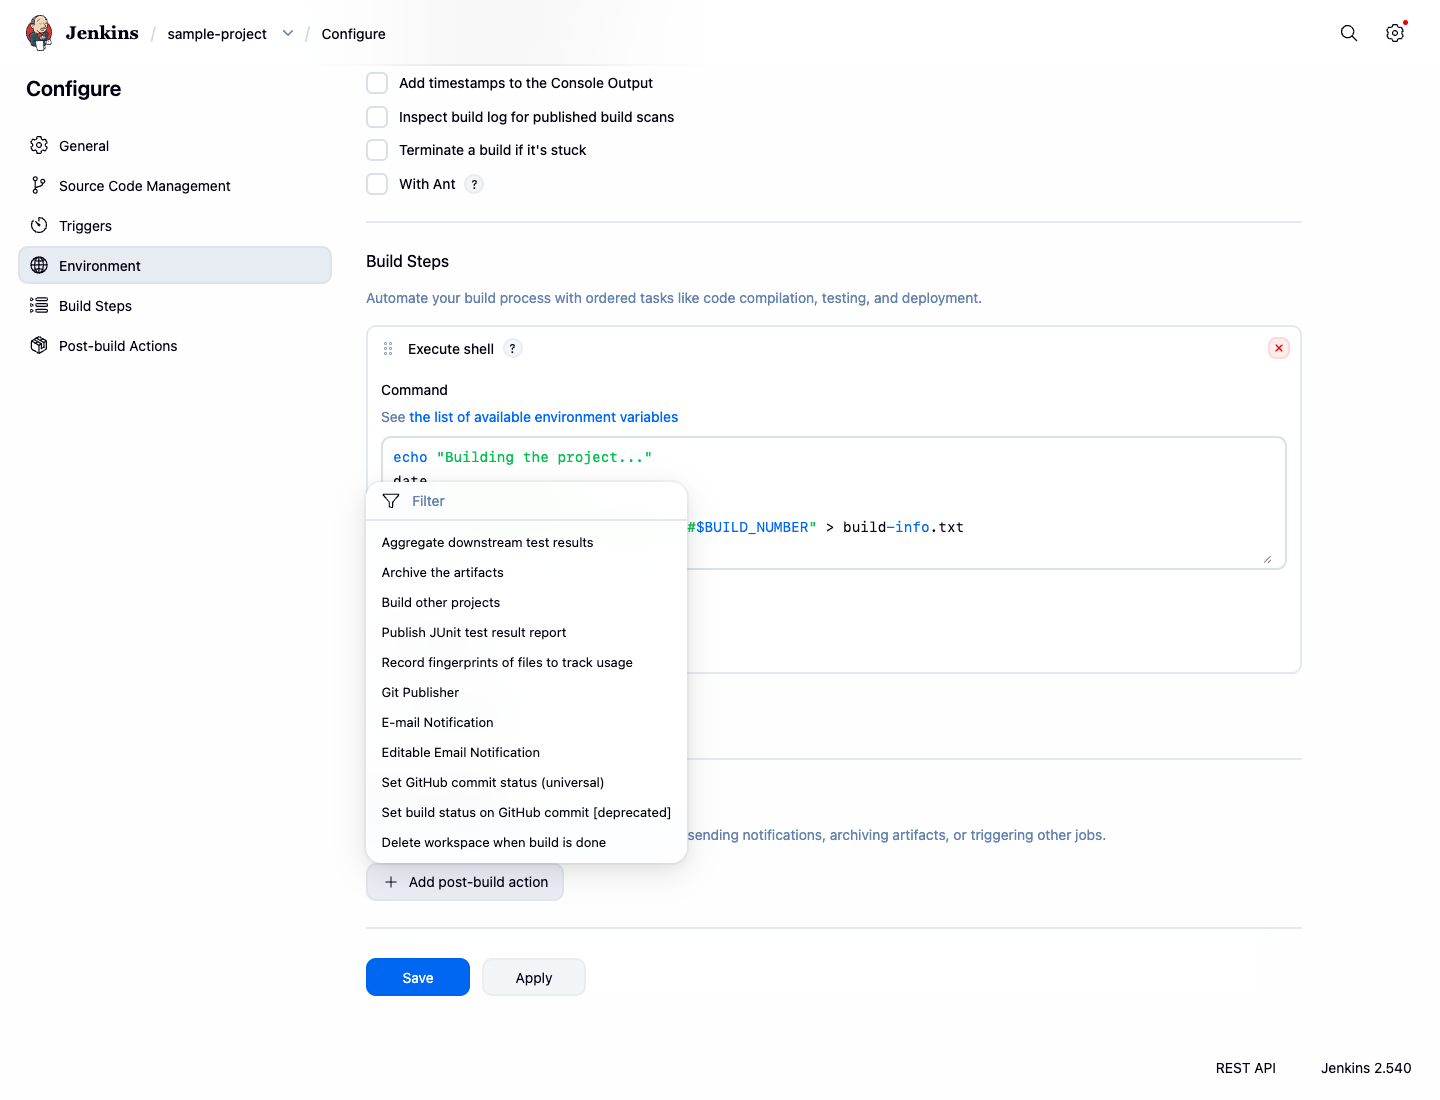
- In the Files to archive field, enter the name of the file you want to archive:
build-info.txt. You can also use wildcards like**/*.jarto archive multiple files. - Click Save.
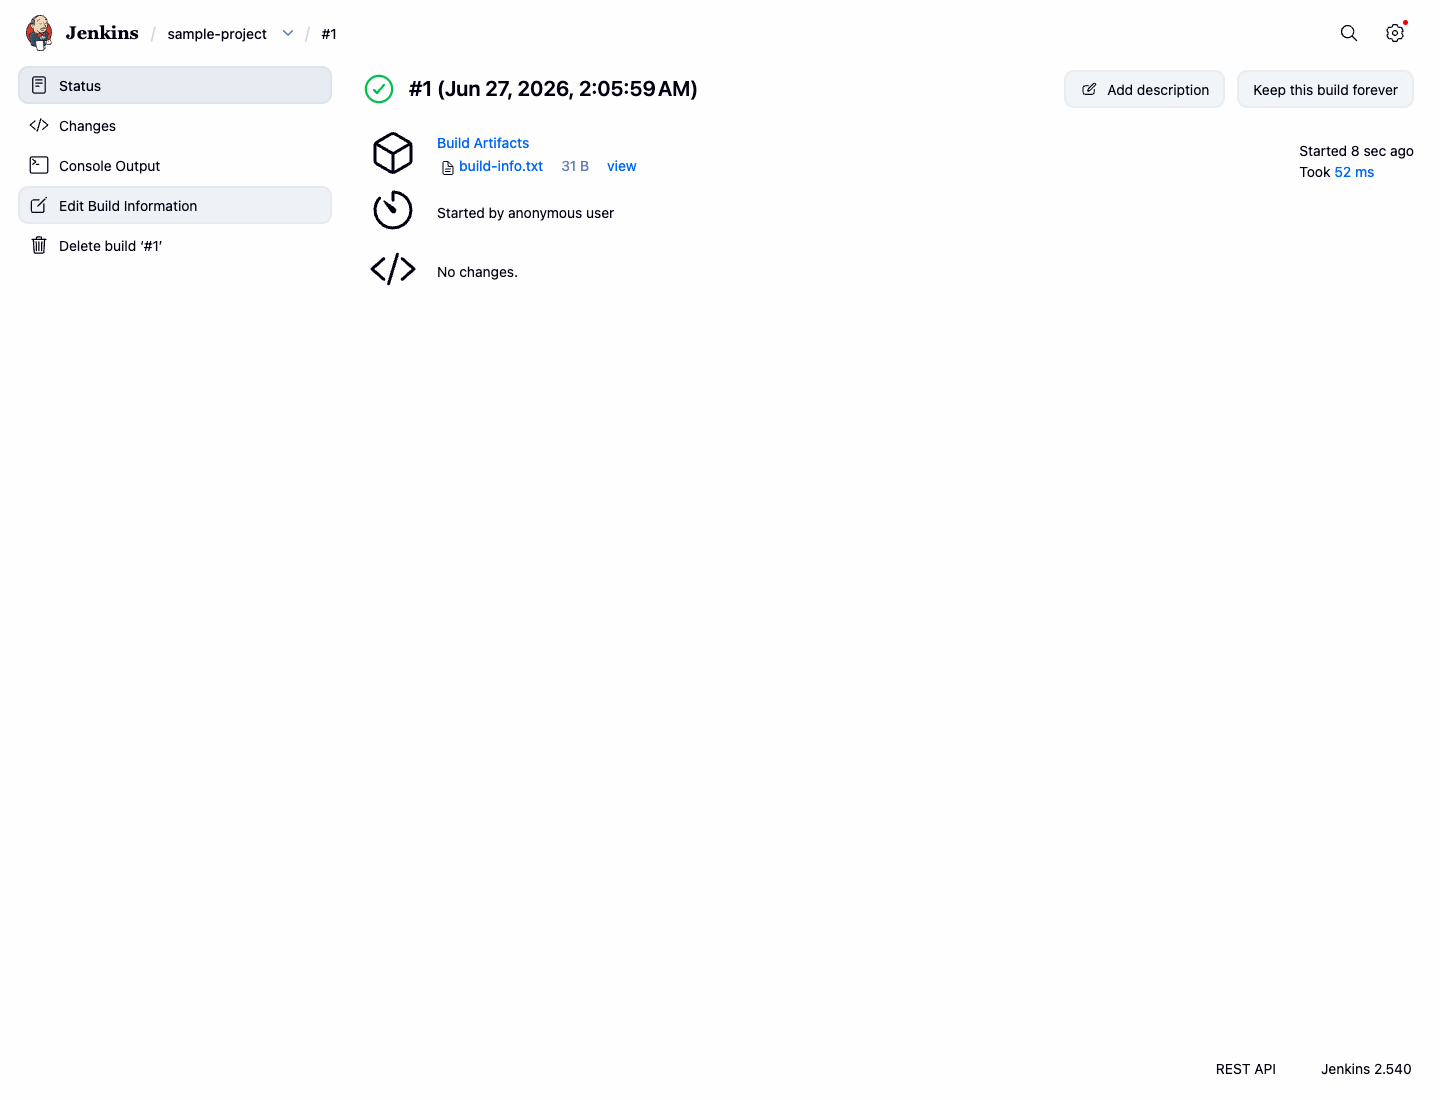
Now, run a new build by clicking Build Now. Once the build is complete:
- Click on the latest build number in the Build History.
- On the build's status page, you will see a section called Build Artifacts with a link to
build-info.txt. You can click it to view or download the file.
Configure Workspace Cleanup
In this final configuration step, you will add a post-build action to clean up the workspace. This is a good practice to save disk space and ensure that each build starts in a clean environment, preventing interference from files generated in previous builds.
- Go to the
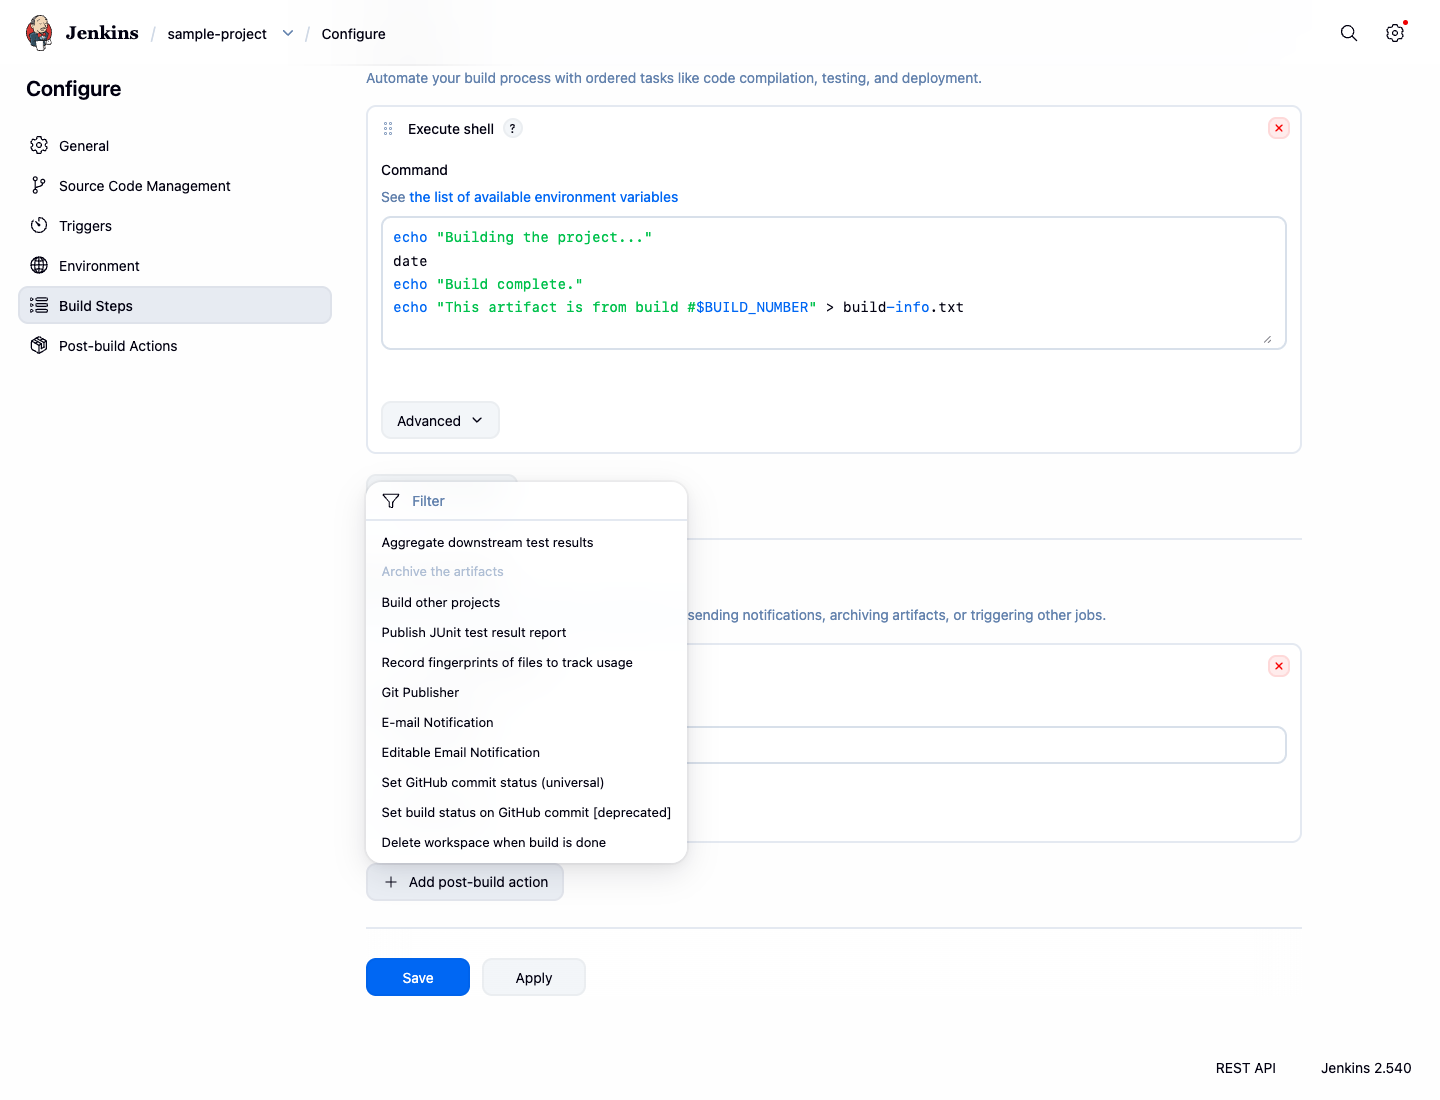
sample-projectconfiguration page. - Scroll down to the Post-build Actions section.
- Click the Add post-build action dropdown and select Delete workspace when build is done.
- Click Save.
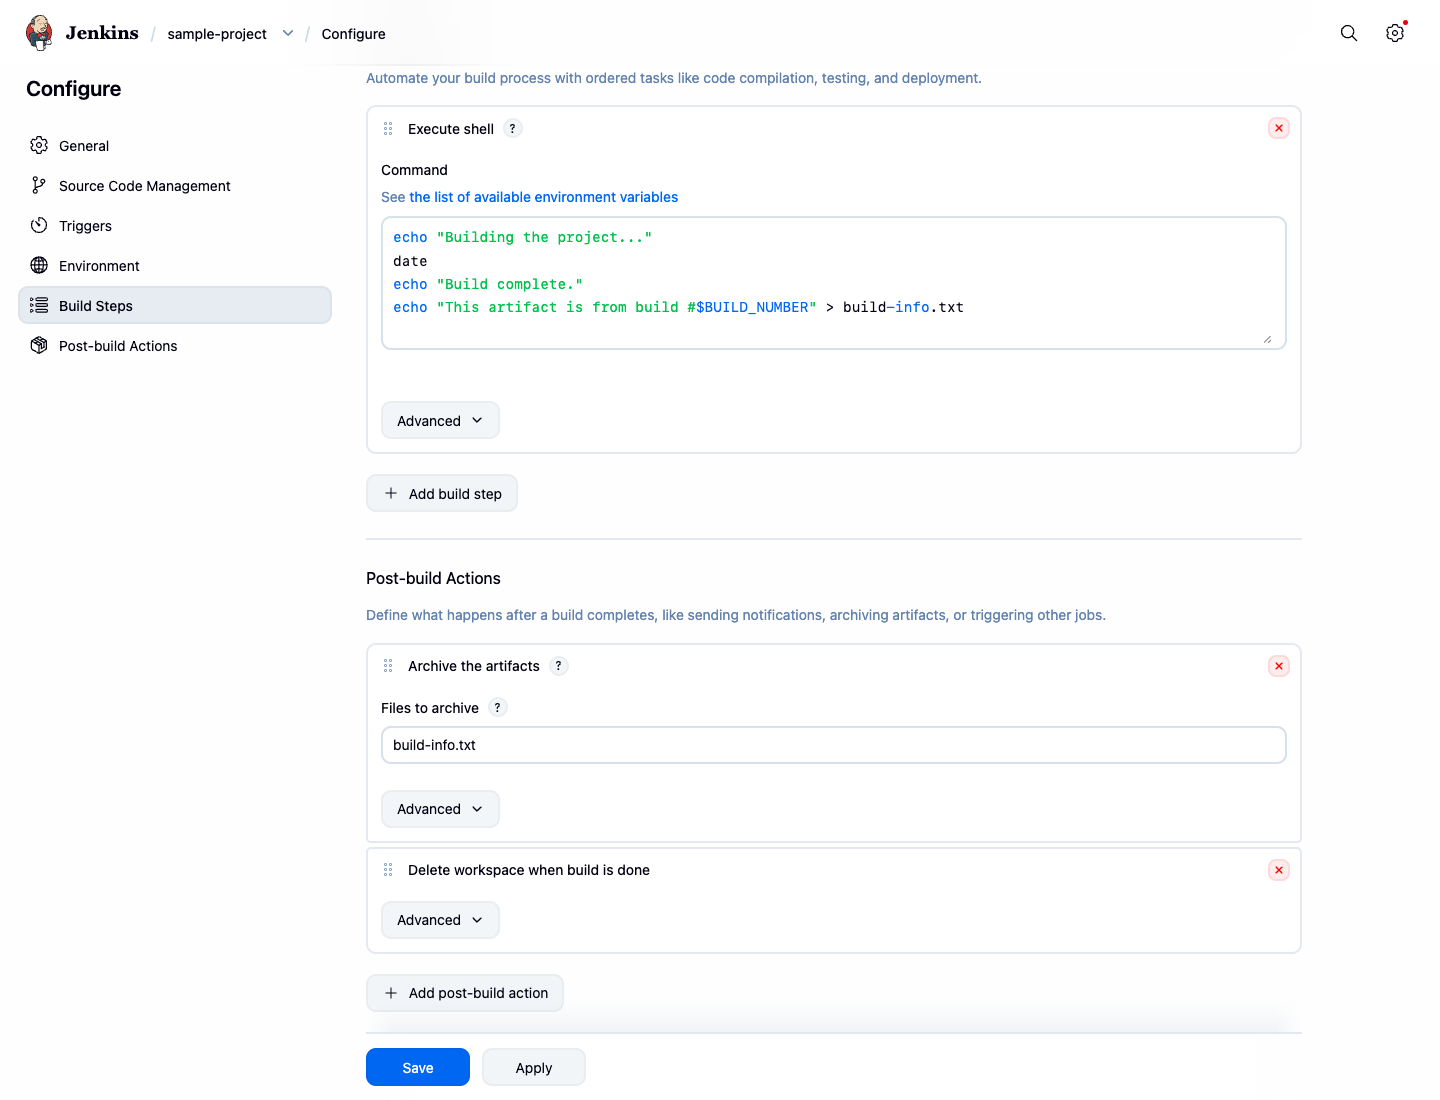
Now, after each build of sample-project completes, Jenkins will delete all files in the workspace directory. Note that archived artifacts are stored separately and are not affected by the workspace cleanup. This ensures your build artifacts remain available while keeping the build environment clean for the next run.
Summary
Congratulations on completing this lab. You have successfully learned the fundamentals of configuring a Jenkins Freestyle project.
In this lab, you practiced:
- Adding an Execute shell command as a build step.
- Setting up a Build Trigger to schedule builds periodically using cron syntax.
- Creating and archiving build artifacts.
- Configuring a Post-build Action to delete the workspace after a build.
These are essential skills for automating your build, test, and deployment processes with Jenkins. You can now apply these concepts to create and manage your own CI/CD pipelines.