
Introduction
In this project, you will learn how to create an interactive jigsaw puzzle game using JavaScript. The game involves rearranging the puzzle pieces to reconstruct the complete image, providing an engaging and challenging experience for the players.
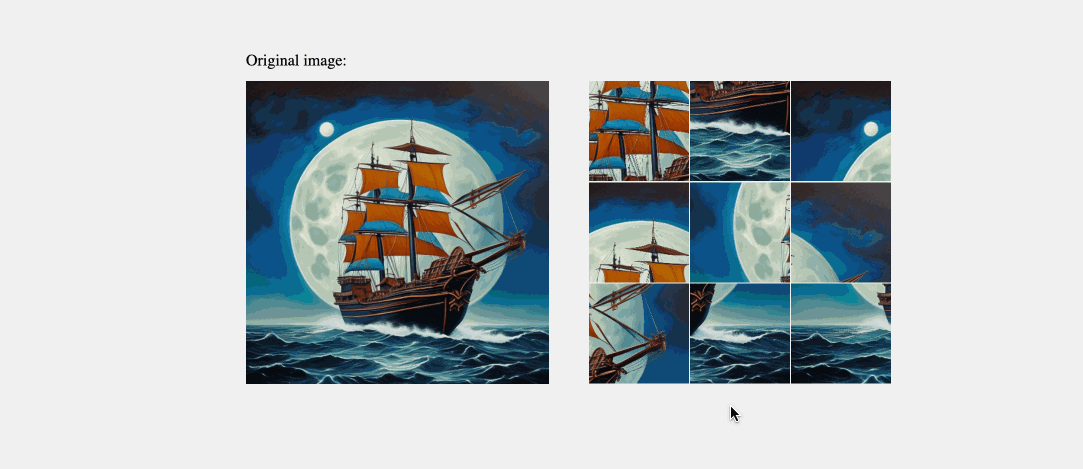
👀 Preview
🎯 Tasks
In this project, you will learn:
- How to set up the project environment and understand the file structure.
- How to implement the drag and drop functionality for the puzzle pieces.
- How to check for the completion of the puzzle and display a success message accordingly.
- How to test the completed project and ensure the correct functionality of the game.
🏆 Achievements
After completing this project, you will be able to:
- Create an interactive game using JavaScript.
- Understand the principles of drag and drop functionality in web development.
- Implement logic to check for the completion of a task and provide feedback to the user.
- Gain experience in working with the Document Object Model (DOM) and manipulating HTML elements.
Set Up the Project Environment
In this step, you will set up the project environment and understand the file structure.
Open the experiment environment and navigate to the project directory
/home/labex/project.The directory structure is as follows:
├── css ├── images ├── index.html └── js └── index.jsimagesis the project image folder.cssis the project style folder.index.htmlis the main page.js/index.jsis the JavaScript file where you need to add the code.
Click on the Go Live button in the bottom right corner of WebIDE to run the project.
Open "Web 8080" on the top of the VM and manually refresh it to see the page.
Implement the Drag and Drop Functionality
In this step, you will implement the drag and drop functionality for the puzzle pieces.
In the
js/index.jsfile, locate thedropfunction.Inside the
dropfunction, add the following code to swap the images of the dragged puzzle piece and the target puzzle piece:// Check if the dragged puzzle piece is not the current target puzzle piece if (draggedPiece !== this) { // TODO // Save the current state of the dragged and target puzzle pieces let saveArr = [ [draggedPiece.children[0].src, draggedPiece.children[0].dataset.id], [this.children[0].src, this.children[0].dataset.id] ]; // Swap the src and data-id attributes of the images draggedPiece.children[0].src = saveArr[1][0]; draggedPiece.children[0].dataset.id = saveArr[1][1]; this.children[0].src = saveArr[0][0]; this.children[0].dataset.id = saveArr[0][1]; } // Reset the puzzle piece being dragged draggedPiece = null;This code first checks if the dragged puzzle piece is not the current target puzzle piece. If so, it saves the current state of the dragged and target puzzle pieces, then swaps the
srcanddata-idattributes of the images.
Check for Puzzle Completion
In this step, you will implement the logic to check if the puzzle is successfully completed and show or hide the success message accordingly.
In the
js/index.jsfile, locate thedropfunction.In the
dropfunction, after the code you added in the previous step, add the following code:if (draggedPiece !== this) { // TODO // ... // Get the data-id values of all the images in the puzzle container let imgDataIdList = [...container.getElementsByTagName("img")].map( (item) => item.dataset.id ); // Check if the puzzle is completed if (imgDataIdList.join(",") === "1,2,3,4,5,6,7,8,9") { // Show the success message successMessage.classList.remove("hide"); successMessage.classList.add("show"); } else { // Hide the success message successMessage.classList.remove("show"); successMessage.classList.add("hide"); } }This code first gets the
data-idvalues of all the images in the puzzle container and checks if they are in the correct order (1 to 9). If so, it shows the success message by removing thehideclass and adding theshowclass to the success message element. Otherwise, it hides the success message by removing theshowclass and adding thehideclass.
Test the Completed Project
- Refresh the page to see the initial state of the puzzle.
- Try dragging and dropping the puzzle pieces to rearrange them.
- Observe the success message appearing or disappearing based on the completion of the puzzle.
- Ensure that the puzzle pieces are correctly swapped, and the
srcanddata-idattributes of the images are updated accordingly.
The effect after completion is as follows:
Congratulations! You have successfully implemented the jigsaw puzzle game using the provided code. Feel free to explore the project further and experiment with additional features or enhancements.
Summary
Congratulations! You have completed this project. You can practice more labs in LabEx to improve your skills.


