
Introduction
In this project, you will learn how to create a user business card with HTML and CSS. The goal is to create a visually appealing and well-structured business card that can be used to showcase a user's information.
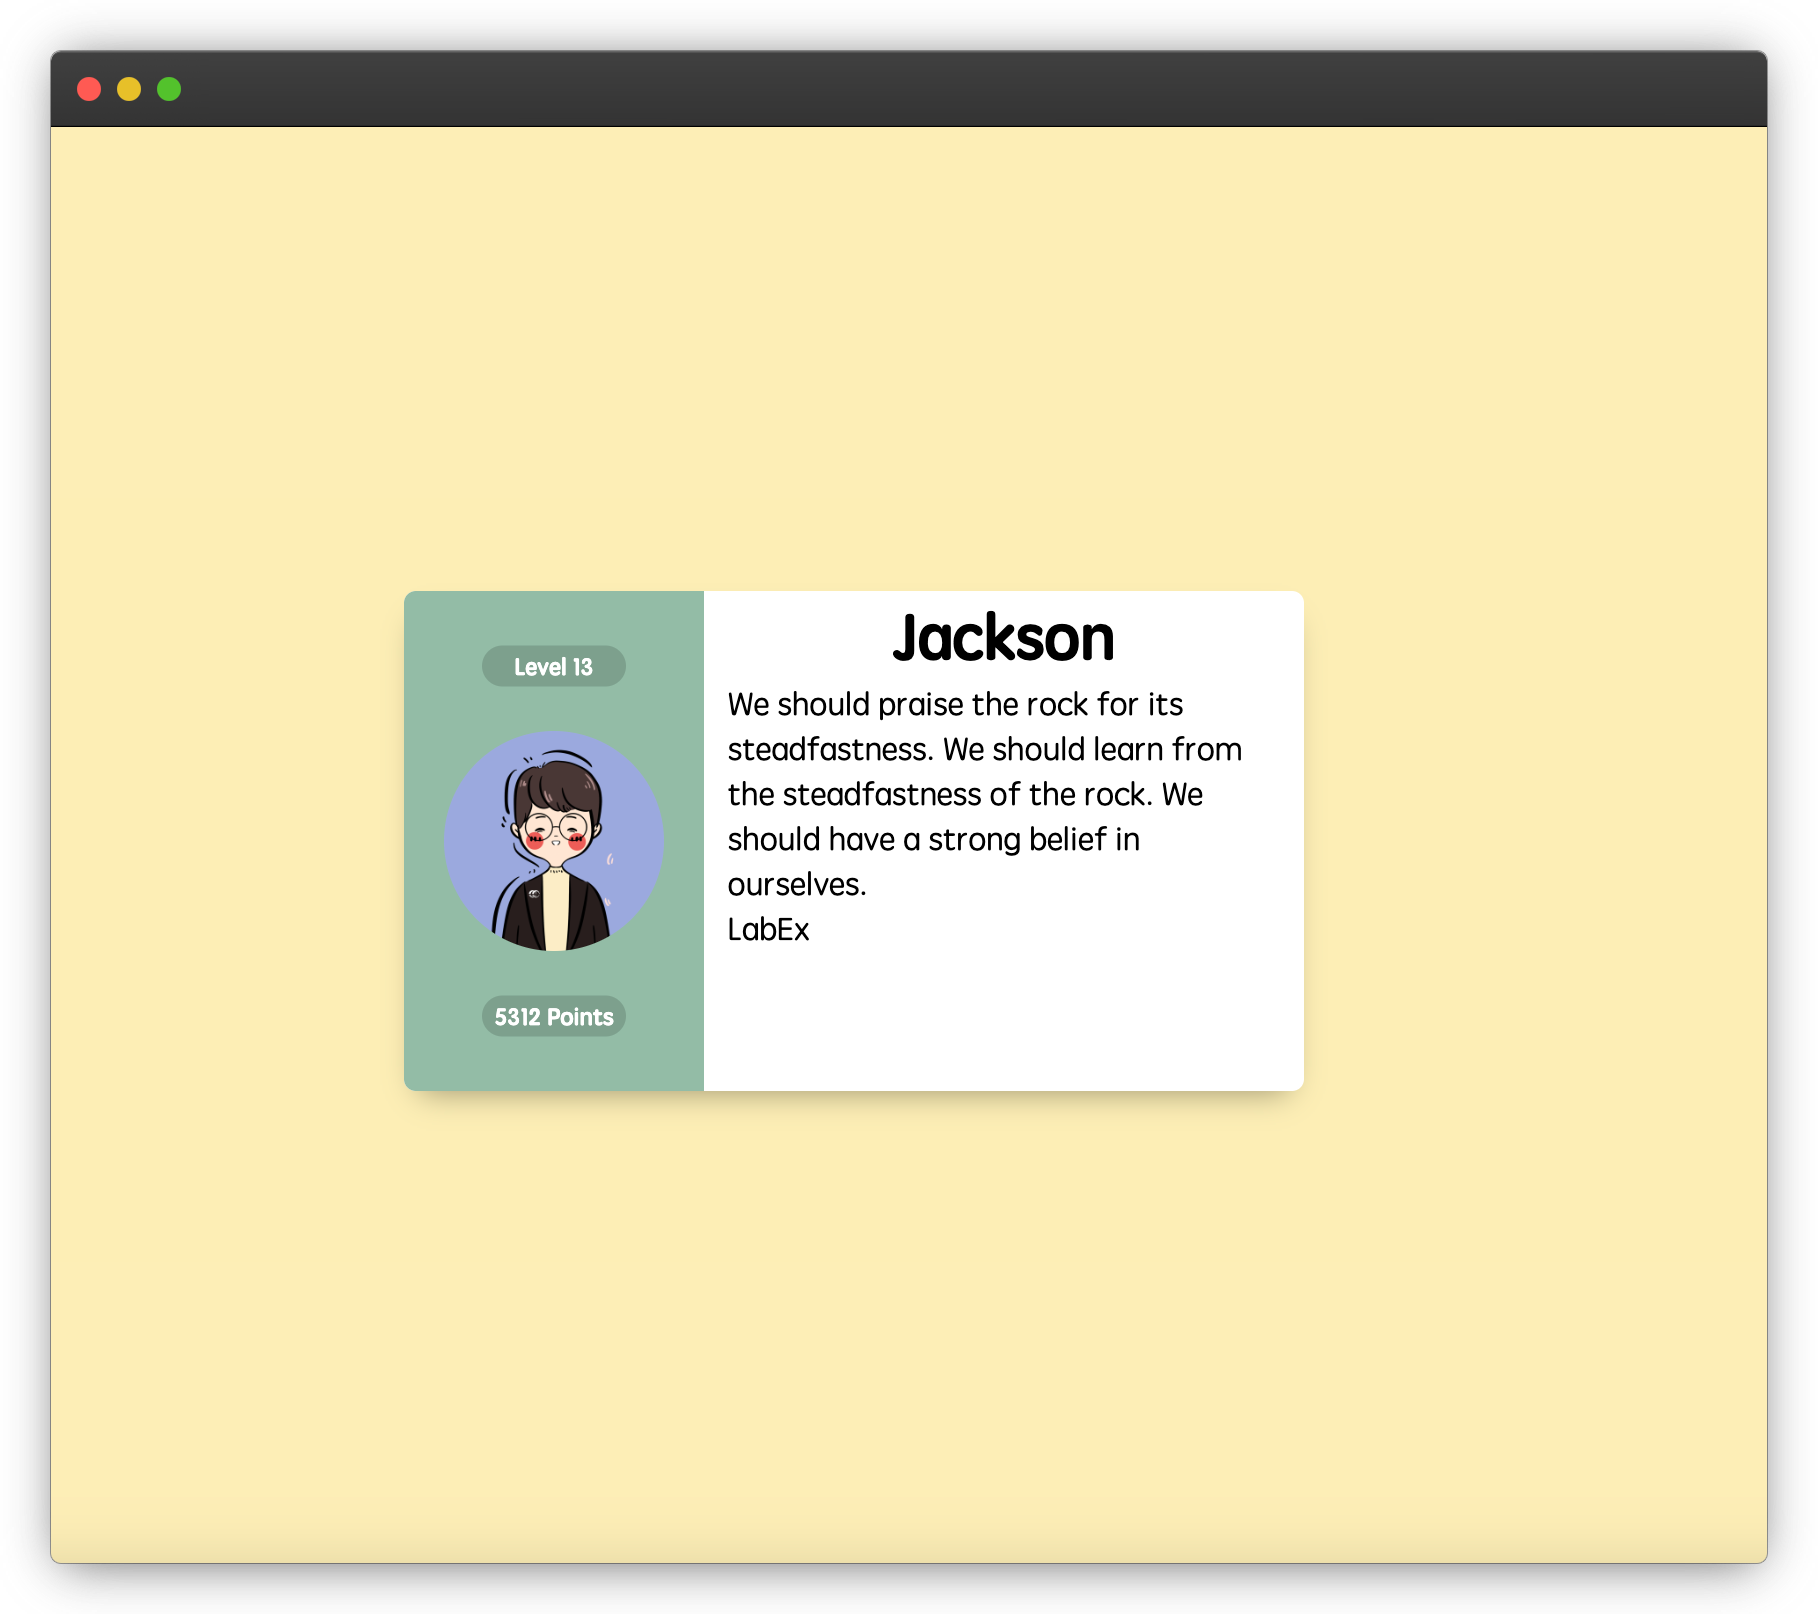
👀 Preview
🎯 Tasks
In this project, you will learn:
- How to set up the project and open the necessary files
- How to center the card and user avatar elements using CSS
- How to horizontally center the left text elements (level and points)
🏆 Achievements
After completing this project, you will be able to:
- Structure an HTML page for a business card
- Use CSS to style and position elements on the page
- Apply techniques for centering elements both horizontally and vertically
Set Up the Project
In this step, you will set up the project and open the files in the editor.
Open the project folder, which contains the following files and directories:
├── avatar.png
├── style.css
└── index.html
Here:
index.htmlis the main page.style.cssis the file where you need to add the required styles.
Click on Go Live button in the bottom right corner of WebIDE, to run the project.
Next, open "Web 8080" on the top of the VM and refresh it manually and you will see the page.
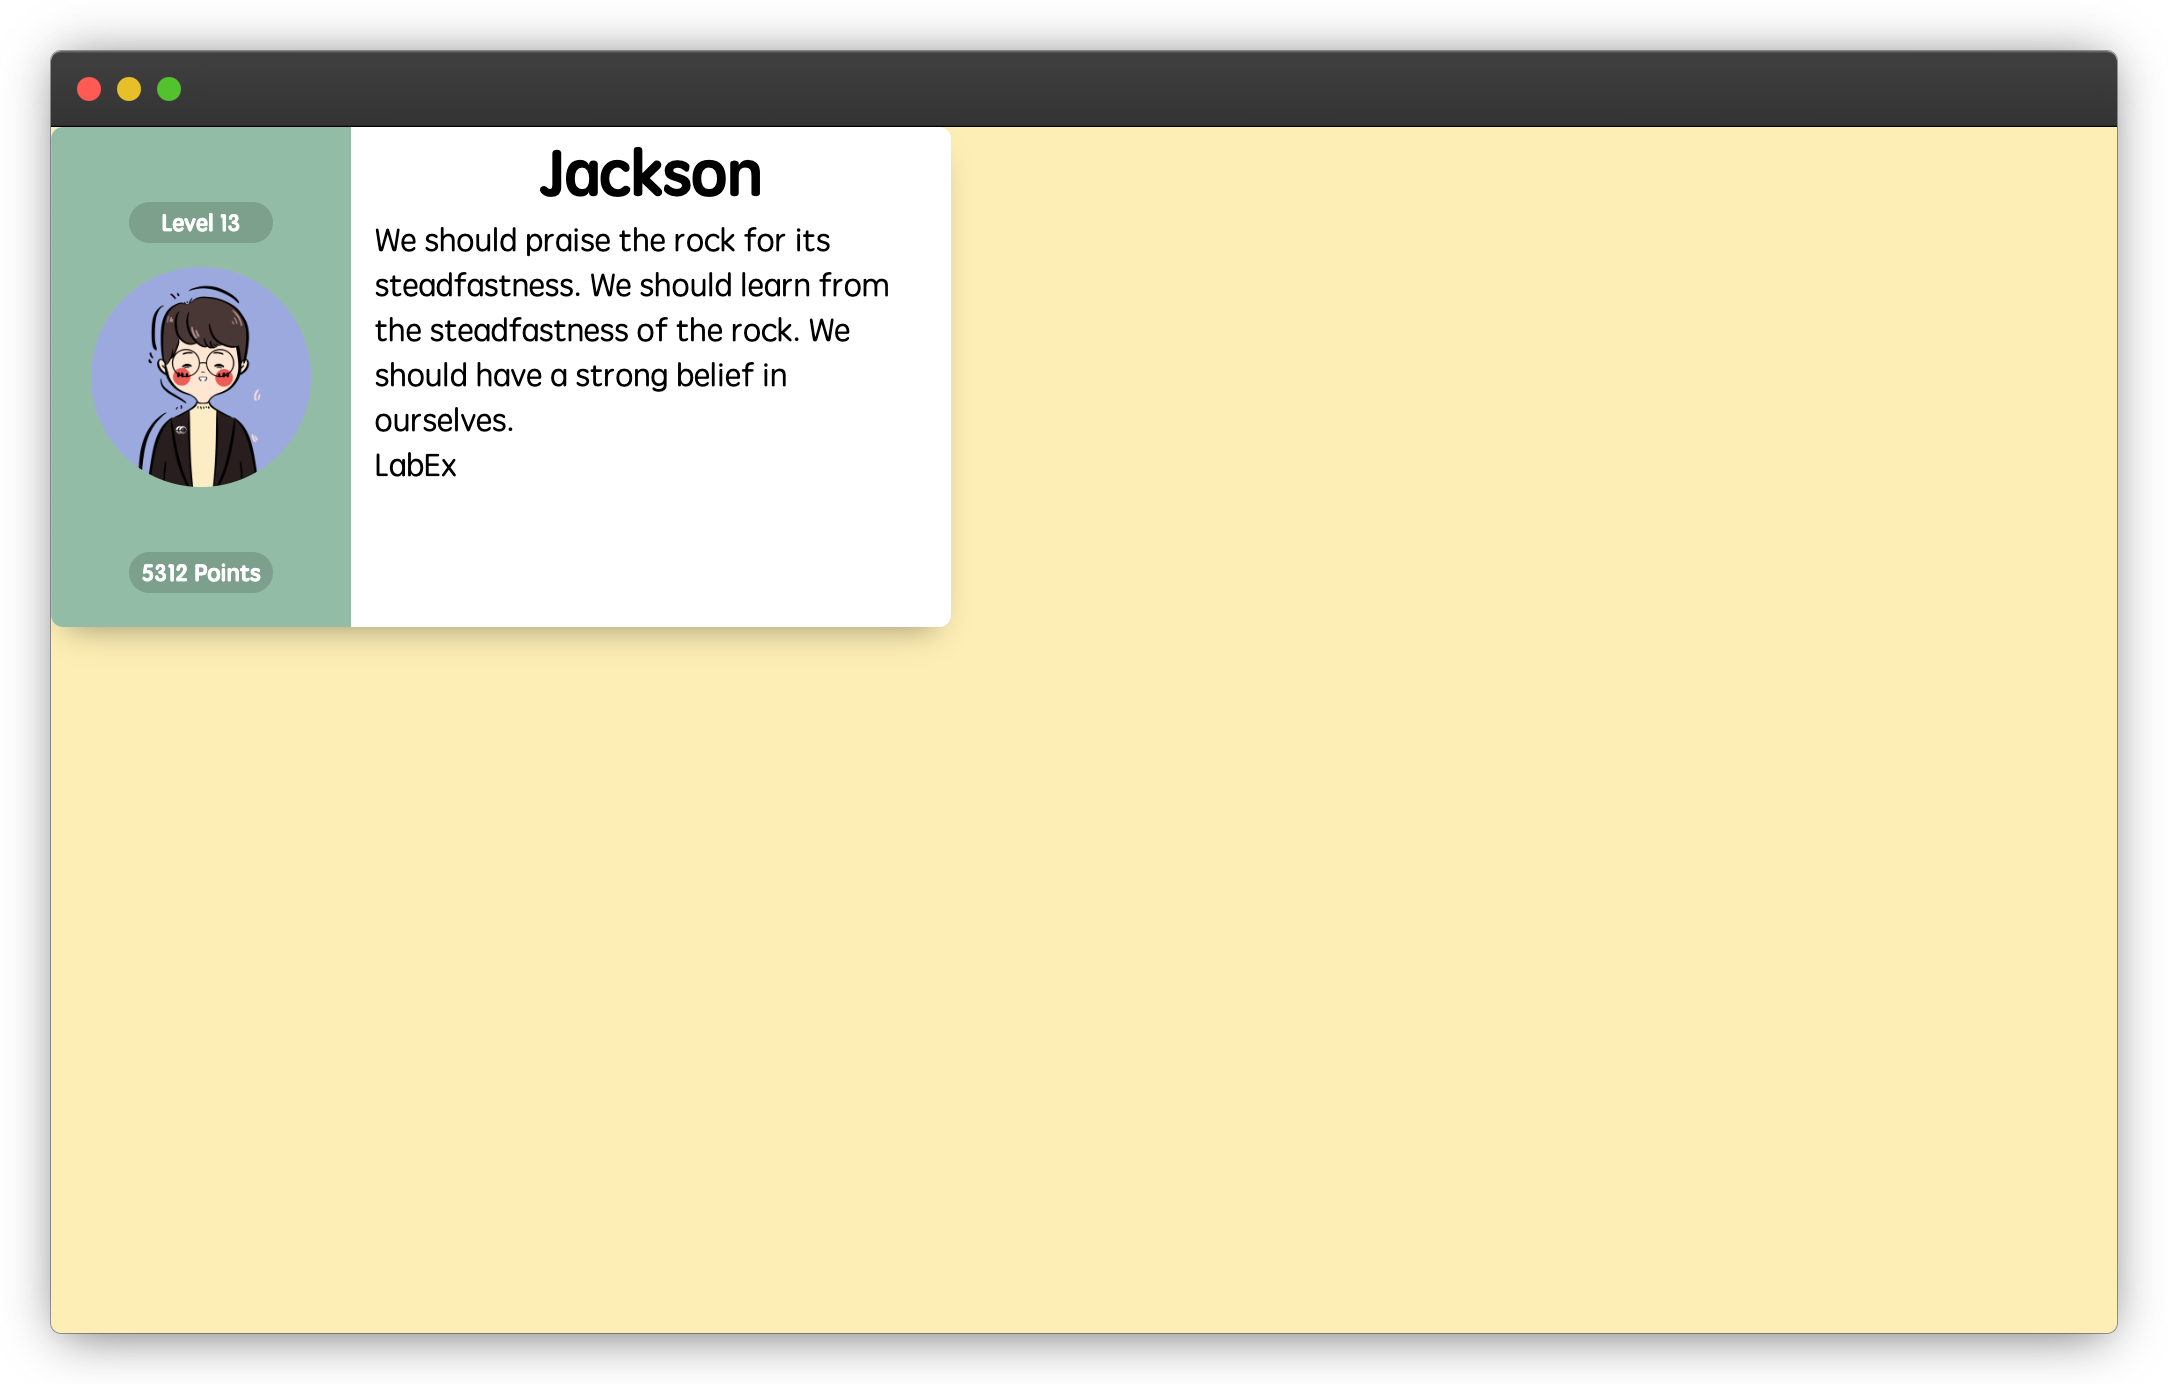
Center the Card and Avatar
In this step, you will complete the TODO section in style.css to center the card and user avatar elements.
- Locate the TODO section in the
style.cssfile. - Add the necessary CSS rules to horizontally and vertically center the card (
class = card) and user avatar (class = avatar) elements.
.center {
  position: absolute;
  top: 50%;
  left: 50%;
  transform: translate(-50%, -50%);
}
- Save the changes to the
style.cssfile. - Refresh the browser to see the finished result, the finished result is as follows:
Congratulations! You have successfully completed the User Business Cards project.
Summary
Congratulations! You have completed this project. You can practice more labs in LabEx to improve your skills.


