はじめに
HTML パーソナルウェブページプロジェクトへようこそ!この実験(Lab)では、ウェブの基本的な構成要素である HTML を使用して、ゼロから完全なシングルページウェブサイトを構築します。この実践的なプロジェクトは初心者向けに設計されており、構造化され、コンテンツが豊富なウェブページを作成するために必要な基本的なタグと概念をガイドします。
以下のことを学びます:
- HTML ドキュメントの基本的な構造を定義する。
- 見出しと段落を使用してテキストをフォーマットする。
- リストを使用して情報を整理する。
- 画像を埋め込み、ハイパーリンクを作成する。
- テーブルを使用してデータを構造化し、簡単な連絡フォームを作成する。
ウェブサーバーと基本的なスタイリング(CSS)は事前に設定されています。あなたの主な焦点は、クリーンでセマンティックな HTML を書くことです。実験環境のWeb 8080タブに切り替えることで、リアルタイムで作業内容を確認できます。始めましょう!
head と body でドキュメント構造を設定する
このステップでは、HTML ドキュメントの基本的な構造を設定します。すべての HTML ページには、<!DOCTYPE>、<html>、<head>、<body> タグを含む標準的なボイラープレート構造があります。
<!DOCTYPE html>: この宣言は、ドキュメントタイプが HTML5 であることを定義します。<html>: これは HTML ページのルート要素です。<head>: この要素には、ページのタイトルやスタイルシートへのリンクなど、ドキュメントに関するメタ情報が含まれます。<head>内のコンテンツは、ページ自体には表示されません。<title>: これはブラウザタブのタイトルを設定します。<body>: この要素には、ブラウザに表示される表示可能なページコンテンツが含まれます。
まず、左側のファイルエクスプローラーを使用して、~/project ディレクトリにある index.html ファイルを開きます。ファイルは現在空です。以下のコードをコピーして index.html に貼り付けてください。
<!DOCTYPE html>
<html lang="en">
  <head>
    <meta charset="UTF-8" />
    <meta name="viewport" content="width=device-width, initial-scale=1.0" />
    <title>My Personal Webpage</title>
    <link rel="stylesheet" href="css/style.css" />
  </head>
  <body>
    <div class="container">
      <!-- Content will go here in the next steps -->
    </div>
  </body>
</html>
コードを貼り付けた後、ファイルを保存します(Ctrl+S または Cmd+S)。次に、ラボインターフェースの上部にある Web 8080 タブをクリックします。空白のページが表示されますが、ブラウザタブのタイトルが「My Personal Webpage」になっていることに注意してください。
見出しと段落を使用してフォーマットされたテキストを追加する
このステップでは、見出しと段落を使用して、ウェブページに最初の表示コンテンツを追加します。これらはテキストを構造化するための基本的なタグです。
<h1>: これは最上位の見出しタグで、通常はページのメインタイトルに使用されます。検索エンジンは見出しを使用して、ウェブページの構造とコンテンツをインデックス化します。<p>: これは段落タグで、テキストブロックに使用されます。
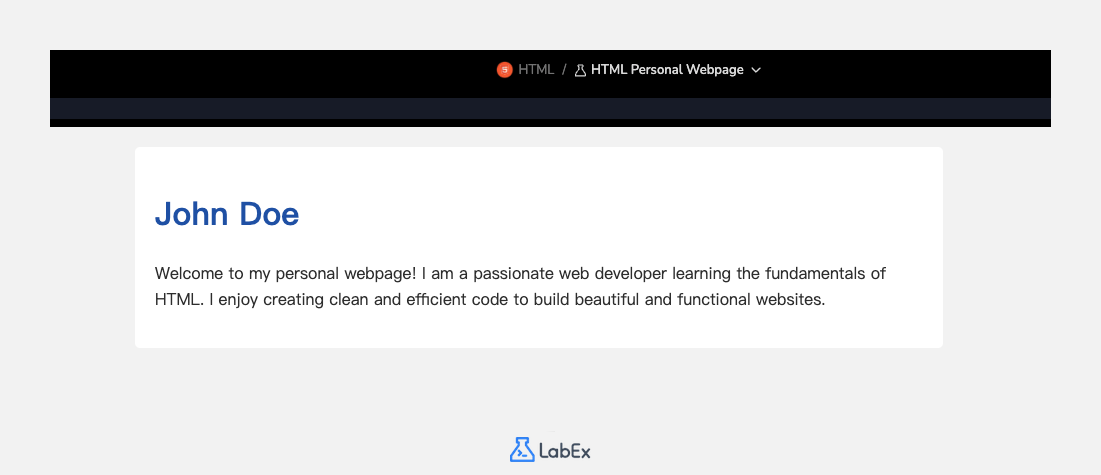
あなたの名前をメインの見出しとして、短い自己紹介を追加しましょう。index.html ファイルで、<div class="container"> 内のコメント <!-- Content will go here in the next steps --> を見つけ、以下のコードに置き換えてください。
<h1>John Doe</h1>
<p>
  Welcome to my personal webpage! I am a passionate web developer learning the
  fundamentals of HTML. I enjoy creating clean and efficient code to build
  beautiful and functional websites.
</p>
これで、index.html ファイル全体は次のようになります。
<!DOCTYPE html>
<html lang="en">
  <head>
    <meta charset="UTF-8" />
    <meta name="viewport" content="width=device-width, initial-scale=1.0" />
    <title>My Personal Webpage</title>
    <link rel="stylesheet" href="css/style.css" />
  </head>
  <body>
    <div class="container">
      <h1>John Doe</h1>
      <p>
        Welcome to my personal webpage! I am a passionate web developer learning
        the fundamentals of HTML. I enjoy creating clean and efficient code to
        build beautiful and functional websites.
      </p>
    </div>
  </body>
</html>
ファイルを保存し、Web 8080 タブを更新してください。ページにあなたの名前と自己紹介が表示されるようになります。
スキルや興味のためにリストを挿入する
このステップでは、リストを使用してスキルや興味などの情報を整理します。HTML には、順序が指定されていない項目用の順序なしリスト (<ul>) と、番号付き項目用の順序付きリスト (<ol>) の 2 種類の主なリストがあります。リスト内の各項目は <li> (リスト項目) タグで定義されます。
順序なしリストを使用して、スキルセクションを追加しましょう。前のステップで追加した段落タグ (<p>) の下に、以下のコードを追加してください。
<h2>My Skills</h2>
<ul>
  <li>HTML & CSS</li>
  <li>JavaScript</li>
  <li>Python</li>
  <li>Problem Solving</li>
</ul>
このコードは、セクションにタイトルを付けるための第 2 レベルの見出し (<h2>) と、4 つのリスト項目 (<li>) を持つ順序なしリスト (<ul>) を追加します。
コードを追加した後、index.html ファイルの <body> は次のようになります。
<body>
  <div class="container">
    <h1>John Doe</h1>
    <p>
      Welcome to my personal webpage! I am a passionate web developer learning
      the fundamentals of HTML. I enjoy creating clean and efficient code to
      build beautiful and functional websites.
    </p>

    <h2>My Skills</h2>
    <ul>
      <li>HTML & CSS</li>
      <li>JavaScript</li>
      <li>Python</li>
      <li>Problem Solving</li>
    </ul>
  </div>
</body>
ファイルを保存し、Web 8080 タブを確認して、箇条書きリストで新しいスキルセクションを表示してください。
属性付きのリンクと画像を追加する
このステップでは、画像とハイパーリンクを追加して、ページをより動的にします。
<img>: 画像タグは、画像を埋め込むために使用されます。これは自己終了タグであり、2 つの必須属性が必要です。src: 画像ファイルへのパスを指定します。alt: 画像の代替テキストを提供します。これはアクセシビリティや、画像が表示できない場合に重要です。
<a>: アンカータグは、ハイパーリンクを作成するために使用されます。href属性は、リンク先の URL を指定します。
まず、プロフィール写真を追加しましょう。セットアップスクリプトは、すでに images/profile.png にプレースホルダー画像を配置しています。<h1> タグのすぐ下に <img> タグを追加してください。
次に、GitHub プロフィールのようないくつかの外部サイトへのリンクを追加しましょう。これは新しい「Find Me Online」セクションに配置します。スキルリストの下に以下のコードを追加してください。
<!-- Add this img tag below the h1 tag -->
<img src="images/profile.png" alt="A placeholder profile picture" />

<!-- Add this new section below the skills list -->
<h2>Find Me Online</h2>
<p>
  You can find my work on
  <a href="https://github.com/labex-labs" target="_blank">GitHub</a>.
</p>
リンクの target="_blank" 属性は、ブラウザにリンクを新しいタブで開くように指示します。
これで、index.html ファイルの <body> は次のように構造化されます。
<body>
  <div class="container">
    <h1>John Doe</h1>
    <img src="images/profile.png" alt="A placeholder profile picture" />
    <p>
      Welcome to my personal webpage! I am a passionate web developer learning
      the fundamentals of HTML. I enjoy creating clean and efficient code to
      build beautiful and functional websites.
    </p>

    <h2>My Skills</h2>
    <ul>
      <li>HTML & CSS</li>
      <li>JavaScript</li>
      <li>Python</li>
      <li>Problem Solving</li>
    </ul>

    <h2>Find Me Online</h2>
    <p>
      You can find my work on
      <a href="https://github.com/labex-labs" target="_blank">GitHub</a>.
    </p>
  </div>
</body>
ファイルを保存し、Web 8080 タブを更新してください。プロフィール画像とクリック可能なリンクが表示されます。
スケジュール用のテーブルと連絡用のフォームを作成する
この最後のコンテンツステップでは、スケジュールを表示するためのテーブルと、訪問者があなたに連絡できるようにするためのフォームという、さらに複雑な 2 つの構造を追加します。
<table>: テーブルを定義します。<tr>: テーブル内の行を定義します。<th>: ヘッダーセルを定義します(デフォルトで太字および中央揃え)。<td>: データセルを定義します。
<form>: ユーザー入力用の HTML フォームを定義します。<label>:<input>要素のラベルを定義します。<input>: 入力フィールドを定義します。type属性はtext、email、passwordなどにすることができます。<textarea>: 複数行のテキスト入力エリアを定義します。<button>: クリック可能なボタンを定義します。
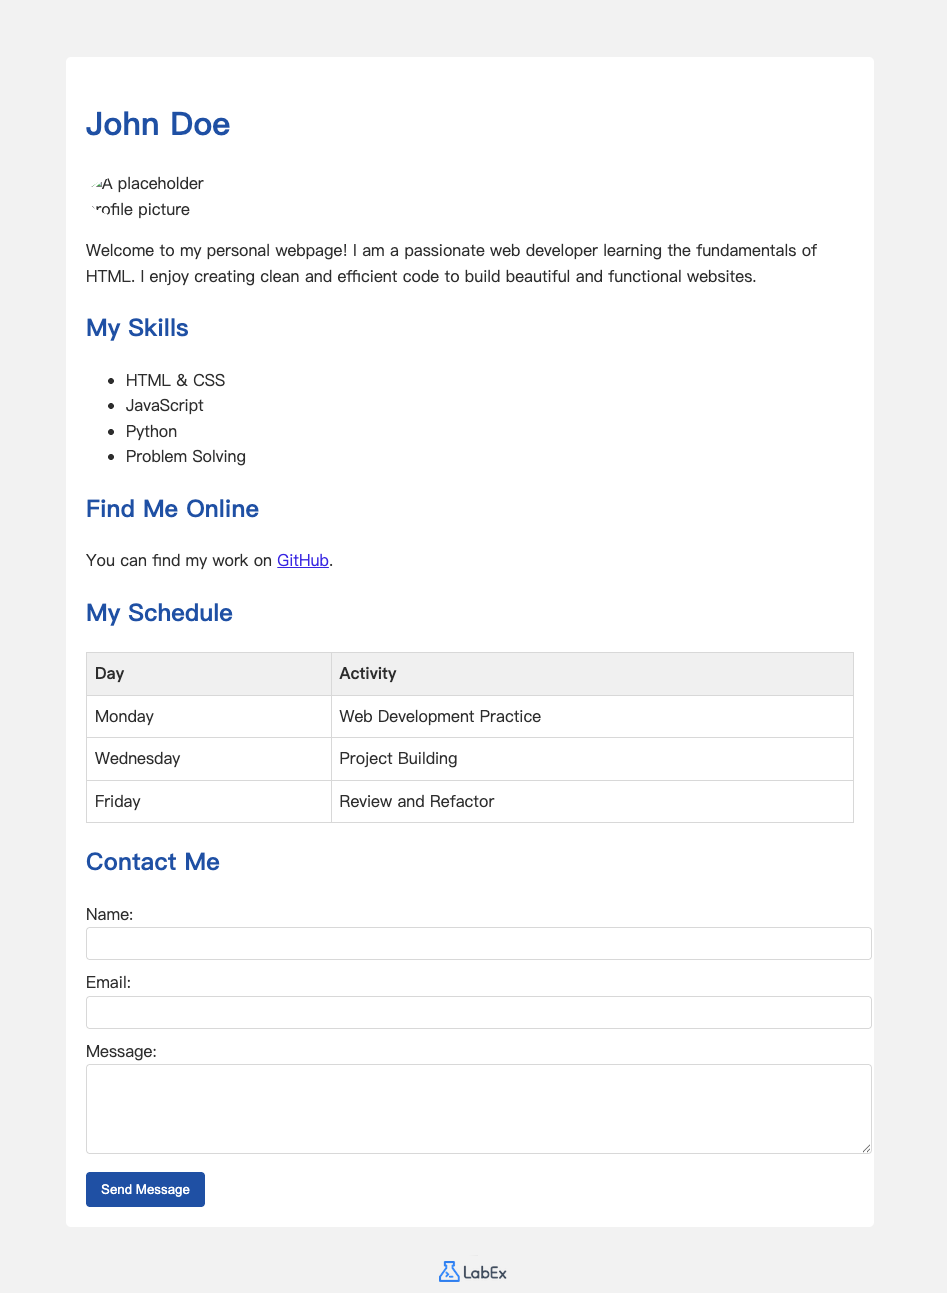
まず、週次スケジュールのテーブルを追加しましょう。「Find Me Online」セクションの下にこのコードを追加してください。
<h2>My Schedule</h2>
<table>
  <tr>
    <th>Day</th>
    <th>Activity</th>
  </tr>
  <tr>
    <td>Monday</td>
    <td>Web Development Practice</td>
  </tr>
  <tr>
    <td>Wednesday</td>
    <td>Project Building</td>
  </tr>
  <tr>
    <td>Friday</td>
    <td>Review and Refactor</td>
  </tr>
</table>
次に、連絡フォームを追加しましょう。作成したテーブルの下にこのコードを追加してください。
<h2>Contact Me</h2>
<form action="#" method="post">
  <label for="name">Name:</label>
  <input type="text" id="name" name="name" />

  <label for="email">Email:</label>
  <input type="email" id="email" name="email" />

  <label for="message">Message:</label>
  <textarea id="message" name="message" rows="4"></textarea>

  <button type="submit">Send Message</button>
</form>
ファイルを保存し、Web 8080 タブを表示してください。これで、スケジュールと連絡フォームを備えた個人のウェブページが完成しました!
まとめ
おめでとうございます!HTML を使用して、完全な個人用ウェブページを正常に作成しました。
この実験では、ドキュメントを構造化し、コンテンツを表示するための最も基本的な HTML 要素を使用しました。以下の方法を学びました。
<html>、<head>、<body>を使用して HTML ページの基本的な骨組みを作成する方法。- 見出し (
<h1>、<h2>) および段落 (<p>) を使用してテキストをフォーマットする方法。 - 順序なしリスト (
<ul>、<li>) にアイテムを整理する方法。 - 画像 (
<img>) を埋め込み、ハイパーリンク (<a>) を作成する方法。 <table>でデータを構造化し、<form>でユーザー入力を収集する方法。
これで、HTML の確かな基礎ができました。コンテンツを変更したり、ページを追加したり、より高度な HTML タグを探索したりして、さらに自由に実験してください。ウェブ開発の旅を素晴らしいものにしてください!