

Inside the LabEx Docker Course: What to Practice and How to Check Your Progress
Explore the LabEx Docker course through its image, networking, and storage tasks, with real course screenshots and practical checkpoints for independent learning.
A Docker course is useful when it helps you answer questions after the instructions disappear: why did the container exit, which image is it running, and where did the file go? A long list of commands alone does not establish that understanding.
LabEx Docker for Beginners is a practical starting point for learning Docker on one Linux host. Its strongest fit is a learner who wants a supplied environment and a sequence of guided tasks followed by challenges. If you already build images and diagnose container networking independently, use the syllabus to identify gaps instead of assuming you need every introductory step.
This is a LabEx-authored guide to our course, not an independent product review. We inspected the public course and selected tutorial pages on September 7, 2026, and tested separate Docker demonstrations in a LabEx VM for this blog series. We have not treated that work as completion of every course activity. The progress checks below are editorial suggestions you can use with this course or your own Docker environment.
What the current course includes
The Docker for Beginners course page lists 9 guided labs and 7 challenges. Its scope includes running containers, building images, Dockerfile techniques, networking, and volumes. The supplied environments use Ubuntu 22.04 with Docker access prepared. The course does not cover Docker Compose, Swarm, or Kubernetes.
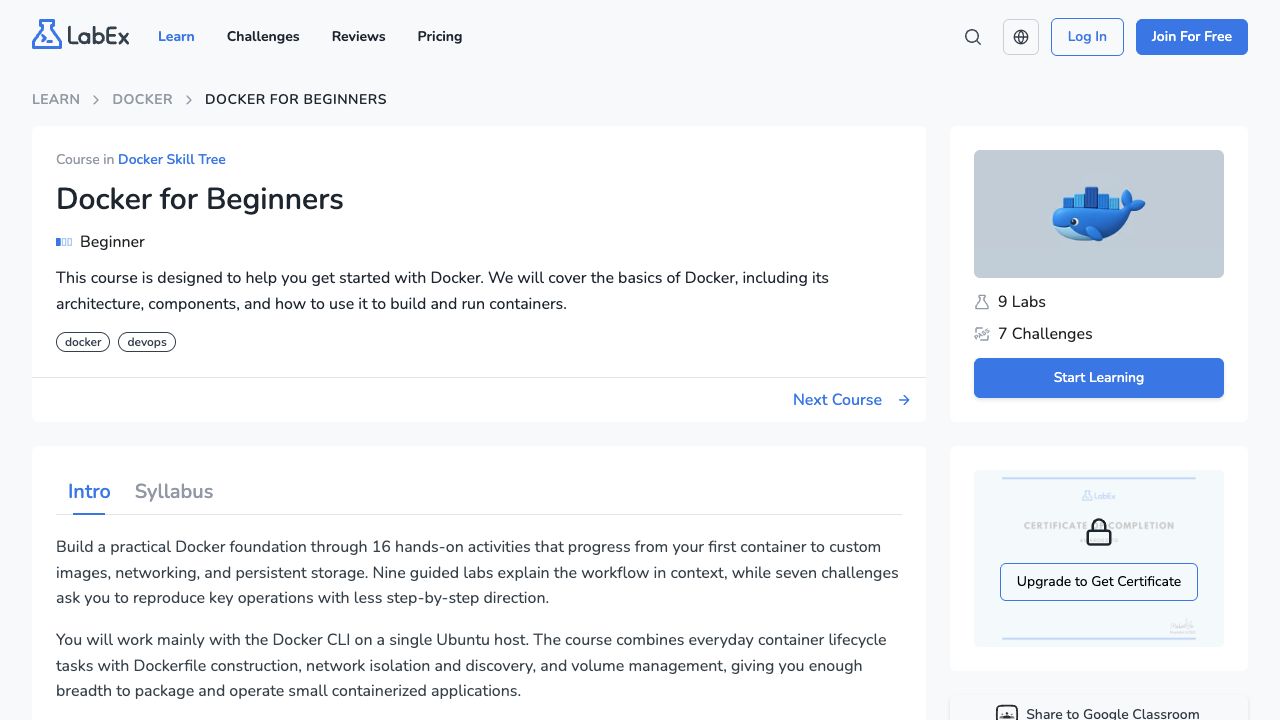
The public course overview as inspected on September 7, 2026. Check the live page for current access conditions and curriculum changes.
You should be comfortable navigating directories, editing a file, and reasoning about a process and a port. Prior Docker experience is not required by the course. You do not need to install Docker locally for the supplied labs, and the documented activities do not require signing into Docker Hub to push images.
Those prerequisites are worth taking literally. If the command cd is still unfamiliar, learning shell navigation alongside image builds creates two sources of confusion. Spend a little time on the Linux learning path, then return to a container task with enough terminal fluency to tell a path error from a Docker error.
Read the syllabus as a sequence of decisions
The course alternates instruction and application rather than presenting only a reference list. Its syllabus gives you a way to choose a useful starting point:
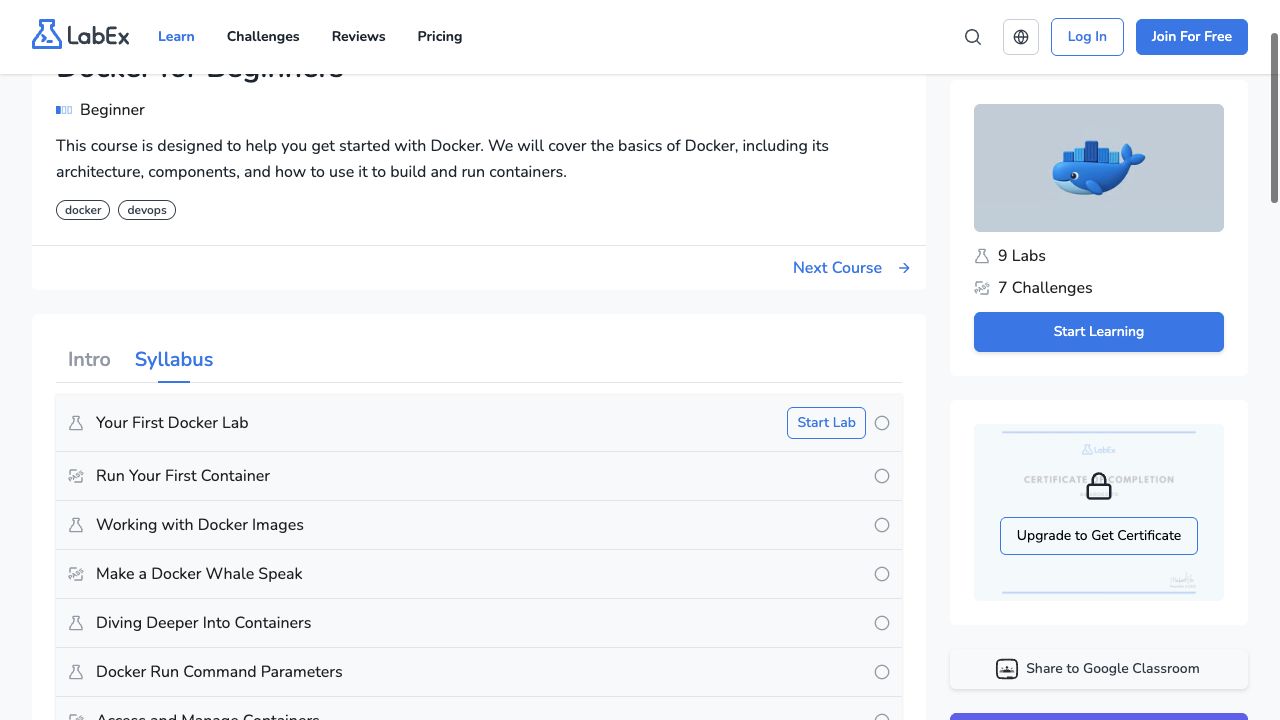
Use the syllabus to locate the next behavior you cannot yet explain. This screenshot shows the visible opening portion, not every activity in the course.
| Your current question | Relevant public activity | Evidence to collect while practicing |
|---|---|---|
| What happens when I run an image? | Run Your First Container | The command that ran and the resulting container state |
| Which options belong before the image name? | Docker Run Command Parameters | A changed runtime option and its observable effect |
| How does my own file get into an image? | Custom Docker Images | Build input, image identity, and served output |
| Why can one container reach another? | Docker Networking Basics | Network membership and a request from the correct caller |
| What survives container replacement? | Working with Docker Volumes | A file read by a different container using the same volume |
The last column is our suggested learning record. It is intentionally more specific than “understand images” or “learn networking.” A result you can reproduce and explain is easier to revisit a week later than a checked-off topic name.
Image practice: connect an input file to an HTTP response
The public Custom Docker Images tutorial begins with a small Nginx-based image and a copied page, then extends the image and startup configuration. That gives you several opportunities to separate build-time contents from runtime choices.
While following it, record the path of the source file, the Dockerfile instruction that adds it, and the URL used to inspect the result. Then make one small variation of your own: change a visible heading, rebuild under a distinct tag, and create a new container from that tag.
Your checkpoint is not simply seeing the edited heading. Explain how it traveled from a file in the build context to a file in the image and finally to an HTTP response. If you cannot find the step where the new container was created, you may still be serving an older image.
We tested this failure case in the separate image versus container walkthrough. Rebuilding a tag and restarting an existing container left the old response intact; creating a new container produced the changed page. The article includes image inspection output and both actual browser responses.
That experiment is useful after the guided task because it introduces an intentional mistake. A correct result obtained by copying commands is a starting point. Diagnosing a deliberately stale container shows whether you understand the identities involved.
Network practice: name the caller before changing flags
The Docker Networking Basics tutorial provides the course’s entry into container networking. As you work through network examples, write down where each request originates: inside the application container, in another container, on the Docker host, or in your own browser.
Those are different callers. A successful request from one does not establish reachability from the others. Likewise, the word localhost changes meaning with the process using it.
A useful extension is to run a client on the same user-defined network as a small web server and request the server by its container name. Then inspect the server’s published ports. Our Docker practice exercises include a tested version of that task: the internal request succeeds with HTTP 200 even though no host port is published.
For a browser-facing task, draw the path before editing the command:
browser → lab preview or host address → published port → application listenerNow describe which part you have actually verified. If the application answers internally but the browser cannot reach it, repeatedly rebuilding the image is unlikely to investigate the relevant boundary. The EXPOSE versus publish article supplies a focused example of that distinction.
This habit transfers beyond Docker. Naming the caller, destination, and network boundary is useful whenever a service works from one location and fails from another.
Storage practice: prove recovery with a new consumer
The public Working with Docker Volumes tutorial includes creating and mounting a named volume, sharing data between containers, and a backup-and-restore exercise. These steps give persistence an observable meaning: a second consumer can read data written earlier.
Before each destructive step, predict which object will disappear. Are you removing a container, a volume, or a host file? After the step, check the surviving object directly instead of relying on the fact that a command completed.
For an additional test, write a distinctive marker such as an order number, remove the writer container, and attach the same volume to a newly created reader. A successful read demonstrates that the data was stored outside the writer’s removable layer. It does not establish an off-host backup or protect against removal of the volume itself.
The separate volumes versus bind mounts experiment compares three storage locations using the same file content. Use it if you can follow the course commands but still cannot predict what container removal will do.
When you reach a restore task, verify the restored file through a fresh consumer. An archive’s existence is weaker evidence than a successful restore. For a real database, the database’s own consistency and backup procedures introduce additional requirements beyond copying arbitrary files.
What happens when you open a lab
The public entry for the volumes lab shows instructions beside the environment area. In our signed-out inspection, the page required login before continuing:
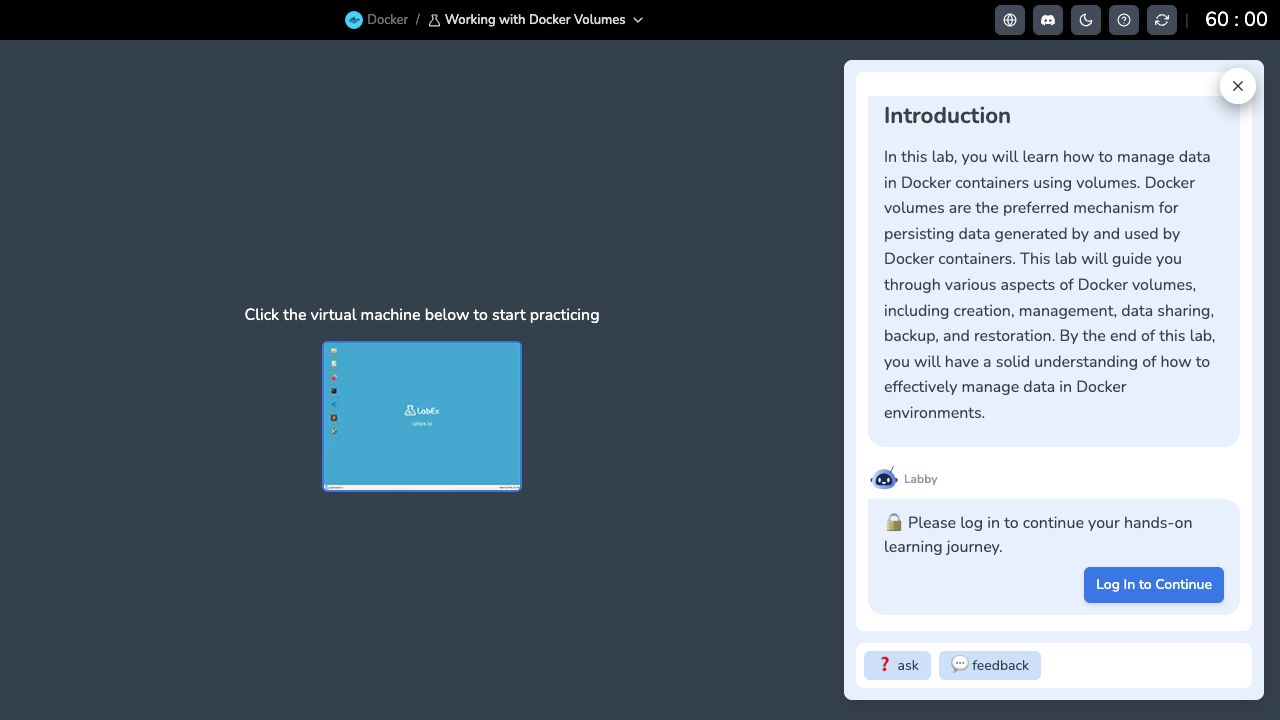
This is the signed-out entry screen before starting the lab, not a screenshot of a running course VM or a completed exercise.
Check the current account and access requirements before arranging a study session. Do not assume that a screenshot establishes a universal free-access allowance, a particular session duration, or permanent storage. Keep your own short notes and reusable source files so your learning record does not depend entirely on a session remaining available.
For the first session, aim to finish one coherent behavior: run a container, identify its state, and explain why it stayed running or exited. That is a more useful stopping point than opening several labs and leaving each halfway through.
Use three passes to reduce dependence on instructions
For each topic, use a guided pass, a reconstruction pass, and a variation pass. You do not need a fixed timer; stop when the evidence is clear.
- Follow and annotate. Complete the given steps while recording what each command changes. Mark whether the change affects an image, container, network, volume, or local file.
- Reconstruct from the task. In a clean environment, recreate the result using your notes and official references, without copying the full original sequence.
- Change one input. Use another host port, marker value, image tag, or container name. Predict the result, run it, and explain any mismatch.
Consulting documentation is part of independent work. The goal is to decide which information you need and verify the outcome, not to memorize every flag. A challenge is particularly useful after the reconstruction pass because it can expose an assumption hidden by the guided sequence.
Keep a compact record: the task, your prediction, the command or configuration, the observed result, and one correction. If a task fails, retain the error message before cleaning up. “It did not work” gives your next session very little to investigate.
Decide whether to start here or move on
Choose this course if you want structured Docker practice and the supplied environment helps you begin. Start with a later activity if you can already demonstrate the earlier outcomes. If your immediate task is a multi-service Compose configuration or a Kubernetes deployment, the course can fill container fundamentals, but its scope does not replace those next topics.
A practical exit check is whether you can package a changed page, run a replacement container, explain its network path, preserve a small data marker outside its writable layer, and diagnose a deliberate exit. You can use the six original Docker exercises to test several of those behaviors. This is a learning checkpoint, not a claim of production, certification, or job readiness.
Open the Docker course syllabus, choose the first outcome you cannot yet demonstrate, and record a prediction before starting. That gives your next lab a specific purpose.
References
- LabEx Docker for Beginners — current scope, prerequisites, environment, and activity sequence.
- LabEx: Docker Run Command Parameters — runtime option practice.
- LabEx: Custom Docker Images — building and modifying an application image.
- LabEx: Docker Networking Basics — introductory network practice.
- LabEx: Working with Docker Volumes — volume sharing and backup/restore steps.
- Docker: Running containers — official reference for checking runtime options during independent practice.