はじめに
この包括的なチュートリアルでは、Bash 関数の戻り値を詳しく解説し、Bash スクリプトで関数を効果的に扱うための重要な知識とテクニックを提供します。シェルスクリプトを始めたばかりの方も、スキルアップを目指している方も、このガイドは関数の定義、呼び出し、戻り値の処理方法について確かな理解を提供します。これらのスキルは、さまざまな自動化タスクのために、より堅牢で柔軟なシェルスクリプトを作成するのに役立ちます。
最初の Bash 関数の作成
Bash 関数は、スクリプトをより良く整理するのに役立つ、再利用可能なコードブロックです。戻り値について詳しく見ていく前に、まず関数の作成と呼び出し方法を理解しましょう。
基本的な関数の作成
最初の Bash 関数を作成しましょう。ターミナルウィンドウを開き、次のように入力します。
cd ~/project
mkdir -p bash_functions
cd bash_functions
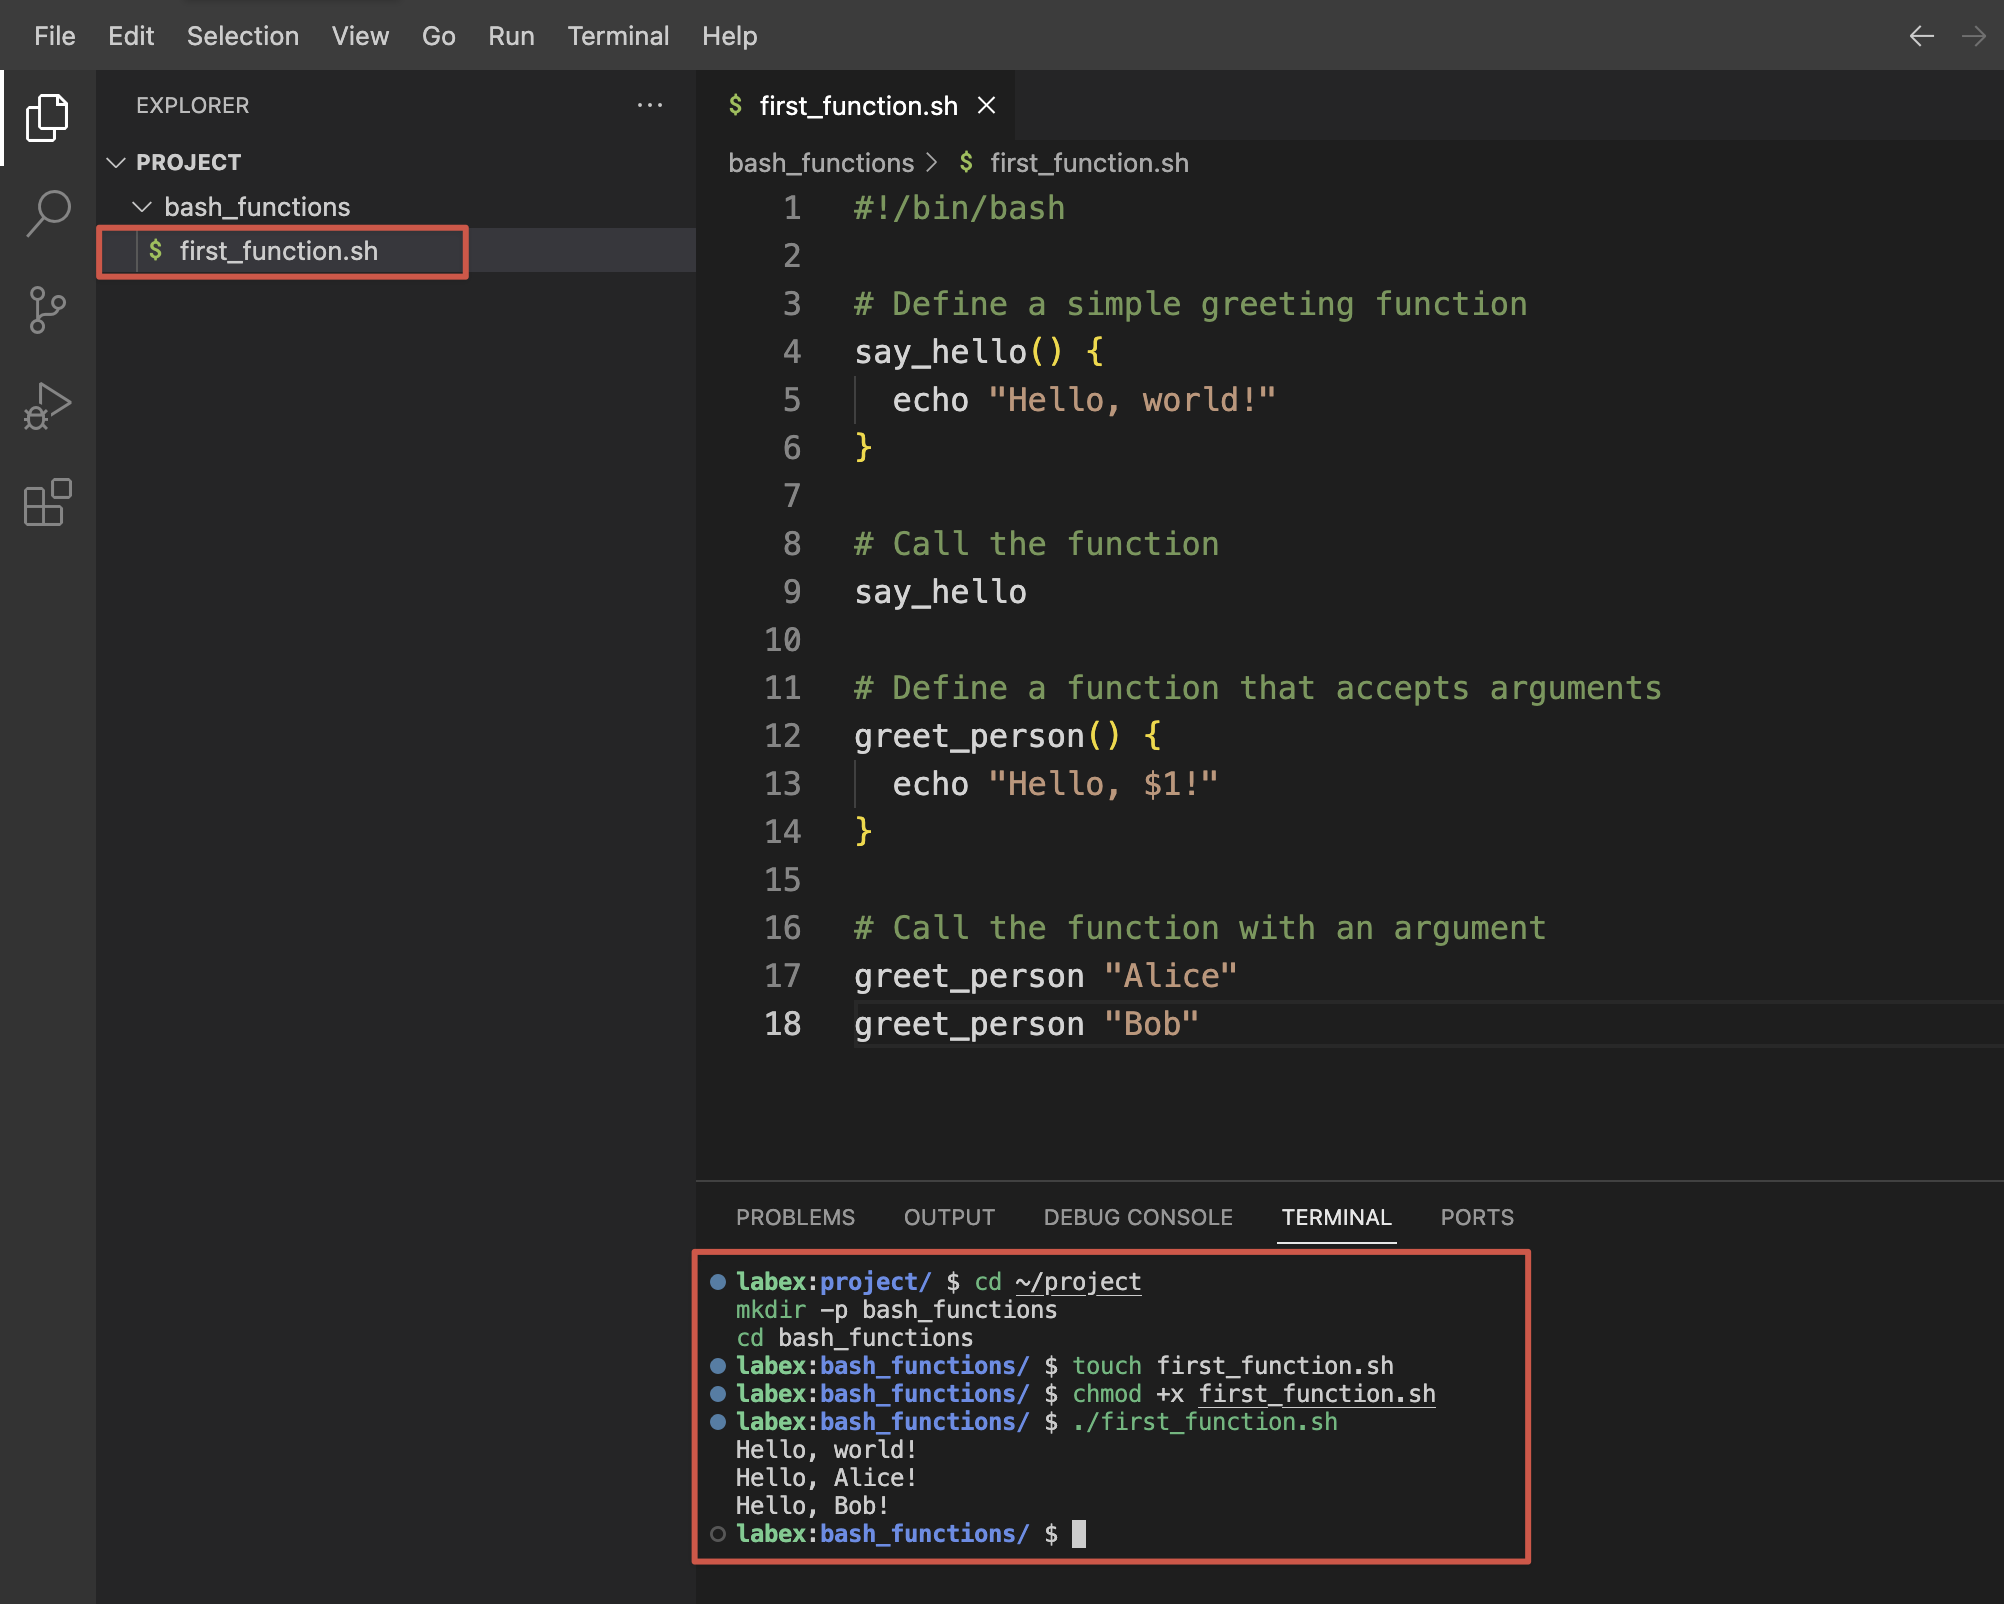
次に、新しいスクリプトで簡単な関数を作成しましょう。nano を使用して、first_function.shという名前のファイルを作成します。
touch first_function.sh
ファイルに次の内容を追加します。
#!/bin/bash

## Define a simple greeting function
say_hello() {
  echo "Hello, world!"
}

## Call the function
say_hello

## Define a function that accepts arguments
greet_person() {
  echo "Hello, $1!"
}

## Call the function with an argument
greet_person "Alice"
greet_person "Bob"
スクリプトを実行可能にします。
chmod +x first_function.sh
次に、スクリプトを実行します。
./first_function.sh
次のような出力が表示されるはずです。
Hello, world!
Hello, Alice!
Hello, Bob!
関数の構文の説明
Bash では、関数を定義する方法が 2 つあります。
- 標準構文を使用する:
function_name() {
  ## Commands
}
functionキーワードを使用する:
function function_name {
  ## Commands
}
どちらのスタイルも同じように機能しますが、最初の方法がより一般的に使用され、POSIX に準拠しています。
関数の引数へのアクセス
関数内では、位置パラメータを使用して関数に渡された引数にアクセスできます。
$1,$2,$3などは、最初の引数、2 番目の引数、3 番目の引数などを参照します。$0は、関数名またはスクリプト名を参照します。$#は、引数の数を示します。$@は、すべての引数を個別の文字列として含みます。$*は、すべての引数を単一の文字列として含みます。
関数の引数について練習するために、新しいファイルを作成しましょう。
touch function_args.sh
次の内容を追加します。
#!/bin/bash

show_args() {
  echo "Function name: $0"
  echo "First argument: $1"
  echo "Second argument: $2"
  echo "Number of arguments: $#"
  echo "All arguments: $@"
}

echo "Calling function with three arguments:"
show_args apple banana cherry
保存し、実行可能にし、スクリプトを実行します。
chmod +x function_args.sh
./function_args.sh
次のような出力が表示されるはずです。
Calling function with three arguments:
Function name: ./function_args.sh
First argument: apple
Second argument: banana
Number of arguments: 3
All arguments: apple banana cherry
関数定義と引数処理に関するこの基本的な理解は、次のステップで関数の戻り値を扱うための基盤となります。
関数の戻りコードの理解
Bash のすべてのコマンドは、関数を含め、戻りコード(別名、終了ステータス)を生成します。この数値は、コマンドが成功したか失敗したかを示します。この戻りコードは、Bash スクリプトにおけるエラー処理の基本です。
基本的な戻りコード
Bash では:
- 戻りコード
0は成功を示します - 0 以外の値(1〜255)は、エラーまたは異常な状態を示します
これを示すスクリプトを作成しましょう。
cd ~/project/bash_functions
touch return_codes.sh
次の内容を追加します。
#!/bin/bash

## Function that always succeeds
succeed() {
  echo "This function succeeds"
  return 0
}

## Function that always fails
fail() {
  echo "This function fails"
  return 1
}

## Call the functions and check their return codes
succeed
echo "Return code of succeed: $?"

fail
echo "Return code of fail: $?"
保存し、実行可能にし、スクリプトを実行します。
chmod +x return_codes.sh
./return_codes.sh
次のように表示されるはずです。
This function succeeds
Return code of succeed: 0
This function fails
Return code of fail: 1
戻りコードの取得
特殊変数$?には、最後に実行されたコマンドまたは関数の戻りコードが含まれています。この値は、条件付き実行とエラー処理にとって重要です。
条件付きロジックに、戻りコードを使用する練習をするために、別のスクリプトを作成しましょう。
touch check_file.sh
次の内容を追加します。
#!/bin/bash

## Function to check if a file exists
file_exists() {
  local filename="$1"

  if [ -f "$filename" ]; then
    echo "File $filename exists"
    return 0
  else
    echo "File $filename does not exist"
    return 1
  fi
}

## Test the function with files that exist and don't exist
file_exists "return_codes.sh"
if [ $? -eq 0 ]; then
  echo "Great! The file was found."
else
  echo "Too bad. The file was not found."
fi

echo ""

file_exists "non_existent_file.txt"
if [ $? -eq 0 ]; then
  echo "Great! The file was found."
else
  echo "Too bad. The file was not found."
fi
保存し、実行可能にし、スクリプトを実行します。
chmod +x check_file.sh
./check_file.sh
次のような出力が表示されるはずです。
File return_codes.sh exists
Great! The file was found.

File non_existent_file.txt does not exist
Too bad. The file was not found.
条件文での戻りコードの使用
戻りコードは、&&(AND)および||(OR)演算子を使用して、条件式で直接使用できます。
touch conditional_return.sh
次の内容を追加します。
#!/bin/bash

check_number() {
  local num=$1

  if [ $num -gt 10 ]; then
    return 0 ## Success if number is greater than 10
  else
    return 1 ## Failure if number is not greater than 10
  fi
}

## Using conditional operators with return codes
check_number 15 && echo "Number is greater than 10"
check_number 5 || echo "Number is not greater than 10"

## This line runs only if check_number succeeds
check_number 20 && {
  echo "Number is greater than 10"
  echo "Performing additional operations..."
}

## This line runs only if check_number fails
check_number 3 || {
  echo "Number is not greater than 10"
  echo "Taking alternative actions..."
}
保存し、実行可能にし、スクリプトを実行します。
chmod +x conditional_return.sh
./conditional_return.sh
出力は次のようになります。
Number is greater than 10
Number is not greater than 10
Number is greater than 10
Performing additional operations...
Number is not greater than 10
Taking alternative actions...
戻りコードの仕組みを理解することは、エラーを適切に処理し、操作の成功または失敗に基づいて決定を下すことができる、堅牢なスクリプトを作成するために不可欠です。
カスタム戻り値の操作
戻りコードは成功または失敗を示すのに役立ちますが、0 から 255 の間の数値に制限されています。関数から実際のデータを返すには、他のテクニックを使用する必要があります。
方法 1:Echo を使用して値を返す
関数から実際の値を返す最も一般的な方法は、echoまたは他の出力コマンドを使用し、その出力を取得することです。
このテクニックを示すスクリプトを作成しましょう。
cd ~/project/bash_functions
touch return_values.sh
次の内容を追加します。
#!/bin/bash

## Function that returns a value using echo
get_username() {
  echo "labex"
}

## Function that returns a calculated value
add_numbers() {
  local sum=$(($1 + $2))
  echo $sum
}

## Capture the returned values
username=$(get_username)
echo "The username is: $username"

result=$(add_numbers 5 7)
echo "The sum of 5 and 7 is: $result"

## You can also use the returned value directly
echo "Calculating again: $(add_numbers 10 20)"
保存し、実行可能にし、スクリプトを実行します。
chmod +x return_values.sh
./return_values.sh
次のように表示されるはずです。
The username is: labex
The sum of 5 and 7 is: 12
Calculating again: 30
方法 2:グローバル変数の使用
もう 1 つのアプローチは、関数内でグローバル変数を変更することです。
touch global_return.sh
次の内容を追加します。
#!/bin/bash

## Declare global variables
FULL_NAME=""
USER_AGE=0

## Function that sets global variables
set_user_info() {
  FULL_NAME="$1 $2"
  USER_AGE=$3

  ## Return success
  return 0
}

## Call the function
set_user_info "John" "Doe" 30

## Use the global variables that were set by the function
echo "Full name: $FULL_NAME"
echo "Age: $USER_AGE"
保存し、実行可能にし、スクリプトを実行します。
chmod +x global_return.sh
./global_return.sh
出力:
Full name: John Doe
Age: 30
方法 3:複数の値を返す
関数から複数の値を返す方法を探ってみましょう。
touch multiple_returns.sh
次の内容を追加します。
#!/bin/bash

## Function that returns multiple values separated by a delimiter
get_system_info() {
  local hostname=$(hostname)
  local kernel=$(uname -r)
  local uptime=$(uptime -p)

  ## Return multiple values separated by semicolons
  echo "$hostname;$kernel;$uptime"
}

## Capture the output and split it
system_info=$(get_system_info)

## Split the values using IFS (Internal Field Separator)
IFS=';' read -r host kernel up <<< "$system_info"

## Display the values
echo "Hostname: $host"
echo "Kernel version: $kernel"
echo "Uptime: $up"

## Alternative method using an array
get_user_details() {
  local details=("John Doe" "john@example.com" "Developer")
  printf "%s\n" "${details[@]}"
}

## Capture the output into an array
mapfile -t user_details < <(get_user_details)

echo ""
echo "User information:"
echo "Name: ${user_details[0]}"
echo "Email: ${user_details[1]}"
echo "Role: ${user_details[2]}"
保存し、実行可能にし、スクリプトを実行します。
chmod +x multiple_returns.sh
./multiple_returns.sh
出力には、システム情報に続いてユーザーの詳細が表示されます。
Hostname: ubuntu
Kernel version: 5.15.0-1033-azure
Uptime: up 2 hours, 15 minutes

User information:
Name: John Doe
Email: john@example.com
Role: Developer
実際のホスト名、カーネルバージョン、および稼働時間は、システムによって異なります。
これらの方法は、単純な戻りコードを超えて、関数から値を返すさまざまな方法を示しています。各アプローチには、特定のニーズに応じた利点があります。
スクリプトでの実用的な関数の使用
関数を定義し、その戻り値を処理する方法を理解したので、これらの概念を実際に示す実用的なスクリプトを作成しましょう。さまざまな戻り方法を持つ関数を使用するファイル管理ユーティリティを作成します。
ファイル管理ユーティリティの作成
さまざまなファイル操作を実行する包括的なスクリプトを作成しましょう。
cd ~/project/bash_functions
touch file_manager.sh
次の内容を追加します。
#!/bin/bash

## Function to check if a file exists
## Returns 0 if file exists, 1 if it doesn't
file_exists() {
  if [ -f "$1" ]; then
    return 0
  else
    return 1
  fi
}

## Function to get file size in bytes
## Returns the size via echo
get_file_size() {
  if file_exists "$1"; then
    ## Use stat to get file size in bytes
    local size=$(stat -c %s "$1")
    echo "$size"
  else
    echo "0"
  fi
}

## Function to count lines in a file
## Returns line count via echo
count_lines() {
  if file_exists "$1"; then
    local lines=$(wc -l < "$1")
    echo "$lines"
  else
    echo "0"
  fi
}

## Function to get file information
## Returns multiple values using a delimiter
get_file_info() {
  local filename="$1"

  if file_exists "$filename"; then
    local size=$(get_file_size "$filename")
    local lines=$(count_lines "$filename")
    local modified=$(stat -c %y "$filename")
    local permissions=$(stat -c %A "$filename")

    ## Return all info with semicolons as delimiters
    echo "$size;$lines;$modified;$permissions"
  else
    echo "0;0;N/A;N/A"
  fi
}

## Function to create a test file
create_test_file() {
  local filename="$1"
  local lines="$2"

  ## Create or overwrite the file
  > "$filename"

  ## Add the specified number of lines
  for ((i = 1; i <= lines; i++)); do
    echo "This is line $i of the test file." >> "$filename"
  done

  ## Return success if file was created
  if file_exists "$filename"; then
    return 0
  else
    return 1
  fi
}

## Main script execution starts here
echo "File Management Utility"
echo "----------------------"

## Create a test file
TEST_FILE="sample.txt"
echo "Creating test file with 10 lines..."
if create_test_file "$TEST_FILE" 10; then
  echo "File created successfully."
else
  echo "Failed to create file."
  exit 1
fi

## Check if file exists
echo ""
echo "Checking if file exists..."
if file_exists "$TEST_FILE"; then
  echo "File '$TEST_FILE' exists."
else
  echo "File '$TEST_FILE' does not exist."
fi

## Get file size
echo ""
echo "Getting file size..."
size=$(get_file_size "$TEST_FILE")
echo "File size: $size bytes"

## Count lines
echo ""
echo "Counting lines in file..."
lines=$(count_lines "$TEST_FILE")
echo "Line count: $lines"

## Get all file information
echo ""
echo "Getting complete file information..."
file_info=$(get_file_info "$TEST_FILE")

## Split the returned values
IFS=';' read -r size lines modified permissions <<< "$file_info"

echo "File: $TEST_FILE"
echo "Size: $size bytes"
echo "Lines: $lines"
echo "Last modified: $modified"
echo "Permissions: $permissions"

echo ""
echo "File content preview:"
head -n 3 "$TEST_FILE"
echo "..."
保存し、実行可能にし、スクリプトを実行します。
chmod +x file_manager.sh
./file_manager.sh
次のような出力が表示されるはずです。
File Management Utility
----------------------
Creating test file with 10 lines...
File created successfully.

Checking if file exists...
File 'sample.txt' exists.

Getting file size...
File size: 300 bytes

Counting lines in file...
Line count: 10

Getting complete file information...
File: sample.txt
Size: 300 bytes
Lines: 10
Last modified: 2023-11-04 12:34:56.789012345 +0000
Permissions: -rwxrwxr-x

File content preview:
This is line 1 of the test file.
This is line 2 of the test file.
This is line 3 of the test file.
...
ファイルサイズ、変更時刻、およびアクセス許可の正確な値は異なります。
スクリプトの分解
私たちのファイル管理ユーティリティは、いくつかの重要な概念を示しています。
- 戻りコード -
file_exists()およびcreate_test_file()関数は、成功の場合は 0、失敗の場合は 1 を返します - echo による値の返却 -
get_file_size()およびcount_lines()関数は、数値を echo 経由で返します - 複数の値の返却 -
get_file_info()関数は、区切り文字を使用して複数の値を返します - 関数の構成 - 一部の関数は他の関数を呼び出し、複雑な機能を構築する方法を示しています
- 条件付き実行 - スクリプトは、戻りコードを使用してプログラムフローを制御する if 文を使用します
この実用的な例は、さまざまな関数技術を組み合わせて、便利なユーティリティを作成する方法を示しています。スクリプトは、適切なエラー処理、関数の構成、および値を返すさまざまな方法を示しています。
エラー処理と関数のベストプラクティス
最後のセクションでは、エラー処理のテクニックと Bash 関数のベストプラクティスを探ります。適切なエラー処理は、堅牢で保守性の高いスクリプトを作成するために不可欠です。
エラー処理を使用したスクリプトの作成
堅牢なエラー処理を示す新しいスクリプトを作成しましょう。
cd ~/project/bash_functions
touch error_handling.sh
次の内容を追加します。
#!/bin/bash

## Enable error handling
set -e ## Exit immediately if a command exits with non-zero status

## Define a function to log messages
log_message() {
  local level="$1"
  local message="$2"
  echo "[$(date '+%Y-%m-%d %H:%M:%S')] [$level] $message"
}

## Function to validate a number is positive
validate_positive() {
  local num="$1"
  local name="$2"

  ## Check if the argument is a number
  if ! [[ "$num" =~ ^[0-9]+$ ]]; then
    log_message "ERROR" "$name must be a number"
    return 1
  fi

  ## Check if the number is positive
  if [ "$num" -le 0 ]; then
    log_message "ERROR" "$name must be positive"
    return 2
  fi

  return 0
}

## Function that divides two numbers
divide() {
  local numerator="$1"
  local denominator="$2"

  ## Validate inputs
  validate_positive "$numerator" "Numerator" || return $?
  validate_positive "$denominator" "Denominator" || return $?

  ## Check for division by zero
  if [ "$denominator" -eq 0 ]; then
    log_message "ERROR" "Division by zero is not allowed"
    return 3
  fi

  ## Perform division
  local result=$(echo "scale=2; $numerator / $denominator" | bc)
  echo "$result"
  return 0
}

## Function to safely get user input
get_number() {
  local prompt="$1"
  local input

  while true; do
    read -p "$prompt: " input

    if validate_positive "$input" "Input"; then
      echo "$input"
      return 0
    else
      log_message "WARN" "Invalid input. Please try again."
    fi
  done
}

## Disable automatic exit on error for the main script
set +e

## Main script logic
log_message "INFO" "Starting division calculator"

## Test with valid values
result=$(divide 10 2)
exit_code=$?

if [ $exit_code -eq 0 ]; then
  log_message "INFO" "10 / 2 = $result"
else
  log_message "ERROR" "Division failed with code $exit_code"
fi

## Test with invalid values
echo ""
log_message "INFO" "Testing with invalid values"
divide 0 5
log_message "INFO" "Exit code: $?"

divide 10 0
log_message "INFO" "Exit code: $?"

divide abc 5
log_message "INFO" "Exit code: $?"

## Interactive mode
echo ""
log_message "INFO" "Interactive mode"
echo "Let's perform a division. Enter positive numbers."

## Get user input safely
num1=$(get_number "Enter first number")
num2=$(get_number "Enter second number")

## Perform division
result=$(divide "$num1" "$num2")
exit_code=$?

if [ $exit_code -eq 0 ]; then
  log_message "INFO" "$num1 / $num2 = $result"
else
  log_message "ERROR" "Division failed with code $exit_code"
fi

log_message "INFO" "Calculator finished"
保存し、実行可能にし、スクリプトを実行します。
chmod +x error_handling.sh
./error_handling.sh
次のような出力が表示され、数字の入力を求められます。
[2023-11-04 13:45:23] [INFO] Starting division calculator
[2023-11-04 13:45:23] [INFO] 10 / 2 = 5.00

[2023-11-04 13:45:23] [INFO] Testing with invalid values
[2023-11-04 13:45:23] [ERROR] Numerator must be positive
[2023-11-04 13:45:23] [INFO] Exit code: 2
[2023-11-04 13:45:23] [ERROR] Division by zero is not allowed
[2023-11-04 13:45:23] [INFO] Exit code: 3
[2023-11-04 13:45:23] [ERROR] Numerator must be a number
[2023-11-04 13:45:23] [INFO] Exit code: 1

[2023-11-04 13:45:23] [INFO] Interactive mode
Let's perform a division. Enter positive numbers.
Enter first number:
たとえば、20などの数字を入力します。次に、2 番目の数字を求められます。
Enter second number:
別の数字、たとえば4を入力すると、次のように表示されます。
[2023-11-04 13:45:30] [INFO] 20 / 4 = 5.00
[2023-11-04 13:45:30] [INFO] Calculator finished
Bash 関数のベストプラクティス
私たちの例に基づいて、Bash 関数を操作するためのいくつかのベストプラクティスを以下に示します。
- 説明的なコメントを追加する - 各関数が何をするか、そのパラメーター、および戻り値を文書化します
- 意味のある関数名を使用する - 関数の目的を明確に示す名前を選択します
- 入力パラメーターを検証する - エラーを防ぐために、入力を確認します
- ローカル変数を使用する -
localキーワードを使用して、変数名の競合を防ぎます - 適切な終了コードを返す - 従来の終了コード(成功の場合は 0、エラーの場合は 0 以外)を使用します
- 適切なエラー処理を実装する - エラーをログに記録し、適切に処理します
- 関数を焦点を絞る - 各関数は 1 つのことをうまく行う必要があります
- 関数の構成を使用する - より単純な関数を組み合わせて、複雑な機能を構築します
- 戻り値を文書化する - 値がどのように返されるか(echo、戻りコードなど)を明確に文書化します
- エッジケースをテストする - 関数が異常な入力を正しく処理することを確認します
これらのプラクティスに従うことで、より信頼性が高く、保守性が高く、再利用可能な Bash 関数を作成できます。
関数ライブラリの作成
最後の演習として、再利用可能な関数ライブラリを作成しましょう。
touch math_functions.lib
次の内容を追加します。
#!/bin/bash
## math_functions.lib - A library of mathematical functions

## Add two numbers
add() {
  echo $(($1 + $2))
}

## Subtract second number from first
subtract() {
  echo $(($1 - $2))
}

## Multiply two numbers
multiply() {
  echo $(($1 * $2))
}

## Divide first number by second (with decimal precision)
divide() {
  if [ "$2" -eq 0 ]; then
    return 1
  fi
  echo "scale=2; $1 / $2" | bc
  return 0
}

## Calculate power: first number raised to second number
power() {
  echo $(($1 ** $2))
}

## Check if a number is even
is_even() {
  if (($1 % 2 == 0)); then
    return 0
  else
    return 1
  fi
}

## Check if a number is odd
is_odd() {
  if is_even "$1"; then
    return 1
  else
    return 0
  fi
}
次に、このライブラリを使用するスクリプトを作成します。
touch use_library.sh
次の内容を追加します。
#!/bin/bash

## Source the math functions library
source math_functions.lib

## Display a header
echo "Math Functions Demo"
echo "------------------"

## Test the functions
echo "Addition: 5 + 3 = $(add 5 3)"
echo "Subtraction: 10 - 4 = $(subtract 10 4)"
echo "Multiplication: 6 * 7 = $(multiply 6 7)"

## Test division with error handling
div_result=$(divide 20 5)
if [ $? -eq 0 ]; then
  echo "Division: 20 / 5 = $div_result"
else
  echo "Division error: Cannot divide by zero"
fi

## Test division by zero
div_result=$(divide 20 0)
if [ $? -eq 0 ]; then
  echo "Division: 20 / 0 = $div_result"
else
  echo "Division error: Cannot divide by zero"
fi

echo "Power: 2 ^ 8 = $(power 2 8)"

## Test the even/odd functions
echo ""
echo "Number properties:"
for num in 1 2 3 4 5; do
  echo -n "Number $num is "

  if is_even $num; then
    echo "even"
  else
    echo "odd"
  fi
done
保存し、実行可能にし、スクリプトを実行します。
chmod +x use_library.sh
./use_library.sh
次のように表示されるはずです。
Math Functions Demo
------------------
Addition: 5 + 3 = 8
Subtraction: 10 - 4 = 6
Multiplication: 6 * 7 = 42
Division: 20 / 5 = 4.00
Division error: Cannot divide by zero
Power: 2 ^ 8 = 256

Number properties:
Number 1 is odd
Number 2 is even
Number 3 is odd
Number 4 is even
Number 5 is odd
このライブラリのアプローチは、複数のスクリプトにインポートできる再利用可能な関数のコレクションを作成する方法を示しており、コードの再利用性と保守性を促進します。
まとめ
このチュートリアルでは、Bash 関数の戻り値に関する重要な概念を学習しました。基本的な関数の作成と引数の処理から始まり、戻りコードとその成功または失敗の示し方を理解するようになりました。echo の使用、グローバル変数、複数の値の区切り文字など、関数から実際のデータを返すための複数の方法を探求しました。
実用的な例を通して、適切な関数の構成とエラー処理を示すファイル管理ユーティリティを実装しました。最後に、堅牢で再利用可能な関数を作成し、それらをライブラリに整理するためのベストプラクティスを学習しました。
このチュートリアルで習得したスキルは、適切なエラー処理、モジュール性、および再利用性を備えた、より洗練された Bash スクリプトを作成するための確固たる基盤を提供します。これらのテクニックにより、さまざまな自動化タスクに対応できる保守性の高いシェルスクリプトを作成し、システム管理者または開発者としての全体的な生産性を向上させることができます。