
소개
이 실습에서는 파이썬의 기본 자료구조인 리스트 (Lists), 튜플 (Tuples), 세트 (Sets), 딕셔너리 (Dictionaries) 를 살펴봅니다. 이전 실습에서 배운 지식을 바탕으로, 다재다능한 이러한 자료구조들을 생성하고 조작하며 활용하는 방법을 배우게 됩니다. 이 실습 경험을 통해 파이썬의 핵심 개념에 대한 이해를 넓히고, 프로그램에서 더 복잡한 데이터를 처리할 수 있는 준비를 갖추게 될 것입니다.
리스트 다루기
이 단계에서는 파이썬에서 순서가 있고 수정 가능한 아이템의 집합인 리스트에 대해 배웁니다.
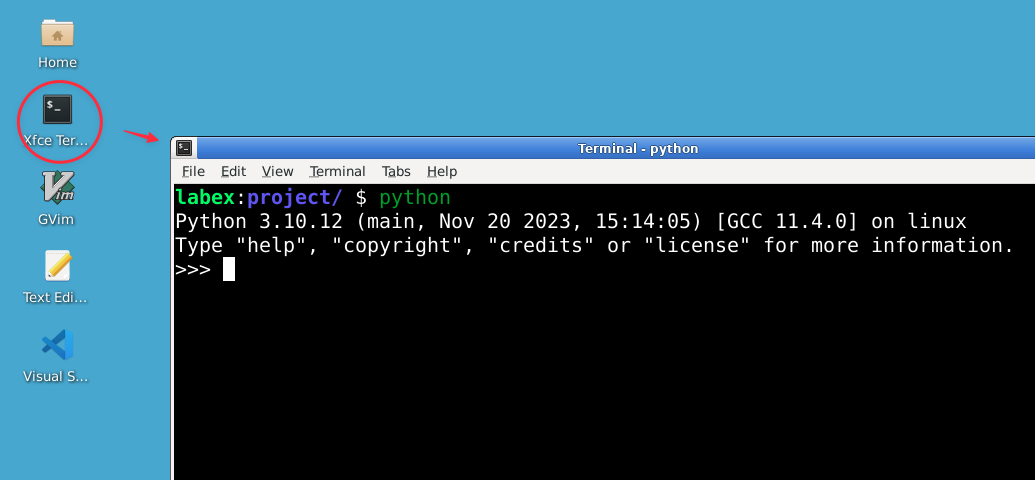
터미널에 다음 명령어를 입력하여 파이썬 인터프리터를 실행하세요.
python
파이썬 프롬프트 (>>>) 가 나타나면 파이썬 대화형 쉘에 진입한 것입니다.
먼저 리스트를 만들어 보겠습니다. 파이썬 인터프리터에 다음 내용을 입력하세요.
fruits = ["apple", "banana", "cherry"]
print(fruits)
출력 결과:
['apple', 'banana', 'cherry']
파이썬에서 리스트는 대괄호 []를 사용하여 생성하며, 각 아이템은 쉼표로 구분합니다.
인덱스를 사용하여 리스트 요소에 접근할 수 있습니다. 파이썬은 0 부터 시작하는 인덱스를 사용한다는 점을 기억하세요.
print(fruits[0]) ## 첫 번째 아이템
출력 결과:
apple
print(fruits[-1]) ## 마지막 아이템
출력 결과:
cherry
리스트는 가변적 (mutable) 이므로 내용을 변경할 수 있습니다.
fruits[1] = "blueberry"
print(fruits)
출력 결과:
['apple', 'blueberry', 'cherry']
append() 메서드를 사용하여 리스트 끝에 아이템을 추가하거나, insert() 메서드를 사용하여 특정 위치에 아이템을 삽입할 수 있습니다.
fruits.append("date")
print(fruits)
출력 결과:
['apple', 'blueberry', 'cherry', 'date']
fruits.insert(1, "banana")
print(fruits)
출력 결과:
['apple', 'banana', 'blueberry', 'cherry', 'date']
아이템을 삭제하려면 remove() 메서드나 del 문을 사용할 수 있습니다.
fruits.remove("cherry")
print(fruits)
출력 결과:
['apple', 'banana', 'blueberry', 'date']
del fruits[0]
print(fruits)
출력 결과:
['banana', 'blueberry', 'date']
리스트는 다른 리스트를 포함하여 서로 다른 타입의 아이템을 담을 수 있습니다.
mixed_list = [1, "hello", 3.14, [1, 2, 3]]
print(mixed_list)
출력 결과:
[1, 'hello', 3.14, [1, 2, 3]]
리스트는 매우 다재다능하며 파이썬에서 아이템 모음을 저장할 때 널리 사용됩니다.
튜플 이해하기
이 단계에서는 파이썬에서 순서가 있지만 수정할 수 없는 시퀀스인 튜플에 대해 배웁니다.
파이썬 인터프리터에서 튜플을 생성해 보겠습니다.
coordinates = (3, 4)
print(coordinates)
출력 결과:
(3, 4)
튜플은 소괄호 ()를 사용하여 생성합니다.
리스트와 마찬가지로 인덱스를 사용하여 튜플 요소에 접근할 수 있습니다.
print(coordinates[0])
출력 결과:
3
print(coordinates[1])
출력 결과:
4
하지만 리스트와 달리 튜플은 불변 (immutable) 입니다. 즉, 생성 후에 내용을 변경할 수 없습니다.
coordinates[0] = 5 ## 에러가 발생합니다
출력 결과:
Traceback (most recent call last):
   File "<stdin>", line 1, in <module>
TypeError: 'tuple' object does not support item assignment
튜플은 서로 다른 타입의 아이템을 포함할 수 있습니다.
person = ("Alice", 25, "Engineer")
name, age, occupation = person  ## 튜플 언패킹
print(f"{name} is {age} years old and works as an {occupation}.")
출력 결과:
Alice is 25 years old and works as an Engineer.
튜플 언패킹은 여러 변수에 값을 한 번에 할당하는 편리한 방법입니다.
요소가 하나뿐인 튜플을 만들 때는 반드시 쉼표를 포함해야 합니다.
single_item_tuple = (42,)
print(type(single_item_tuple))
출력 결과:
<class 'tuple'>
쉼표가 없으면 파이썬은 이를 단순히 괄호로 둘러싸인 일반 값으로 해석합니다.
튜플은 함수에서 여러 값을 반환할 때 자주 사용됩니다.
def get_dimensions():
    return (1920, 1080)

width, height = get_dimensions()
print(f"Width: {width}, Height: {height}")
출력 결과:
Width: 1920, Height: 1080
튜플은 수정되지 않아야 하는 아이템 모음을 만들 때 유용합니다.
세트 탐구하기
이 단계에서는 파이썬에서 순서가 없고 중복되지 않는 요소들의 집합인 세트에 대해 배웁니다.
파이썬 인터프리터에서 세트를 생성해 보겠습니다.
fruits = {"apple", "banana", "cherry"}
print(fruits)
출력 결과:
{'cherry', 'banana', 'apple'}
세트는 중괄호 {}를 사용하거나 set() 함수를 사용하여 생성합니다. 세트를 출력할 때 요소의 순서는 달라질 수 있음에 유의하세요.
세트는 중복된 요소를 자동으로 제거합니다.
numbers = {1, 2, 2, 3, 3, 4}
print(numbers)
출력 결과:
{1, 2, 3, 4}
add() 메서드를 사용하여 세트에 요소를 추가할 수 있습니다.
fruits.add("date")
print(fruits)
출력 결과:
{'cherry', 'banana', 'apple', 'date'}
요소를 삭제하려면 remove() 메서드를 사용합니다.
fruits.remove("banana")
print(fruits)
출력 결과:
{'cherry', 'apple', 'date'}
세트는 합집합 (union), 교집합 (intersection), 차집합 (difference) 과 같은 수학적 집합 연산을 지원합니다.
set1 = {1, 2, 3}
set2 = {3, 4, 5}
print(set1.union(set2))  ## 합집합
출력 결과:
{1, 2, 3, 4, 5}
print(set1.intersection(set2)) ## 교집합
출력 결과:
{3}
print(set1.difference(set2)) ## 차집합
출력 결과:
{1, 2}
in 키워드를 사용하여 세트에 특정 요소가 있는지 확인할 수 있습니다.
print("apple" in fruits)
출력 결과:
True
print("banana" in fruits)
출력 결과:
False
세트는 고유한 요소를 저장해야 하거나 집합 연산을 수행해야 할 때 유용합니다.
딕셔너리 다루기
이 단계에서는 파이썬에서 순서가 없고 키 - 값 (key-value) 쌍으로 이루어진 집합인 딕셔너리에 대해 배웁니다.
파이썬 인터프리터에서 딕셔너리를 생성해 보겠습니다.
person = {"name": "Alice", "age": 25, "occupation": "Engineer"}
print(person)
출력 결과:
{'name': 'Alice', 'age': 25, 'occupation': 'Engineer'}
딕셔너리는 중괄호 {}를 사용하며, 키와 값은 콜론 :으로 구분하여 생성합니다.
키를 사용하여 딕셔너리의 값에 접근할 수 있습니다.
print(person["name"])
출력 결과:
Alice
print(person["age"])
출력 결과:
25
딕셔너리는 가변적이므로 키 - 값 쌍을 추가하거나 수정할 수 있습니다.
person["city"] = "New York"
person["age"] = 26
print(person)
출력 결과:
{'name': 'Alice', 'age': 26, 'occupation': 'Engineer', 'city': 'New York'}
키 - 값 쌍을 삭제하려면 del 문을 사용합니다.
del person["city"]
print(person)
출력 결과:
{'name': 'Alice', 'age': 26, 'occupation': 'Engineer'}
in 키워드를 사용하여 딕셔너리에 특정 키가 존재하는지 확인할 수 있습니다.
print("name" in person)
출력 결과:
True
print("city" in person)
출력 결과:
False
딕셔너리에는 keys(), values(), items()와 같은 유용한 메서드가 있습니다.
print(person.keys())
출력 결과:
dict_keys(['name', 'age', 'occupation'])
print(person.values())
출력 결과:
dict_values(['Alice', 26, 'Engineer'])
print(person.items())
출력 결과:
dict_items([('name', 'Alice'), ('age', 26), ('occupation', 'Engineer')])
딕셔너리 컴프리헨션 (dictionary comprehension) 을 사용하여 간결하게 딕셔너리를 생성할 수 있습니다.
squares = {x: x**2 for x in range(5)}
print(squares)
출력 결과:
{0: 0, 1: 1, 2: 4, 3: 9, 4: 16}
딕셔너리는 고유한 키를 사용하여 데이터를 저장하고 검색하는 데 매우 유용합니다.
종합 실습
마지막 단계에서는 이번 실습에서 배운 모든 자료구조를 활용하는 프로그램을 만들어 보겠습니다.
exit()를 입력하거나 Ctrl+D 를 눌러 파이썬 인터프리터를 종료하세요.
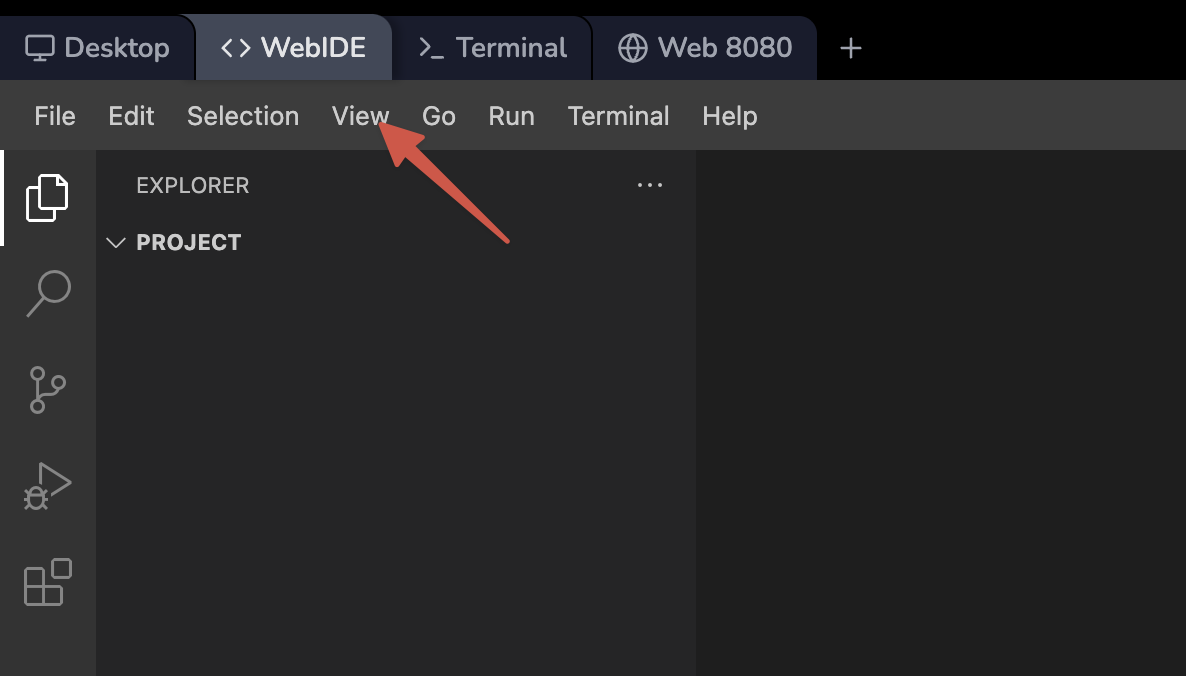
LabEx VM 환경에서 WebIDE 를 엽니다.
~/project 디렉토리에 contact_manager.py라는 이름의 새 파일을 생성합니다.
touch ~/project/contact_manager.py
WebIDE 에디터에서 새로 만든 파일을 열고 다음 내용을 추가하세요.
def add_contact(contacts, name, phone, email):
    contacts[name] = {"phone": phone, "email": email}
    print(f"Contact {name} added successfully.")

def remove_contact(contacts, name):
    if name in contacts:
        del contacts[name]
        print(f"Contact {name} removed successfully.")
    else:
        print(f"Contact {name} not found.")

def display_contacts(contacts):
    if contacts:
        print("\nContact List:")
        for name, info in contacts.items():
            print(f"Name: {name}, Phone: {info['phone']}, Email: {info['email']}")
    else:
        print("Contact list is empty.")

def main():
    contacts = {}
    favorite_contacts = set()

    while True:
        print("\nContact Manager")
        print("1. Add Contact")
        print("2. Remove Contact")
        print("3. Display Contacts")
        print("4. Add to Favorites")
        print("5. Display Favorites")
        print("6. Exit")

        choice = input("Enter your choice (1-6): ")

        if choice == "1":
            name = input("Enter name: ")
            phone = input("Enter phone number: ")
            email = input("Enter email: ")
            add_contact(contacts, name, phone, email)
        elif choice == "2":
            name = input("Enter name to remove: ")
            remove_contact(contacts, name)
        elif choice == "3":
            display_contacts(contacts)
        elif choice == "4":
            name = input("Enter name to add to favorites: ")
            if name in contacts:
                favorite_contacts.add(name)
                print(f"{name} added to favorites.")
            else:
                print(f"Contact {name} not found.")
        elif choice == "5":
            print("\nFavorite Contacts:")
            for name in favorite_contacts:
                print(name)
        elif choice == "6":
            print("Thank you for using Contact Manager. Goodbye!")
            break
        else:
            print("Invalid choice. Please try again.")

if __name__ == "__main__":
    main()
이 프로그램은 딕셔너리, 세트, 리스트를 사용하여 간단한 연락처 관리 시스템을 만드는 방법을 보여줍니다.
파일을 저장하고 (WebIDE 에서는 자동 저장이 활성화되어 있습니다) 터미널에서 다음 명령어로 실행하세요.
python ~/project/contact_manager.py
연락처 추가, 삭제, 목록 표시, 즐겨찾기 추가 및 즐겨찾기 목록 표시 기능을 사용하여 프로그램과 상호작용해 보세요. 다음은 상호작용 예시입니다.
Contact Manager
1. Add Contact
2. Remove Contact
3. Display Contacts
4. Add to Favorites
5. Display Favorites
6. Exit
Enter your choice (1-6): 1
Enter name: Alice
Enter phone number: 123-456-7890
Enter email: alice@example.com
Contact Alice added successfully.

Contact Manager
1. Add Contact
2. Remove Contact
3. Display Contacts
4. Add to Favorites
5. Display Favorites
6. Exit
Enter your choice (1-6): 1
Enter name: Bob
Enter phone number: 987-654-3210
Enter email: bob@example.com
Contact Bob added successfully.

Contact Manager
1. Add Contact
2. Remove Contact
3. Display Contacts
4. Add to Favorites
5. Display Favorites
6. Exit
Enter your choice (1-6): 3

Contact List:
Name: Alice, Phone: 123-456-7890, Email: alice@example.com
Name: Bob, Phone: 987-654-3210, Email: bob@example.com

Contact Manager
1. Add Contact
2. Remove Contact
3. Display Contacts
4. Add to Favorites
5. Display Favorites
6. Exit
Enter your choice (1-6): 4
Enter name to add to favorites: Alice
Alice added to favorites.

Contact Manager
1. Add Contact
2. Remove Contact
3. Display Contacts
4. Add to Favorites
5. Display Favorites
6. Exit
Enter your choice (1-6): 5

Favorite Contacts:
Alice

Contact Manager
1. Add Contact
2. Remove Contact
3. Display Contacts
4. Add to Favorites
5. Display Favorites
6. Exit
Enter your choice (1-6): 6
Thank you for using Contact Manager. Goodbye!
이 프로그램은 연락처 정보를 저장하기 위한 딕셔너리, 즐겨찾는 연락처를 저장하기 위한 세트, 그리고 메뉴 시스템에서 암시적으로 사용되는 리스트의 실제 활용 사례를 보여줍니다.
요약
이 실습에서는 파이썬의 기본 자료구조인 리스트, 튜플, 세트, 딕셔너리를 살펴보았습니다. 파이썬 프로그래밍에서 효율적인 데이터 관리에 필수적인 이러한 다재다능한 자료구조들을 생성하고 조작하며 활용하는 방법을 배웠습니다.
먼저 리스트를 다루며 순서가 있는 아이템 모음을 생성, 접근 및 수정하는 방법을 익혔습니다. 그다음 튜플을 살펴보며 불변성 (immutability) 과 고정된 요소 모음을 표현하는 사용 사례를 이해했습니다. 이어서 세트를 깊이 있게 다루며 고유한 요소를 저장하고 수학적 집합 연산을 수행하는 기능을 발견했습니다. 마지막으로 딕셔너리를 통해 효율적인 데이터 조회와 저장을 위해 키 - 값 쌍을 관리하는 방법을 배웠습니다.
이러한 개념들을 강화하기 위해 여러 자료구조를 활용하는 실용적인 연락처 관리 프로그램을 제작했습니다. 이 프로그램은 서로 다른 자료구조가 실제 애플리케이션에서 어떻게 함께 작동할 수 있는지 보여주었으며, 파이썬 자료구조의 강력함과 유연성을 입증했습니다.
이러한 자료구조들은 많은 파이썬 프로그램의 근간을 이루며, 데이터를 효율적으로 조직하고 조작할 수 있게 해줍니다. 파이썬 학습을 계속해 나가면서 광범위한 프로그래밍 문제를 해결하는 데 이러한 구조들이 매우 가치 있다는 것을 알게 될 것입니다. 이해를 돕고 파이썬 프로그래밍에 더욱 능숙해지도록 다양한 시나리오에서 이러한 자료구조들을 사용하는 연습을 계속하시기 바랍니다.


