소개
HTML 개인 웹페이지 프로젝트에 오신 것을 환영합니다! 이 실습에서는 웹의 기본 구성 요소인 HTML 을 사용하여 처음부터 완전한 단일 페이지 웹사이트를 구축하게 됩니다. 이 실습 프로젝트는 초보자를 위해 설계되었으며, 구조화되고 콘텐츠가 풍부한 웹페이지를 만드는 데 필요한 필수 태그와 개념을 안내합니다.
다음 내용을 배우게 됩니다:
- HTML 문서의 기본 구조 정의하기.
- 제목과 단락을 사용하여 텍스트 서식 지정하기.
- 목록을 사용하여 정보 구성하기.
- 이미지 삽입 및 하이퍼링크 생성하기.
- 테이블을 사용하여 데이터 구조화하고 간단한 연락처 양식 만들기.
웹 서버와 기본 스타일링 (CSS) 은 미리 구성되어 있습니다. 여러분의 주요 초점은 깨끗하고 의미론적인 (semantic) HTML 을 작성하는 것입니다. 실습 환경의 Web 8080 탭으로 전환하여 실시간으로 작업 내용을 미리 볼 수 있습니다. 시작해 봅시다!
head 와 body 로 문서 구조 설정하기
이 단계에서는 HTML 문서의 기본 구조를 설정합니다. 모든 HTML 페이지는 <!DOCTYPE>, <html>, <head>, <body> 태그를 포함하는 표준 보일러플레이트 (boilerplate) 구조를 가지고 있습니다.
<!DOCTYPE html>: 이 선언은 문서 유형을 HTML5 로 정의합니다.<html>: 이것은 HTML 페이지의 루트 요소입니다.<head>: 이 요소는 문서의 제목이나 스타일시트 링크와 같은 메타 정보를 포함합니다.<head>안의 내용은 페이지 자체에 표시되지 않습니다.<title>: 이것은 브라우저 탭의 제목을 설정합니다.<body>: 이 요소는 브라우저에 표시되는 보이는 페이지 콘텐츠를 포함합니다.
먼저, 왼쪽에 있는 파일 탐색기를 사용하여 ~/project 디렉토리에 있는 index.html 파일을 엽니다. 이 파일은 현재 비어 있습니다. 다음 코드를 복사하여 index.html에 붙여넣으세요:
<!DOCTYPE html>
<html lang="en">
  <head>
    <meta charset="UTF-8" />
    <meta name="viewport" content="width=device-width, initial-scale=1.0" />
    <title>My Personal Webpage</title>
    <link rel="stylesheet" href="css/style.css" />
  </head>
  <body>
    <div class="container">
      <!-- Content will go here in the next steps -->
    </div>
  </body>
</html>
코드를 붙여넣은 후 파일을 저장합니다 (Ctrl+S 또는 Cmd+S). 이제 실습 인터페이스 상단의 Web 8080 탭을 클릭하세요. 빈 페이지가 보일 것이지만, 브라우저 탭의 제목이 "My Personal Webpage"로 변경된 것을 확인할 수 있습니다.
제목 (headings) 과 단락 (paragraphs) 을 사용하여 서식이 지정된 텍스트 추가하기
이 단계에서는 제목과 단락을 사용하여 웹페이지에 첫 번째 표시되는 콘텐츠를 추가합니다. 이들은 텍스트 구조화를 위한 기본적인 태그입니다.
<h1>: 이것은 최상위 제목 태그로, 일반적으로 페이지의 주요 제목에 사용됩니다. 검색 엔진은 제목을 사용하여 웹페이지의 구조와 콘텐츠를 색인화합니다.<p>: 이것은 단락 태그로, 텍스트 블록에 사용됩니다.
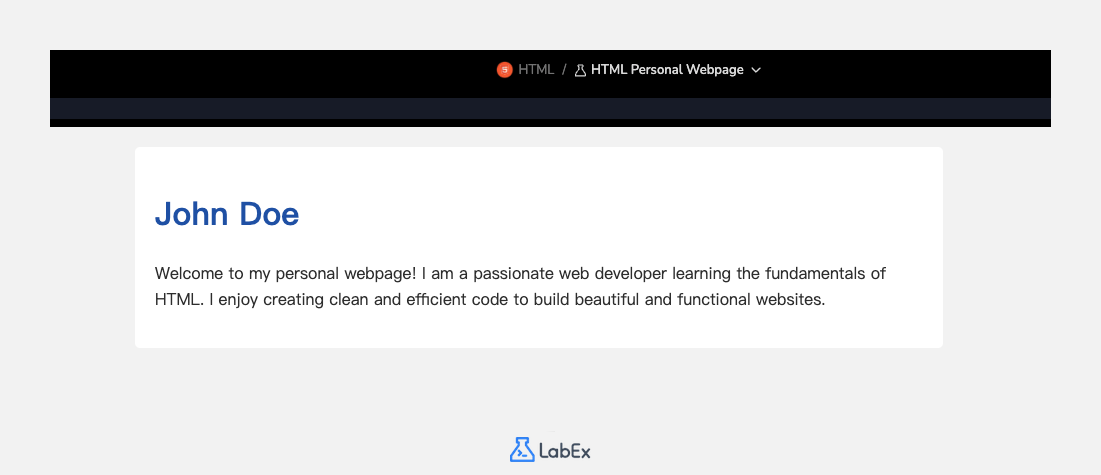
이름을 주요 제목으로, 짧은 소개글을 추가해 봅시다. index.html 파일에서 <div class="container"> 안의 <!-- Content will go here in the next steps --> 주석을 찾아 다음 코드로 바꾸세요:
<h1>John Doe</h1>
<p>
  Welcome to my personal webpage! I am a passionate web developer learning the
  fundamentals of HTML. I enjoy creating clean and efficient code to build
  beautiful and functional websites.
</p>
이제 완성된 index.html 파일은 다음과 같이 보일 것입니다:
<!DOCTYPE html>
<html lang="en">
  <head>
    <meta charset="UTF-8" />
    <meta name="viewport" content="width=device-width, initial-scale=1.0" />
    <title>My Personal Webpage</title>
    <link rel="stylesheet" href="css/style.css" />
  </head>
  <body>
    <div class="container">
      <h1>John Doe</h1>
      <p>
        Welcome to my personal webpage! I am a passionate web developer learning
        the fundamentals of HTML. I enjoy creating clean and efficient code to
        build beautiful and functional websites.
      </p>
    </div>
  </body>
</html>
파일을 저장하고 Web 8080 탭을 새로고침하세요. 이제 페이지에 이름과 소개글이 표시되는 것을 볼 수 있습니다.
기술 또는 관심사에 대한 목록 삽입하기
이 단계에서는 목록을 사용하여 기술 또는 관심사와 같은 정보를 구성합니다. HTML 은 두 가지 주요 목록 유형을 제공합니다: 특정 순서가 없는 항목을 위한 순서 없는 목록 (<ul>) 과 번호가 매겨진 항목을 위한 순서 있는 목록 (<ol>) 입니다. 목록의 각 항목은 <li> (list item) 태그로 정의됩니다.
순서 없는 목록을 사용하여 기술 섹션을 추가해 봅시다. 이전 단계에서 추가한 단락 태그 (<p>) 아래에 다음 코드를 추가하세요.
<h2>My Skills</h2>
<ul>
  <li>HTML & CSS</li>
  <li>JavaScript</li>
  <li>Python</li>
  <li>Problem Solving</li>
</ul>
이 코드는 섹션의 제목을 지정하는 두 번째 수준 제목 (<h2>) 과 네 개의 목록 항목 (<li>) 이 있는 순서 없는 목록 (<ul>) 을 추가합니다.
코드를 추가한 후 index.html 파일의 <body>는 다음과 같이 보여야 합니다:
<body>
  <div class="container">
    <h1>John Doe</h1>
    <p>
      Welcome to my personal webpage! I am a passionate web developer learning
      the fundamentals of HTML. I enjoy creating clean and efficient code to
      build beautiful and functional websites.
    </p>

    <h2>My Skills</h2>
    <ul>
      <li>HTML & CSS</li>
      <li>JavaScript</li>
      <li>Python</li>
      <li>Problem Solving</li>
    </ul>
  </div>
</body>
파일을 저장하고 Web 8080 탭을 확인하여 글머리 기호 목록으로 된 새로운 기술 섹션을 확인하세요.
속성 (attributes) 을 사용하여 링크와 이미지 추가하기
이 단계에서는 이미지와 하이퍼링크를 추가하여 페이지를 더욱 동적으로 만들 것입니다.
<img>: 이미지 태그는 이미지를 삽입하는 데 사용됩니다. 이것은 자체 종료 태그이며 두 가지 필수 속성이 필요합니다:src: 이미지 파일의 경로를 지정합니다.alt: 이미지에 대한 대체 텍스트를 제공하며, 이는 접근성과 이미지를 표시할 수 없을 때 중요합니다.
<a>: 앵커 태그는 하이퍼링크를 만드는 데 사용됩니다.href속성은 링크가 이동할 URL 을 지정합니다.
먼저 프로필 사진을 추가해 봅시다. 설정 스크립트에서 이미 images/profile.png에 플레이스홀더 이미지를 배치했습니다. <h1> 태그 바로 아래에 <img> 태그를 추가하세요.
다음으로, GitHub 프로필과 같은 외부 사이트로 연결되는 링크를 추가해 봅시다. 이를 새로운 "Find Me Online" 섹션에 배치할 것입니다. 기술 목록 아래에 다음 코드를 추가하세요:
<!-- Add this img tag below the h1 tag -->
<img src="images/profile.png" alt="A placeholder profile picture" />

<!-- Add this new section below the skills list -->
<h2>Find Me Online</h2>
<p>
  You can find my work on
  <a href="https://github.com/labex-labs" target="_blank">GitHub</a>.
</p>
링크의 target="_blank" 속성은 브라우저가 새 탭에서 링크를 열도록 지시합니다.
이제 index.html 파일의 <body>는 다음과 같이 구성되어야 합니다:
<body>
  <div class="container">
    <h1>John Doe</h1>
    <img src="images/profile.png" alt="A placeholder profile picture" />
    <p>
      Welcome to my personal webpage! I am a passionate web developer learning
      the fundamentals of HTML. I enjoy creating clean and efficient code to
      build beautiful and functional websites.
    </p>

    <h2>My Skills</h2>
    <ul>
      <li>HTML & CSS</li>
      <li>JavaScript</li>
      <li>Python</li>
      <li>Problem Solving</li>
    </ul>

    <h2>Find Me Online</h2>
    <p>
      You can find my work on
      <a href="https://github.com/labex-labs" target="_blank">GitHub</a>.
    </p>
  </div>
</body>
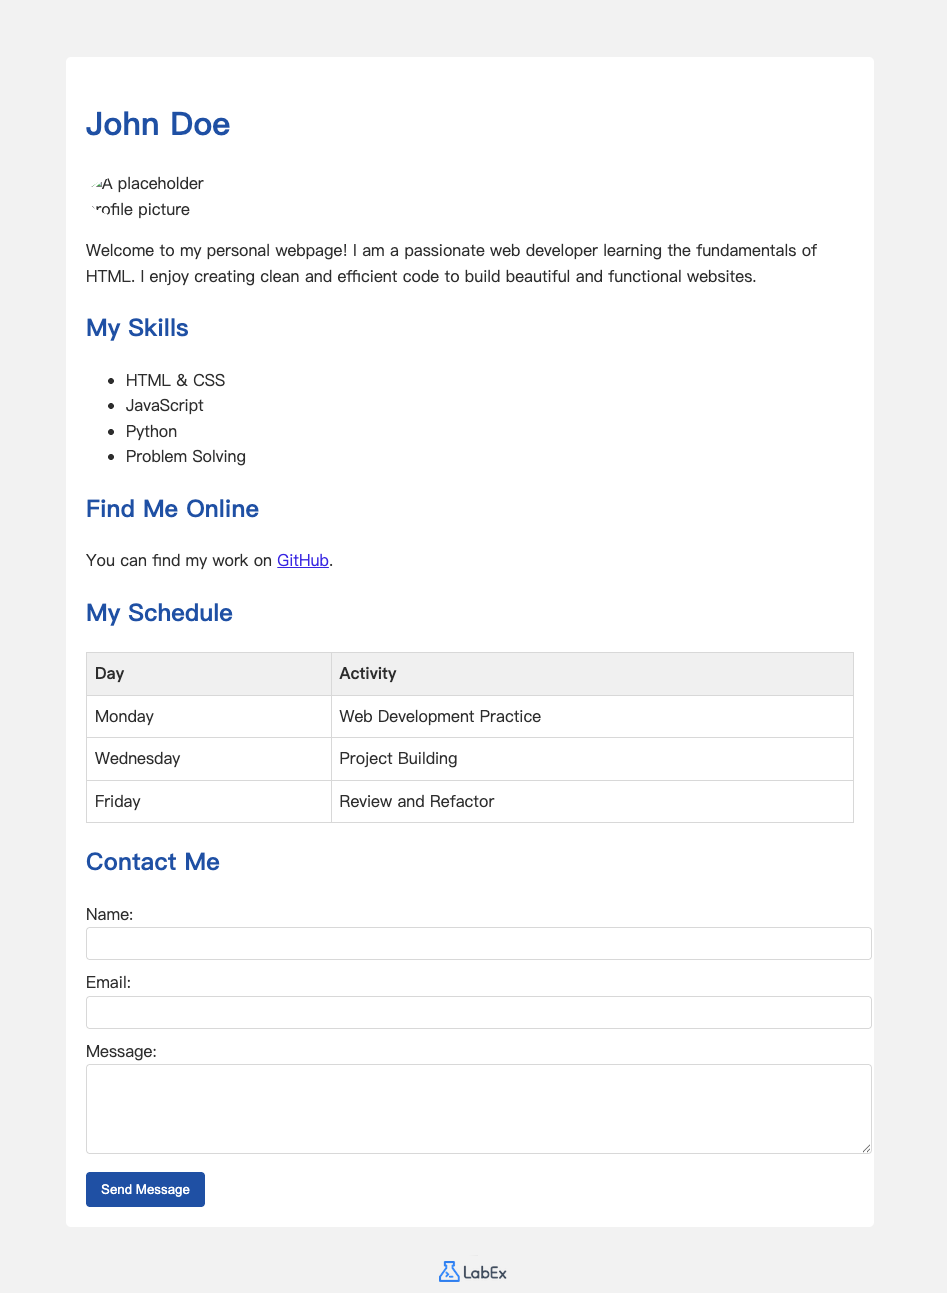
파일을 저장하고 Web 8080 탭을 새로고침하세요. 프로필 이미지와 클릭 가능한 링크가 표시될 것입니다.
일정표 (schedule) 와 연락처 양식 (form) 만들기
이 마지막 콘텐츠 단계에서는 더 복잡한 두 가지 구조를 추가합니다: 일정을 표시하기 위한 테이블과 방문자가 연락할 수 있도록 하는 양식입니다.
<table>: 테이블을 정의합니다.<tr>: 테이블의 행을 정의합니다.<th>: 헤더 셀을 정의합니다 (기본적으로 굵게 표시되고 가운데 정렬됨).<td>: 데이터 셀을 정의합니다.
<form>: 사용자 입력을 위한 HTML 양식을 정의합니다.<label>:<input>요소에 대한 레이블을 정의합니다.<input>: 입력 필드를 정의합니다.type속성은text,email,password등이 될 수 있습니다.<textarea>: 여러 줄의 텍스트 입력 영역을 정의합니다.<button>: 클릭 가능한 버튼을 정의합니다.
먼저 주간 일정을 위한 테이블을 추가합니다. "Find Me Online" 섹션 아래에 이 코드를 추가하세요:
<h2>My Schedule</h2>
<table>
  <tr>
    <th>Day</th>
    <th>Activity</th>
  </tr>
  <tr>
    <td>Monday</td>
    <td>Web Development Practice</td>
  </tr>
  <tr>
    <td>Wednesday</td>
    <td>Project Building</td>
  </tr>
  <tr>
    <td>Friday</td>
    <td>Review and Refactor</td>
  </tr>
</table>
다음으로 연락처 양식을 추가합니다. 방금 만든 테이블 아래에 이 코드를 추가하세요:
<h2>Contact Me</h2>
<form action="#" method="post">
  <label for="name">Name:</label>
  <input type="text" id="name" name="name" />

  <label for="email">Email:</label>
  <input type="email" id="email" name="email" />

  <label for="message">Message:</label>
  <textarea id="message" name="message" rows="4"></textarea>

  <button type="submit">Send Message</button>
</form>
파일을 저장하고 Web 8080 탭을 확인하세요. 이제 개인 웹페이지가 일정 및 연락처 양식으로 완성되었습니다!
요약
축하합니다! HTML 을 사용하여 완전한 개인 웹페이지를 성공적으로 구축했습니다.
이 실습에서는 문서를 구조화하고 콘텐츠를 표시하기 위해 가장 기본적인 HTML 요소를 사용하는 연습을 했습니다. 다음을 배웠습니다:
<html>,<head>,<body>를 사용하여 HTML 페이지의 기본 골격을 만드는 방법.- 제목 (
<h1>,<h2>) 및 단락 (<p>) 으로 텍스트를 서식 지정하는 방법. - 순서 없는 목록 (
<ul>,<li>) 으로 항목을 구성하는 방법. - 이미지 (
<img>) 를 삽입하고 하이퍼링크 (<a>) 를 만드는 방법. <table>로 데이터를 구조화하고<form>으로 사용자 입력을 수집하는 방법.
이제 HTML 에 대한 탄탄한 기초를 갖추었습니다. 콘텐츠를 변경하거나, 더 많은 페이지를 추가하거나, 더 고급 HTML 태그를 탐색하여 자유롭게 실험해 보세요. 웹 개발 여정에서 계속해서 훌륭한 성과를 거두시길 바랍니다!